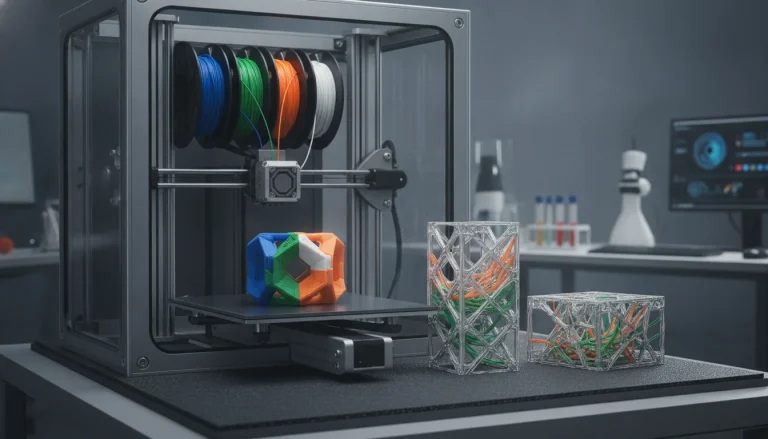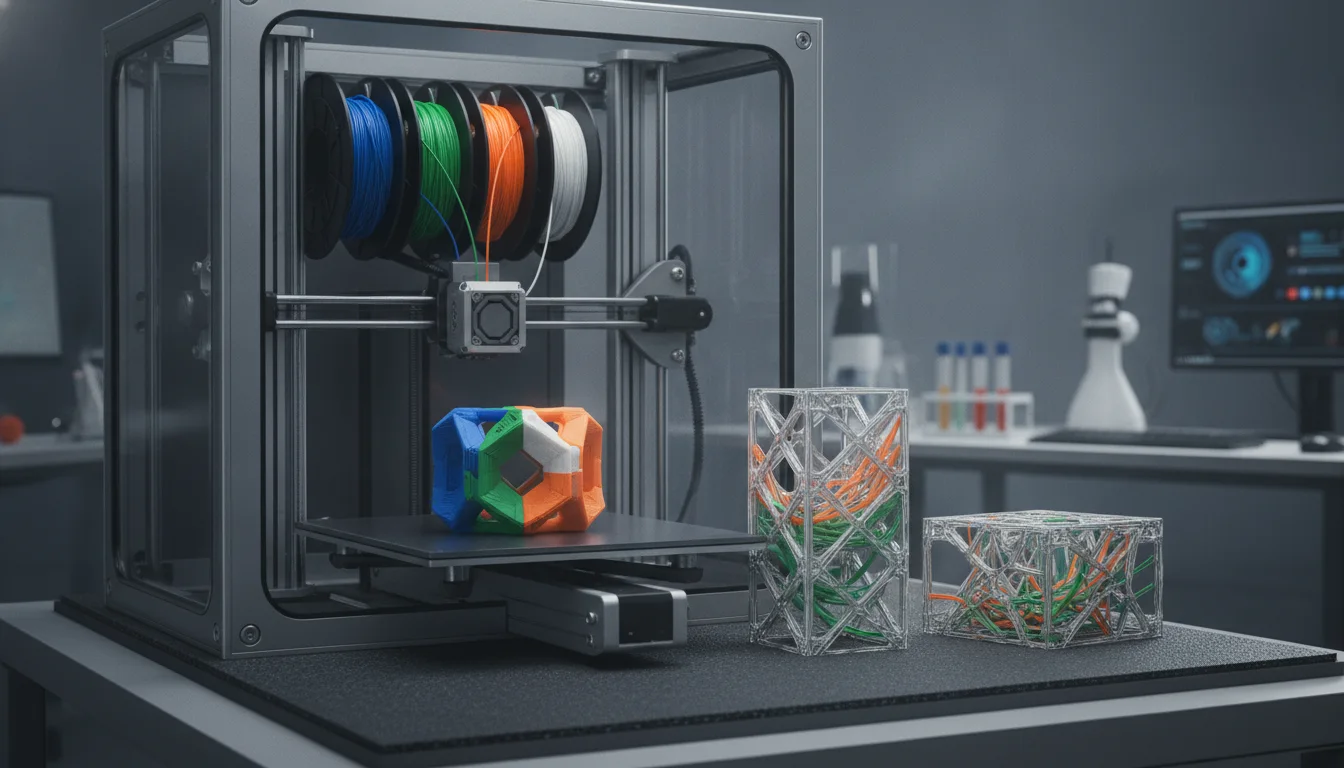
Multi-material 3D printing offers an exciting avenue for creating complex, functional, and aesthetically rich objects, combining different colors, properties, or support materials within a single print. However, this advanced capability often comes with a significant drawback: material waste, primarily due to the necessity of purging. When switching between filaments, the previous material must be cleared from the nozzle to prevent contamination and color bleeding, a process typically handled by a ‘purge tower’. While essential, these towers can consume a substantial amount of filament, impacting both cost and environmental footprint. Understanding the various strategies for purge tower optimization is crucial for enhancing print efficiency and minimizing multi-material waste.
Understanding the role of the purge tower in multi-material printing
The world’s first desktop full-color 3D & UV printer. Back the Kickstarter campaign with a refundable $50 deposit for VIP pricing.
A purge tower, also known as a wipe tower or prime tower, is a small, typically hollow structure printed alongside the main object during multi-material 3D prints. Its primary function is to provide a dedicated space for the print head to extrude residual filament and prime the nozzle with the new material before resuming work on the actual model. Without adequate purging, material contamination can lead to:
- Color mixing or bleeding, especially when switching between contrasting colors.
- Inconsistent material properties, if different material types are used (e.g., rigid plastic followed by flexible, or soluble support material).
- Nozzle clogs due to incompatible material mixing or insufficient flow of the new filament.
While indispensable for successful multi-material prints, purge towers inherently contribute to multi-material waste. They consume filament, increase print time, and occupy valuable build plate real estate. Therefore, optimizing their use is a key aspect of advanced 3D printing techniques.
Fundamental purge tower optimization strategies through slicer settings
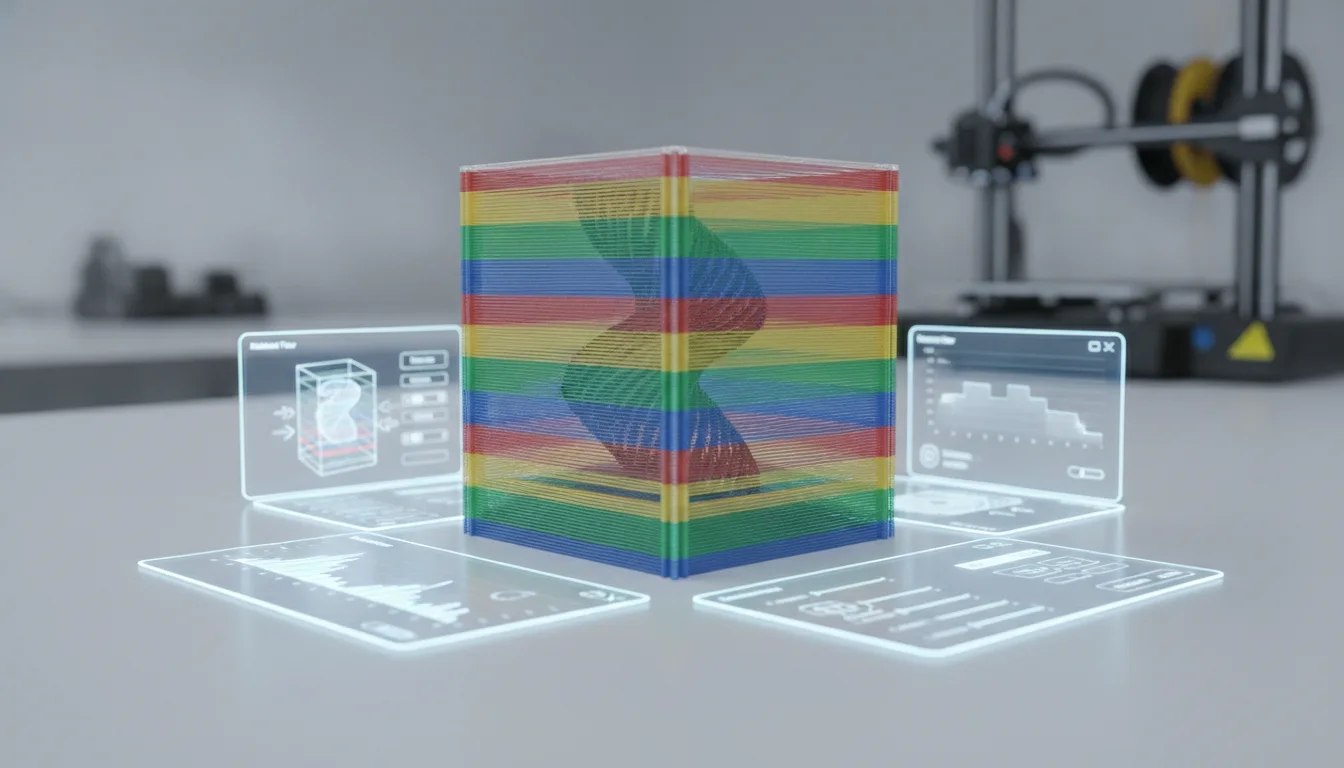
The most direct approach to purge tower optimization lies within the slicer software, where various parameters can be adjusted to influence the amount of filament purged and the tower’s physical characteristics. These settings directly impact filament purging and overall print efficiency.
Purge volume adjustments
The purge volume dictates how much material is extruded during a tool change. This is often the most significant factor in multi-material waste. Different slicers offer varying degrees of control:
- Global purge volume: A single setting applied to all material changes. While simple, it may be inefficient as not all material or color changes require the same volume.
- Material-specific purge volumes: More advanced slicers allow users to define different purge volumes for specific material transitions (e.g., PLA to PETG, or a specific color change). This offers greater control and can significantly reduce unnecessary purging. For instance, transitioning from a dark color to a light color typically requires more purging than vice-versa to prevent color bleed.
- Purge length/distance: Instead of volume, some slicers use a linear purge length. The principle remains the same: ensure sufficient new material has been extruded to clear the nozzle.
Careful calibration is essential here. Too little purging can lead to contamination, while too much is simply multi-material waste. Experimentation with test prints is often necessary to find the optimal balance for specific material combinations and color transitions.
Purge tower dimensions and placement
The physical size and location of the purge tower also play a role in print efficiency and material consumption:
- Width and depth: A wider or deeper tower allows for more surface area to purge onto, which can sometimes reduce the required height or volume if the purge is spread out. However, excessively large dimensions consume more build plate space.
- Height: The tower’s height is directly tied to the number of tool changes. It typically needs to be as tall as the highest point where a tool change occurs. Slicers usually manage this automatically, but understanding its dependence on print geometry is important.
- Location: Placing the purge tower strategically, often at the back or side of the print bed, minimizes travel time for the print head, which can slightly improve print efficiency.
Prime towers and their role
While often used interchangeably with purge towers, a prime tower’s primary function is to ensure the nozzle is consistently primed and ready to print after a tool change, especially with materials prone to oozing or stringing. It helps stabilize extrusion before the nozzle moves to the main object. Optimizing prime tower settings involves balancing consistent flow with minimal material usage.
Beyond the tower: alternative purging methods
Every model we design and test gets uploaded as a free STL – browse the full profile on MakerWorld.
Traditional purge towers are not the only solution for managing filament purging. Several alternative strategies can significantly reduce multi-material waste, each with its own set of advantages and considerations regarding cost structures and features.
Purging into infill or support structures
One of the most effective methods for purge tower optimization is to redirect the purged material into parts of the model that are either internal, hidden, or disposable. This technique directly addresses multi-material waste by utilizing material that would otherwise be discarded.
- How it works: Instead of extruding onto a dedicated tower, the slicer directs the purge moves into the infill patterns or support structures of the main print. Since these areas are either internal or removed post-print, minor color contamination or material mixing is often acceptable.
-
Benefits:
- Significant material saving: This is the primary advantage, as the purged material contributes to the structural integrity of the print rather than being discarded.
- Reduced print time: Eliminates the need to print a separate tower, potentially saving travel moves and overall print duration.
- Maximized build plate usage: Frees up space on the print bed that would otherwise be occupied by the tower.
-
Considerations:
- Aesthetic impact: While generally good for infill, purging into visible support structures might leave minor color streaks if the supports are not completely removed or if they are designed to be part of the final object.
- Structural integrity: For highly critical functional parts, mixing materials in the infill could theoretically alter mechanical properties. However, for most applications, the impact is negligible.
- Material compatibility: This method works best when the purged materials are compatible enough not to cause nozzle clogs or significant structural weaknesses when mixed, even if in small quantities.
When evaluating this option, the “cost” of potential minor aesthetic or structural compromises must be weighed against the significant “cost” savings in filament. For many users, the material savings far outweigh these minor drawbacks, making it a highly attractive option for print efficiency.
Purging into the skirt or brim
Another method involves purging a small amount of material into the skirt or brim of the print. This is less effective for full color changes, as the volume is usually insufficient to clear the nozzle entirely. However, it can be useful for:
- Initial priming: Ensuring consistent flow at the very beginning of a print.
- Minor tool changes: For very slight color variations or when switching between materials that are highly compatible.
This method offers minimal material saving compared to purging into infill but is simpler to implement for initial priming.
Advanced purging concepts and smart algorithms
Modern slicers and firmware are increasingly incorporating intelligent features to further optimize filament purging, moving beyond simple volume adjustments.
Smart purging algorithms
Some advanced slicers employ algorithms that dynamically adjust purge volumes based on various factors:
- Material properties: Taking into account the viscosity, melt flow index, and color opacity of different filaments.
- Color difference: Automatically increasing purge volume when switching from a dark, opaque color to a light, transparent one, and reducing it for the opposite transition.
- Nozzle temperature: Adjusting purge length based on current and target nozzle temperatures.
These algorithms aim to strike a balance between sufficient purging and minimal multi-material waste, often requiring less manual calibration from the user. The “feature” here is automation and intelligence, which can translate to “cost” savings in terms of user time and wasted filament.
Sequential purging and tool change optimization
Instead of purging the same amount every time, some systems can optimize the sequence of tool changes to reduce the overall number of purges required. For example, if a print requires several tools to be used in rapid succession, the slicer might try to group these operations or minimize unnecessary back-and-forth switching. This strategy focuses on reducing the *frequency* of purging, thereby contributing to print efficiency.
Evaluating the “cost” of purging strategies
The world’s first desktop full-color 3D & UV printer. Back the Kickstarter campaign with a refundable $50 deposit for VIP pricing.
When considering different purge tower optimization strategies, it’s important to objectively assess their various “costs” and benefits. This is not just about the price of filament, but a broader evaluation of resources.
Filament consumption
This is the most obvious and direct cost. A dedicated purge tower can consume anywhere from 5% to 20% (or even more for complex prints with many tool changes) of the total filament used. Reducing this through optimized slicer settings or alternative purging methods directly translates to savings in material cost and a reduction in multi-material waste.
Print time impact
Every tool change, every purge move, and the printing of the purge tower itself adds to the overall print time. Longer print times mean:
- Higher energy consumption.
- Increased wear and tear on the printer components.
- Reduced throughput (fewer parts can be printed in a given period).
Strategies that minimize purge volumes, reduce the number of tool changes, or integrate purging into the main model can lead to shorter print times, which is a significant factor in print efficiency, especially in production environments.
Build plate real estate
A purge tower occupies space on the print bed. For large objects or when printing multiple parts simultaneously, this can be a limiting factor. Purging into infill or supports frees up this space, potentially allowing for larger prints or more parts per batch.
Post-processing and disposal
While often overlooked, the discarded purge tower is a piece of plastic waste that needs to be managed. Reducing its size or eliminating it entirely contributes to a more sustainable 3D printing workflow. The “cost” here is environmental and potentially in waste disposal.
Quality versus waste trade-offs
Ultimately, every optimization strategy involves a trade-off. Aggressively reducing purge volumes might lead to color contamination or material mixing, affecting the aesthetic or functional quality of the print. Conversely, ensuring pristine quality might require more extensive purging and thus more multi-material waste. The “better” option is not universally defined; it depends entirely on the specific requirements of the print:
- For aesthetic models where color purity is paramount, a more conservative purging strategy (even with higher waste) might be preferred.
- For functional prototypes or parts where internal color mixing is irrelevant, purging into infill offers significant material and time savings.
Objectively comparing these considerations allows users to make informed decisions based on their priorities.
Practical implementation and testing
Successfully implementing purge tower optimization requires a systematic approach:
- Start small: Begin with minor adjustments to purge volumes and observe the results.
- Document settings and outcomes: Keep a log of the settings used for specific material combinations and the resulting print quality and waste levels.
- Utilize test prints: Design or download small test objects that involve frequent tool changes to quickly iterate on purge settings without wasting too much material on large prints.
- Monitor waste: Regularly weigh your discarded purge towers or track filament consumption to quantify the impact of your optimization efforts.
- Consider material compatibility: Always be mindful of how different materials interact, especially when considering purging into infill.
Conclusion
Purge tower optimization is an indispensable aspect of efficient multi-material 3D printing. By meticulously adjusting slicer settings, exploring alternative purging methods like integration into infill or supports, and leveraging advanced algorithmic features, users can significantly reduce multi-material waste and enhance overall print efficiency. There is no single “best” approach; instead, the most effective strategy emerges from an objective evaluation of filament consumption, print time, build plate utilization, and the critical balance between print quality and material conservation. By understanding these trade-offs, makers and professionals can tailor their purging strategies to meet specific project requirements, leading to more sustainable and cost-effective multi-material 3D printing.
Frequently asked questions
Does purging into infill ever cause nozzle clogs when mixing different material types?
Yes, it can, though the risk is low for most common combinations. The article notes that this method works best when the purged materials are compatible enough not to cause nozzle clogs. If you are switching between materials with very different melt temperatures (e.g., PLA to polycarbonate), the residual material in the nozzle may not flow properly at the new temperature, increasing clog risk. For typical color changes within the same material type, this is rarely an issue.
What is a realistic percentage of filament waste saved by switching from a purge tower to purging into infill?
The article states a dedicated purge tower can consume 5% to 20% or more of total filament used. Switching to purging into infill essentially eliminates this dedicated waste, saving that entire percentage—though you still consume the same amount of filament overall since the purge material is now part of the model’s infill rather than discarded. The practical saving is the full weight of the purge tower filament.
Can I use purging into the skirt or brim for full color changes, or is it only for priming?
It is only effective for initial priming or minor tool changes, not full color changes. The article explains that the volume of a skirt or brim is usually insufficient to clear the nozzle entirely, so significant color bleeding would occur. For full color transitions, you still need either a purge tower or the purging-into-infill method to provide enough extrusion volume to flush the old material.