In the intricate world of 3D sculpting, achieving a high level of detail and realism often hinges on more than just skillful hand-sculpting. It’s about leveraging the right tools and techniques to bring your vision to life efficiently and effectively. Among the most powerful tools in a digital sculptor’s arsenal are custom sculpting brushes, which, when combined with the strategic use of alpha maps 3D, unlock an unparalleled ability to imbue models with truly unique surface details. This guide will walk you through the essential steps of understanding, creating, and implementing alpha maps to craft bespoke brushes that will elevate your sculpting workflow.
Understanding alpha maps and their role in sculpting
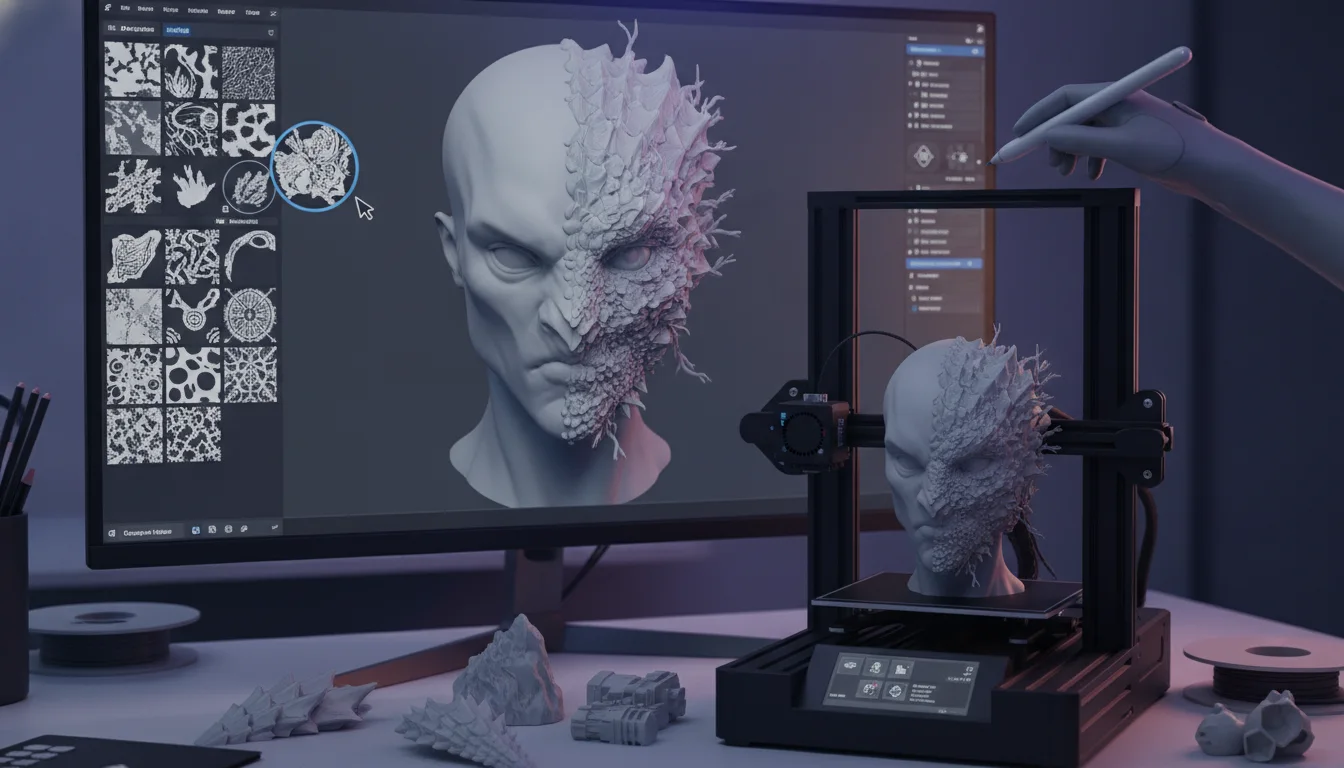
At its core, an alpha map is a grayscale image where different shades of gray represent varying levels of height or depth. These maps are not merely textures; they are powerful data carriers that instruct your sculpting software on how to displace the surface of your 3D model. Think of them as miniature stencils that guide your brush strokes, allowing you to quickly stamp or drag intricate patterns onto your mesh.
- How they work: When an alpha map is loaded into a sculpting brush, white areas typically represent the highest point of displacement (pushing out the mesh), black areas represent no displacement (leaving the mesh untouched or pushing it in), and shades of gray represent intermediate levels. This gradient information is crucial for creating smooth transitions and organic details.
- Types of details: The versatility of alpha maps is astounding. They can be used to generate a vast array of surface characteristics, from the subtle pores and wrinkles on skin, the intricate scales of a dragon, or the rough texture of ancient stone, to complex mechanical patterns, fabric weaves, or even stylized cartoon features. The key is that they allow for repetition and precise application of complex forms that would be tedious, if not impossible, to sculpt by hand with consistency.
- Beyond simple stamping: While often associated with stamping, alpha maps are far more flexible. They can be used with various brush stroke types, including drag-rectangle, freehand, spray, and dots, each offering unique ways to apply the detail and build up complex sculpting texture maps. This adaptability is what makes them indispensable for adding nuanced and realistic micro-details.
Creating your own alpha maps
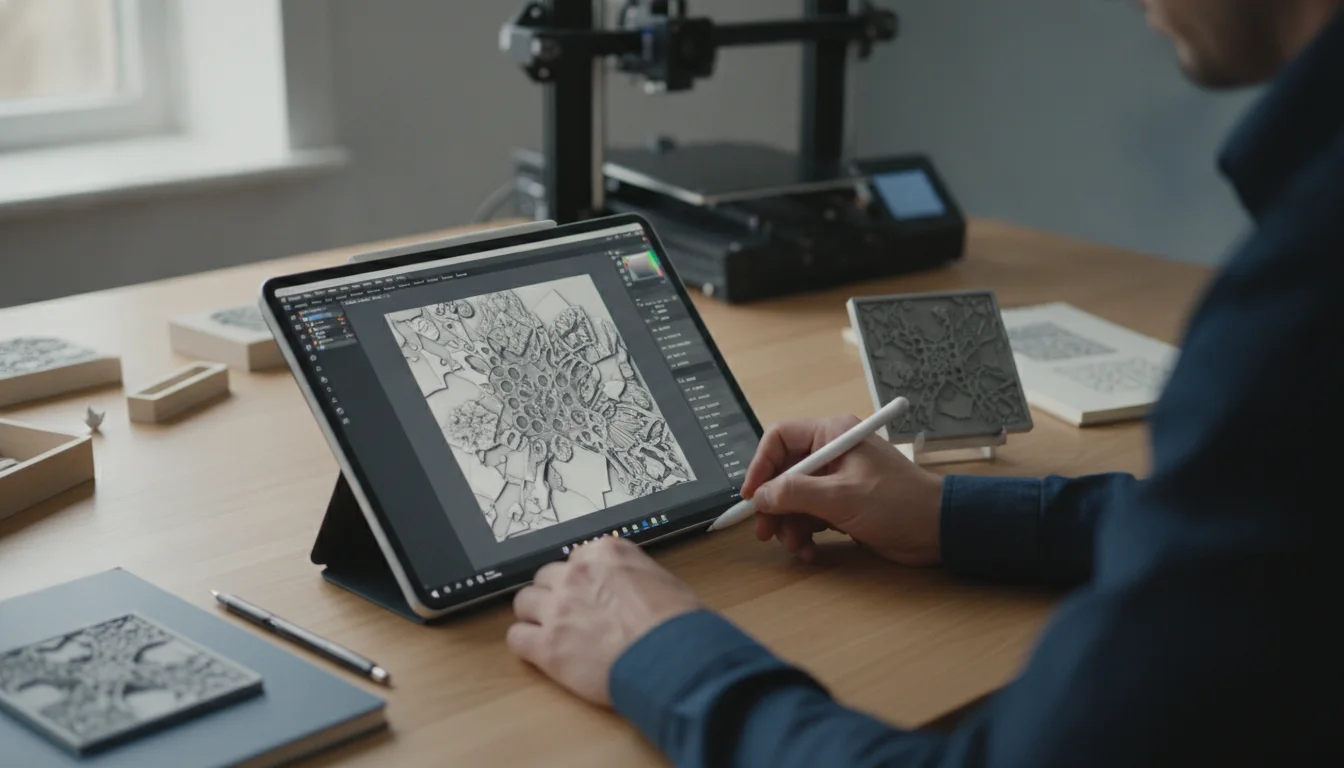
The true power of custom brushes lies in the ability to create your own alpha maps, tailoring them precisely to the needs of your project. There are several effective methods to generate these grayscale masterpieces, each with its own advantages.
Method 1: From existing images (photographic sources)
One of the quickest ways to create alphas is by converting high-quality photographic textures into grayscale maps. This is particularly effective for organic textures like skin, bark, or concrete.
- Source good imagery: Look for images with strong contrast and clear surface information. Avoid photos with harsh shadows or reflections that might distort the height data. Royalty-free texture sites are an excellent resource.
- Process in 2D software (e.g., Photoshop, GIMP):
- Desaturate: Convert the image to grayscale (Image > Adjustments > Desaturate or Black & White).
- Adjust levels/curves: Enhance contrast to clearly define the peaks and valleys. Darken areas you want to push in, lighten areas you want to push out. Use Levels (Ctrl+L) or Curves (Ctrl+M) to refine the range.
- Tileability (if needed): For repeating patterns, use offset filters (Filter > Other > Offset) and clone stamp/healing brush tools to create a seamless texture.
- Blurring (optional): A slight Gaussian blur can smooth out jagged edges, making the sculpted detail appear more natural.
- Save: Save as a 8-bit or 16-bit grayscale image (e.g., PNG, PSD, TIFF). 16-bit offers more fidelity for subtle details.
Method 2: Hand-painting in 2D software
For stylized details, unique patterns, or highly controlled forms, hand-painting your alphas offers maximum artistic freedom.
- Set up your canvas: Create a new square document (e.g., 1024×1024 or 2048×2048 pixels) with a black background.
- Paint with grayscale values: Use white and various shades of gray to paint your desired pattern. Remember, white pushes out, black pushes in, and gray is in-between. Use a soft brush for organic transitions and a hard brush for sharp edges.
- Consider symmetry: If you need a symmetrical alpha, use symmetry tools available in your 2D software.
- Refine and save: Adjust levels/curves as needed, ensure clean edges, and save in a suitable format.
Method 3: Sculpting in 3D and baking
This method allows you to create highly accurate alphas from existing 3D geometry, perfect for complex details like intricate scales, bolts, or fabric folds that are difficult to paint or extract from photos.
- Sculpt the detail: In your 3D sculpting software, create a small, detailed piece of geometry (e.g., a single scale, a rivet, a specific wrinkle pattern). Ensure it’s isolated on a flat plane.
- Position for capture: Orient the sculpted detail so it faces the camera directly.
- Generate the alpha: Most sculpting software offers a way to capture a height map (alpha) from a specific view or selection.
- ZBrush: Use the Alpha palette’s “GrabDoc” or “GrabAlpha” functions from a document view. You might need to adjust the depth range. For a specific mesh, you can use the Masking palette to create a mask from cavity or peaks and convert that to an alpha, or render a depth pass.
- Blender: You can set up an orthographic camera looking down on your detail and render a Z-depth pass, then convert it to an alpha in image editing software. Alternatively, you can bake a displacement map from a high-poly sculpt onto a plane.
- Export and refine: Export the generated alpha as an image. You might need to invert it or adjust its levels in 2D software depending on how your 3D software generates it.
Integrating alpha maps into custom sculpting brushes
A retro-styled turntable and add-on speaker system with concrete and wood enclosure options. Currently running on Kickstarter.
Once you have your alpha maps, the next step is to integrate them into your sculpting software to create powerful custom sculpting brushes. The exact steps vary slightly between applications, but the underlying principles remain consistent.
General principles for custom brushes
- Brush stroke type: This dictates how the alpha is applied. Common types include:
- DragRect: Drags the alpha onto the surface, useful for precise placement of stamps.
- Freehand: Repeats the alpha along a continuous stroke, great for textured lines.
- Spray/Dots: Randomly scatters instances of the alpha, ideal for noisy or organic textures like pores.
- Falloff: Controls how the brush intensity decreases towards its edges. A sharp falloff creates crisp details, while a soft falloff blends them smoothly.
- Intensity/Strength: Determines how much the alpha displaces the mesh.
- Depth/Z-Intensity: Specific to some software, controls the depth range of the alpha application.
- Tileability: For brushes meant to cover large areas seamlessly, ensure your alpha is tileable.
ZBrush custom alphas and brushes
ZBrush is renowned for its robust brush system and extensive customization options, making it a prime tool for leveraging ZBrush custom alphas.
- Importing an alpha:
- Go to the Alpha palette (or Alpha menu at the top).
- Click “Import” and select your grayscale image. It will appear in the Alpha palette.
- Assigning to a brush:
- Select your desired base brush (e.g., Standard, ClayBuildup, DamStandard).
- In the Alpha palette, click on your imported alpha to assign it to the currently selected brush. You’ll see the alpha icon update.
- Customizing brush settings:
- Stroke palette: Experiment with stroke types (DragRect, Freehand, Dots, Spray). DragRect is excellent for stamping, while Freehand with a tiled alpha works well for continuous textures.
- Alpha palette: Adjust “Alpha > Modify > MidValue” (to control the neutral point of displacement) and “Radial Fade” (for circular alphas). “Invert” can flip the displacement direction.
- Brush palette:
- Depth: Adjust “Imbed” (how deep the alpha sits) and “Z Intensity” (overall strength).
- Modifiers: “LazyMouse” (in Stroke palette) helps create smoother, more controlled strokes. “Brush > Auto Masking > BackfaceMask” can prevent sculpting through thin meshes.
- Saving your custom brush: Once satisfied, go to “Brush > Save As” to save your custom brush (ZBP file) for future use. Place it in the ZStartup/BrushPresets folder for auto-loading.
Blender custom brushes and alphas
Blender’s sculpt mode has evolved significantly, offering powerful tools for custom brush creation and the use of alpha maps 3D.
- Importing an alpha as a texture:
- In Sculpt Mode, go to the “Texture” tab in the Properties editor (usually on the right N-panel or in the toolbar settings).
- Click “New” to create a new texture.
- Under “Image” settings, open your grayscale alpha map.
- Assigning to a brush:
- Select your sculpting brush (e.g., Draw, Clay Strips).
- In the “Texture” section of the brush settings, select your newly imported texture from the dropdown.
- Adjust “Texture Mapping” to “Area” for stamping, “Tiled” for repeating patterns, or “View Plane” for projection. “Stencil” is also a powerful option for precise placement.
- Customizing brush settings:
- Strength and Radius: Standard brush controls.
- Stroke Method: Similar to ZBrush, choose between “Space” (freehand), “Anchored” (drag-rect), “Dots”, “Drag Dot”, etc. “Anchored” is great for stamping.
- Curve: In the “Falloff” section, adjust the brush falloff curve to control the profile of the alpha’s displacement.
- Direction: Set to “Add” (push out), “Subtract” (push in), or “Mix” (for specific effects).
- Saving as a custom brush preset: After configuring your brush, click the “+” icon next to the brush selection dropdown and name your new preset. This saves all current settings, including the alpha.
Mudbox and 3D Coat (brief overview)
Other sculpting applications like Mudbox and 3D Coat also provide robust systems for integrating alpha maps into custom brushes, following similar principles:
- Mudbox: Users can import grayscale images into the “Stamps” tray and then assign them to any sculpting brush. Brush properties like strength, falloff, and stroke type are easily adjustable, and custom brushes can be saved as presets.
- 3D Coat: In 3D Coat’s sculpt room, alphas (called “Alphas” or “Stencils”) can be loaded and applied to brushes. The software offers various brush modes and parameters to control how the alpha interacts with the mesh, including depth, intensity, and tiling options.
While the UI and terminology may differ, the core concept of an alpha map guiding a brush’s displacement remains universal across these powerful sculpting environments.
Advanced techniques and best practices
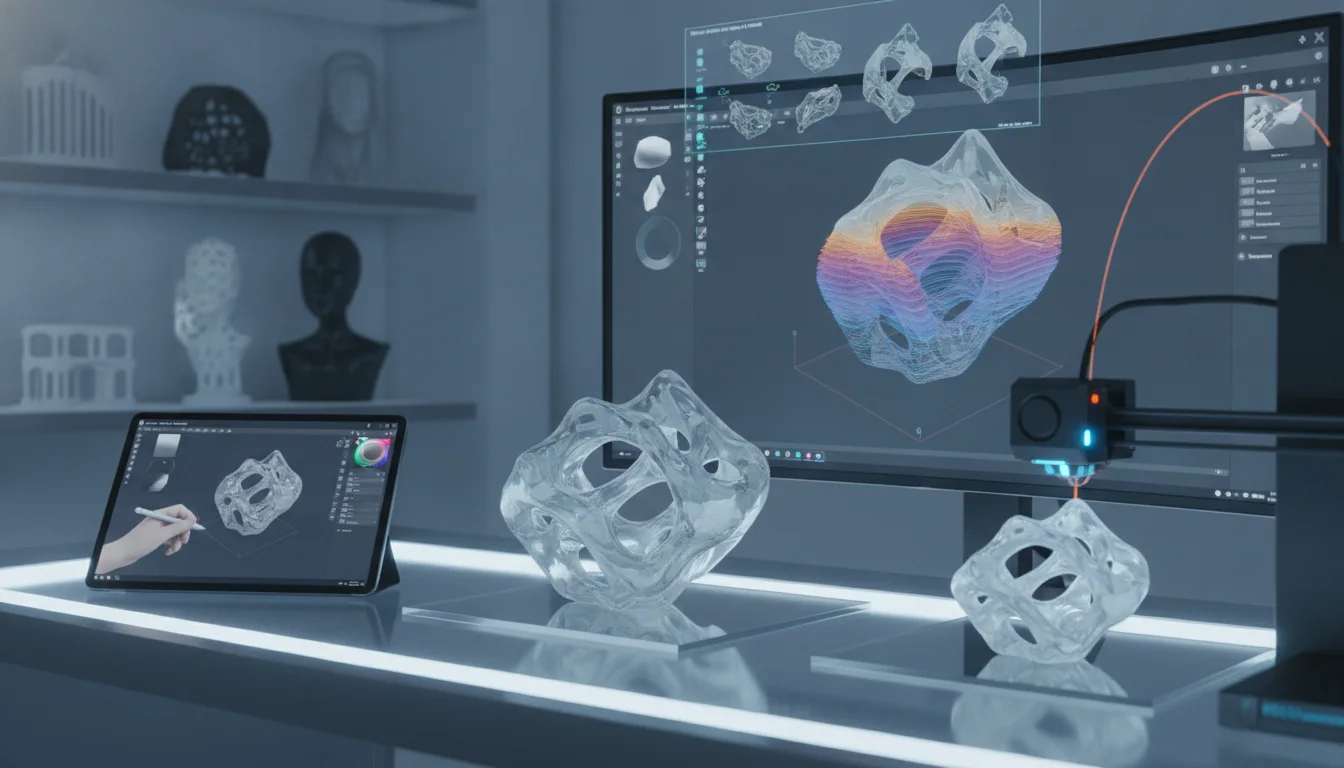
Mastering the basics is just the beginning. Employing advanced techniques with your custom sculpting brushes and alpha maps can lead to truly breathtaking results.
- Layering alphas for complex details: Don’t rely on a single alpha for all details. Combine multiple alphas, each targeting a specific type of detail (e.g., a base alpha for general texture, a finer alpha for pores, and another for wrinkles). Use different brush intensities and falloffs to build up complexity.
- Using stencils and masks for precision: Beyond simple brush strokes, many software packages allow you to use alpha maps as stencils or masks.
- Stencils: Project an alpha onto your model, allowing you to paint or sculpt through it with any brush, offering precise control over placement and deformation.
- Masks: Convert alphas into masks to protect certain areas or isolate others for sculpting, ensuring your detailed work stays confined to specific regions.
- Importance of scale and consistency: Pay close attention to the scale of your alpha details relative to your model. An alpha designed for large rock formations will look out of place on a character’s skin. Maintain consistency in detail density across your model for a believable outcome.
- Optimizing alphas for performance: While 16-bit alphas offer more fidelity, 8-bit alphas are often sufficient for many details and consume less memory. Use higher resolutions (e.g., 2K or 4K) for large, prominent details and lower resolutions for smaller, repetitive textures that don’t require extreme crispness.
- When to use alphas versus direct sculpting: Alphas are excellent for repetitive patterns, fine surface noise, and adding a base layer of texture quickly. However, for primary forms, major anatomical features, or highly unique, non-repeating elements, direct sculpting offers more control and artistic freedom. A balanced approach, combining both techniques, usually yields the best results.
- Experimentation is key: The digital sculpting landscape is vast, and each artist develops their unique workflow. Don’t be afraid to experiment with different alpha types, brush settings, and combinations of techniques. What works for one detail might not work for another, and discovering new applications for your custom tools is part of the creative process.
The journey to mastering custom sculpting brushes and alpha maps 3D is a rewarding one, fundamentally transforming how you approach detailing in 3D. By understanding the underlying principles, diligently creating your own bespoke alphas, and skillfully integrating them into your chosen sculpting software, you gain the ability to infuse your models with an extraordinary level of realism and character. These techniques empower you to craft truly unique surface details, pushing the boundaries of your artistic expression and setting your 3D creations apart. Embrace the power of customization, and watch your digital sculptures come alive with unprecedented texture and depth.
Frequently asked questions
What resolution should I use for my alpha maps?
Use higher resolutions (e.g., 2048×2048 or 4096×4096) for large, prominent details that need crispness, and lower resolutions (e.g., 512×512 or 1024×1024) for small, repetitive textures where extreme sharpness is not required. 8-bit grayscale is sufficient for most details, while 16-bit offers more fidelity for subtle transitions at the cost of larger file sizes.
Can I use the same alpha map for both stamping and continuous strokes?
Yes, the same alpha map can be used with different brush stroke types to achieve varied results. For example, use DragRect (or Anchored in Blender) to stamp the alpha precisely in one spot, then switch to Freehand or Space stroke to drag it along a path for continuous textured lines. The alpha itself does not change, only how your software applies it.
Why does my alpha map look inverted or push in when I want it to push out?
This happens when the grayscale values are opposite to what your software expects. White typically pushes the mesh out and black pushes it in. To fix this, either invert the alpha in your 2D software (e.g., Photoshop: Image > Adjustments > Invert) or use the “Invert” option in your sculpting software’s Alpha or Texture settings (found in ZBrush’s Alpha palette or Blender’s Texture panel) to flip the displacement direction without modifying the original file.