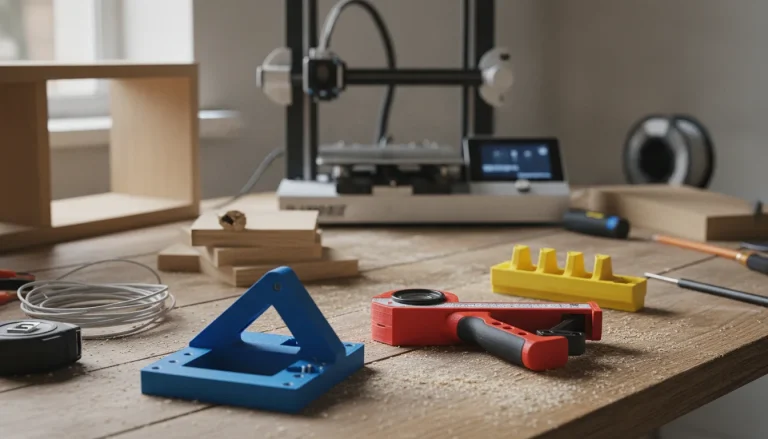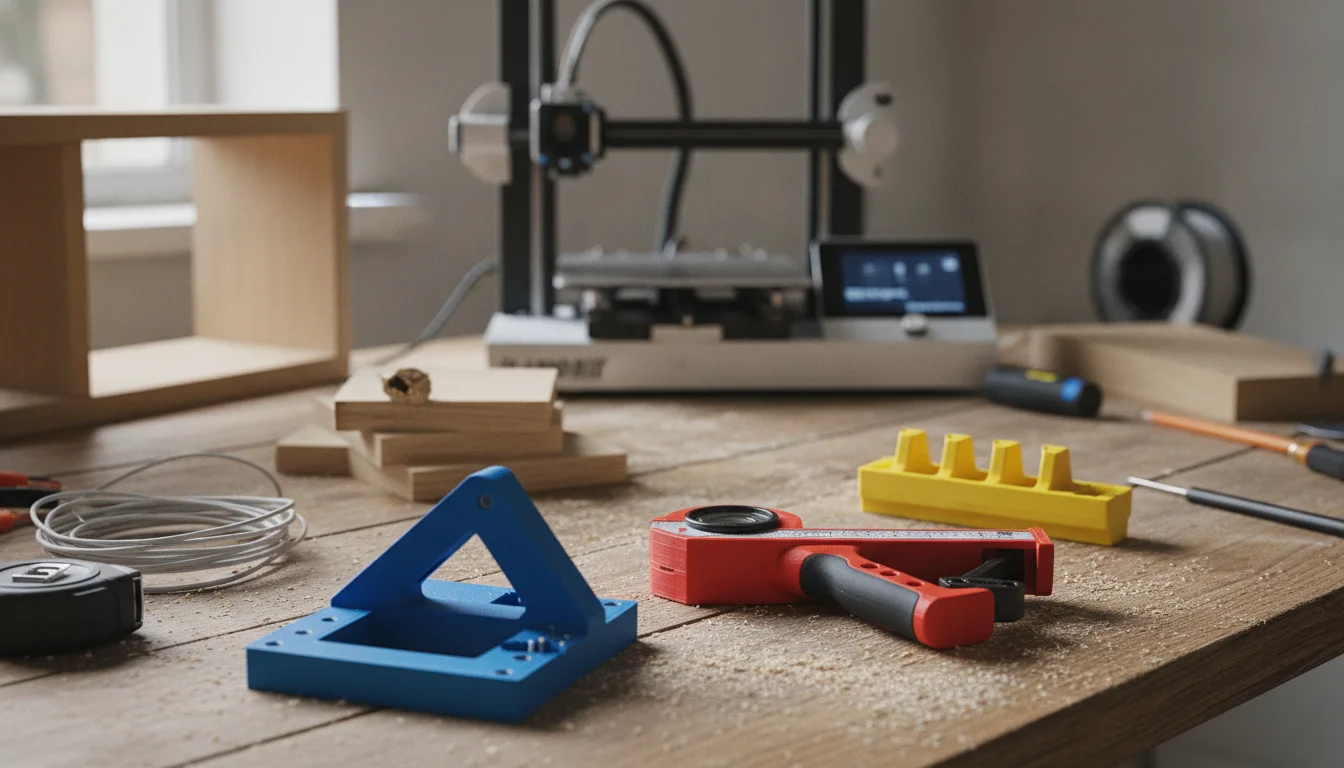
In the world of home improvement and DIY projects, precision and efficiency are key. While a standard toolbox offers a good start, true project mastery often comes from having the exact right tool – a tool that might not exist commercially. This is where 3D printing revolutionizes the approach, enabling the creation of bespoke 3D print tools and custom fixtures. From intricate drilling guides to specialized assembly aids, 3D printed jigs are quickly becoming indispensable for hobbyists and seasoned DIYers, promising to streamline workflows and elevate project quality.
The undeniable advantage of custom 3D printed jigs
For anyone tackling home improvement, the ability to create precise, project-specific tools on demand is transformative. Traditional methods often involve expensive specialized tools used only once, or improvised solutions compromising accuracy. 3D printing bypasses these issues by enabling rapid fabrication of DIY jigs tailored exactly to your needs. This customization not only saves time and reduces frustration but also significantly enhances work safety and quality.
- Unmatched Customization: Design tools to fit unique dimensions, angles, or specific material requirements, rarely found in commercial options.
- Cost-Effectiveness: Produce specialized tools at a fraction of the cost of manufactured counterparts, ideal for one-off or niche applications.
- Rapid Iteration: Quickly design, print, test, and refine a tool for continuous improvement and perfect fitment.
- Enhanced Precision: Achieve professional-grade accuracy in tasks like drilling, cutting, and assembly, leading to superior project outcomes.
Exploring common 3D printed workshop aids for home improvement
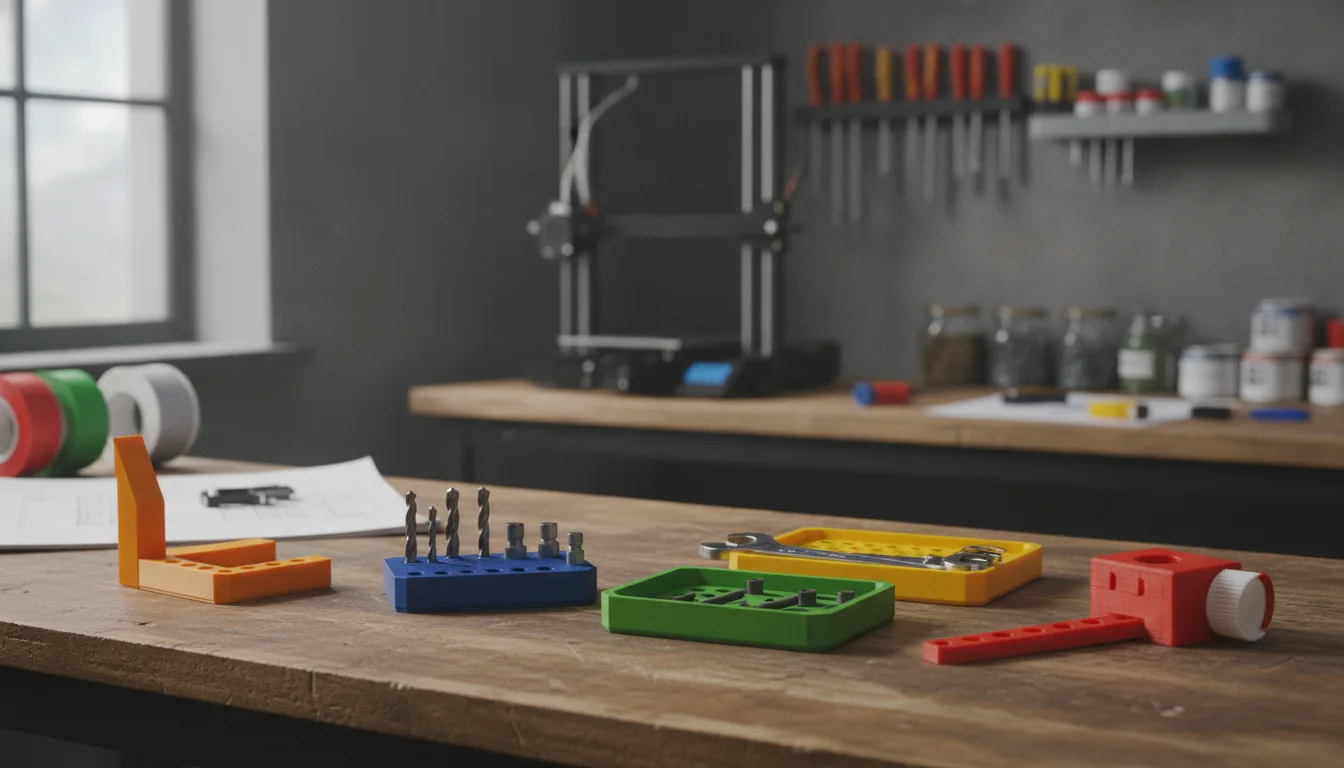
The versatility of 3D printing means endless possibilities for helpful workshop aids. These custom solutions address myriad challenges in various home improvement projects. Let’s explore popular and impactful applications.
Precision drilling and cutting guides
Achieving perfectly straight holes or accurate cuts can be challenging. 3D printed guides eliminate guesswork and greatly improve consistency.
- Drill Guides: Custom-sized guides ensure holes are drilled at exact locations and angles, preventing wandering bits and splintering. Useful for shelf pin holes, dowel holes, or precise pilot holes.
- Saw Guides: For circular saws, jigsaws, or hand saws, 3D printed guides snap onto your workpiece or tool for perfectly straight or angled cuts. Ideal for repetitive cuts in cabinetry or flooring.
- Router Templates: Create intricate patterns, dadoes, or mortises easily by designing custom templates for your router, opening possibilities for custom joinery and decorative elements.
Assembly and alignment tools
Accurate assembly is critical for structural integrity and aesthetics. 3D printed tools simplify complex constructions.
- Clamping Jaws and Pads: Protect delicate workpieces and distribute clamping pressure evenly with custom-fit jaws for vices or clamps.
- Alignment Fixtures: Ensure components are perfectly square or aligned during gluing or fastening. Invaluable for box construction, drawer slides, or door frame installations.
- Spacers and Shims: Print precise spacers to maintain consistent gaps in tiling, decking, or paneling, ensuring a professional finish.
Measurement, marking, and organization tools
Beyond fabrication aids, 3D printing excels at specialized measurement, marking, and workspace tidiness tools.
- Custom Measuring Gauges: Design gauges for repetitive measurements, such as setting blade heights, fence distances, or checking specific dimensions standard rulers can’t easily handle.
- Marking Templates: Quickly transfer complex patterns or hole layouts onto your material without error.
- Tool Organizers and Holders: Create bespoke holders for specific tools, drill bits, or fasteners, ensuring everything is accessible. This significantly contributes to an organized and efficient `workshop aids` setup.
Unpacking the cost structure of 3D print tools and custom fixtures
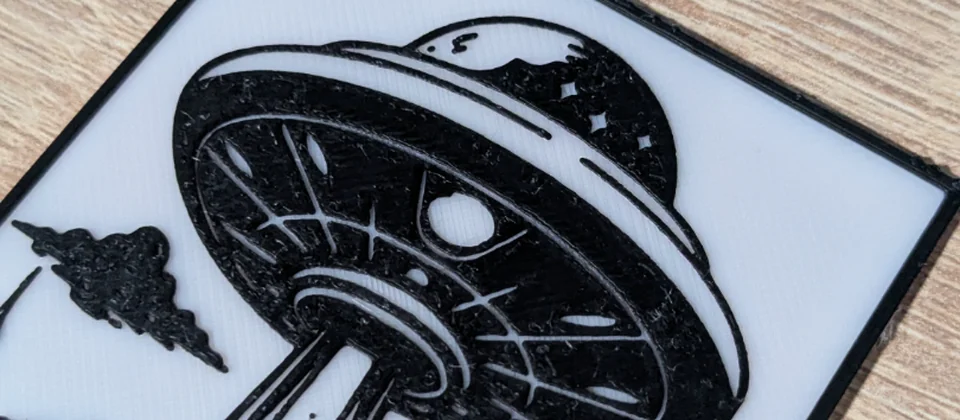
Every model we design and test gets uploaded as a free STL – browse the full profile on MakerWorld.
When considering 3D printing for custom fixtures and tools, understanding the associated costs is crucial. It’s not just the printer’s price; it involves a broader spectrum of upfront and ongoing expenditures. This objective analysis helps you determine if 3D printing aligns with your budget and project needs.
Initial investment: The 3D printer and essential accessories
The primary upfront cost is the 3D printer. Fused Deposition Modeling (FDM) printers are ideal for jigs and tools due to their robustness and material versatility.
- Entry-Level FDM Printers (e.g., Ender 3 V2, Anycubic Kobra Go): Typically $200-$400. Excellent starting points, offering decent print quality and reliability for most DIY applications. May require more manual calibration and slower print speeds.
- Mid-Range FDM Printers (e.g., Prusa Mini+, Bambu Lab A1 Mini): Priced $400-$800. Often include features like automatic bed leveling, faster speeds, better build quality, and user-friendly interfaces, reducing the learning curve.
- Higher-End Prosumer FDM Printers (e.g., Prusa MK4, Bambu Lab P1S): Costing $800-$1500+. Offer industrial-level features, multi-material capabilities, extremely high speeds, and superior reliability for frequent, demanding use.
Essential accessories to consider:
- Filament: One or two rolls of basic PLA or PETG to start (approx. $20-$30 per kg).
- Basic Tool Kit: Spatula, pliers, flush cutters (often included or minimal cost).
- Adhesion Aids: Glue sticks, hairspray, or special build plate coatings (minimal cost).
Ongoing material costs: Filament selection and usage
Filament is a recurring expense, but for individual jigs, material usage is often low. Most `DIY jigs` are relatively small, consuming tens or hundreds of grams of filament.
- PLA (Polylactic Acid): Common, easy to print, suitable for many jigs not needing high heat or extreme strength. Costs typically $20-$25 per kg.
- PETG (Polyethylene Terephthalate Glycol): Stronger, more temperature resistant, and durable than PLA, good for demanding tools. Costs around $25-$35 per kg.
- ABS (Acrylonitrile Butadiene Styrene): Stronger and more heat resistant than PETG, but harder to print (requires enclosure). Best for highly stressed parts. Costs around $25-$35 per kg.
- Specialty Filaments: Carbon fiber reinforced, nylon, or PC offer superior mechanical properties but cost more ($40-$80+ per kg) and may require specialized hardware.
A typical jig might consume 50-150 grams of filament, costing $1-$5 per tool – often significantly less than a specialized commercial alternative.
Design and intellectual property costs
This varies based on your approach:
- Free Online Repositories: Platforms like Thingiverse, Printables, and MyMiniFactory host millions of free designs, many being `3D print tools` or `workshop aids`, eliminating design costs.
- Paid Model Marketplaces: Some designers sell optimized jig designs for a few dollars, offering convenience and professional quality.
- CAD Software:
- Free/Freemium Options: Tinkercad (browser-based, beginner-friendly), Fusion 360 (free for hobbyists/startups), FreeCAD (open-source). Design from scratch without software cost.
- Paid Professional Software: SolidWorks, AutoCAD, etc. (hundreds to thousands annually). Overkill for DIY jigs but offer advanced features.
- Learning Curve: Time invested in learning CAD is a “cost,” but it empowers limitless customization.
Operational and maintenance costs
Generally minor but worth acknowledging:
- Electricity: 3D printers consume relatively little power (50-200W). Cost per print is usually negligible.
- Wear and Tear Parts: Nozzles (a few dollars, replaced periodically), PTFE tubes, occasional belts or bearings. Infrequent and inexpensive.
- Software Updates: Slicer software (e.g., PrusaSlicer, Cura) is typically free and regularly updated.
Comparison with commercial alternatives
3D printing’s cost-effectiveness shines against purchasing specialized tools or custom fixtures. For unique, project-specific needs, commercial solutions might not exist or be prohibitively expensive due to low production volumes. For example, a custom router jig might cost $50-$100+ commercially, while the material cost to 3D print it could be under $5, plus the initial printer investment. The decision often hinges on usage frequency, commercial availability, and specific customization needed. For repetitive, standard tasks, buying a commercial tool might initially be more efficient, but for bespoke or evolving needs, 3D printing offers unparalleled value over time.
Key features and capabilities of 3D printed tools
Beyond cost, the inherent features of 3D printed tools make them compelling for modern DIY and `home improvement` projects, directly enhancing outcomes and the crafting experience.
Precision and repeatability
A standout feature of 3D printed `DIY jigs` is their consistent precision. Once a design is perfected, it can be replicated endlessly with exact dimensions. This ensures every cut, hole, and assembly step is highly accurate, reducing errors and material waste. For tasks requiring tight tolerances, this is invaluable.
Unparalleled customization and adaptability
Unlike off-the-shelf tools, 3D printed `custom fixtures` can be perfectly tailored to unique project requirements. Need a guide for an odd-sized wood piece? A bracket for a specific component? A spacer with non-standard dimensions? 3D printing creates these bespoke solutions. This adaptability means you’re never limited by commercial availability, empowering innovative project approaches.
Rapid prototyping and iteration
The ability to quickly design, print, and test a tool is a significant advantage. If a jig needs modification, you can easily tweak the CAD design and print an improved version within hours. This rapid iteration allows continuous refinement, ensuring your 3D print tools are perfectly optimized before final use.
Versatility in material properties
While PLA is common, 3D printing filaments offer diverse properties:
- Strength and Durability: Filaments like PETG, ABS, and nylon provide excellent mechanical strength and impact resistance, suitable for `workshop aids` enduring stress or repeated use.
- Heat Resistance: For tools near heat (e.g., soldering irons), PETG or ABS offer better heat deflection than PLA.
- Flexibility: TPU can print flexible parts, like non-marring clamp inserts or vibration dampeners.
- Chemical Resistance: Certain filaments offer better resistance to chemicals, relevant for specific workshop environments.
Choosing the right filament optimizes performance and longevity, ensuring tools withstand various DIY tasks.
Getting started with 3D printing for your DIY projects
Creating your own 3D print tools is exciting. While it may seem daunting, the learning curve for basic jig creation is gentle, especially with abundant online resources.
Choosing your first 3D printer
Entry-level FDM printers offer a great balance of price and capability for most DIYers. Look for models with active user communities, readily available spare parts, and good reviews for ease of use and reliability. A larger build volume is beneficial for bigger jigs or multiple smaller ones.
Learning basic CAD software
You don’t need to be an engineer to design simple `DIY jigs`. Tinkercad is intuitive and browser-based, perfect for beginners to grasp fundamental 3D modeling. For advanced designs, Fusion 360 offers powerful features and is free for personal use, with countless online tutorials.
Finding existing designs
Before designing from scratch, check online repositories. A quick search for “drill guide,” “saw jig,” or “custom fixture” on sites like Printables.com or Thingiverse.com will likely yield useful designs you can download and print immediately, or modify.
Safety considerations
While 3D printed tools are generally safe, always exercise caution. Ensure designs are robust for their purpose and print with appropriate infill and wall thickness. Never use a 3D printed tool in a way that compromises safety, especially with power tools. Always wear appropriate personal protective equipment (PPE).
Accessible 3D printing has democratized tool creation, putting customization directly into the hands of the `home improvement` enthusiast. By understanding cost structures, appreciating unparalleled features, and embracing the learning process, you can transform your workshop into an innovation hub. Whether enhancing precision, saving money on specialized tools, or enjoying crafting your own solutions, 3D printed workshop aids and custom fixtures are poised to become an essential part of your DIY arsenal, making every project smoother, more accurate, and ultimately, more rewarding.
Frequently asked questions
What infill percentage should I use for a 3D printed drill guide or saw jig?
For jigs that will see moderate stress, such as a drill guide or saw guide, use at least 30-50% infill with a grid, gyroid, or honeycomb pattern. For light-duty marking templates or spacers, 15-20% infill is usually sufficient. The article notes that you must ensure designs are robust for their purpose and print with appropriate infill and wall thickness, especially when used with power tools.
Can I use a 3D printed jig with a power tool like a circular saw or router?
Yes, but you must choose the right filament and design. PETG or ABS is recommended over PLA because they offer better strength and heat resistance if the tool generates friction heat. The article emphasizes that you should never use a 3D printed tool in a way that compromises safety, always wear appropriate PPE, and ensure the jig is designed with sufficient wall thickness and infill for the forces involved.
How much does it actually cost to print a typical jig at home?
A typical jig consumes 50–150 grams of filament, costing roughly $1–$5 per tool when using PLA or PETG. The article notes that this is often significantly less than a specialized commercial alternative, though you must also factor in the initial printer investment ($200–$1500+) and minor ongoing costs for electricity and occasional nozzle replacements.