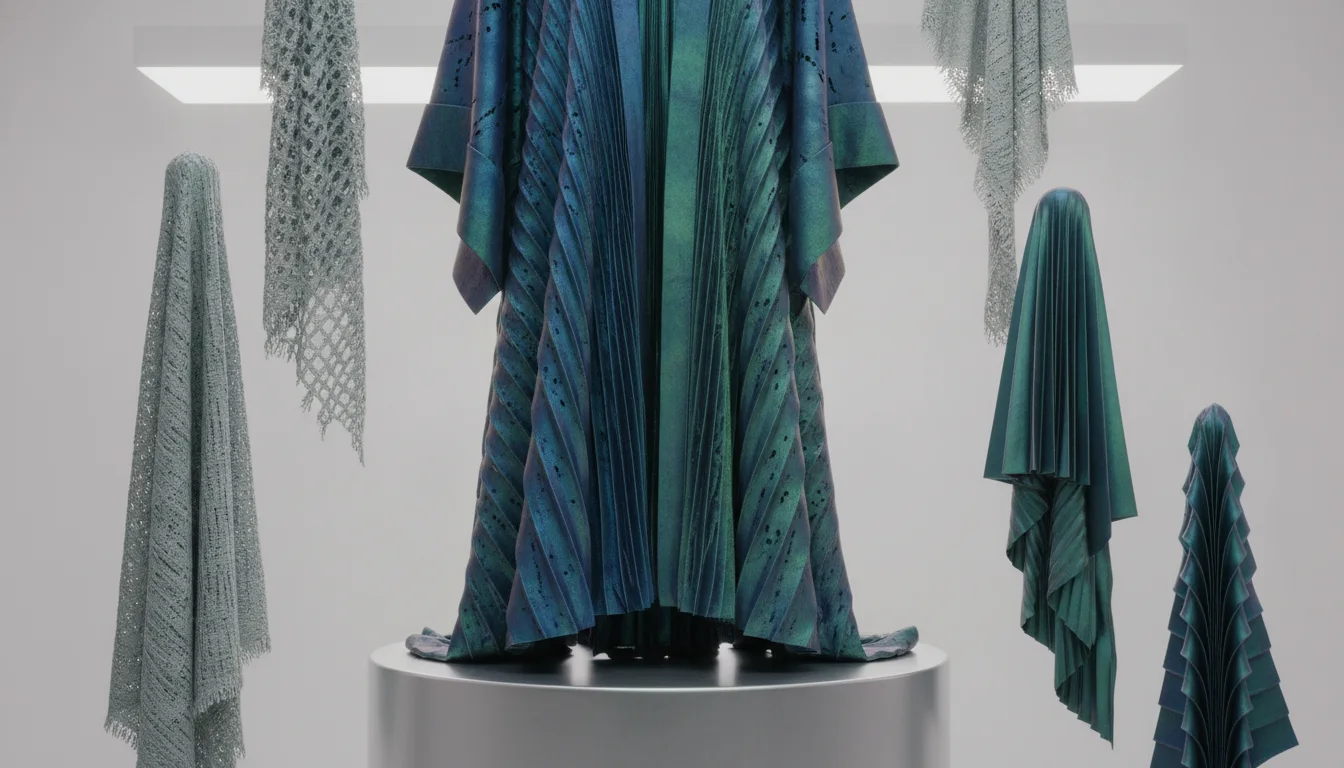
In the realm of 3D modeling, bringing characters and environments to life often hinges on the smallest details. Among these, the realistic depiction of fabric — its folds, drapes, and textures — stands as a paramount challenge and a crucial differentiator for high-fidelity work. Moving beyond mere form, mastering the art of sculpting intricate fabric folds and cloth textures is what truly imbues garments with a sense of weight, movement, and believability. It’s about understanding the physics, observing the subtle nuances, and translating that into digital artistry.
The foundational principles of fabric behavior

A retro-styled turntable and add-on speaker system with concrete and wood enclosure options. Currently running on Kickstarter.
Before diving into the digital clay, a solid grasp of how fabric behaves in the real world is indispensable. Fabric is not a static object; it’s a dynamic material constantly interacting with gravity, tension, compression, and its environment. Understanding these forces will profoundly influence the realism of your sculpted drapery.
- Gravity: The most obvious force, pulling fabric downwards, creating natural drapes and folds. The weight of the fabric dictates how pronounced these gravitational effects are.
- Tension: Occurs when fabric is stretched or pulled taut, often resulting in sharp, linear folds or creases radiating from the point of tension.
- Compression: Happens when fabric is pushed together, causing it to bunch, gather, or create complex, overlapping folds.
- Material Properties: Different fabrics (e.g., silk, denim, wool) react uniquely due to their inherent stiffness, thickness, and weave. A heavy wool will create broader, softer folds, while a crisp linen might produce sharper, more angular ones.
- Form underneath: The underlying body or object significantly influences how fabric drapes and folds around it. Understanding anatomy or object contours is vital.
Deconstructing common fabric fold archetypes
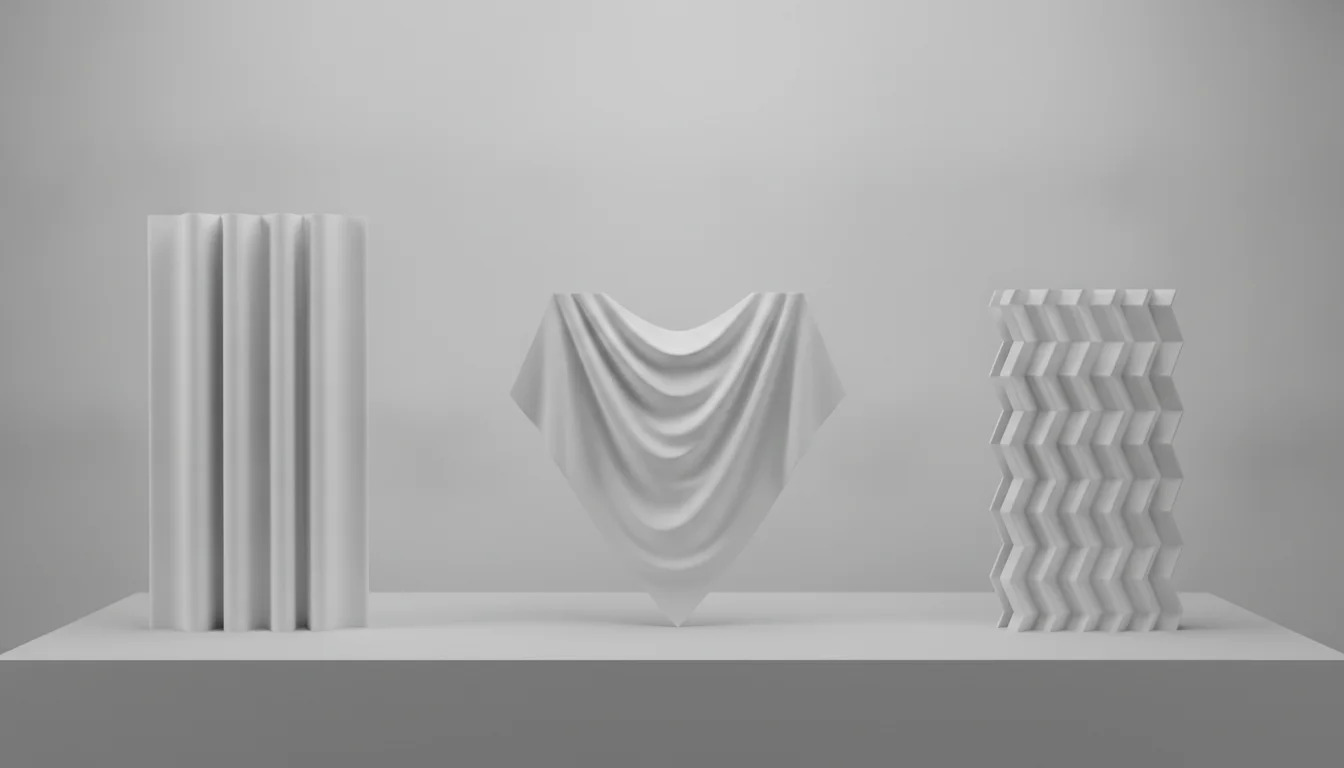
While every fold is unique, they can generally be categorized into a few archetypes. Recognizing these patterns will give you a vocabulary for sculpting.
- Pipe Folds: Cylindrical folds, often seen in sleeves, hanging skirts, or curtains. They tend to be long, parallel, and relatively smooth.
- Zigzag Folds: Characterized by sharp, angular, often symmetrical patterns, frequently found at elbows, knees, or when fabric is compressed against a surface.
- Spiral Folds: Occur when fabric twists around a form, like a sleeve twisting around an arm, creating a helical pattern.
- Drape Folds: Broad, flowing folds that result from fabric hanging loosely under gravity, often seen in cloaks, dresses, or tablecloths.
- Tension Folds (or "Diaper" Folds): Radiating lines of tension from a point where fabric is pulled taut, often forming a star-like pattern.
- Compression Folds: Irregular, often chaotic folds that form when fabric is bunched up or squeezed into a confined space.
Sculpting workflows: Comparing approaches for realistic drapery
Achieving realistic fabric folds in 3D can be approached through various methodologies, each with its own set of advantages and considerations regarding artistic control, efficiency, and the tools involved. Understanding these different "solutions" allows artists to choose the most suitable workflow for their specific project and skill set.
1. Pure manual sculpting
This traditional approach involves meticulously sculpting every fold and wrinkle directly using a 3D sculpting application like ZBrush, Blender’s Sculpt Mode, or Mudbox. It relies heavily on the artist’s understanding of fabric physics and keen observation skills.
- Features: Offers unparalleled artistic control over every aspect of the drapery. Artists can achieve highly stylized, expressive, or very specific fold patterns that might be difficult to replicate with simulations. It fosters a deep understanding of form and volume.
- Considerations: This workflow is often the most time-consuming, especially for complex garments or large amounts of fabric. It demands a significant investment in skill development, requiring extensive practice and a strong eye for detail to achieve realism. The "cost" here is primarily in terms of time and the steep learning curve required to master the nuances of fabric behavior and brush control.
- Typical Tools: Standard sculpting brushes (e.g., Clay Build-up, Standard, Move, Crease, Inflate, Smooth, Pinch) combined with alpha masks and custom brushes.
2. Simulation-assisted workflow
This method leverages dedicated cloth simulation software to generate a realistic base for fabric folds, which is then refined in a sculpting application. Programs like Marvelous Designer, CLO3D, or Blender’s built-in cloth simulation are prominent examples.
- Features: Quickly generates highly realistic primary and secondary folds based on physical properties of the fabric and the virtual environment. It’s incredibly efficient for complex garments, layered clothing, and capturing naturalistic drapes. The "feature" is speed and physical accuracy for initial forms.
- Considerations: This approach often involves an initial investment in specialized software (e.g., Marvelous Designer has a subscription model, while Blender is free but may require more setup for complex garment construction). There’s also a learning curve associated with pattern making, garment construction, and simulation parameters. The simulated mesh often requires significant cleanup, retopology, and UV mapping before it’s ready for detailing in a sculpting program. While realistic, it might sometimes lack the specific artistic direction or exaggeration desired for certain styles without manual intervention.
- Typical Workflow: Design garment patterns and simulate in Marvelous Designer, export as an OBJ/FBX, then import into ZBrush/Blender Sculpt for refinement.
3. Hybrid approach
The hybrid workflow combines the strengths of both manual sculpting and simulation. It’s often considered the most robust and efficient method for high-end realistic garment creation.
- Features: This approach offers the best of both worlds. Simulation provides a physically accurate foundation for major folds and drapes, saving immense time on the initial blocking. Manual sculpting then allows for fine-tuning, adding tertiary wrinkles, micro-details, imperfections, and injecting artistic intent that might be difficult to achieve purely through simulation. This method maximizes both efficiency and artistic control.
- Considerations: Requires proficiency in both cloth simulation software and traditional sculpting applications. The "cost" here is in developing a diverse skill set across different tools and understanding how to seamlessly integrate them into a cohesive pipeline.
- Typical Workflow: Simulate base garment in Marvelous Designer, import into ZBrush, clean up topology, then manually sculpt tertiary folds, surface details, and artistic adjustments.
Achieving realistic cloth textures and micro-details
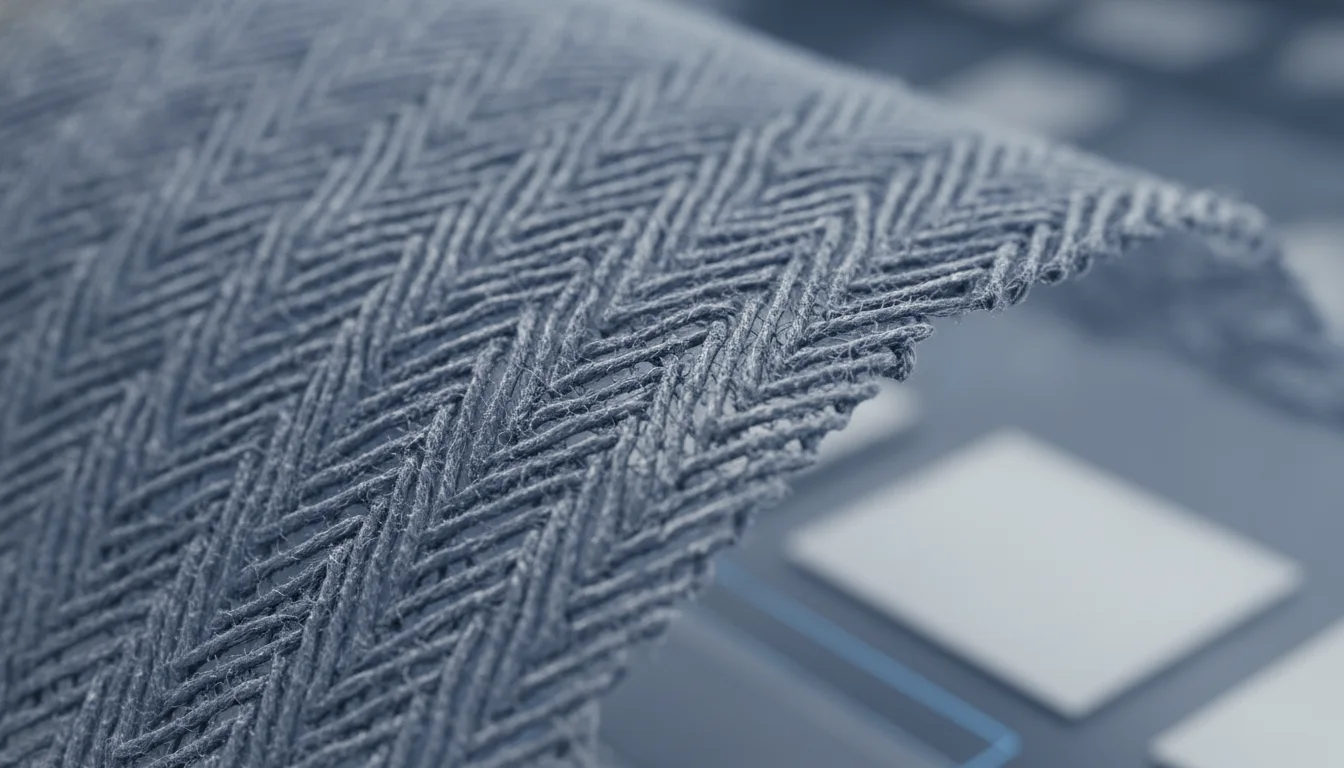 Achieving realistic cloth textures and micro-details” style=”width:100%;height:auto;aspect-ratio:16/9;”/>
Beyond the major folds, it’s the subtle surface details that truly sell the illusion of real fabric.
- Surface Imperfections: Real fabric is rarely perfectly smooth. Add subtle wrinkles, creases, stretched areas, and even slight tears or fraying at edges to enhance realism.
- Material Specifics: Different fabrics have distinct micro-textures. Silk is smooth and reflective, denim has a coarse weave, wool can be fuzzy, and leather has unique crease patterns. Use specific alpha maps and brushes to mimic these characteristics.
- Alphas and Stencils: Leverage high-resolution alpha maps of fabric weaves, threads, and subtle noise patterns. These can be used with various sculpting brushes to stamp or subtly build up surface texture across the garment.
- Fiber and Thread Detail: For extreme close-ups, adding hints of individual fibers or thread patterns can push realism further, often achieved through fine sculpting brushes or procedural noise.
Key techniques for sculpting mastery
Every model we design and test gets uploaded as a free STL – browse the full profile on MakerWorld.
- Start Big, Go Small: Always begin by blocking out the primary forms and large folds. Once these are established, move on to secondary folds, and finally, add tertiary details like wrinkles and surface textures.
- Layering: Think of folds as overlapping layers of fabric. Build them up gradually rather than trying to draw a fold in one stroke.
- Edge Definition: The sharpness or softness of a fold’s edge communicates a lot about the fabric’s stiffness. Use crease brushes for sharp edges and smooth brushes for softer transitions.
- Negative Space: Pay attention to the areas between the folds. These negative spaces are just as important in defining the overall form and flow of the drapery.
- Observe and Reference: Constantly study real-world clothing, photographs, and classical sculptures. Analyze how different fabrics behave on various forms and under different conditions. Build a strong reference library.
- Use Appropriate Brushes: Familiarize yourself with your sculpting software’s brush library. Brushes like Clay Build-up for volume, Standard for definition, Move for overall shape adjustment, Crease for sharp lines, and Inflate for puffiness are invaluable.
Sculpting realistic fabric folds and cloth textures is a journey that marries technical proficiency with artistic vision. Whether you opt for the pure artistic freedom of manual sculpting, the efficiency of simulation, or a powerful hybrid approach, the goal remains the same: to breathe life into your digital garments. By understanding the underlying physics, mastering various sculpting techniques, and continually honing your observational skills, you can transcend mere form and create truly captivating and believable 3D clothing.
Frequently asked questions
Can I use this workflow on a low-poly game model, or is it only for high-poly sculpts?
The fold sculpting techniques described are primarily for high-poly sculpts used as a normal map source. For a real-time game model, you would bake the high-poly detail (including the folds and micro-textures) onto a low-poly retopologized mesh, preserving visual fidelity without the polygon cost.
What is the most common mistake beginners make when sculpting fabric folds?
The most common mistake is skipping the initial “start big” phase and immediately carving small wrinkles. As the article emphasizes, you must block out primary forms and large folds first, then secondary folds, and only add tertiary wrinkles last, or the underlying structure will look flat and unrealistic.
Do I need to buy Marvelous Designer to get good results, or can I do everything in Blender?
No, you do not need Marvelous Designer. The article presents three valid workflows: pure manual sculpting, simulation-assisted (which can use free Blender cloth simulation), and a hybrid approach. Each has different cost and learning-curve trade-offs, so you can achieve excellent results entirely within free software like Blender by using its built-in cloth simulation and sculpt mode.