In the intricate world of Fused Deposition Modeling (FDM) 3D printing, achieving pristine print quality often hinges on a seemingly simple yet profoundly critical factor: part cooling. While often overlooked by beginners, mastering part cooling is an indispensable skill for anyone aiming to produce models with exceptional detail, especially when tackling challenging geometries like bridges and overhangs. It’s a delicate balancing act, a true conundrum where too much or too little airflow can spell the difference between a flawless masterpiece and a frustrating failure.
This guide delves deep into the nuances of 3D printing cooling, exploring its underlying principles, optimizing cooling fan settings, and implementing advanced strategies to ensure your prints emerge with unparalleled bridge quality and robust overhang stability. We’ll dissect the mechanics, demystify the settings, and empower you to take full control of your printer’s thermal environment.
The fundamental science behind effective part cooling
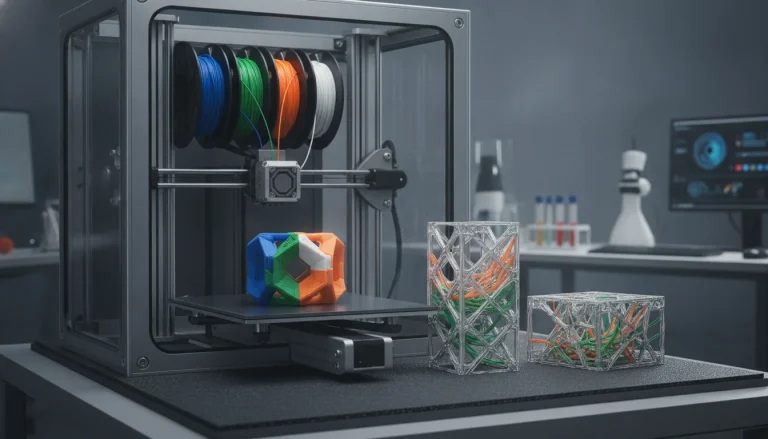
The consumer toolchanger 3D printer: the SnapSwap 4-toolhead system swaps heads in 5 seconds for true multi-color and multi-material printing, with smart calibration and auto filament loading.
- 4 toolheads · 5 s swap
- Up to 500 mm/s · 20,000 mm/s²
- 270 mm cube build volume
- Multi-color & multi-material

At its core, part cooling in 3D printing is about controlling the solidification process of molten thermoplastic as it’s extruded onto the print bed or previous layers. When the hot filament exits the nozzle, it needs to cool rapidly enough to solidify and hold its shape before the next layer is deposited. Without adequate cooling, the plastic remains molten or semi-molten for too long, leading to a host of problems:
- Deformation: Gravity can cause unsupported sections (overhangs, bridges) to sag or curl.
- Layer Adhesion Issues: While some heat is necessary for layers to fuse, excessive residual heat can prevent proper bonding, leading to weak parts.
- Blobs and Stringing: Insufficient cooling allows molten plastic to ooze or string between features.
- Loss of Detail: Fine features can melt or distort if the surrounding plastic doesn’t cool quickly enough.
The goal is to provide a controlled, consistent airflow that accelerates heat dissipation without causing thermal shock or excessive contraction, which can lead to warping or cracking in certain materials. It’s a precise dance between temperature and time.
Understanding your printer’s cooling hardware
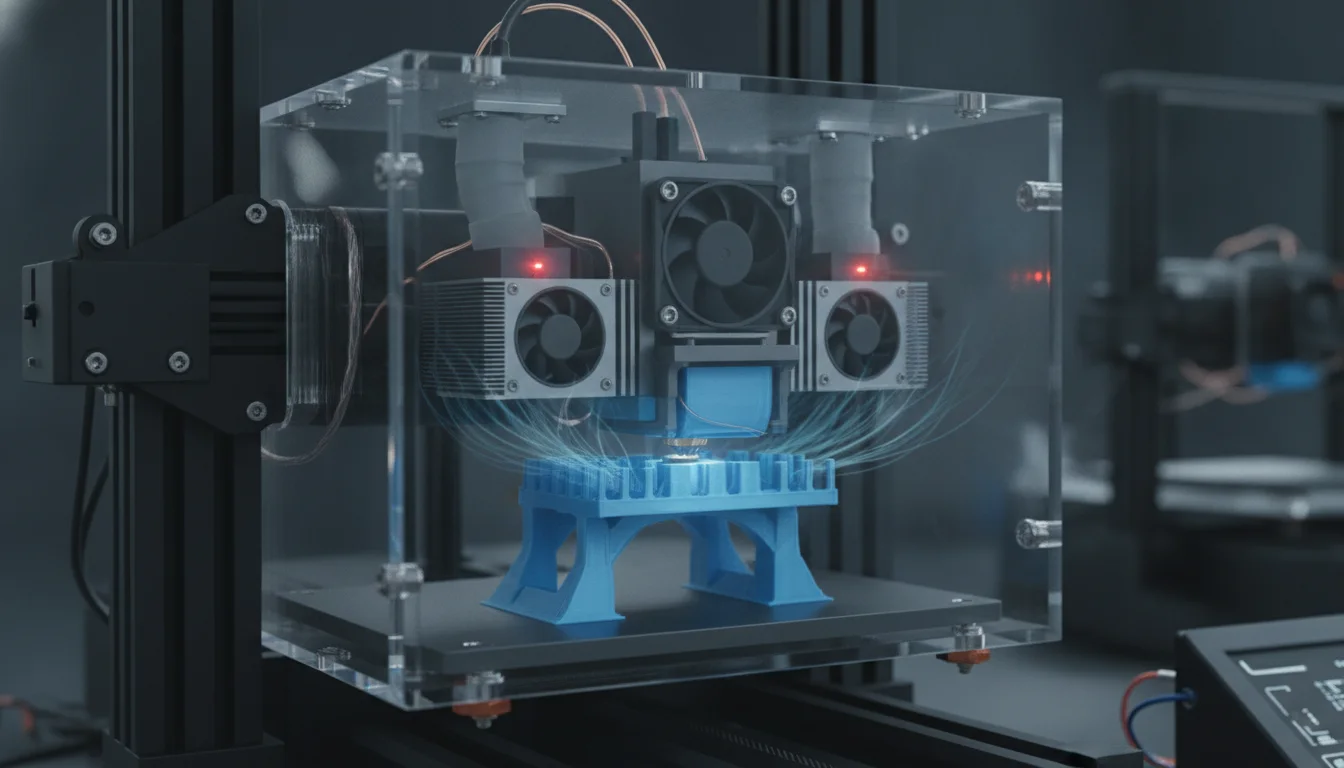
Before diving into software settings, it’s crucial to understand the hardware responsible for part cooling. Most FDM printers employ a fan and a duct system directed at the print nozzle area.
Types of cooling fans
-
Axial Fans: These are the typical computer case fans, moving air parallel to the fan’s axis. They are generally quieter and move a large volume of air, but at lower static pressure. While often used for hotend cooling, they are less common for direct part cooling due to their less focused airflow.
-
Radial Fans (Blower Fans): These are the workhorses of 3D printing cooling. They draw air in from the side and expel it at a 90-degree angle, generating higher static pressure. This allows them to force air through restrictive ducts and deliver a more focused, powerful jet of air directly to the print area. Their compact size and directional airflow make them ideal for precise part cooling.
The critical role of fan ducts
A powerful fan is only as effective as its duct. The duct’s design dictates how efficiently and precisely the airflow is delivered to the freshly extruded plastic. Common duct designs include:
-
Single-Sided Ducts: Airflow comes from one side of the nozzle. While simple, this can lead to uneven cooling, with one side of the print cooling faster than the other, potentially causing warping or inconsistent overhang quality.
-
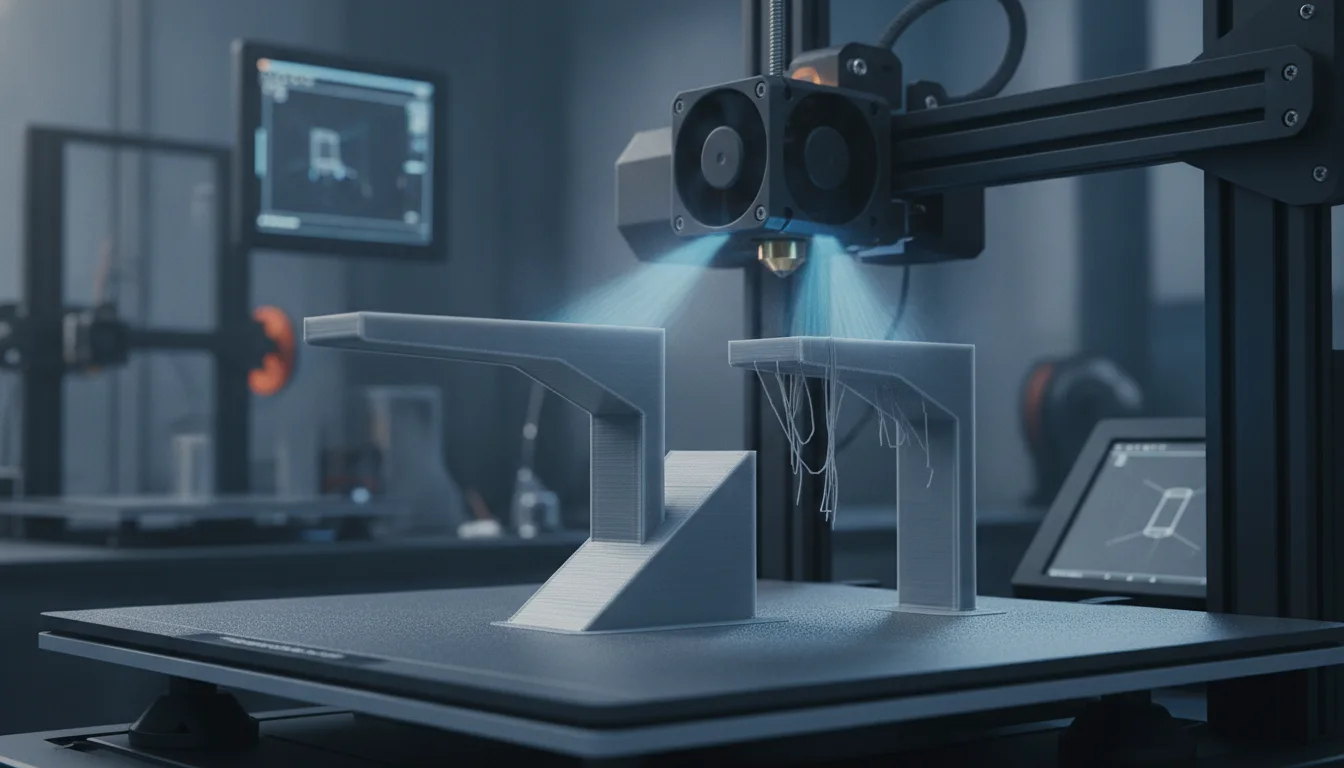
Dual-Sided Ducts: These ducts direct airflow from two sides, providing more balanced and even cooling around the nozzle. This significantly improves bridge quality and overhang stability by solidifying the plastic more uniformly.
-
Ring/Circular Ducts: Often encircling the nozzle, these aim to provide 360-degree cooling. While theoretically ideal, achieving truly even airflow with such designs can be challenging due to manufacturing tolerances and fan limitations.
The material of the duct is also important; it should be heat-resistant (e.g., PETG, ABS, or even PC for high-temperature setups) to prevent deformation from the hotend’s radiant heat.
Optimizing cooling fan settings in your slicer

Your slicer software provides granular control over cooling fan settings, allowing you to fine-tune the cooling profile for different materials and print geometries. This is where fan speed optimization truly comes into play.
Key cooling parameters to master
-
Enable Print Cooling: This is the master switch. For some materials (like ABS), you might want to disable it entirely or keep it very low.
-
Fan Speed (%): The primary control. A value of 100% means the fan runs at full power. Often, you’ll use different percentages for different parts of the print.
-
Regular Fan Speed at Height: Many slicers allow you to define a height (e.g., after the first few layers) at which the fan ramps up to its normal operating speed. This prevents excessive cooling on the crucial initial layers, which can cause warping and poor bed adhesion.
-
Minimum Fan Speed (%): The lowest speed the fan will operate at. Useful for maintaining some airflow without overcooling, especially for materials sensitive to rapid temperature changes.
-
Maximum Fan Speed (%): The highest speed the fan will operate at. Typically set to 100% for PLA, but lower for other materials.
-
Bridge Fan Speed (%): A critical setting for improving bridge quality. Often, you’ll want to set this to 100% to rapidly cool the unsupported filament as it’s laid down, preventing sagging.
-
Lift Head Fan Speed (%): Some slicers allow the fan to run at a higher speed when the print head lifts or moves, helping to dissipate heat more quickly between layers.
-
Slow Down if Layer Print Time is Below (seconds): This setting is crucial for small layers or features. If a layer prints too quickly, the previous layer might not have enough time to cool before the next one is deposited. The printer will slow down to ensure each layer meets a minimum cooling time, or the fan speed might be increased.
-
Minimum Print Speed (mm/s): Works in conjunction with the “slow down” setting. The printer won’t print slower than this speed, even if the layer time cooling requirement isn’t met.
Strategies for fan speed optimization
Effective fan speed optimization is rarely a one-size-fits-all approach. It requires experimentation and understanding your material’s properties:
-
First Layers: Keep cooling off or very low (0-20%) for the first 3-5 layers. This promotes good bed adhesion by keeping the plastic warm and pliable.
-
General Printing: For PLA, 80-100% cooling is typically ideal. For PETG, 20-50% is a good starting point. ABS/ASA often requires 0-10% cooling, preferably in an enclosed environment.
-
Bridges: Maximize fan speed (100%) for bridges. The rapid cooling helps the unsupported filament solidify almost instantly, dramatically improving bridge quality.
-
Overhangs: High cooling (70-100% for PLA) is essential for steep overhangs to prevent curling and ensure sharp edges. The exact percentage depends on the overhang angle and material.
-
Small Features: When printing small, intricate details or thin walls, ensure the “slow down if layer print time is below” setting is configured. This gives each tiny layer sufficient time to cool before the next is applied, preventing heat creep and blobbing.
Impact on bridge quality and overhang stability
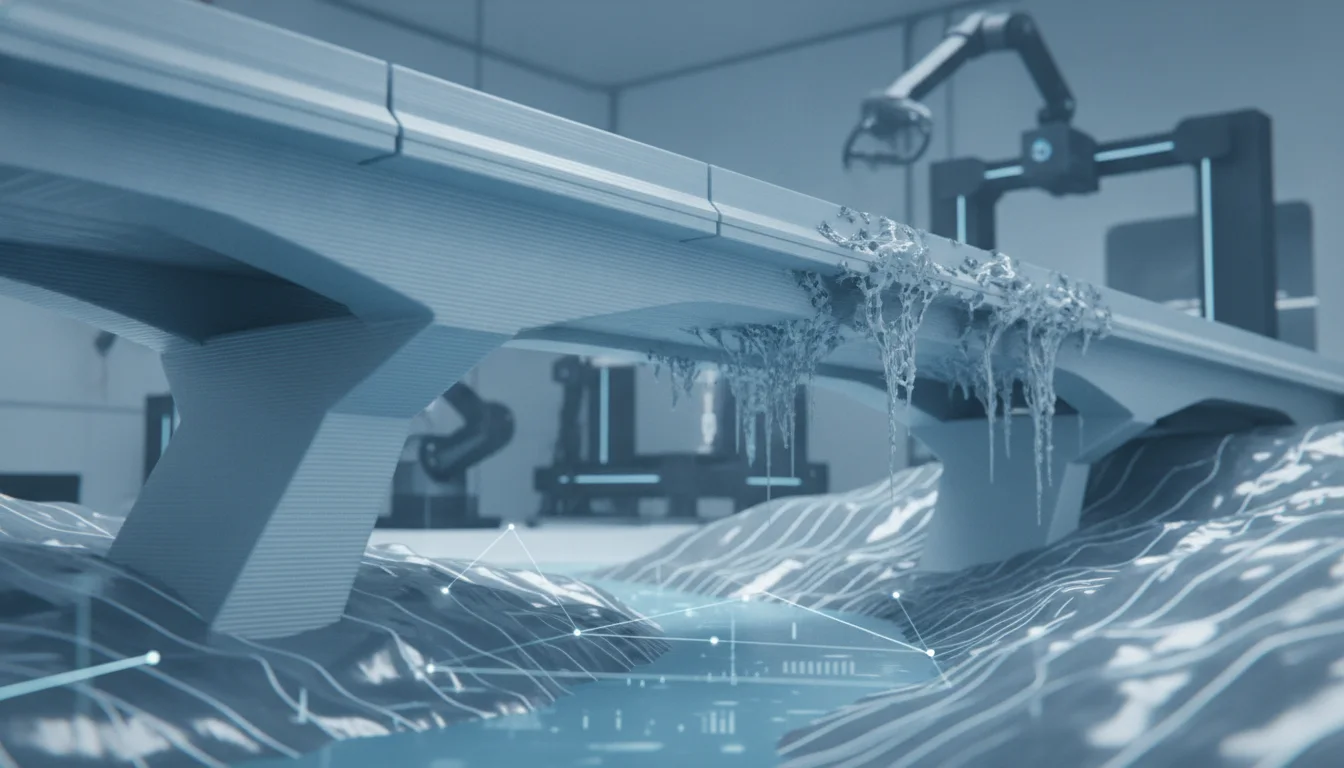
These two print features are the ultimate test of a printer’s part cooling capabilities.
Achieving superior bridge quality
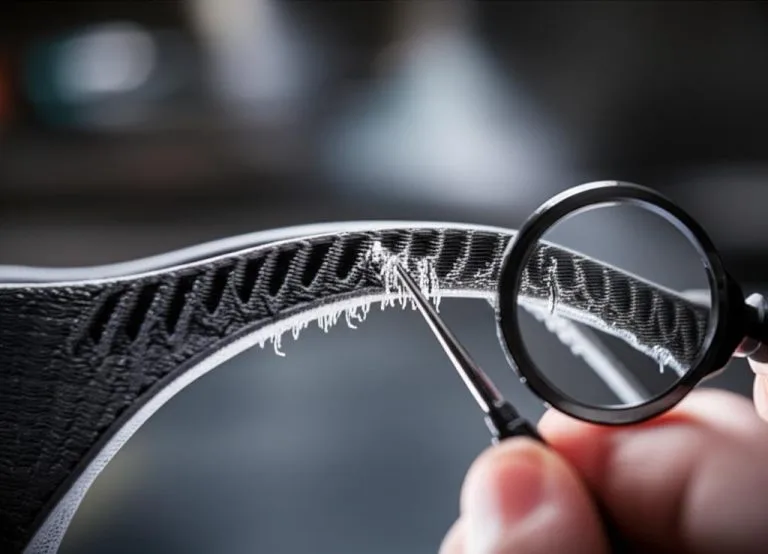
A bridge is a section of filament printed in mid-air, spanning two points without direct support. Without proper cooling, bridges will inevitably sag, creating an unsightly and weak underside. Excellent part cooling, especially at 100% fan speed during bridging, rapidly solidifies the extruded plastic, allowing it to maintain its tension and span the gap with minimal deflection. Paired with appropriate bridging speed (often slightly faster than regular print speed), this ensures straight, clean, and strong bridges.
Ensuring robust overhang stability
Overhangs are sections of a print that extend outwards, beyond the previous layer. The steeper the angle, the more challenging they become. Insufficient cooling causes the molten plastic on an overhang to curl upwards or downwards due to gravity and residual heat, leading to poor dimensional accuracy, rough surfaces, and potential print failure. High 3D printing cooling on overhangs helps the plastic solidify quickly, allowing each subsequent layer to be deposited on a stable, flat foundation, thus maintaining the intended geometry and ensuring excellent overhang stability.
Advanced 3D printing cooling strategies
The consumer toolchanger 3D printer: the SnapSwap 4-toolhead system swaps heads in 5 seconds for true multi-color and multi-material printing, with smart calibration and auto filament loading.
For those looking to push the boundaries of print quality, several advanced cooling strategies can be employed.
Custom fan ducts and upgrades
The stock fan duct on many printers is a compromise. Designing and printing custom fan ducts can significantly improve airflow efficiency and direction. Resources like Thingiverse or Cults3D offer a plethora of designs for specific printer models, often developed through extensive testing. Key considerations for custom ducts include:
- Airflow Distribution: Aim for even, directed airflow around the nozzle.
- Clearance: Ensure the duct doesn’t obstruct the nozzle’s view or contact the print.
- Material: Print ducts in heat-resistant materials like PETG, ABS, or even PC if your hotend runs very hot.
Dual part cooling fans
Upgrading to a dual part cooling fan setup (two radial fans) can provide a substantial boost in cooling power and uniformity. This is particularly beneficial for large prints, very steep overhangs, or when printing with materials that require aggressive cooling. The challenge lies in mounting two fans and ensuring they are wired correctly, often requiring a custom fan shroud or adapter.
Auxiliary part cooling solutions
Beyond the print head, some users employ external or auxiliary cooling solutions. These might include:
- Desk Fans: A simple desk fan aimed at the print bed can provide additional cooling for larger prints, though it’s less precise.
- Enclosure Fans: For printers with enclosures, a dedicated fan can help circulate air and prevent heat buildup, especially when printing materials that require minimal part cooling but benefit from a stable ambient temperature.
While liquid cooling is a niche solution primarily for hotends or stepper motors to manage heat, it’s generally not applied directly to the part itself for cooling purposes in FDM printing due to complexity and practicality.
Material-specific cooling requirements
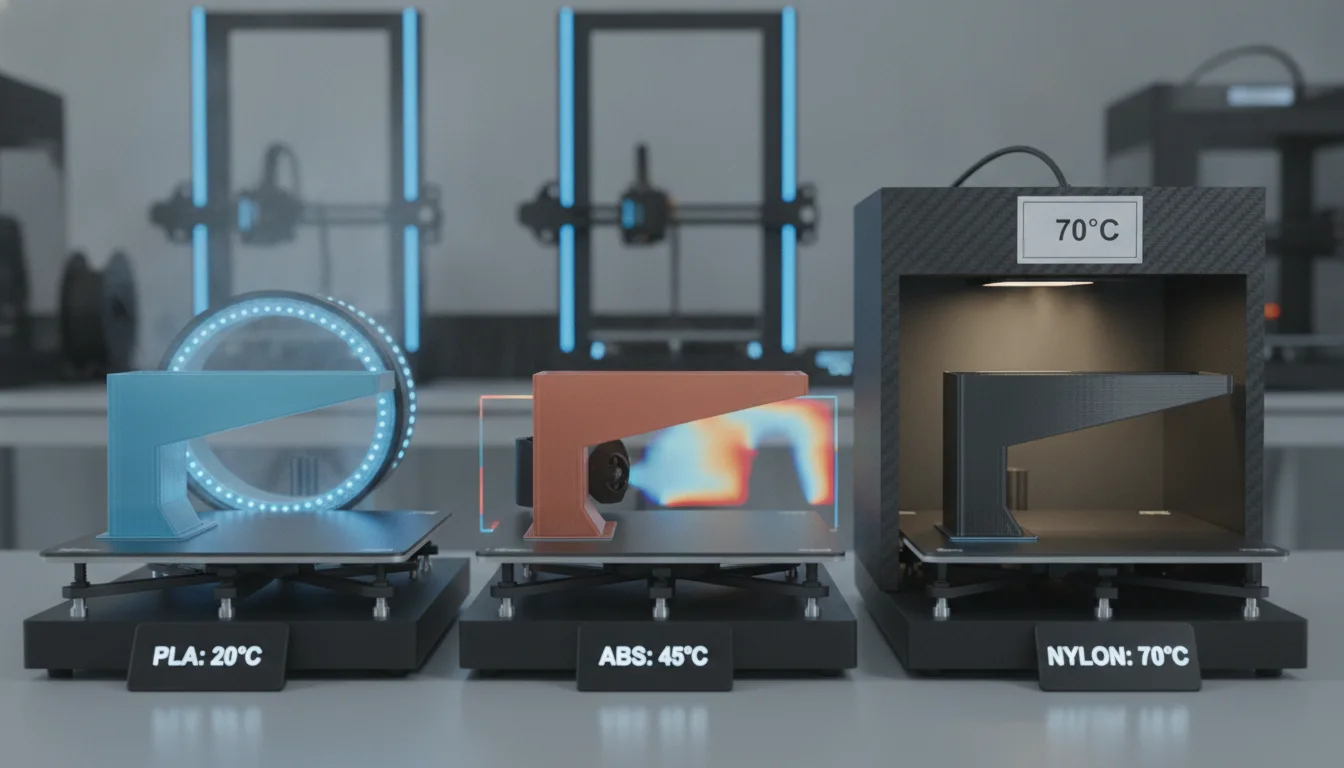
One of the most critical aspects of part cooling is understanding that different materials behave very differently under varying cooling conditions.
-
PLA (Polylactic Acid): Generally loves cooling. High cooling fan settings (80-100%) are usually recommended for optimal detail, minimal stringing, and excellent overhang stability. Too little cooling can lead to saggy bridges and melted features.
-
PETG (Polyethylene Terephthalate Glycol): A bit more finicky. PETG benefits from some cooling, but too much can make it brittle, reduce layer adhesion, and increase stringing. A moderate setting (20-50%) is often a good starting point. Experimentation is key to finding the sweet spot for fan speed optimization with PETG.
-
ABS (Acrylonitrile Butadiene Styrene) & ASA (Acrylonitrile Styrene Acrylate): These materials are highly susceptible to warping and cracking due to rapid cooling. They generally require very little to no part cooling (0-10%) and perform best in an enclosed, heated environment to maintain a stable ambient temperature. High cooling will almost certainly lead to print failure with these materials.
-
TPU/TPE (Flexible Filaments): Similar to ABS, flexible filaments typically require minimal to no 3D printing cooling. Excessive cooling can cause the filament to solidify too quickly, leading to poor layer adhesion, clogging, and under-extrusion. If any cooling is used, it should be very low (0-10%).
-
Nylon & Polycarbonate (PC): These engineering-grade filaments often require minimal or no part cooling, similar to ABS, to prevent warping and ensure maximum strength. Consult the specific manufacturer’s recommendations.
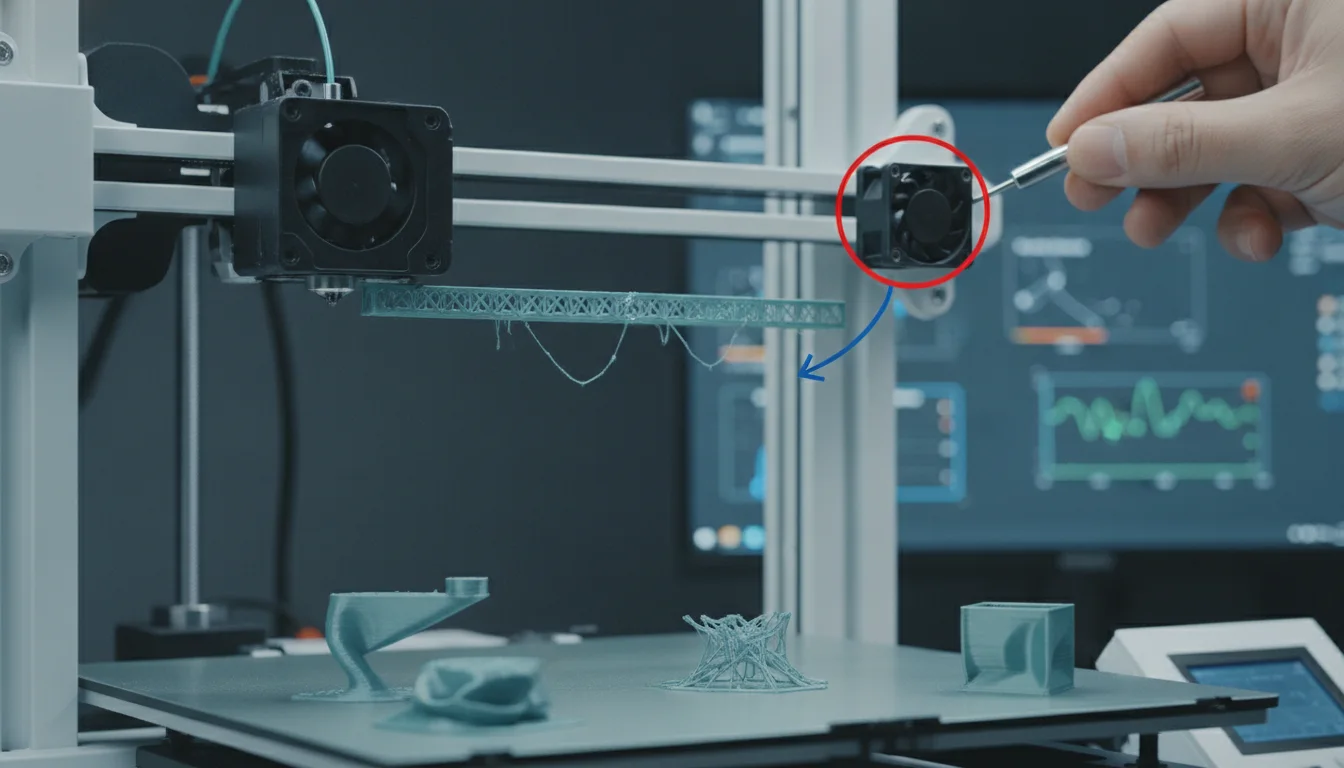
Even with optimized settings, issues can arise. Here’s a quick guide to diagnosing and addressing common cooling-related problems:
-
Sagging Bridges: Increase bridge fan speed to 100%. Ensure bridge speed is appropriate. Check for clogs or under-extrusion.
-
Curling/Upturned Overhangs: Increase general fan speed optimization for overhangs. Ensure your fan duct is effective and provides even airflow. Check for drafts in your print area.
-
Poor Layer Adhesion/Weak Parts: If using materials like PETG or ABS, your part cooling might be too high. Reduce fan speed, especially for the first few layers. Ensure print temperature is adequate.
-
Warping/Lifting from Bed: Most common with ABS/ASA. Reduce or disable 3D printing cooling. Use an enclosure. Ensure bed adhesion is strong.
-
Stringing/Oozing: While often related to retraction settings, insufficient cooling can exacerbate stringing. Increase fan speed, especially for PLA and PETG. Ensure proper nozzle temperature.
-
Heat Creep/Clogging: If the heat from the hotend travels too far up the heat break, it can cause the filament to soften prematurely, leading to clogs. While hotend cooling is distinct from part cooling, excessive part cooling can sometimes indirectly contribute by cooling the entire print head too aggressively, affecting the hotend’s thermal gradient. Ensure your hotend fan is working effectively.
The path forward: Experimentation and refinement
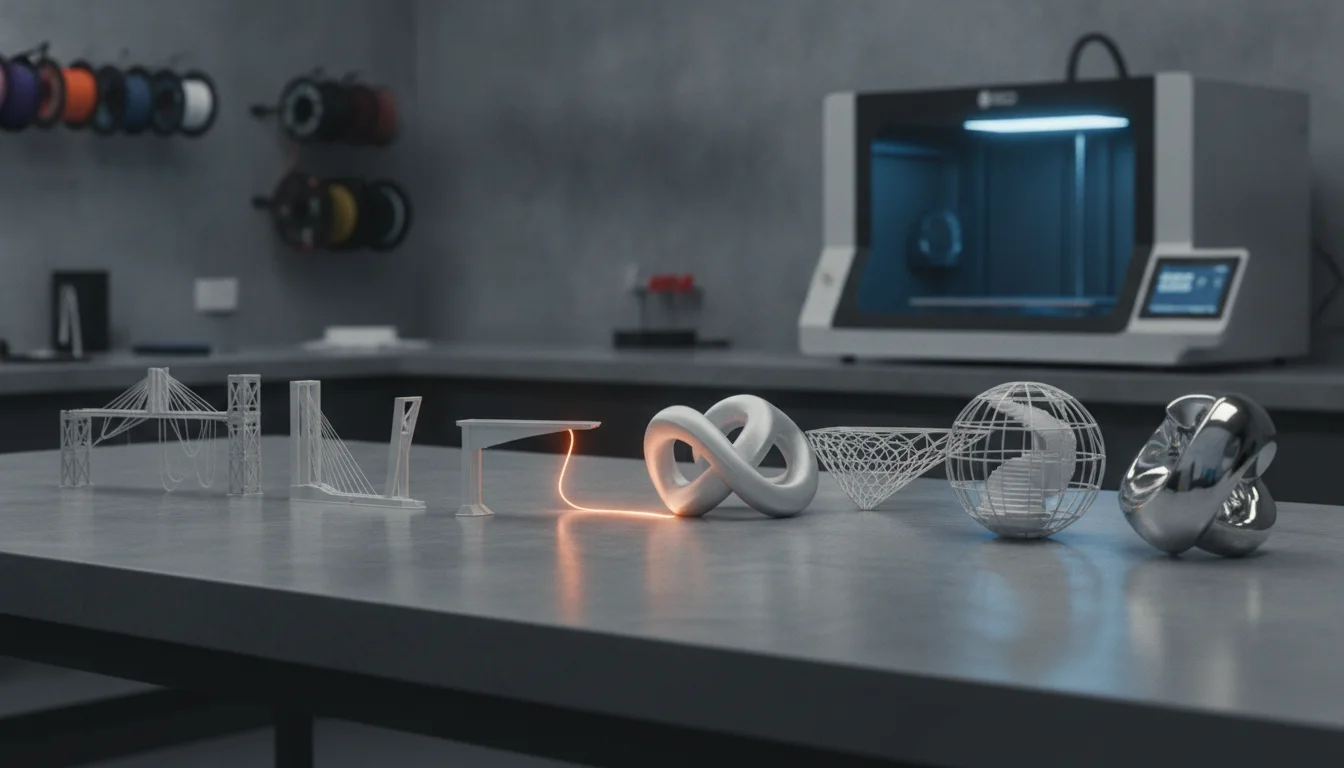
Mastering part cooling is an ongoing journey of experimentation and refinement. There’s no single magic bullet, as optimal settings depend on your specific printer, hotend, fan setup, filament brand, and even ambient room temperature. Start with recommended settings for your material and printer, then print calibration models specifically designed to test bridges and overhangs. Observe the results, make small, incremental adjustments to your cooling fan settings, and meticulously document your findings.
By understanding the science, optimizing your hardware, and meticulously fine-tuning your slicer parameters for fan speed optimization, you’ll unlock the full potential of your 3D printer. The cooling conundrum, once a source of frustration, will transform into a powerful tool, enabling you to consistently produce prints with impeccable bridge quality and unwavering overhang stability, truly elevating your 3D printing cooling expertise to an advanced level.
Frequently asked questions
Can I use a desk fan to improve part cooling on my printer?
Yes, a desk fan aimed at the print bed can provide additional cooling, especially for large prints, but it is less precise than a dedicated fan duct. Because the airflow is unfocused and uncontrolled, it can cause uneven cooling, warping, or drafts that negatively affect materials like ABS or PETG. For best results, stick to your printer’s fan and duct system for critical features like bridges and overhangs.
Why do my PETG prints get brittle or stringy when I turn the fan up high?
PETG is sensitive to excessive cooling; too much airflow (above 50%) causes the plastic to solidify too quickly, reducing layer adhesion and making parts brittle. High fan speeds also increase stringing and oozing because the filament cools before it can properly bond. The article recommends starting with a moderate 20-50% fan speed for PETG and adjusting from there.
What is the most common mistake beginners make with part cooling?
The most common mistake is running the fan at full speed from the very first layer, which cools the plastic too fast and causes poor bed adhesion and warping. The article advises keeping cooling off or very low (0-20%) for the first 3-5 layers to keep the plastic warm and pliable. Another frequent error is using insufficient fan speed on bridges and overhangs, leading to sagging and curling.