Achieving perfect first layer adhesion is the cornerstone of successful 3D printing. Without a properly leveled bed, prints can warp, detach, or suffer from inconsistent layer lines, leading to frustrating failures. This guide will walk you through various methods for leveling your 3D printer bed, ensuring optimal adhesion and superior print quality. Mastering 3D printer bed calibration is not just a skill; it’s a fundamental requirement for anyone serious about 3D printing.
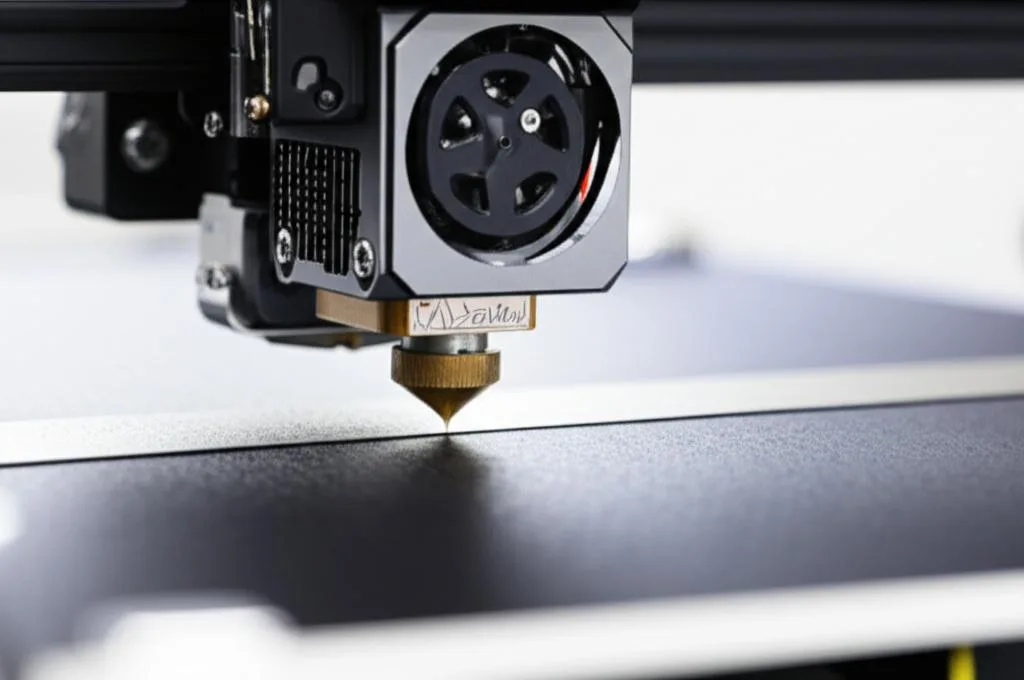
The most common and accessible method for bed leveling is manual calibration. This typically involves using a piece of paper or a feeler gauge. Begin by preheating your print bed and nozzle to their typical operating temperatures – this accounts for thermal expansion. Move the print head to each corner of the bed, one at a time. With a standard piece of paper (approximately 0.1mm thick) between the nozzle and the print bed, adjust the leveling screws until you feel a slight resistance when moving the paper. It should slide with a bit of drag, but not be pinched too tightly. Repeat this process for all four corners at least twice, as adjusting one corner can affect the others. This meticulous approach to 3D printer bed calibration is essential for precise results.
Beyond manual methods, many modern 3D printers come equipped with automatic bed leveling (ABL) systems, often utilizing sensors like BLTouch or inductive proximity sensors. While these systems automate the compensation for bed irregularities, they are not a substitute for a reasonably level bed. ABL systems map the bed’s surface and adjust the Z-axis height during printing to compensate for dips and bumps. Even with ABL, it’s wise to perform an initial manual leveling to get the bed as flat as possible, reducing the amount of compensation the sensor needs to apply. Understanding both manual and automatic 3D printer bed calibration techniques provides a comprehensive approach to print quality.
For consistent success, consider these additional tips for your 3D printer bed calibration routine:
- Cleanliness is Key: Ensure your print bed is clean and free of dust, oil, or old filament residue. Use isopropyl alcohol or a suitable cleaner.
- Z-Offset Calibration: After leveling, fine-tune your Z-offset. This setting determines the exact distance between the nozzle and the bed at the start of a print. A slightly incorrect Z-offset can negate all your leveling efforts.
- Check for Bed Warp: Over time, some beds can warp, especially cheaper ones or those subjected to frequent heating/cooling cycles. A warped bed can be challenging to level perfectly. Glass beds are often recommended for their flatness.
- First Layer Inspection: Always watch your first layer as it prints. Look for squish – lines should be well-adhered and slightly flattened, with no gaps or excessive “elephant’s foot.” Adjust the Z-offset in real-time if necessary.
- Consistent Settings: Ensure your “Calibration and Settings” for first layer height and extrusion multiplier are optimized for your filament type.
In conclusion, mastering 3D printer bed calibration is a skill that dramatically improves your printing success rate. Whether you rely on precise manual adjustments or leverage advanced automatic leveling systems, understanding the principles behind a perfectly leveled bed will save you time, filament, and frustration. Invest the time to get it right, and enjoy consistent, high-quality 3D prints every time. Regular checks and minor adjustments are part of the ongoing maintenance for any 3D printer, ensuring your “3D printing table calibration” remains spot on.
Frequently asked questions
Can I use automatic bed leveling (ABL) to fix a severely warped bed?
No. Automatic bed leveling compensates for minor dips and bumps, but it is not a cure for a severely warped bed. The article states that ABL systems are “not a substitute for a reasonably level bed” and recommends performing an initial manual leveling first. If your bed is significantly warped, consider replacing it with a glass bed, which the article notes is “often recommended for their flatness.”
Why do I need to preheat the bed and nozzle before manual leveling?
Preheating accounts for thermal expansion. The article explicitly instructs you to “preheat your print bed and nozzle to their typical operating temperatures” before adjusting the leveling screws. If you level a cold bed, the metal components will expand once heated during printing, changing the nozzle-to-bed distance and ruining your level.
How do I know if my Z-offset is correct after leveling?
The best way to check is by inspecting the first layer as it prints. The article advises looking for “squish” – lines that are well-adhered and slightly flattened, with no gaps between them. If you see gaps, the nozzle is too far from the bed; if you see excessive “elephant’s foot” or ridges, the nozzle is too close. Adjust the Z-offset in real-time during this first layer.