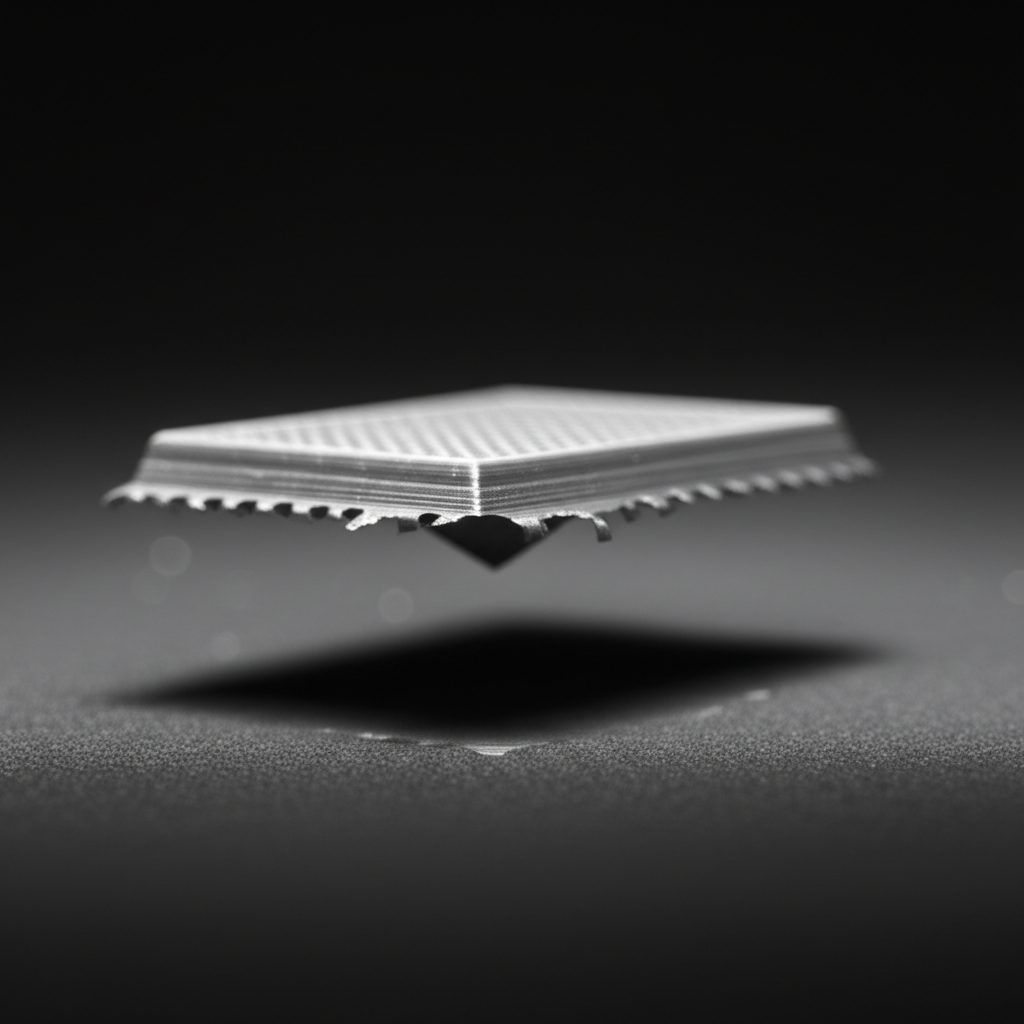
FDM elephant foot is a common and often frustrating issue encountered in Fused Deposition Modeling (FDM) 3D printing. This phenomenon manifests as a noticeable bulging or flaring of the first few layers of a print, causing the base of the object to be wider than intended. While seemingly minor, elephant foot can significantly compromise the dimensional accuracy, aesthetic appeal, and functional fit of printed parts, especially those designed for tight tolerances or interlocking components. Addressing this issue is crucial for anyone striving for optimal FDM print quality and reliable results.
Understanding the root causes of FDM elephant foot
The consumer toolchanger 3D printer: the SnapSwap 4-toolhead system swaps heads in 5 seconds for true multi-color and multi-material printing, with smart calibration and auto filament loading.
- 4 toolheads · 5 s swap
- Up to 500 mm/s · 20,000 mm/s²
- 270 mm cube build volume
- Multi-color & multi-material

To effectively combat elephant foot, it’s essential to understand its underlying causes. This issue typically stems from a combination of factors related to the interaction between the hot plastic, the print bed, and the printer’s calibration. Pinpointing the exact cause in your setup is the first step towards a lasting solution.
Excessive first layer squish and Z-offset too low
One of the primary culprits behind FDM elephant foot is an incorrect Z-offset, resulting in the nozzle being too close to the print bed during the initial layer. When the nozzle is set too low, it forces the extruded plastic to spread outwards horizontally rather than stacking vertically. This ‘squishing’ effect, while necessary to ensure good bed adhesion, becomes problematic when excessive, creating the characteristic flared base. The material, still molten and pliable, is essentially flattened by the nozzle’s pressure, leading to the wider footprint. The degree of squish directly correlates with the severity of the elephant foot. A perfectly calibrated Z-offset aims for just enough squish to adhere firmly without deforming the perimeter.
Over-extrusion on the first layer
Even with a correctly calibrated Z-offset, over-extrusion on the first layer can contribute to elephant foot. If the printer extrudes too much material for the given line width and layer height, the excess plastic has nowhere to go but outwards. This can be exacerbated by a high initial layer flow rate setting in your slicer. The cumulative effect of this over-extruded material across the entire first layer perimeter creates the tell-tale bulge. While slight over-extrusion on the first layer can sometimes aid adhesion, it must be carefully balanced to avoid dimensional inaccuracies.
Print bed temperature issues
The temperature of your print bed plays a critical role in how the first layer behaves. A print bed that is too hot can keep the initial layers of plastic molten and pliable for longer than necessary. This prolonged fluidity, especially when combined with the weight of subsequent layers or even minor squishing, allows the plastic to spread outwards under gravity and pressure, forming the elephant foot. Different filament types require different bed temperatures, and what works for one material (e.g., high temperatures for ABS) might be detrimental for another (e.g., PLA), leading to excessive spreading.
Insufficient or incorrect cooling
Counter-intuitively, insufficient cooling on the first layer can also contribute to elephant foot. While it’s common practice to disable or significantly reduce part cooling fan speed for the first few layers to prevent warping and aid adhesion, completely lacking any cooling can allow the plastic to remain too soft. This softness, particularly with higher bed temperatures, makes the plastic more susceptible to spreading. Conversely, introducing too much cooling too early can cause warping, so finding the right balance is key to ensuring the plastic solidifies quickly enough to hold its shape without detaching from the bed.
Uneven bed leveling
Inconsistent bed leveling can lead to localized elephant foot issues. If one side of the print bed is too close to the nozzle while another is perfectly leveled or too far, you might observe elephant foot only on specific areas of your print. This inconsistency means that some parts of the first layer are experiencing excessive squish, while others might suffer from poor adhesion. An uneven bed can also lead to variations in the amount of plastic deposited, further complicating the first layer’s integrity and contributing to the problem in affected regions.
Slicer settings beyond the first layer
While elephant foot primarily affects the initial layers, settings for subsequent layers can also have an indirect impact. If the print speed or flow rate for the layers immediately following the first are too high, the pressure exerted by the nozzle or the weight of the freshly deposited plastic can continue to push the still-malleable base outwards, exacerbating the initial elephant foot effect. Ensuring consistent and appropriate settings throughout the initial layers can help prevent the problem from worsening.
Diagnosing FDM elephant foot
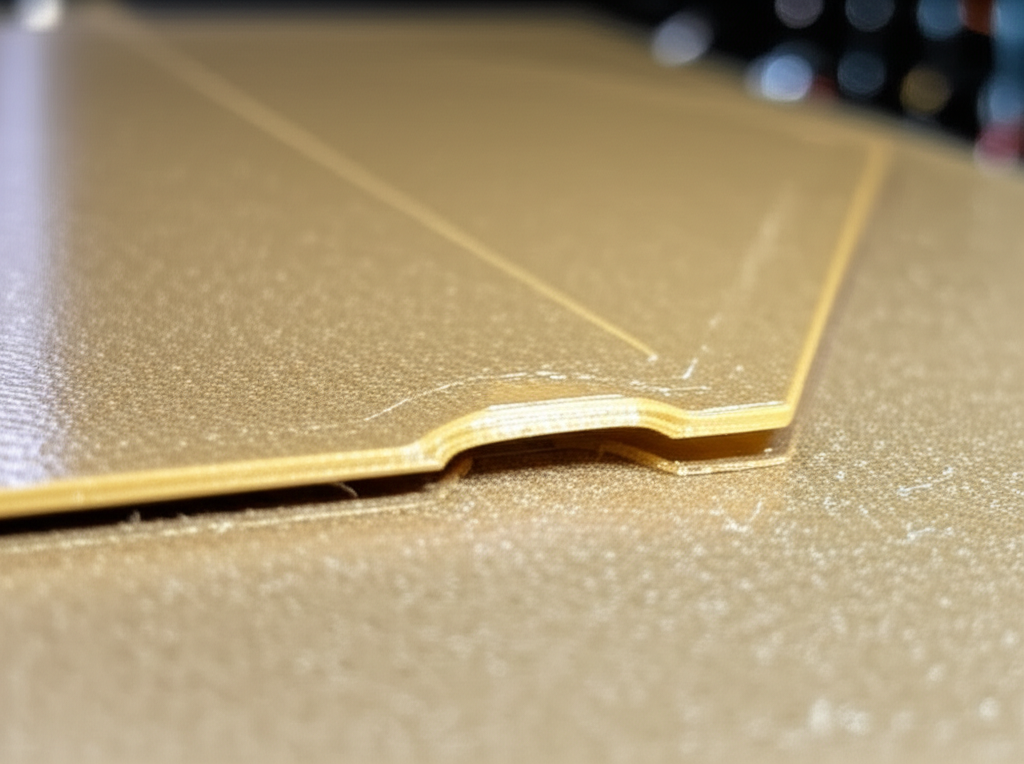
Identifying elephant foot is relatively straightforward. Visually inspect the base of your prints. You’ll typically see a distinct bulge or flare where the first layer meets the rest of the print, making the base wider than the model’s actual dimensions. In severe cases, the first layer might appear significantly flattened and almost transparent compared to subsequent layers. For precise diagnosis, you can measure the width of the base of your print with calipers and compare it to the designed width in your CAD model. A discrepancy of even 0.1-0.2 mm can indicate the presence of elephant foot.
Practical solutions for a perfect first layer

Addressing FDM elephant foot requires a systematic approach, often involving adjustments to both hardware and software settings. Each solution offers distinct features and involves varying levels of effort or potential investment, allowing users to choose the path best suited to their specific printer and needs.
Precise Z-offset calibration: the cornerstone solution
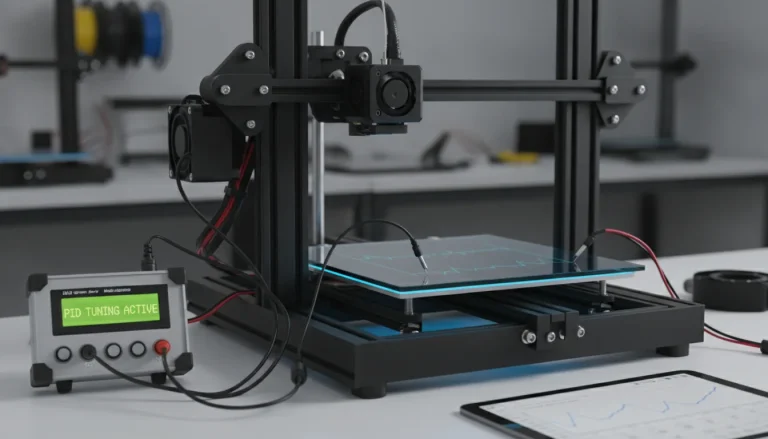
The most impactful solution for elephant foot often lies in meticulously calibrating your Z-offset. This setting defines the exact distance between your nozzle and the print bed at the start of a print. A precise Z-offset ensures optimal first layer adhesion without excessive squish.
- Manual Z-offset adjustment: Many printers allow for live Z-offset adjustments during the first layer of a test print. This feature lets you fine-tune the nozzle height in real-time, observing the plastic’s behavior. The ‘feature’ here is direct, granular control. The ‘cost’ is primarily time and careful observation.
- Automatic Bed Leveling (ABL) systems: While ABL systems (like BLTouch, CRTouch, or inductive sensors) automate the bed leveling process, they still require an initial Z-offset calibration. An ABL system’s ‘feature’ is its ability to compensate for minor bed inconsistencies across the entire print area, potentially reducing localized elephant foot. The ‘cost’ involves the initial purchase and installation of the sensor, along with the time for its setup and calibration. While it adds hardware, it can significantly improve first layer consistency.
- Calibration prints: Printing single-layer squares or lines is an excellent way to dial in your Z-offset. Observe the lines: if they’re squished flat and translucent, the nozzle is too low. If they’re round and don’t stick, it’s too high. Aim for a slightly flattened, opaque line that adheres well. This method’s ‘feature’ is visual feedback, and its ‘cost’ is filament for test prints and the time spent observing and adjusting.
Optimizing slicer settings for the first layer
Your slicing software offers a wealth of settings specifically designed to control the first layer’s behavior. Adjusting these can significantly mitigate elephant foot.
- Initial layer height: While a common first layer height is 0.2mm, increasing it slightly (e.g., to 0.25mm or 0.3mm) can sometimes reduce the squish effect, as the nozzle has more vertical space for the plastic to occupy. The ‘feature’ is providing more room for the extruded plastic, and the ‘cost’ is minimal, just a setting change.
- Initial layer line width (or flow rate): Reducing the initial layer line width (e.g., from 120% to 100-110% of nozzle diameter) or the initial layer flow rate (e.g., from 100% to 95-98%) can prevent over-extrusion, which is a key contributor to elephant foot. The ‘feature’ is controlling the volume of plastic deposited, and the ‘cost’ is careful experimentation to find the sweet spot.
- Initial layer print speed: Slowing down the first layer print speed (e.g., to 10-20 mm/s) gives the plastic more time to adhere and cool slightly before subsequent layers are added. This reduces the likelihood of the plastic spreading due to pressure. The ‘feature’ is enhanced adhesion and less deformation; the ‘cost’ is increased print time for the first layer.
- Initial layer fan speed: For most filaments, it’s recommended to keep the part cooling fan off for the first 1-3 layers to promote adhesion. However, if your bed temperature is high and causing excessive spreading, introducing a very low fan speed (e.g., 10-20%) after the first layer or two might help the plastic solidify faster. The ‘feature’ is controlled solidification; the ‘cost’ is potential adhesion issues if set too high too soon.
Managing print bed temperature
Finding the optimal print bed temperature is crucial. A bed that’s too hot keeps the plastic molten for too long, allowing it to spread. A bed that’s too cold can lead to warping and poor adhesion.
- Filament-specific temperatures: Research and use the manufacturer’s recommended bed temperatures for your specific filament (e.g., PLA typically 50-60°C, PETG 70-85°C, ABS 90-110°C). Experiment within this range to find the lowest temperature that still provides excellent adhesion. The ‘feature’ is stable adhesion without excessive spreading; the ‘cost’ is experimentation.
- Ambient temperature considerations: In colder environments, you might need a slightly higher bed temperature to compensate for heat loss. Conversely, in warm enclosures, a slightly lower temperature might be appropriate. The ‘feature’ is environmental adaptation; the ‘cost’ is monitoring and adjusting.
Considering part cooling
While often off for the first layers, proper management of part cooling for subsequent layers can indirectly help. Gradually increasing fan speed after the initial layers allows the plastic to solidify faster, preventing further deformation of the base. The ‘feature’ is controlled cooling, and the ‘cost’ is careful tuning of fan speed progression.
Ensuring consistent bed leveling
A truly level print bed is fundamental to preventing localized elephant foot. Even with ABL, a physically flat and consistently leveled bed is paramount.
- Manual bed leveling techniques: For printers without ABL, manual leveling using a piece of paper or feeler gauge at multiple points across the bed is essential. This requires patience and precision. The ‘feature’ is direct control over bed flatness; the ‘cost’ is time and skill.
- Benefits and limitations of ABL systems: ABL systems can compensate for minor warpage in the print surface, but they cannot fix a severely unlevel bed. They map the bed’s contours, but if the Z-offset is incorrect globally, elephant foot will still occur. Their ‘feature’ is automated compensation for surface irregularities; their ‘cost’ includes hardware and the need for proper Z-offset calibration.
Utilizing slicer-specific elephant foot compensation
Some advanced slicers, like PrusaSlicer and Cura, offer a dedicated “Elephant Foot Compensation” or “Initial Layer Horizontal Expansion” setting. This feature works by slightly shrinking the perimeter of the first layer horizontally, effectively counteracting the expected spread.
- How it works: The slicer offsets the first layer’s perimeter inwards by a user-defined amount (e.g., -0.1mm). This ensures that even if some spreading occurs, the final dimensions of the base match the model more closely.
- Pros and cons: The ‘feature’ is a direct, software-based solution that can be very effective. It’s a convenient way to achieve dimensional accuracy without extensive calibration of other parameters. However, relying solely on this setting without addressing the underlying causes (like excessive squish) might mask other print quality issues. It also adds a slight processing step in slicing. The ‘cost’ is minimal, just setting a parameter, but it’s important to understand it’s a compensatory measure, not a fix for the root problem.
Advanced considerations and troubleshooting
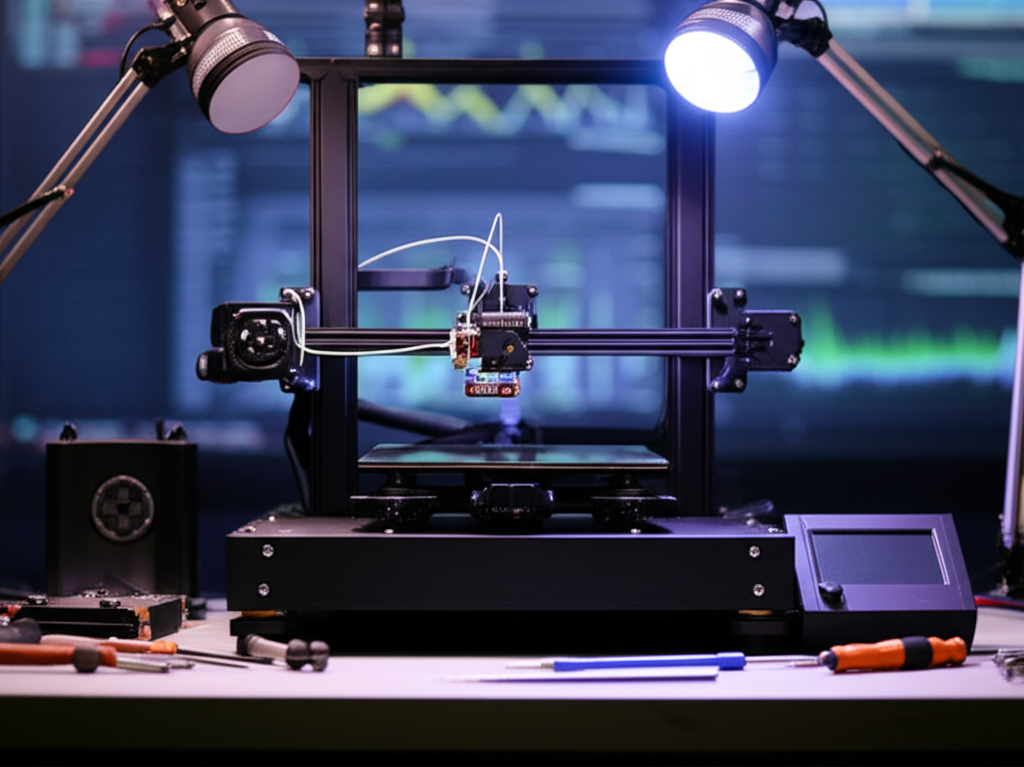
Beyond the primary solutions, several other factors can influence FDM elephant foot and are worth considering during troubleshooting.
- Filament characteristics: Different filament types (e.g., PLA, PETG, ABS, nylon) have varying thermal expansion properties and melt viscosities. Some materials are inherently more prone to spreading than others. Experimenting with different brands or types of filament might reveal differences in how they behave on the first layer. The ‘feature’ is material-specific optimization; the ‘cost’ involves purchasing and testing different filaments.
- Nozzle wear and size: An old, worn nozzle can have an enlarged or irregular opening, leading to inconsistent extrusion and potentially contributing to elephant foot. Similarly, using a larger nozzle diameter (e.g., 0.6mm instead of 0.4mm) might require recalibrating first layer settings, as more material is deposited. The ‘feature’ is maintaining consistent extrusion; the ‘cost’ is periodic nozzle replacement.
- Build surface choice: Different build surfaces (e.g., glass, PEI, textured sheets) have varying adhesion properties and thermal conductivity. A surface that grips too well might make it harder for the plastic to spread, while a less adhesive surface could lead to warping. Understanding your build surface’s characteristics can help fine-tune other settings. The ‘feature’ is optimized adhesion; the ‘cost’ is potential investment in different build plates.
- Printer frame rigidity: While less common, excessive vibrations or a non-rigid printer frame can subtly affect the consistency of the first layer, contributing to minor inconsistencies that might resemble or exacerbate elephant foot. Ensuring your printer is on a stable surface and its frame is tight can help. The ‘feature’ is overall print stability; the ‘cost’ is ensuring proper printer assembly and placement.
Adopting a systematic troubleshooting approach
The consumer toolchanger 3D printer: the SnapSwap 4-toolhead system swaps heads in 5 seconds for true multi-color and multi-material printing, with smart calibration and auto filament loading.
When tackling FDM elephant foot, a systematic approach is your best ally. Avoid changing multiple settings at once, as this makes it impossible to identify which adjustment had the desired effect. Instead, focus on one variable at a time, make a small adjustment, print a test piece, and evaluate the results. Documenting your changes and observations is crucial for learning what works best for your specific printer and filament combination. Start with the most common culprits, such as Z-offset and initial layer height/flow, before moving on to more nuanced settings.
Conclusion
FDM elephant foot, while a persistent nuisance, is a solvable problem that significantly impacts 3D print quality. By understanding its various causes—from an incorrect Z-offset and over-extrusion to suboptimal bed temperatures and inconsistent leveling—and systematically applying the practical solutions outlined, you can achieve a perfect first layer. Whether through precise Z-offset calibration, meticulous slicer setting adjustments, or leveraging advanced compensation features, the goal remains the same: ensuring your printed parts emerge with the dimensional accuracy and clean finish they deserve. A perfect first layer is the foundation of a successful 3D print, and mastering its intricacies is a hallmark of an experienced FDM user.
Frequently asked questions
Will using an elephant foot compensation setting in my slicer fix the underlying cause, or just hide it?
Elephant foot compensation (called “Initial Layer Horizontal Expansion” in some slicers) shrinks the first layer perimeter to counteract the expected spread, but it does not fix the root cause such as a low Z-offset or over-extrusion. Relying solely on this setting can mask other first-layer problems like poor adhesion or uneven extrusion, so it is best used as a final polish after you have dialed in your hardware and basic slicer settings.
Can a worn nozzle cause elephant foot, and how would I know if that’s the problem?
Yes, a worn or enlarged nozzle opening can produce inconsistent extrusion, which may contribute to a flared first layer. You can check for nozzle wear by examining the tip for a flattened or dimpled shape under a magnifying glass, or by noticing irregular extrusion patterns in your prints. Replacing a worn nozzle is a low-cost fix that can restore consistent first-layer behavior.
Is elephant foot more common with certain filament types like ABS or PETG?
Yes, ABS and PETG are more prone to elephant foot than PLA because they typically require higher bed temperatures (90-110°C for ABS, 70-85°C for PETG) that keep the initial layers molten longer, allowing them to spread under pressure. PLA’s lower bed temperature range (50-60°C) causes it to solidify faster, reducing the risk. If you switch to a high-temperature filament, you may need to lower your bed temperature within the recommended range and introduce a small amount of part cooling after the first layer to control spreading.