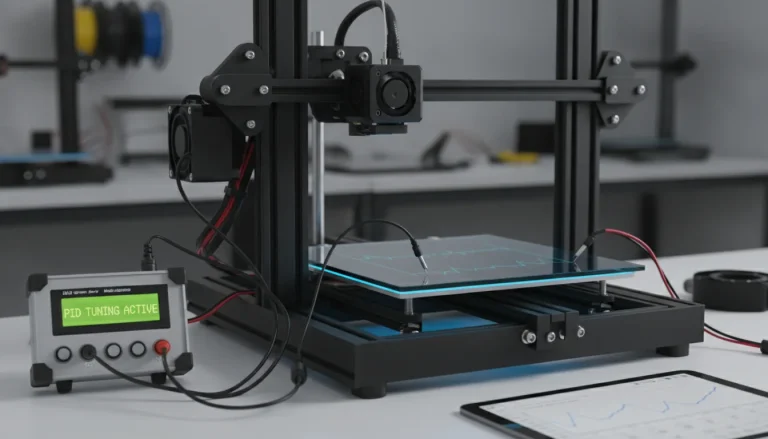
Achieving pristine 3D prints on your FDM machine hinges significantly on one often-overlooked factor: temperature stability. While many users focus on slicer settings or hardware upgrades, the underlying mechanism ensuring consistent heat delivery – Proportional-Integral-Derivative (PID) tuning – plays a pivotal role. Without proper FDM PID tuning, your hotend and heated bed can experience temperature fluctuations, leading to a myriad of print quality issues, from layer inconsistencies and poor adhesion to more severe problems like thermal runaway errors. This guide will walk you through the essential steps to calibrate your printer’s hotend and heated bed, unlocking superior temperature control and, consequently, enhanced print accuracy and reliability.
Understanding the critical role of PID tuning
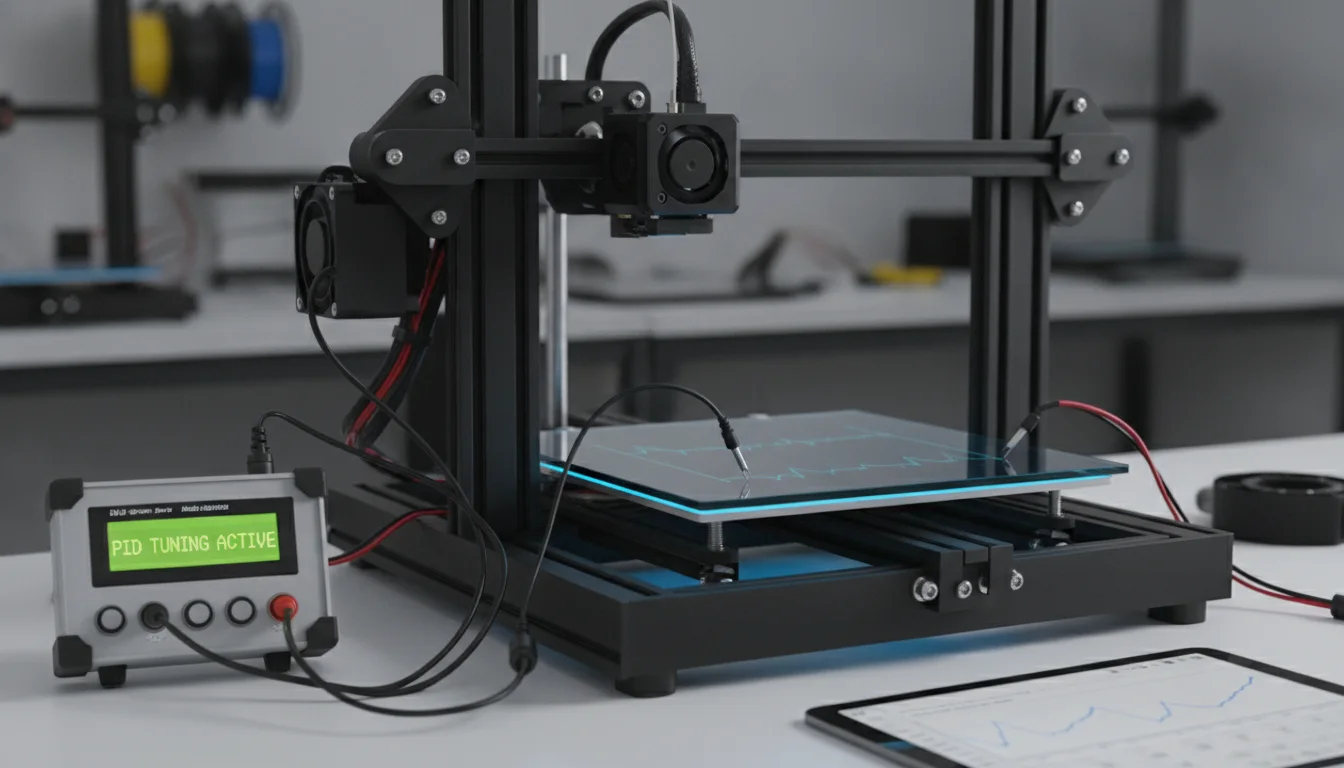
At its core, PID tuning is a control loop feedback mechanism widely used in industrial control systems, and critically, in your FDM 3D printer. It’s designed to maintain a desired setpoint (your target temperature) by calculating and applying corrective actions. The three components – Proportional (P), Integral (I), and Derivative (D) – each contribute to this stability:
- Proportional (P): This component determines the reaction to the current error (the difference between the target temperature and the actual temperature). A larger P value means a stronger, faster response to errors, but too high can lead to overshoot and oscillations.
- Integral (I): The integral component addresses accumulated errors over time. It helps eliminate steady-state errors, ensuring the system eventually settles precisely at the setpoint. Too high an I value can cause slow oscillations or instability.
- Derivative (D): This component predicts future errors based on the rate of change of the current error. It dampens oscillations and helps the system react quickly to disturbances, preventing overshoot. Too high a D value can make the system overly sensitive to noise.
When these three values are correctly balanced, your printer’s hotend and heated bed can maintain their target temperatures with minimal fluctuation, which is paramount for consistent filament extrusion and bed adhesion. The alternative – relying on default or uncalibrated settings – often results in temperature swings, leading to print defects, wasted filament, and extended troubleshooting time.
Why default settings aren’t enough
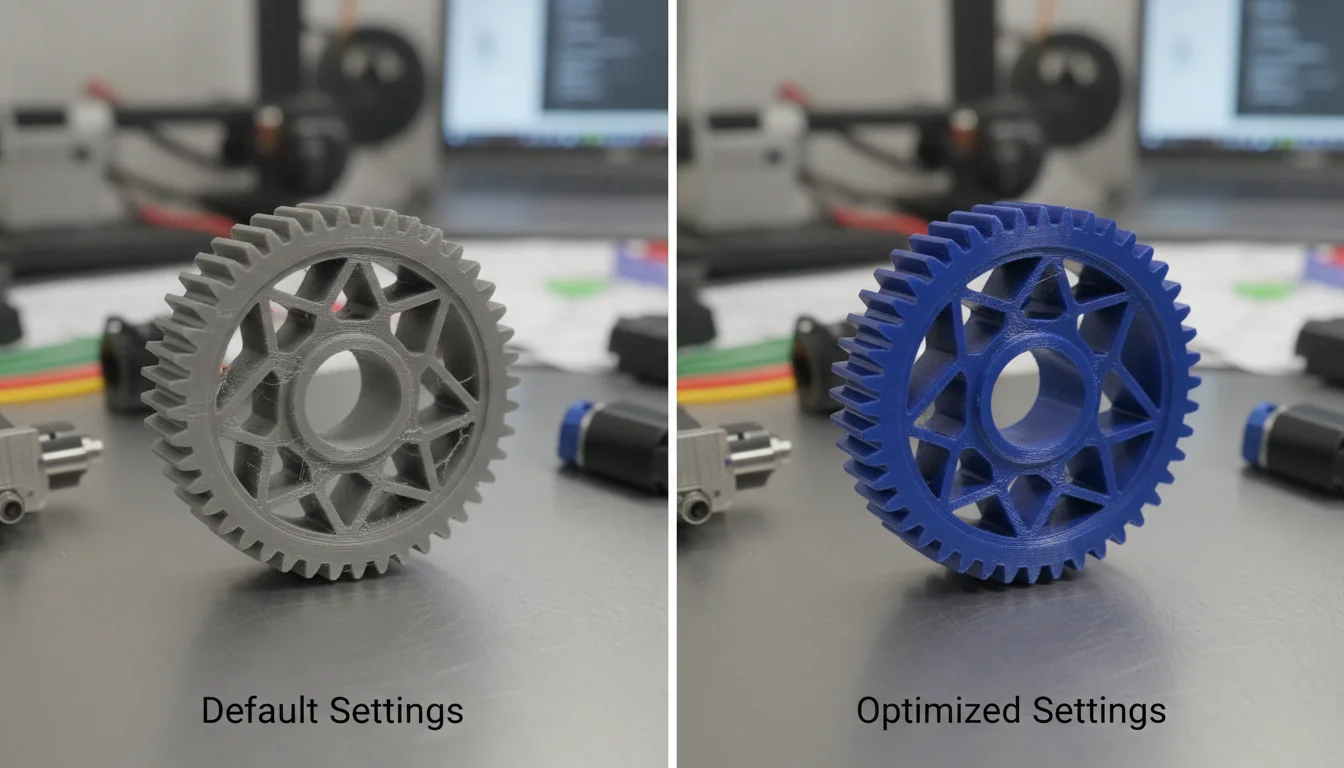
Every FDM printer is unique. Variations in components like the heating cartridge, thermistor, hotend block, bed material, and even environmental factors (room temperature, drafts) can significantly impact how your printer heats up and maintains temperature. Factory default PID settings are generic; they provide a baseline but are rarely optimal for your specific setup. Furthermore, if you upgrade components (e.g., a new hotend, a different build plate), these changes will alter the thermal characteristics of your printer, necessitating a fresh PID tune. Neglecting this calibration can inadvertently lead to:
- Temperature overshoot and undershoot: The printer struggles to hit and maintain the target temperature, constantly cycling above and below it.
- Inconsistent extrusion: Fluctuating hotend temperatures directly affect filament viscosity, leading to uneven extrusion and visible print defects.
- Poor bed adhesion: An unstable heated bed temperature can cause prints to warp or detach prematurely.
- Increased risk of thermal runaway: While not a direct cause, an improperly tuned system can exacerbate issues if a thermistor reading becomes unreliable, increasing the risk of the printer failing to detect overheating.
Investing a small amount of time in FDM PID tuning is a low-cost, high-impact solution to these common challenges, significantly improving your 3D printing experience and output quality.
Preparing for PID tuning: safety and tools

Before diving into the calibration process, ensure your workspace is safe and you have the necessary tools ready.
Safety precautions
- Always work with a cool printer. While the tuning process involves heating, initial setup should be done with the printer off and unplugged if you’re making physical connections.
- Be mindful of hot surfaces once the tuning process begins.
- Ensure good ventilation, especially if you’re printing with materials that emit fumes.
- Never leave your printer unattended during the PID autotune process, especially the first time.
Required tools and software
- 3D Printer: Obviously! Ensure it’s in good working order.
- Computer: Connected to your printer via USB.
- Terminal Software: You’ll need a way to send G-code commands to your printer. Popular options include:
- Pronterface (Printrun)
- OctoPrint (via its terminal tab)
- Repetier-Host
- Firmware Knowledge: Most modern FDM printers run Marlin firmware or a derivative. The commands discussed here are standard Marlin G-codes.
FDM PID tuning for the hotend: a step-by-step guide
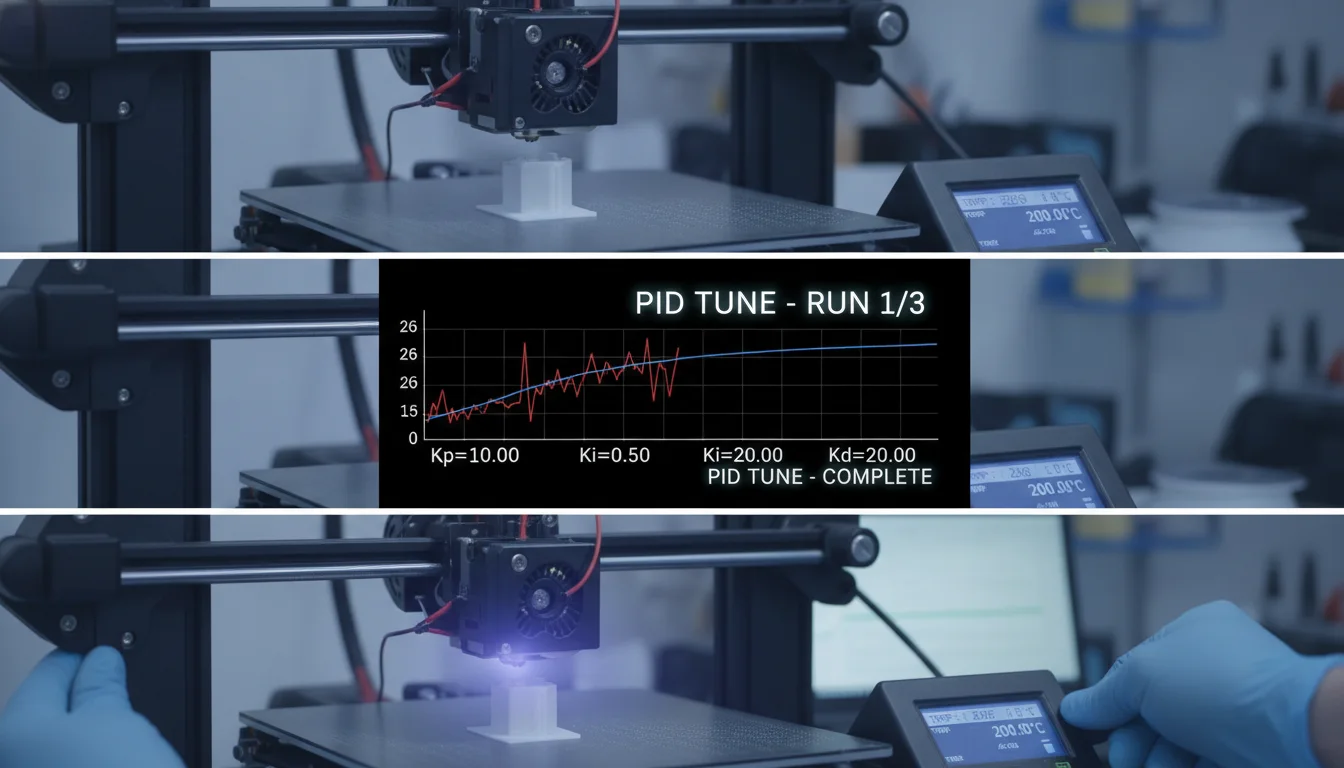
Calibrating your hotend’s PID values is crucial for consistent extrusion. We’ll use the M303 G-code command for an automatic tuning process.
Step 1: Connect to your printer
Connect your computer to your 3D printer via a USB cable. Open your chosen terminal software (Pronterface, OctoPrint terminal, etc.) and establish a connection at the correct baud rate (usually 115200 or 250000).
Step 2: Initiate the PID autotune for the hotend
Once connected, you’ll send the M303 command. This command instructs the printer to heat up and cool down multiple times, observing its thermal response to calculate optimal P, I, and D values.
Command format: M303 E0 S[TARGET_TEMP] C[CYCLES]
- E0: Specifies that we are tuning the hotend (Extruder 0). If you have multiple extruders, you might use E1, E2, etc.
- S[TARGET_TEMP]: This is the temperature you typically print at. Choose a temperature representative of your most common filaments (e.g., 200°C for PLA, 240°C for PETG).
- C[CYCLES]: The number of heating/cooling cycles the printer will perform. C5 or C8 is generally sufficient. More cycles can yield slightly more accurate results but take longer.
Example command for PLA (200°C, 8 cycles):
M303 E0 S200 C8
Send this command through your terminal. Your printer’s hotend will begin to heat up, then cool down, repeating this process for the specified number of cycles. You’ll see temperature readings and status messages in the terminal. This process can take 10-20 minutes, depending on your printer and chosen cycles.
Step 3: Save the new PID values
Once the cycles are complete, the terminal will output the calculated Kp, Ki, and Kd values. They will look something like this:
#define DEFAULT_Kp 22.2
#define DEFAULT_Ki 1.08
#define DEFAULT_Kd 114
PID Autotune finished! Put the last Kp, Ki and Kd values into your configuration.h
Important: These values are not automatically saved. You need to explicitly save them to your printer’s EEPROM (Electrically Erasable Programmable Read-Only Memory) so they persist after a power cycle.
To save the values, send the following G-code command:
M500
This command writes the currently active PID settings to the EEPROM. To verify that the values have been saved correctly, you can send:
M503
This command reports all current settings from the EEPROM, including your new PID values. Double-check that the Kp, Ki, and Kd values displayed match those calculated by the M303 command.
Step 4: Verify hotend stability
After saving, it’s good practice to visually verify the hotend’s temperature stability. Heat your hotend to your target printing temperature (e.g., M104 S200) and observe the temperature graph in your terminal software. You should see a stable line with minimal fluctuations (ideally within +/- 0.5°C). If you see significant oscillations, you might need to run the autotune again or consider manual tuning (for advanced users).
FDM PID tuning for the heated bed: ensuring adhesion
A retro-styled turntable and add-on speaker system with concrete and wood enclosure options. Currently running on Kickstarter.
Just like the hotend, your heated bed benefits immensely from proper PID tuning. A stable bed temperature is crucial for first layer adhesion and preventing warping, especially with materials like ABS or PETG. The process is very similar to the hotend, with a slight modification to the M303 command.
Step 1: Connect to your printer
As before, connect your computer to your printer via USB and open your terminal software.
Step 2: Initiate the PID autotune for the heated bed
For the heated bed, we specify E-1 in the M303 command.
Command format: M303 E-1 S[TARGET_TEMP] C[CYCLES]
- E-1: Specifies that we are tuning the heated bed.
- S[TARGET_TEMP]: Choose a temperature representative of your common bed temperatures (e.g., 60°C for PLA, 80°C for PETG, 100°C for ABS).
- C[CYCLES]: Again, C5 or C8 cycles are typically sufficient.
Example command for PLA (60°C, 8 cycles):
M303 E-1 S60 C8
Send this command. The heated bed will now go through the heating and cooling cycles. Due to the larger thermal mass of the bed, this process will take considerably longer than the hotend tuning, often 30-60 minutes or more.
Step 3: Save the new PID values
Once the bed tuning cycles are complete, the terminal will output the calculated Kp, Ki, and Kd values for the heated bed. Similar to the hotend, you must save these to EEPROM.
To save the values:
M500
To verify the saved values:
M503
Ensure the displayed bed PID values (often labeled with B or similar in the M503 output) match the ones reported after the M303 command.
Step 4: Verify heated bed stability
Heat your bed to a common printing temperature (e.g., M140 S60 followed by M190 S60 to wait for temperature) and monitor the temperature graph. Look for a stable temperature line with minimal fluctuations. A well-tuned heated bed will reach its target temperature efficiently and maintain it reliably.
Advanced considerations and troubleshooting
When to re-tune
PID tuning isn’t a one-and-done process for the lifetime of your printer. You should consider re-tuning your hotend and heated bed in the following scenarios:
- Firmware updates: Especially if they involve changes to thermal management.
- Hardware changes: Any modification to the hotend (new nozzle, heat break, heating cartridge, thermistor) or heated bed (new build plate, insulation, heating element) will alter thermal characteristics.
- Environmental changes: Moving your printer to a much colder or warmer room, or adding an enclosure, can affect thermal performance.
- Noticeable temperature instability: If you start observing print quality issues that point to temperature fluctuations, a re-tune is a good first step.
Manual PID tuning (for advanced users)
While M303 autotune is excellent for most users, some advanced individuals prefer manual PID tuning for fine-grained control. This involves iteratively adjusting P, I, and D values in small increments and observing the temperature response. It’s a significantly more time-consuming and complex process, requiring a deep understanding of control theory. For the vast majority, the autotune feature provides sufficient and highly effective calibration, making the extra effort of manual tuning largely unnecessary.
Troubleshooting common issues
- Thermal Runaway: If you encounter a thermal runaway error during autotune, stop immediately. This indicates a serious issue, potentially with your thermistor or heating element wiring. Do not proceed until the underlying hardware problem is resolved.
- Autotune fails to complete: Check your wiring and ensure your thermistors are correctly seated.
- Still seeing fluctuations: Ensure your printer’s power supply is adequate. Check for drafts around the hotend or bed. Consider adding insulation to your heated bed.
The undeniable benefits of proper FDM PID tuning
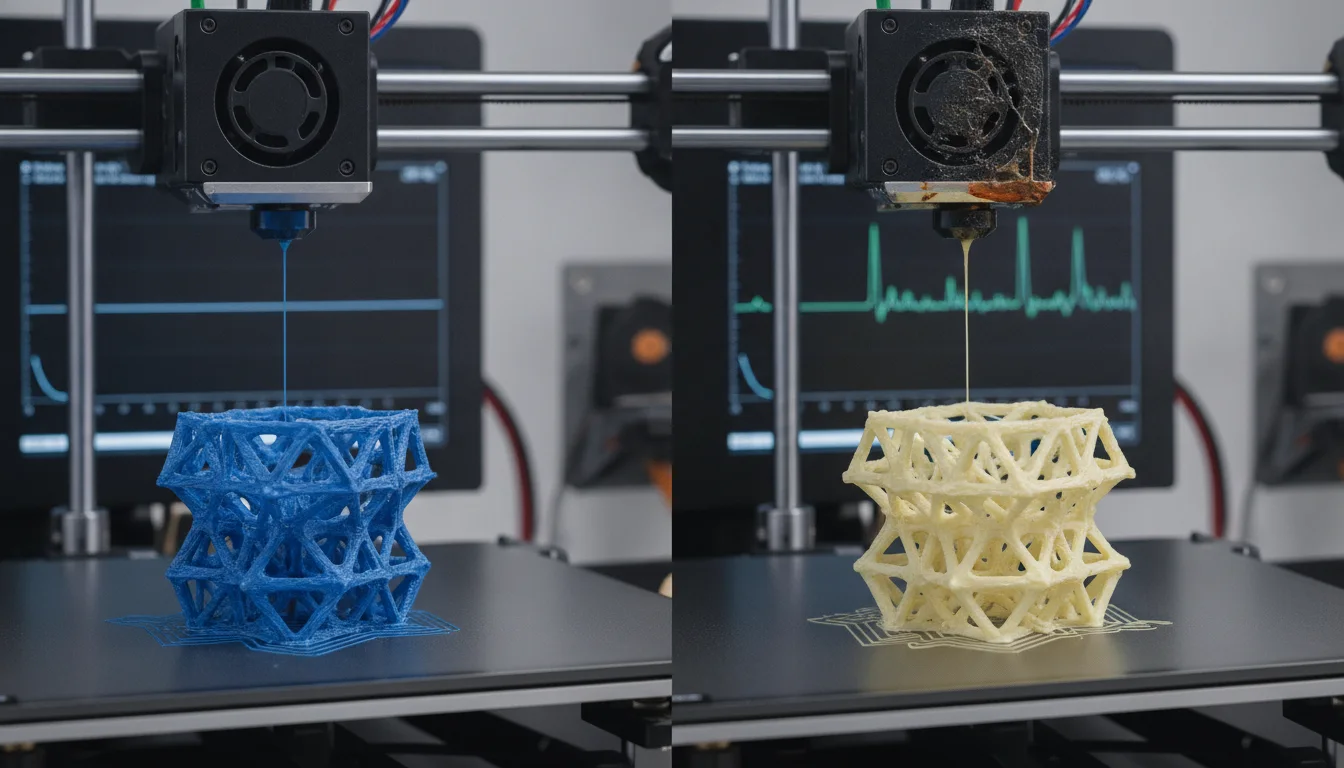
The time invested in PID tuning pays dividends in numerous ways, directly impacting the quality, reliability, and safety of your 3D printing endeavors:
- Enhanced print quality: Stable temperatures lead to consistent filament flow, resulting in smoother layers, better dimensional accuracy, and fewer visual defects like stringing or blobs. This directly contributes to superior FDM accuracy.
- Reduced print failures: Reliable first layer adhesion and consistent extrusion across all layers drastically reduce the likelihood of prints failing mid-way, saving you time and expensive filament.
- Improved energy efficiency: A well-tuned system reaches and maintains target temperatures with less overshoot and undershoot, meaning the heater is not constantly overworking or cooling down excessively. This optimizes temperature control 3D print operations.
- Increased printer longevity: Less stress on heating elements and power supply components due to smoother operation can extend the lifespan of your printer’s hardware.
- Enhanced safety: While PID tuning doesn’t prevent all thermal runaway issues, a properly calibrated system with stable temperature control is less likely to trigger false positives or operate in a state where a genuine sensor failure could go unnoticed, thus mitigating thermal runaway risks.
In conclusion, FDM PID tuning for both your hotend and heated bed is not merely an advanced tweak; it’s a fundamental calibration step that every 3D printer owner should undertake. By objectively understanding the mechanisms and following these step-by-step instructions, you equip your printer with the precision temperature control it needs to consistently produce high-quality prints. This proactive approach minimizes troubleshooting, conserves resources, and elevates your overall 3D printing experience, allowing you to focus on design and creation rather than fighting against thermal instability.
Frequently asked questions
Can I run PID autotune while my printer is inside an enclosure?
Yes, but you should run the autotune with the enclosure closed, because the thermal characteristics change when the ambient air around the printer is warmer. If you later open the enclosure during a print, the hotend or bed may struggle to hold temperature, so consider re-tuning for the specific enclosure state you print in most often. The article notes that environmental changes like adding an enclosure can affect thermal performance and may require a fresh PID tune.
Will PID tuning fix a thermal runaway error that keeps appearing during prints?
No—if you already see a thermal runaway error, stop immediately and check your thermistor and heater wiring first. The article explicitly warns that a thermal runaway error during autotune indicates a serious hardware problem that must be resolved before proceeding. PID tuning improves stability on healthy hardware, but it cannot compensate for a failing thermistor, loose connection, or damaged heating element.
How often should I re-tune the PID values after the initial calibration?
Re-tune whenever you change any hotend or bed hardware (nozzle, heat break, thermistor, heating cartridge, build plate, insulation), after a firmware update that affects thermal management, or if you move the printer to a significantly different room temperature or add an enclosure. The article also recommends re-tuning if you notice temperature instability or print quality issues that suggest fluctuations, so there is no fixed schedule—it depends on changes to your setup.