In the dynamic world of 3D printing, every decision, from material choice to model orientation, can significantly impact the final outcome. One such critical consideration, often overlooked by newcomers, is whether to print a model as a solid object or to hollow it out. The practice of hollowing 3D models is far more than a mere design tweak; it’s a strategic optimization that can lead to substantial savings in material, reduced print times, and even improved print quality under specific circumstances. This guide delves into the nuances of hollowing, offering an objective analysis to help you make informed decisions for your projects, ensuring you strike the right balance between efficiency and structural integrity.
The fundamental choice: hollow versus solid 3D models
The consumer toolchanger 3D printer: the SnapSwap 4-toolhead system swaps heads in 5 seconds for true multi-color and multi-material printing, with smart calibration and auto filament loading.
- 4 toolheads · 5 s swap
- Up to 500 mm/s · 20,000 mm/s²
- 270 mm cube build volume
- Multi-color & multi-material

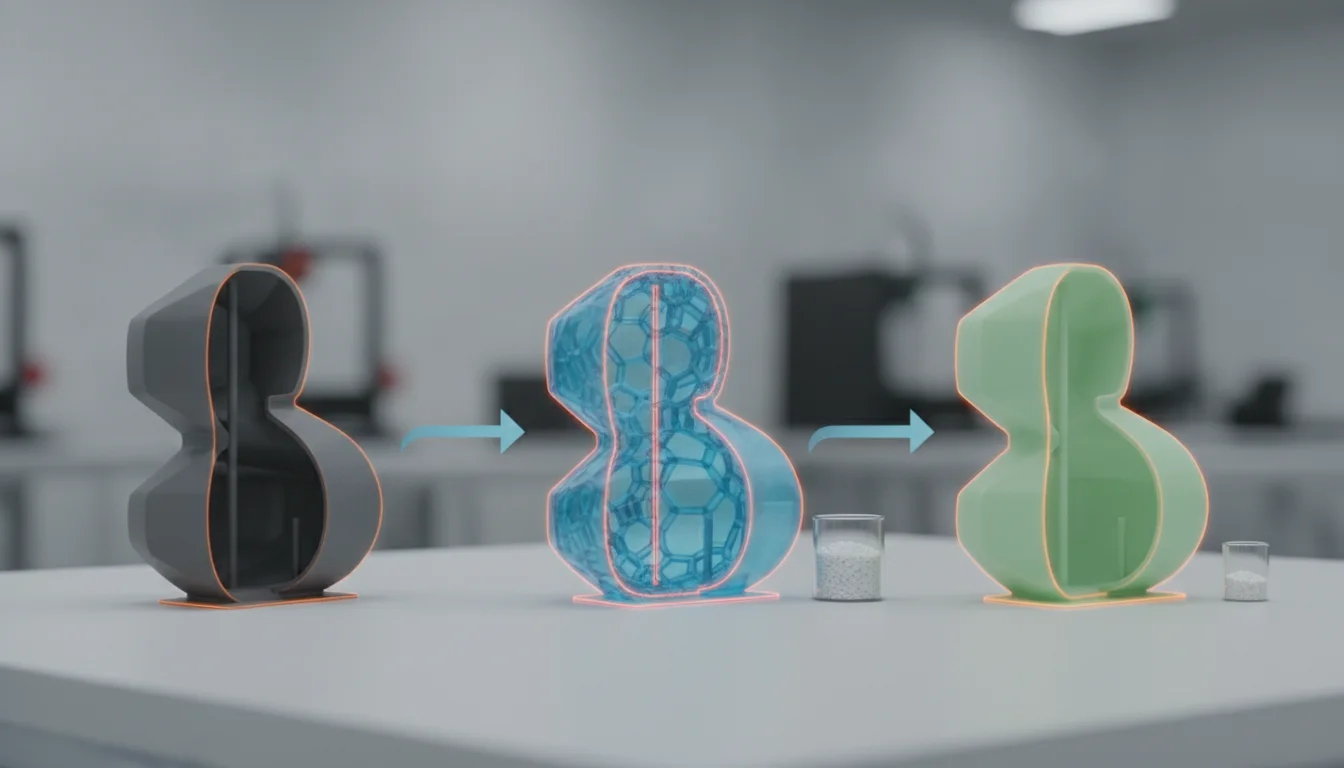
At the heart of every 3D printing project lies a fundamental decision: will your model be solid or hollow? Each approach carries its own set of advantages and disadvantages, dictating everything from material consumption to the model’s ultimate strength and weight. Understanding these core differences is the first step toward optimizing your designs for 3D printing.
The case for solid models
Solid 3D models are exactly what they sound like: completely filled with material. This approach is typically favored when the printed part requires maximum structural integrity, density, or a particular weight. For instance, functional prototypes that will undergo stress testing, mechanical components requiring high rigidity, or tools that benefit from a substantial heft are prime candidates for solid printing. The absence of internal voids ensures uniform strength across the part, making it less susceptible to localized failures under load. Furthermore, for very small models, the material savings from hollowing might be negligible, and the complexities introduced by thin walls or drainage holes could outweigh any potential benefits. In such cases, the simplicity and reliability of a solid print often make it the more practical choice, minimizing potential printing issues and post-processing steps.
The advantages of hollowing
Conversely, hollowing 3D models presents a compelling array of benefits, particularly for larger prints or those using expensive materials. The most immediate and often most significant advantage is the ability to save 3D print material. By removing the interior volume, you drastically reduce the amount of filament or resin consumed, directly translating into lower production costs. This is especially impactful when working with premium or specialty materials where every gram counts.
Beyond material savings, hollowing can lead to significantly faster 3D prints. Less material means fewer layers to solidify and less extruder movement for FDM printers, or fewer cure cycles for resin printers. This reduction in print time can be a game-changer for batch production or projects with tight deadlines. Moreover, lighter parts are often desirable in applications such as cosplay props, drone components, or artistic sculptures where weight is a critical factor for handling or display. In resin printing, hollowing can also help mitigate internal stresses during curing, potentially reducing warping or cracking in large, thick-walled prints. It allows for more consistent thermal management, as heat build-up in thick solid sections can sometimes cause issues. This balance of benefits makes hollowing a powerful tool in the arsenal of any experienced 3D printer.
When to consider hollowing your 3D models
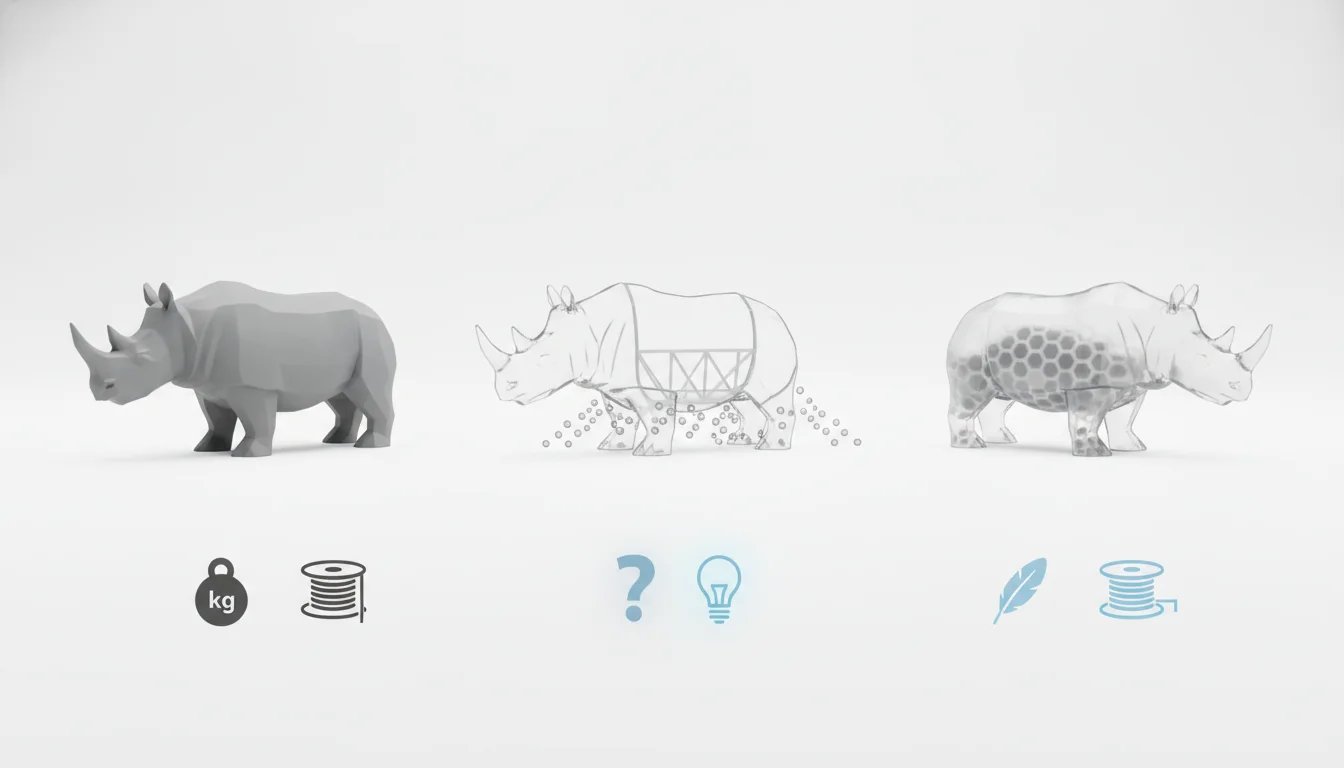
Deciding when to hollow a model isn’t a one-size-fits-all proposition; it depends heavily on the specific application, material, and printing technology. Here are key scenarios where hollowing often proves to be the optimal strategy:
- Large-scale prints: For models with considerable volume, hollowing becomes almost a necessity. The material and time savings can be enormous, making otherwise impractical prints feasible.
- Expensive materials: When using high-cost resins, specialized filaments, or precious metals (in metal 3D printing), hollowing is a primary method to keep production costs in check without sacrificing the overall form.
- Weight-sensitive applications: Projects requiring lightweight components, such as aerospace parts, wearable props, or intricate architectural models, benefit immensely from the reduced mass that hollowing provides.
- Resin printing: Due to the nature of liquid resin and UV curing, hollowing is often crucial. It prevents uncured resin from being trapped inside, reduces material shrinkage, and minimizes suction forces during the print process.
- Specific post-processing requirements: If a part needs to be filled with another material (e.g., concrete, foam) for added weight or insulation after printing, hollowing is the preparatory step.
- Aesthetics over strength: For purely decorative items or display pieces where extreme durability isn’t a concern, hollowing allows for cost-effective creation of complex geometries.
The mechanics of hollowing 3D models

Implementing hollowing effectively requires an understanding of both the software tools at your disposal and the critical design considerations that ensure a successful print. It’s not just about creating an empty space; it’s about managing that space intelligently.
Software tools and settings
Most modern 3D printing software, from CAD programs to slicers, offers functionalities to hollow models. In CAD software like Fusion 360 or Blender, you can often use a ‘shell’ or ‘offset’ command to create an inner surface at a specified distance from the outer one. This gives you precise control over wall thickness and internal geometry. When preparing your model for printing, slicer software (e.g., Cura, PrusaSlicer, Chitubox, Lychee Slicer) typically provides dedicated hollowing settings. Key parameters include:
- Wall thickness (or shell thickness): This is arguably the most critical setting. It determines the strength of your hollow print. Too thin, and the part becomes brittle or prone to print failure; too thick, and you negate some of the material-saving benefits. The ideal thickness depends on the material, print technology, and the intended use of the part. For FDM, typically 2-4 wall lines are a good starting point. For resin, 1.5-2.5mm is common.
- Infill percentage (for FDM): While truly hollow models have no infill, some designers opt for a very low infill percentage (e.g., 5-10%) with a specific pattern to provide minimal internal support, especially for complex overhangs within the hollow space, without adding significant material.
- Internal supports: Some slicers can generate supports within the hollow cavity to prevent internal features from collapsing during printing. These are often difficult or impossible to remove but can be essential for complex internal geometries.
Designing for success: the critical role of drainage holes
For resin 3D printing, and sometimes even for FDM with specific post-processing, the design and placement of drainage holes are absolutely paramount. Neglecting this step can lead to print failures, trapped uncured resin, and even damage to your printer. Effective drainage holes design serves several vital functions:
- Resin escape: In resin printing, as the build plate lifts, liquid resin can become trapped inside hollow cavities. Drainage holes allow this uncured resin to flow out, preventing it from hardening inside the model during post-curing and wasting material.
- Pressure equalization: During the print process, suction forces can build up inside hollow parts as the build plate separates layers. Drainage holes allow air to enter and exit, equalizing pressure and preventing the model from deforming or detaching from the build plate.
- Cleaning and curing: After printing, any trapped uncured resin needs to be thoroughly cleaned out. Drainage holes provide access for rinsing with IPA or other cleaning agents. They also allow UV light to penetrate the interior during post-curing, ensuring all resin, including residual film, hardens properly.
When designing drainage holes, consider the following:
- Placement: Holes should ideally be placed at the lowest points of the model when oriented for printing, allowing gravity to assist in drainage. Multiple holes are often better than one, especially for complex internal geometries, to ensure both resin outflow and air ingress.
- Size: The holes need to be large enough to allow resin to flow freely and for cleaning tools (like syringes or cotton swabs) to access the interior. A diameter of 2-3mm is a common starting point, but this can vary based on resin viscosity and model size.
- Number: For optimal drainage and pressure relief, consider placing at least two holes per significant hollow cavity – one for resin to exit and another for air to enter.
- Accessibility: Think about how you will seal the holes after post-processing if necessary. Placement in less visible areas can be beneficial.
Potential challenges and considerations
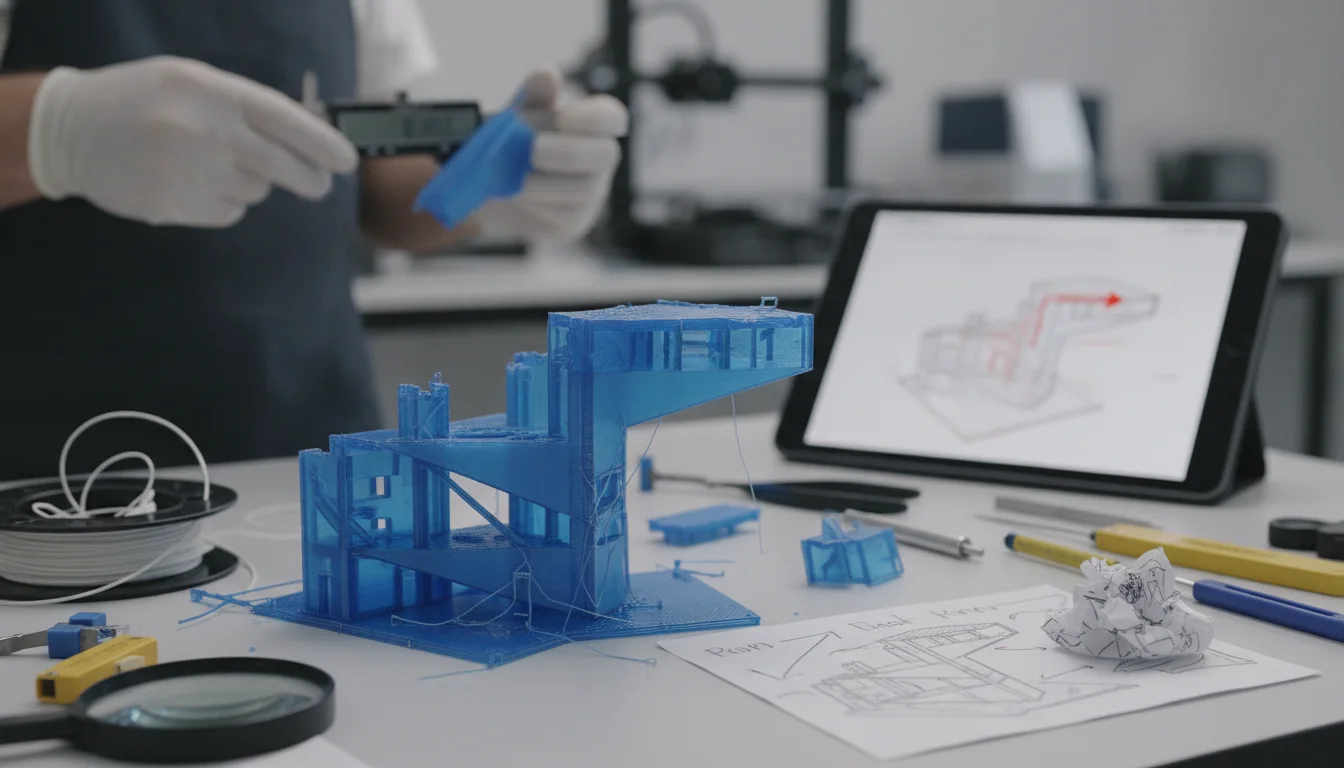
While hollowing offers significant advantages, it’s not without its challenges. Being aware of these potential pitfalls can help you mitigate risks and ensure a successful print:
- Structural integrity: A hollow part, by definition, is less robust than its solid counterpart. Thin walls can make the model brittle and susceptible to breakage, especially if it’s intended for functional use or will experience any form of stress. Careful consideration of wall thickness relative to the part’s function is crucial.
- Print failures: For resin printing, inadequate or poorly placed drainage holes can lead to suction cup effects, causing layers to delaminate or the print to detach from the build plate. Trapped uncured resin can also lead to internal pressure build-up, causing cracks or blowouts during or after printing. FDM hollow prints can suffer from internal support failures or issues with bridging internal gaps if not properly designed.
- Post-processing complexities: Cleaning uncured resin from inside a hollow part can be tricky, especially if the internal geometry is complex or the drainage holes are small. Ensuring thorough cleaning and full post-curing of the interior is vital to prevent sticky residue or continued resin degradation. Sealing the drainage holes afterwards, if required for aesthetics or function, adds another step to the workflow.
- Internal supports: While often necessary for complex internal overhangs, internal supports are typically difficult or impossible to remove. This can be a concern if the internal surface finish is critical or if the supports block drainage.
Optimizing your workflow
The consumer toolchanger 3D printer: the SnapSwap 4-toolhead system swaps heads in 5 seconds for true multi-color and multi-material printing, with smart calibration and auto filament loading.
Mastering the art of hollowing 3D models is an iterative process that involves experimentation and a deep understanding of your materials and equipment. To truly optimize your workflow, consider these practices:
- Test prints: For critical or large-scale projects, always conduct smaller test prints with varying hollowing parameters (wall thickness, drainage hole size/placement) to validate your settings before committing to the full print.
- Material understanding: Different materials behave differently when hollowed. Flexible resins might tolerate thinner walls than rigid ones, while certain FDM filaments might require more substantial wall thicknesses to maintain strength. Consult material data sheets and community recommendations.
- Printer capabilities: Understand the limitations and strengths of your specific 3D printer. Some printers are better equipped to handle very thin walls or intricate internal structures than others.
- Balance efficiency with function: The goal is not always to use the absolute minimum amount of material. Instead, it’s about finding the sweet spot where material savings and print speed are maximized without compromising the structural integrity or functional requirements of your final part.
The decision to hollow a 3D model is a nuanced one, heavily influenced by the specific demands of each project. By objectively weighing the benefits of material and time savings against potential challenges to structural integrity and post-processing, you can make an informed choice. Leveraging the right software tools, meticulously designing features like drainage holes, and understanding your material’s properties are all crucial steps in this optimization process. Ultimately, the power to create efficient, high-quality 3D prints lies in your hands, guided by a thorough understanding of these fundamental principles.
Frequently asked questions
Can I just use a very low infill percentage instead of hollowing to save material?
Yes. For FDM printing, a low infill percentage (e.g., 5–10%) is a common alternative to a fully hollow shell with no infill. This approach provides minimal internal support for overhangs inside the cavity while still saving significant material compared to a solid print. The trade-off is that the internal grid structure adds some weight and material cost that a truly hollow model would avoid, so the choice depends on whether you need that internal support or want maximum material savings.
How do I seal drainage holes after post-processing?
Drainage holes are typically sealed after cleaning and curing by filling them with the same resin or filament used for the print. For resin prints, you can apply a small drop of uncured resin to the hole and cure it with a UV flashlight. For FDM prints, you can melt a small piece of the same filament into the hole using a soldering iron, then sand the surface flush. Placing holes in less visible areas during the design phase makes this sealing step much easier.
What happens if I forget to add drainage holes to a resin print?
Omitting drainage holes in a resin hollow print will nearly always cause print failure. During printing, trapped liquid resin creates suction forces that can delaminate layers or pull the model off the build plate. After printing, uncured resin trapped inside will harden during post-curing, potentially cracking the shell from internal pressure, and it cannot be cleaned out, leaving a sticky, uncured interior that degrades over time.