In the intricate world of additive manufacturing, seemingly minor details can often make or break a print. Among these, wall thickness 3d printing stands out as a critical parameter, holding the key to a print's structural integrity, aesthetic appeal, and overall success. Far from being a mere afterthought, understanding and optimizing wall thickness is fundamental for anyone looking to transition from hobbyist prints to truly robust and reliable 3D-printed parts. This comprehensive guide will delve into the nuances of wall thickness, exploring its profound impact on your creations and equipping you with the knowledge to make informed decisions for every print.
What is wall thickness in 3D printing?

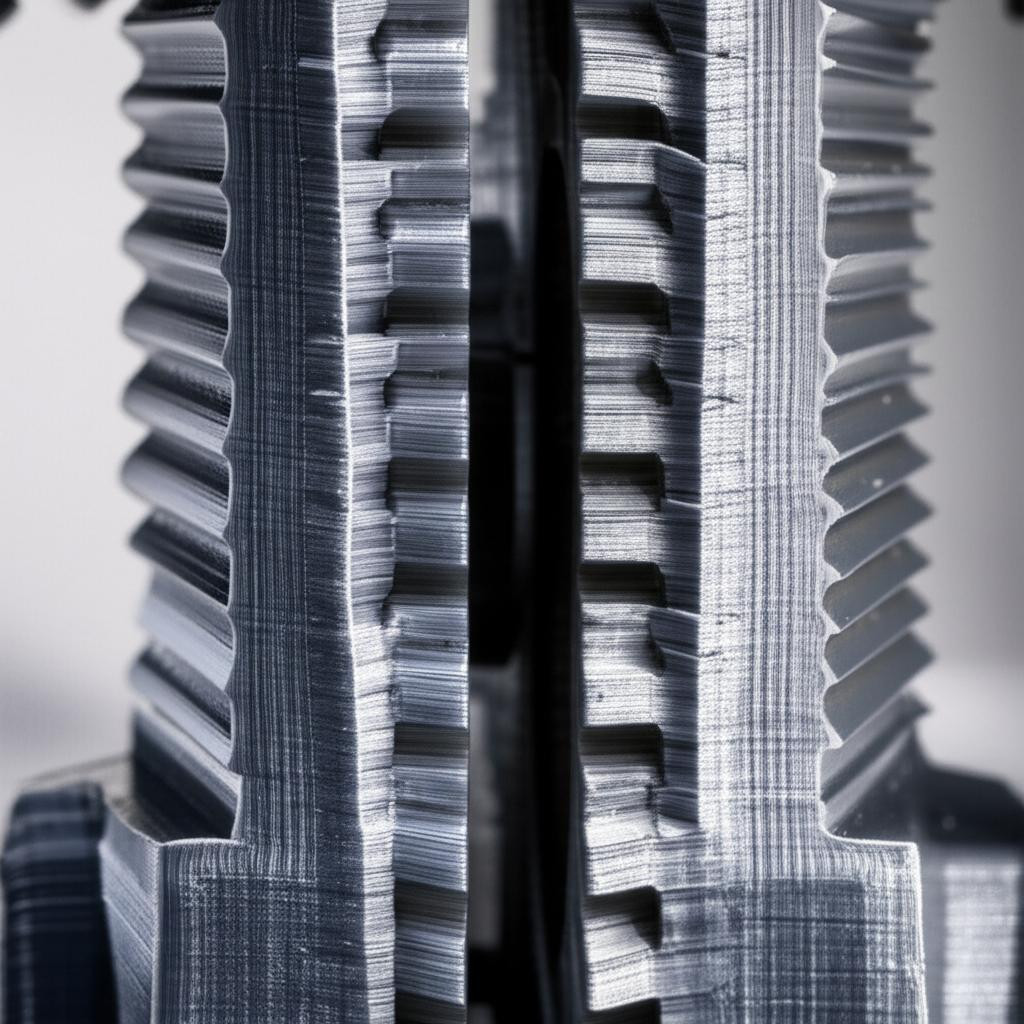
At its core, wall thickness refers to the distance between the inner and outer surfaces of your 3D model. In the context of Fused Deposition Modeling (FDM) – the most common 3D printing technology for home users – this is primarily controlled by the number of “perimeters” or “shells” that your slicing software generates. Think of it like building a house: the walls are constructed from multiple layers of bricks (or in this case, extruded plastic lines) laid side by side to create a solid outer shell.
- Perimeters/Shells: These are the continuous lines of plastic that form the outer and inner boundaries of your print. A higher number of perimeters directly translates to a thicker wall.
- Nozzle Diameter: The thickness of a single perimeter line is determined by your printer's nozzle diameter. For instance, a 0.4mm nozzle will lay down a line approximately 0.4mm wide.
- Relationship with Infill: While walls provide the external structure, infill (the internal lattice structure) provides internal support. Walls and infill work in tandem to create a part's overall strength, but walls are particularly crucial for surface integrity and resistance to external forces.
Why wall thickness matters: The core principles
The seemingly simple concept of wall thickness ripples through every aspect of your 3D printing journey, influencing everything from the part's physical properties to the resources consumed during its creation.
Strength and durability: The bedrock of robust prints
This is perhaps the most obvious and critical reason to pay attention to wall thickness. Thicker walls directly contribute to strong 3d prints. Imagine trying to crush a hollow plastic bottle versus one filled with sand; the difference in resistance is palpable. In 3D printing, thicker perimeters:
- Increase structural integrity: They provide a more substantial framework that can withstand greater loads, impacts, and stresses before deforming or failing.
- Improve resistance to bending and compression: Parts with adequate wall thickness are less likely to flex, bend, or buckle under pressure, making them suitable for functional applications.
- Enhance layer adhesion: With more material laid down, there's a larger surface area for adjacent layers to bond, reducing the likelihood of delamination, especially along the Z-axis.
Printability and success rates: Avoiding fragile prints
Beyond just strength, appropriate wall thickness plays a vital role in the sheer success of your print. Many common print failures can be attributed, at least in part, to walls that are too thin, leading to situations requiring a fragile prints fix.
- Preventing warping and curling: Thin walls cool down faster and more unevenly than thicker sections, making them highly susceptible to warping, lifting off the print bed, or curling upwards. Thicker walls retain heat better and cool more uniformly, reducing internal stresses.
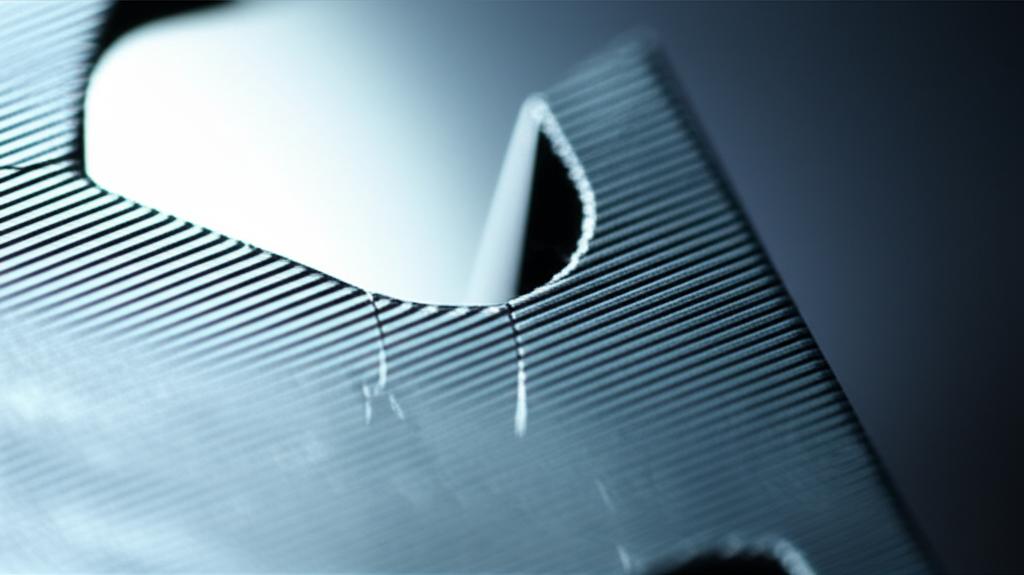
- Better bridging and overhang support: When printing features like bridges (horizontal spans) or overhangs (sections extending outwards without direct support), the integrity of the surrounding walls is paramount. Thicker walls provide a more stable foundation for these challenging geometries.
- Reducing ghosting and ringing: While not directly a wall thickness issue, flimsy walls can vibrate more during rapid print head movements, exacerbating print artifacts like ghosting or ringing.
- Facilitating post-processing: Thicker walls are more forgiving when it comes to sanding, drilling, or other post-processing techniques, as they are less likely to crack or break.
Material usage, cost, and print time: The practical considerations
While strength is often the primary driver, practical considerations like material consumption and print duration cannot be overlooked.
- Material Consumption: It's a straightforward equation: more plastic means more material used. For large prints or batch production, this can significantly impact the overall cost.
- Print Time: Similarly, extruding more material takes longer. Thicker walls mean more passes for the print head, extending print times, sometimes by hours for complex models.
- Weight: For applications where weight is a factor (e.g., drones, robotics, cosplay props), excessively thick walls can add unnecessary mass, potentially hindering performance or comfort.
The goal, therefore, is to strike a balance: enough wall thickness for the required strength and printability, but not so much that it becomes wasteful or impractical.
Determining the optimal wall thickness: Factors to consider
There's no one-size-fits-all answer to the question of optimal wall thickness 3d printing. The ideal setting is a dynamic interplay of several factors, each demanding your attention.
Intended application of the part
What will your 3D print be used for? This is the most crucial question. A decorative figurine will have vastly different requirements than a functional bracket holding a heavy load.
- Aesthetic/Non-functional parts: For models that are purely visual, minimum wall thickness might suffice, focusing on surface quality rather than brute strength.
- Functional prototypes/Low-stress parts: A moderate wall thickness (e.g., 2-3 perimeters) is often a good starting point.
- High-stress/Load-bearing components: These demand significant wall thickness (e.g., 4+ perimeters, or even solid walls in critical areas) to ensure they don't fail under operational conditions.
Material choice
Different filaments possess distinct mechanical properties that influence how much material is needed to achieve a certain strength. For instance:
- PLA: Generally rigid but can be brittle. Often requires slightly thicker walls than more flexible materials for similar impact resistance.
- ABS/PETG: More ductile and impact-resistant than PLA. Can sometimes achieve good strength with slightly thinner walls due to their inherent toughness.
- Nylon/Polycarbonate: Exceptionally strong and durable. While they can achieve incredible strength, their higher cost often encourages optimization of wall thickness.
- Flexible filaments (TPU/TPE): These materials behave differently. Their flexibility means they can absorb impact, but thin walls might be too flimsy for structural integrity, requiring more material for rigidity if that's desired.
Nozzle diameter: The fundamental constraint
Your nozzle's diameter is the bedrock upon which wall thickness is built. A 0.4mm nozzle is standard, but larger nozzles (0.6mm, 0.8mm) are gaining popularity for faster, stronger prints.
- Multiples of Nozzle Diameter: Ideally, your wall thickness should be a multiple of your nozzle diameter. For a 0.4mm nozzle, common wall thicknesses are 0.8mm (2 perimeters), 1.2mm (3 perimeters), 1.6mm (4 perimeters), and so on. This ensures complete infill of the wall and optimal layer adhesion.
- Impact on Detail: Larger nozzles mean thicker lines, which can obscure fine details. Smaller nozzles allow for more intricate designs but increase print time and potentially reduce strength unless compensated with more perimeters.
Infill density and pattern: A symbiotic relationship
While distinct from wall thickness, infill plays a crucial supporting role. Walls provide the external shell, while infill provides internal bulk and rigidity. You can often achieve a good balance by adjusting both.
- High Walls, Low Infill: For parts where surface strength and resistance to crushing are paramount, but internal weight isn't critical (e.g., enclosure boxes), many perimeters with low infill (e.g., 10-20%) can be effective.
- Low Walls, High Infill: For parts that need uniform internal strength or are subject to shear forces, fewer perimeters combined with higher infill (e.g., 50%+) might be more appropriate.
- Combined Approach: Often, 3-4 perimeters with 20-30% infill provides a good all-around balance for general-purpose parts, offering decent strength without excessive material use or print time.
Specific 3D printing technology
While this guide focuses on FDM, it's worth noting that other technologies have different considerations:
- SLA/DLP (Resin Printing): Wall thickness is often determined by the ability of the resin to cure and the part to be washed/cured without cracking. Thin features can be very delicate.
- SLS (Powder Bed Fusion): Parts are often solid or have very thin walls, as the un-sintered powder provides internal support. Minimum feature size is a key consideration here.
Minimum wall thickness: A critical threshold
Every 3D printing technology and material has a minimum wall thickness below which reliable printing becomes challenging or impossible, and the resulting part will be inherently weak. Pushing these limits often leads to a fragile prints fix scenario, or worse, outright print failure.
General guidelines for FDM (with 0.4mm nozzle)
- Absolute Minimum: 0.4mm (1 perimeter). This is the thinnest possible wall, equivalent to a single line of plastic. It's extremely fragile and prone to breaking, warping, or not printing at all if not perfectly calibrated.
- Recommended Minimum for Structural Parts: 0.8mm (2 perimeters). This provides a significant jump in strength and printability compared to a single wall. It's a good starting point for parts that need some rigidity.
- Good Practice for General Use: 1.2mm (3 perimeters). This offers a robust balance for most functional prints, providing good strength, better surface finish, and improved resistance to warping.
- For High Strength: 1.6mm (4 perimeters) or more. For parts under significant stress, more perimeters are always better.
Why going too thin is problematic
- Lack of Structural Integrity: The most immediate consequence. Thin walls are flimsy and will buckle, crack, or snap with minimal force.
- Print Failures: Under-extrusion, layer gaps, and even complete print detachment can occur with walls that are too thin to properly form or adhere.
- Heat Management Issues: Very thin walls cool rapidly, leading to warping, curling, and poor layer adhesion due to thermal stresses.
- Difficulty with Overhangs and Bridges: These features rely on the stability of the surrounding walls. Thin walls offer insufficient support, leading to sagging or collapse.
- Post-Processing Challenges: Attempting to sand, drill, or tap a part with walls too thin often results in breakage.
It's always advisable to err on the side of slightly thicker walls if you're unsure, especially for functional parts. You can always reduce thickness in future iterations once you've established a baseline for strength and printability.
Strategies for achieving strong 3D prints through wall thickness
Beyond simply increasing the number of perimeters, there are several design and slicing strategies that leverage wall thickness 3d printing to produce truly robust parts.
Multiple perimeters/shells: The direct approach
This is the most straightforward way to boost strength. Most slicers allow you to specify the number of "walls," "perimeters," or "shells."
- 2-3 Perimeters: Good for general-purpose parts, balancing strength and material use.
- 4+ Perimeters: Essential for parts that will undergo significant stress, such as mechanical components, jigs, or fixtures. For maximum strength, some users even print with 100% infill, effectively making the entire part a solid block of walls.
Combining with infill: A powerful synergy
While walls provide external resilience, infill contributes to internal bulk and resistance to compression and internal stresses. The optimal combination depends on the specific load case.
- Shell-First Philosophy: For many applications, especially those requiring impact resistance or surface strength, prioritize more perimeters over very high infill. A part with 4 perimeters and 20% infill often feels stronger and more rigid than a part with 2 perimeters and 50% infill, especially against crushing forces.
- High Infill for Uniform Strength: If a part needs to be strong throughout its entire volume (e.g., a solid block under compression), increasing infill density (e.g., 50-100%) in conjunction with adequate walls is beneficial.
Design considerations in CAD: Proactive strength engineering
The best way to ensure strong prints is to design for strength from the outset. Wall thickness isn't just a slicer setting; it's a fundamental design choice.
- Avoid Sharp Corners: Sharp internal and external corners act as stress concentrators, where forces accumulate and are most likely to initiate cracks. Incorporating fillets (rounded internal corners) and chamfers (beveled external edges) distributes stress more evenly, making the part much stronger.
- Add Ribs and Gussets: For localized reinforcement without making the entire part excessively thick or heavy, add thin ribs or gussets. These are structural reinforcements that can dramatically increase the rigidity of a flat surface or the strength of a joint.
- Consider Anisotropic Properties: FDM prints are stronger along the X-Y plane (across layers) than along the Z-axis (between layers). Design your parts so that critical stress lines run parallel to the layers, or orient the part on the build plate to achieve this.
Material flow and extrusion consistency
Even with optimal wall thickness settings, poor extrusion can undermine your efforts. Under-extrusion, for example, can leave gaps or weak spots within your walls, effectively reducing their actual thickness and leading to fragile prints fix situations.
- Calibrate E-steps and Flow Rate: Ensure your printer is extruding the correct amount of filament.
- Optimize Print Temperature: Too low a temperature can lead to poor layer adhesion within the walls.
- Proper Cooling: While too much cooling can cause warping, insufficient cooling can lead to walls that are still soft when the next layer is deposited, compromising their integrity.
Troubleshooting common wall thickness issues (and fragile prints fix)
Even seasoned 3D printing enthusiasts encounter issues related to wall thickness. Here's how to diagnose and address some common problems:
Prints breaking easily: The ultimate fragile prints fix
This is the most direct symptom of insufficient wall thickness or poor layer adhesion.
- Solution: Increase the number of perimeters (e.g., from 2 to 3 or 4). Consider increasing infill density, especially for parts under compression. Check your material properties; some filaments are inherently more brittle. Ensure proper print temperature for good layer bonding.
Walls not bonding or showing gaps
If your walls appear to be made of separate lines rather than a solid structure, or if there are visible gaps, your effective wall thickness is compromised.
- Solution: Calibrate your E-steps and flow rate to ensure correct extrusion. Increase print temperature slightly to improve filament flow and adhesion. Reduce print speed, especially for intricate sections. Check for partial nozzle clogs. Ensure your line width in the slicer is set correctly (usually equal to your nozzle diameter).
Warping or curling at the base
While often attributed to bed adhesion or cooling, thin walls can exacerbate these issues.
- Solution: Increase the number of bottom perimeters (if your slicer allows separate settings). This creates a more stable base. Ensure proper bed adhesion (clean bed, correct temperature, adhesive if needed). Manage cooling effectively; for materials prone to warping (like ABS), reduce cooling on initial layers. Consider an enclosure.
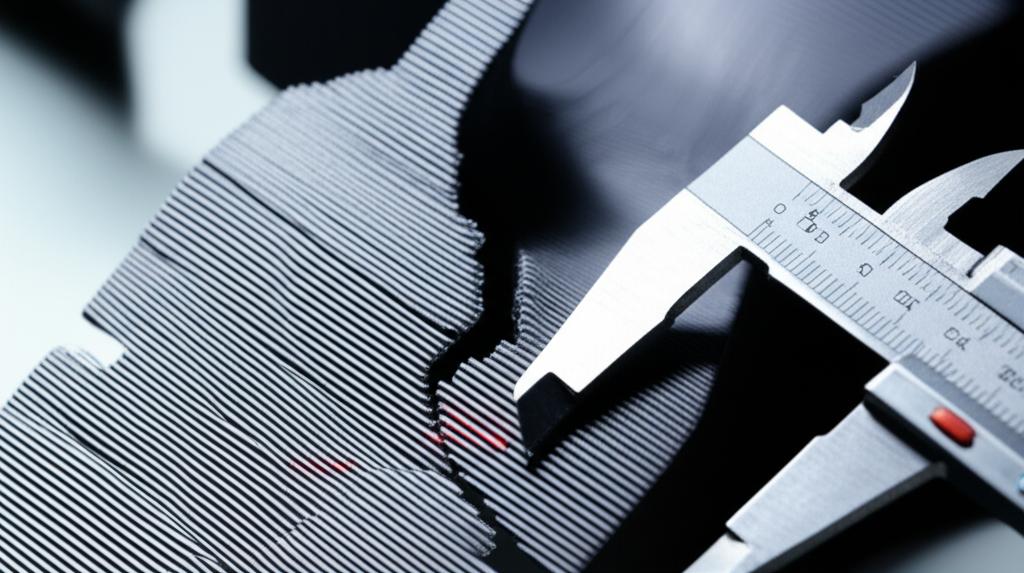
Inconsistent wall thickness or bulging
If your walls aren't uniformly thick, appearing thinner in some spots and thicker in others, or showing bulges.
- Solution: Check belt tension (loose belts can cause inconsistent movement). Ensure your printer's frame is rigid. Reduce print speed, especially for outer walls. Calibrate flow rate. Check for Z-wobble or bent lead screws.
Advanced tips and tricks for wall thickness mastery
For those looking to push the boundaries of their 3D prints, here are a few advanced considerations:
- Variable Wall Thickness in Design: For highly optimized parts, you can design different wall thicknesses for different sections of the model in your CAD software, rather than relying solely on uniform slicer settings. This allows for material saving where strength isn't critical and reinforcement only where needed.
- Using Simulation Software: For critical functional parts, consider using Finite Element Analysis (FEA) software. This allows you to simulate stress and strain on your part under various loads, helping you identify weak points and optimize wall thickness precisely where it matters most.
- Gradient Infill: Some advanced slicers offer gradient infill, where the infill density gradually increases towards the outer walls, providing a smooth transition from strong shell to lighter interior.
- Test Prototypes: When designing a new functional part, print small test pieces or scaled-down versions with varying wall thicknesses to empirically determine the optimal settings for your specific printer, material, and application.
Conclusion
Mastering wall thickness 3d printing is more than just tweaking a setting in your slicer; it's an art and a science that underpins the success of every 3D print. From ensuring strong 3d prints that stand the test of time to preventing frustrating print failures and avoiding the need for a constant fragile prints fix, understanding this crucial parameter is indispensable. By carefully considering your part's intended use, material choice, nozzle size, and the interplay between walls and infill, you can unlock the full potential of your 3D printer. Remember, the journey to perfect prints is one of continuous learning and experimentation. Embrace the process, fine-tune your settings, and watch as your 3D-printed creations transform from fragile prototypes into robust, reliable, and truly functional parts.