A pristine glass print bed is the cornerstone of successful 3D printing. It ensures optimal first-layer adhesion, prevents warping, and ultimately contributes to the overall quality of your prints. While isopropyl alcohol (IPA) is often the go-to for routine cleaning, some residues are simply too stubborn for a quick wipe. Over time, materials like PETG, ABS, various adhesives, and even sugar-based glues can leave behind tenacious films that compromise your bed's surface, leading to frustrating adhesion issues.
The enduring appeal and inherent challenges of a glass print bed

Explore the
Snapmaker U1
Glass print beds are a popular choice among 3D printing enthusiasts for several compelling reasons. Their exceptional flatness provides an ideal surface for consistent first layers, while their thermal stability helps maintain an even temperature across the build area. Moreover, glass is generally durable and resistant to scratching, offering a long lifespan when properly maintained. However, the very properties that make glass so appealing can also present challenges when it comes to cleaning. Its smooth, non-porous surface, while excellent for adhesion, can also bond tightly with certain plastic residues and adhesives, making them incredibly difficult to remove.
When IPA isn't enough: identifying the culprits

Isopropyl alcohol is effective for removing light grease, fingerprints, and some fresh plastic remnants. However, it often struggles with:
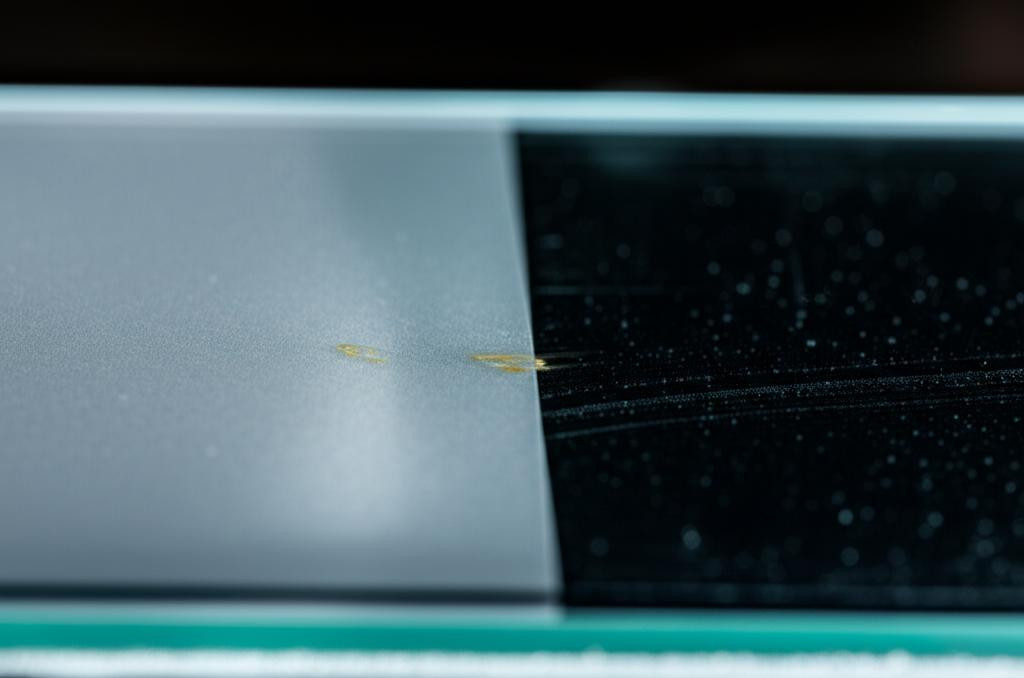
- Baked-on plastic residues: Especially common with materials like PETG or ABS, which can leave a thin, almost invisible film that drastically reduces adhesion.
- Adhesive sprays and glues: Hairspray, glue sticks (PVA-based), and sugar-based solutions can build up into sticky, difficult-to-remove layers.
- Carbonized or burnt-on spots: These can occur from hot nozzle contact or material degradation, leaving dark, fused marks.
Recognizing the type of stubborn residue is the first step towards choosing the most effective advanced cleaning method.
Advanced cleaning techniques for a spotless surface
When IPA proves insufficient, it's time to bring out the big guns. These techniques require care and attention to safety, but they can restore your glass print bed to its original glory.
Mechanical removal: careful scraping and gentle abrasion
For thick, solid residues, mechanical removal can be highly effective, but it must be approached with caution to avoid damaging the glass surface.
- Razor blades (single-edge): Ideal for scraping off hardened plastic blobs or thick layers of adhesive. Hold the blade at a very shallow angle (almost flat) to the glass and apply light, even pressure. Always push away from yourself. This method is excellent for precision removal but carries a risk of scratching if not handled correctly.
- Plastic scrapers/putty knives: A safer alternative for general, less-adhered residues. While less effective on truly stubborn spots, they reduce the risk of scratching the glass.
Safety note: Always ensure the print bed is cold before attempting mechanical removal. Wear protective gloves and eye protection, especially when using razor blades.
Chemical solutions: beyond isopropyl alcohol
Different residues respond to different chemical solvents. Always work in a well-ventilated area and wear appropriate personal protective equipment (PPE) such as gloves and safety glasses.
Acetone
- What it's good for: Highly effective for dissolving ABS, PETG, and some superglues. It breaks down the polymer chains, making removal easier.
- How to use: Apply a small amount to a clean, lint-free cloth or paper towel. Gently wipe the affected area. For very stubborn spots, you can let a small, acetone-soaked patch sit on the residue for a minute or two (ensure it doesn't drip onto plastic printer parts).
- Cautions: Acetone is a strong solvent and highly flammable. It can damage many plastics (including printer frames and components), painted surfaces, and certain types of bed coatings. Always ensure good ventilation. Rinse the bed thoroughly with water after use.
Window cleaner (ammonia-based)
- What it's good for: Excellent for general grime, fingerprints, light adhesive residues, and some sugar-based glues. Ammonia helps break down organic compounds and provides a streak-free finish.
- How to use: Spray directly onto the cold glass bed, let it sit for a few seconds, then wipe clean with a microfibre cloth or paper towel.
- Cautions: Avoid getting it on sensitive electronic components. Some ammonia-based cleaners contain dyes or fragrances that can leave a residue, so opt for clear, unscented versions if possible.
Dish soap and warm water
- What it's good for: Surprisingly effective for sugar-based glues (like some glue sticks) and general greasy build-up. It's gentle, non-toxic, and readily available.
- How to use: Remove the glass bed from the printer. Wash it in a sink with warm water and a small amount of dish soap, using a soft sponge or cloth. Rinse thoroughly under running water to remove all soap residue.
- Cautions: Ensure the bed is completely dry before returning it to the printer to prevent short circuits or rust on metal components.
Denatured alcohol (ethanol)
- What it's good for: Similar to IPA but often a stronger solvent. It can be effective against a broader range of plastic residues and adhesives.
- How to use: Apply to a lint-free cloth and wipe the surface.
- Cautions: Flammable and can be harsh on some plastics. Ensure good ventilation.
Specialized 3D printer bed cleaners
Several manufacturers offer proprietary cleaning solutions specifically designed for 3D printer build surfaces. These are often formulated to tackle various plastic types and adhesives without damaging the bed material.
- What they're good for: Versatile and designed for specific 3D printing residues, often safer for surrounding printer components than general-purpose industrial solvents.
- How to use: Follow the manufacturer's instructions precisely.
- Cautions: Can be more expensive than household alternatives. Always check compatibility with your specific print bed material.
Heat cycling: controlled thermal shock
For some plastic residues, especially those from materials like PETG, a controlled thermal cycle can help release the bond to the glass.
- What it's good for: Releasing stubbornly stuck plastic that doesn't respond well to scraping or mild solvents.
- How to use: Heat the bed to its typical printing temperature for the material in question (e.g., 80-90°C for PETG). Let it sit for a few minutes. Then, turn off the bed heater and allow it to cool completely to room temperature. The expansion and contraction can sometimes cause the plastic to pop off or become easier to scrape.
- Cautions: Do not rapidly cool the bed (e.g., with cold water) as this can cause thermal shock and crack the glass. This method is best used sparingly, as repeated extreme temperature fluctuations can stress the glass over time.
Best practices for print bed maintenance

Regardless of the cleaning method chosen, a few universal best practices can help maintain your glass print bed's longevity and performance:
- Safety first: Always wear appropriate PPE (gloves, eye protection) and ensure good ventilation when using chemical solvents.
- Spot test: If unsure about a new cleaner, test it on a small, inconspicuous corner of the glass first.
- Clean when cold: Most cleaning is safest and most effective when the bed is at room temperature.
- Rinse thoroughly: After using any chemical cleaner, always rinse the glass bed with clean water (if removable) or wipe it down with a damp cloth to remove all chemical residues, which could otherwise interfere with adhesion or future prints.
- Dry completely: Ensure the bed is bone dry before heating it up or starting a print.
- Preventative measures: Apply adhesion aids (like glue stick or hairspray) sparingly and only when necessary. Clean regularly with IPA to prevent major build-up.
- Re-level after removal: If you remove your glass bed for deep cleaning, it's always a good idea to re-level your printer's bed afterward to ensure optimal first-layer adhesion.
Choosing the right approach for your residue
The key to effective cleaning is matching the method to the mess. For sugar-based glues, warm water and dish soap are often the safest and most effective. For ABS and PETG residues, acetone or denatured alcohol can be powerful allies, provided safety precautions are meticulously followed. For general grime and fingerprints, ammonia-based window cleaner offers a streak-free shine. Mechanical scraping is reserved for the most stubborn, thick deposits, always with extreme care. By understanding the properties of different residues and the specific strengths and weaknesses of each cleaning agent, you can make an informed decision and restore your glass print bed to its optimal state, ensuring consistent, high-quality 3D prints.