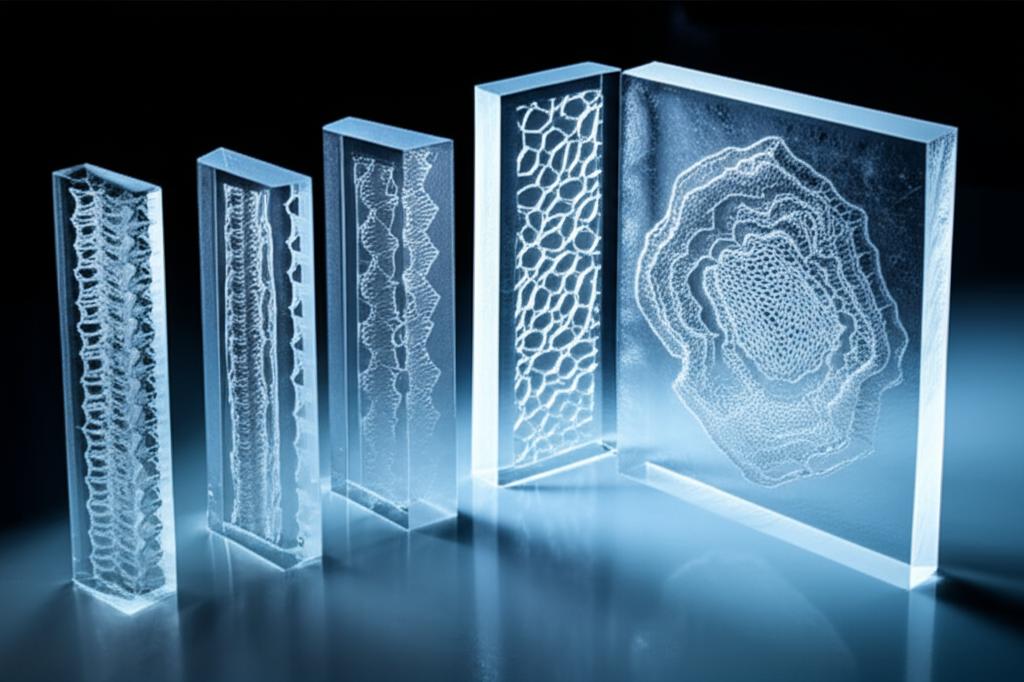
When venturing into the realm of advanced 3D printing, one parameter often overlooked in its full complexity is infill density. Many hobbyists and even some professionals tend to stick with a default 20% infill, treating it as a universal setting. However, for those aiming to produce truly functional parts with specific print strength and structural integrity requirements, a deeper understanding and strategic optimization of infill density are absolutely crucial. This guide delves into the nuances of infill, moving beyond the basics to help you make informed decisions for your 3D print optimization.
Understanding infill density and its multifaceted impact
Infill density refers to the amount of material printed inside the outer walls of a 3D model. It's expressed as a percentage, where 0% means hollow and 100% means solid. The choice of infill density directly influences several critical aspects of your 3D print:
- Material Consumption: Higher infill means more filament used, directly impacting the material cost of your print.
- Print Time: A denser infill requires the printer to lay down more material, significantly increasing the overall print duration.
- Print Strength & Structural Integrity: This is arguably the most critical aspect. Denser infill generally translates to stronger parts, capable of withstanding greater forces.
- Weight: Parts with higher infill will be heavier, which can be a design consideration for applications like drones or wearable tech.
- Flexibility: Lower infill, especially with certain patterns, can introduce a degree of flexibility to a part.
The relationship between infill density and strength isn't linear. There's often a point of diminishing returns where increasing infill beyond a certain percentage yields minimal strength benefits but significantly increases material consumption and print time. Identifying this 'sweet spot' is key to efficient 3D print optimization.
Beyond the basics: infill patterns and their characteristics

While density dictates the amount of material, the infill pattern dictates how that material is arranged within the part. Different patterns excel in different scenarios, offering distinct mechanical properties.
- Rectilinear/Grid: Simple, fast to print, and offers good strength in two primary directions. However, it can be weaker in diagonal directions.
- Lines: Similar to rectilinear but only prints in one direction per layer, alternating directions between layers. Can be good for flexibility in specific axes but generally weaker.
- Honeycomb (Hexagon): Offers excellent strength-to-weight ratio and good multi-directional strength due to its cellular structure. It's often a good all-rounder.
- Cubic/3D Honeycomb: A more advanced pattern that creates a truly volumetric structure, providing superior isotropic strength (strength in all directions). It's denser and takes longer to print.
- Gyroid: A non-intersecting, undulating pattern known for its excellent isotropic strength, good impact resistance, and efficient use of material. It's also less prone to internal stress concentrations.
- Lightning: A sparse infill pattern that only prints material where it's needed to support the top layers. It's not designed for strength but for reducing material and print time for parts that don't require internal structural integrity.
Optimizing infill for specific functional part requirements
The optimal infill strategy is always context-dependent. Here's how different requirements might influence your choices:
For high strength and structural integrity
When creating functional parts that will endure significant loads, impact, or stress, prioritizing strength is paramount. This often means:
- Higher Infill Densities: Consider densities ranging from 50% to 70% or even 100% for critical, load-bearing components. While 100% infill offers maximum strength, it also maximizes material usage and print time. The strength gain from 70% to 100% might be marginal for many applications, making 70-80% a more cost-effective choice for robust parts.
- Robust Infill Patterns: Patterns like Cubic, Gyroid, and Honeycomb are excellent choices. Cubic and Gyroid provide superior isotropic strength, making them ideal for parts subjected to complex, multi-directional forces. Honeycomb offers a good balance of strength and material efficiency.
- Perimeters/Wall Count: It's critical to note that for many parts, increasing the number of perimeters (outer walls) has a more significant impact on overall print strength and structural integrity than increasing infill density beyond a certain point. A part with 3-5 perimeters and 20-30% infill might be stronger than a part with 2 perimeters and 50% infill.
For lightweight parts with moderate strength
Applications like drone components, prototypes, or enclosures often require a balance between strength and weight. Here, efficiency is key:
- Moderate Infill Densities: Densities between 15% and 30% are often sufficient. This range offers a good compromise, providing enough internal structure to prevent buckling and support top layers without adding excessive weight or print time.
- Efficient Infill Patterns: Gyroid and Honeycomb are strong contenders due to their excellent strength-to-weight ratios. For parts where strength is less critical and the primary goal is to support top layers while minimizing material, a low-density Lightning infill can be considered.
For flexible or elastic parts
When working with flexible filaments (like TPU) or designing parts that require a certain degree of elasticity, infill plays a different role:
- Lower Infill Densities: Densities from 0% to 15% are common. A lower infill allows the part to compress and deform more readily.
- Specific Infill Patterns: Rectilinear or Lines patterns can be used to create controlled flexibility, especially if printed in specific orientations relative to the desired flex direction. For truly flexible parts, sometimes a 0% infill with carefully designed wall structures (e.g., thin walls that can bend) is employed, relying entirely on the material's inherent properties and the geometry of the shell.
For support-only infill (minimal material usage)
Sometimes, the internal infill serves primarily to support the top layers of a print, with no expectation of contributing to the part's strength. This is common for aesthetic prints or enclosures:
- Very Low Infill Densities: 5% to 10% is typically sufficient.
- Lightning Infill: This pattern is specifically designed for this purpose. It generates an infill structure that only exists where it's required to support the layers above, resulting in significant material and time savings.
The interplay of parameters: a holistic view
It's crucial to remember that infill density is just one piece of the puzzle in 3D print optimization. Its effects are deeply intertwined with other print settings and material properties:
- Perimeters/Wall Count: As mentioned, increasing the number of perimeters often contributes more to bending and shear strength than increasing infill. For optimal structural integrity, consider a robust shell before heavily infilling.
- Layer Height: Thicker layers generally lead to stronger parts due to better layer adhesion, but they also reduce detail.
- Material Choice: The inherent properties of your filament (e.g., PLA, PETG, ABS, Nylon, PC) fundamentally determine the maximum achievable print strength and flexibility, regardless of infill.
- Print Orientation: The way a part is oriented on the build plate dictates how forces are distributed across its layer lines. Printing in an orientation that minimizes stress along layer adhesion points is often more critical for strength than infill density alone.
Cost-benefit analysis: balancing trade-offs
Every choice regarding infill density and pattern involves a trade-off. Understanding these trade-offs allows for intelligent decision-making:
- Higher Infill (e.g., 50%+ with Cubic/Gyroid):
- Benefits: Significantly increased print strength, enhanced structural integrity, greater impact resistance, reduced chance of part deformation under load.
- Considerations: Substantially higher material consumption (increased cost), much longer print times, heavier parts, reduced flexibility.
- Lower Infill (e.g., 5-20% with Grid/Lines):
- Benefits: Reduced material consumption (lower cost), shorter print times, lighter parts, potential for increased flexibility.
- Considerations: Reduced print strength, lower structural integrity, increased risk of top layer sagging or pillowing, potentially less impact resistant.
- Specialized Patterns (e.g., Lightning):
- Benefits: Extremely low material usage and print time for non-structural applications, effective support for top layers.
- Considerations: Provides virtually no structural strength to the part, only suitable for specific use cases.
By carefully evaluating the intended use of your 3D printed part against these trade-offs, you can select an infill strategy that optimizes for your specific requirements without unnecessarily incurring higher costs or longer print times.
Conclusion

Optimizing infill density is far more than simply selecting a percentage; it's a strategic decision that profoundly impacts the performance, cost, and print time of your functional parts. By understanding the characteristics of various infill patterns and their interaction with other print settings, you can move beyond the arbitrary 20% default. The goal is not to find a universally 'best' infill, but rather the most appropriate one for each unique application, balancing print strength, structural integrity, material efficiency, and print duration to achieve true 3D print optimization.


