The allure of 3D printing with clear resin is undeniable: the promise of producing intricate, glass-like objects, functional prototypes, or artistic pieces with stunning transparency. However, many makers quickly discover that a print straight off the build plate, even from a high-quality clear resin, rarely achieves true optical clarity. Instead, it often appears milky, hazy, or shows visible layer lines that obscure its internal details. This discrepancy arises because the raw print surface is microscopically rough, scattering light rather than allowing it to pass through cleanly. The journey from a translucent object to a genuinely transparent print demands a meticulous approach to post-processing resin, transforming its surface into a perfectly smooth, light-transmitting medium.
Understanding why clear resin prints aren’t initially transparent
The consumer toolchanger 3D printer: the SnapSwap 4-toolhead system swaps heads in 5 seconds for true multi-color and multi-material printing, with smart calibration and auto filament loading.
- 4 toolheads · 5 s swap
- Up to 500 mm/s · 20,000 mm/s²
- 270 mm cube build volume
- Multi-color & multi-material

Before diving into the techniques, it’s crucial to understand the challenges. Resin 3D printing (SLA/DLP/LCD) works by curing successive layers of liquid resin. Even with the finest layer heights, these layers create microscopic ridges and valleys on the surface. Furthermore, residual uncured resin can cling to the print, and the resin itself might have slight imperfections or micro-bubbles. All these factors contribute to light scattering, preventing the desired optical clarity. Our goal in post-processing is to systematically eliminate these surface imperfections, creating a uniform, mirror-smooth finish.
The foundational steps: washing and support removal
Every journey to a crystal clear print begins with proper preparation. These initial steps are non-negotiable and lay the groundwork for all subsequent treatments.
Thorough washing for optimal clarity
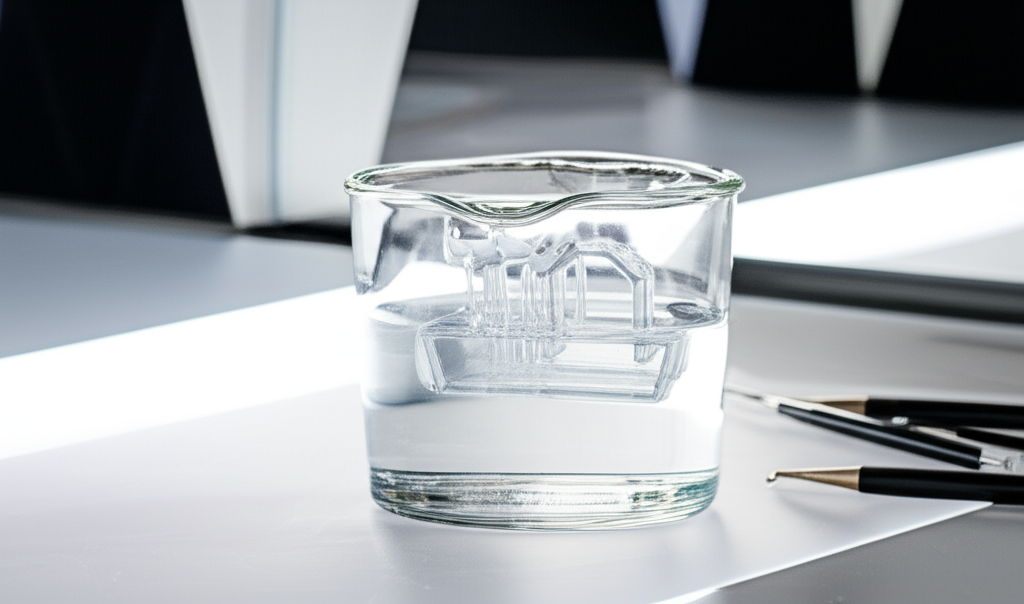
- Initial rinse: Immediately after printing, carefully remove your part from the build plate. Immerse it in a bath of Isopropyl Alcohol (IPA) or a dedicated resin cleaner. Agitate the part, either manually or using a wash and cure station, to dislodge as much uncured resin as possible.
- Multiple baths: For best results, use a two-stage washing process. The first bath removes the bulk of the uncured resin, becoming quite saturated. A second, cleaner bath ensures that no sticky residue remains.
- Drying: Allow the part to air dry completely, or use compressed air to speed up the process. Ensure there are no visible streaks or milky residues, as these indicate residual uncured resin that will hinder transparency.
Careful support removal and initial sanding
Supports are necessary for printing but can leave unsightly nubs and marks. Remove them carefully using flush cutters, trying to snip as close to the model as possible without digging into the surface. For especially delicate supports, a quick blast with a heat gun can soften them, making removal easier and cleaner. Once supports are off, use a coarse grit sandpaper (e.g., 200-400 grit) to gently sand down any remaining nubs or rough patches. This initial sanding step is crucial for establishing a smooth baseline.
The art of progressive sanding for ultimate smoothness

Sanding is arguably the most critical and time-consuming step in achieving true transparent prints. It’s a methodical process of gradually refining the surface, removing increasingly finer scratches until the material is perfectly smooth.
Progressive grit sanding: a meticulous approach
The key here is patience and progression. You must completely remove the scratches from the previous grit before moving to the next. Skipping grits will result in a surface that appears clear but still has visible deeper scratches from an earlier, coarser grit.
- Start coarse: Begin with the grit you used for initial support nub removal (e.g., 200-400 grit). The goal here is to remove all visible layer lines and significant surface imperfections.
- Gradual progression: Systematically move through finer grits: 600, 800, 1000, 1500, 2000, 3000, and even up to 5000-7000 grit for exceptionally demanding finishes.
- Wet sanding is essential: For clear resin, dry sanding generates heat, clogs sandpaper, and produces a dusty, inconsistent finish. Wet sanding, using water or a lubricant, keeps the sandpaper clear, reduces friction, and provides a much smoother, more consistent result. Dip your sandpaper and part frequently in water during this process.
- Thorough inspection: After each grit, thoroughly wash and dry the part, then inspect it under strong, direct light. Look for any remaining scratches from the previous grit. If you see them, you haven’t finished with the current grit. It’s often helpful to sand in a different direction with each new grit to make the previous scratches more apparent and easier to remove.
Bringing out the shine: advanced polishing techniques
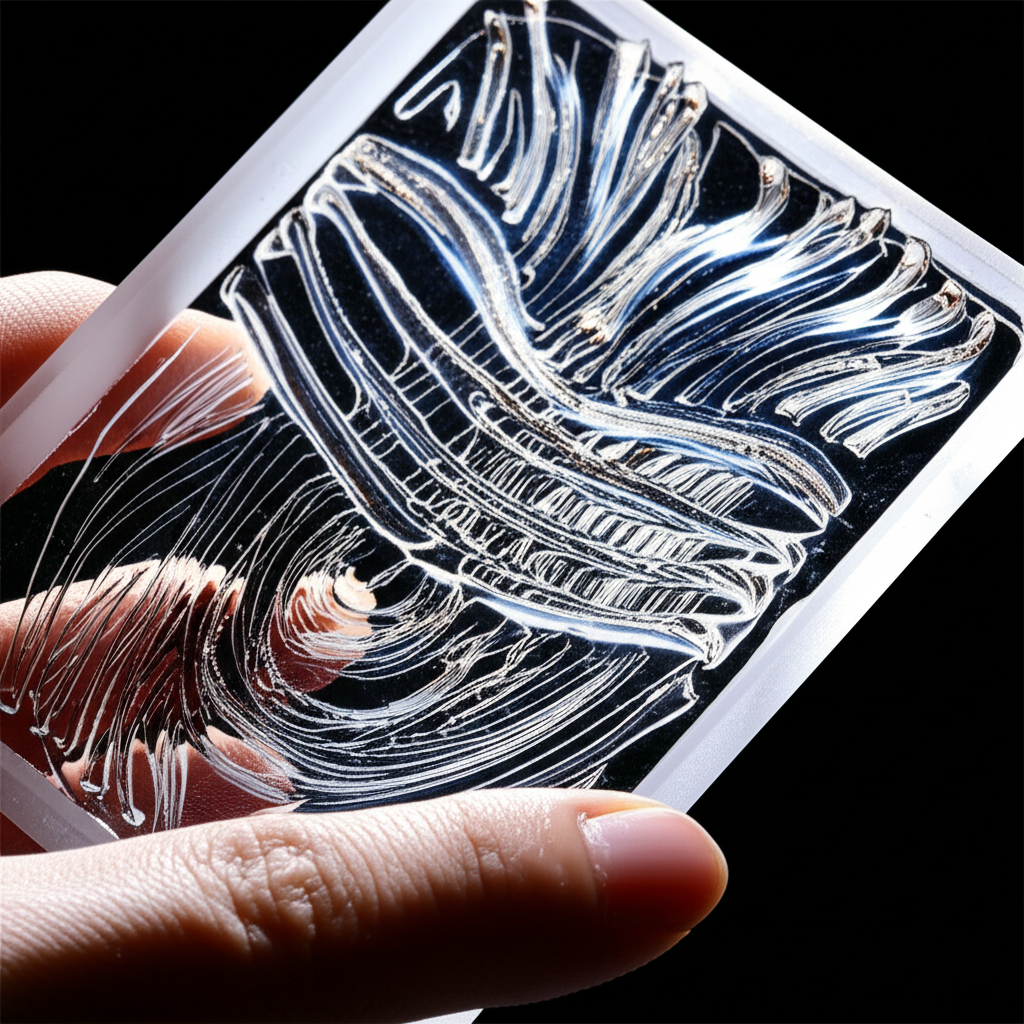
Once you’ve reached the finest sandpaper grits, your print should already appear quite translucent, but it won’t have that mirror-like finish or perfect optical clarity. This is where polishing resin comes into play.
Mechanical polishing with compounds
For most clear parts, mechanical polishing offers the best results:
- Tools: A rotary tool (like a Dremel) with various buffing attachments (felt wheels, cotton buffs) is ideal. Use a low to medium speed to avoid overheating the resin.
- Polishing compounds: Use plastic-specific polishing compounds. These typically come in different grades: a coarser cutting compound for initial polishing and a finer finishing compound for the ultimate shine. Apply a small amount of compound to the buffing wheel or directly to the part.
- Technique: Gently press the spinning buffing wheel against the resin surface, moving consistently to cover all areas. Avoid applying too much pressure or staying in one spot for too long, as this can generate excessive heat and melt or deform the resin.
- Cleanliness: Use separate buffing wheels for different grades of compound to prevent cross-contamination.
Manual polishing for delicate areas
For intricate details or areas inaccessible to a rotary tool, manual polishing with a soft microfiber cloth and polishing compound can be effective, though more labor-intensive.
The final layer: clear coating and dipping for ultimate transparency
The consumer toolchanger 3D printer: the SnapSwap 4-toolhead system swaps heads in 5 seconds for true multi-color and multi-material printing, with smart calibration and auto filament loading.
Even after meticulous sanding and polishing, microscopic imperfections can remain. A clear coat or dipping technique can fill these minute scratches, creating a perfectly smooth, continuous surface that allows light to pass through unimpeded, significantly enhancing optical clarity.
Acrylic spray clear coats
Automotive-grade clear coats (e.g., 2K clear coat) are excellent for this purpose. They offer a durable, high-gloss finish.
- Application: Apply several thin, even coats in a dust-free environment. Allow adequate drying time between coats. Avoid applying too thickly, which can lead to drips or an ‘orange peel’ texture.
- Curing: Follow the manufacturer’s instructions for drying and curing times.
Resin dipping for a seamless finish
This technique involves dipping the polished part into a thin layer of fresh clear resin and then UV curing it. This creates a perfectly homogeneous surface with the underlying resin.
- Process: Dip the part into a very shallow bath of clear resin. Allow excess resin to drip off completely. You might need to gently wipe away drips from complex geometries.
- Curing: Immediately place the resin-dipped part into a UV curing station. Ensure even exposure to fully cure the new layer. A water bath during curing can help prevent oxygen inhibition, resulting in a tack-free finish.
Future floor polish (Pledge floor care multi-surface finish)
A popular and cost-effective method for smaller parts, this acrylic-based floor polish can be used as a clear coat. Simply dip the thoroughly cleaned and polished part into the liquid, allow excess to drip off, and let it air dry completely. It self-levels beautifully, filling micro-scratches and adding a protective, glossy layer.
The final touch: controlled UV curing for longevity
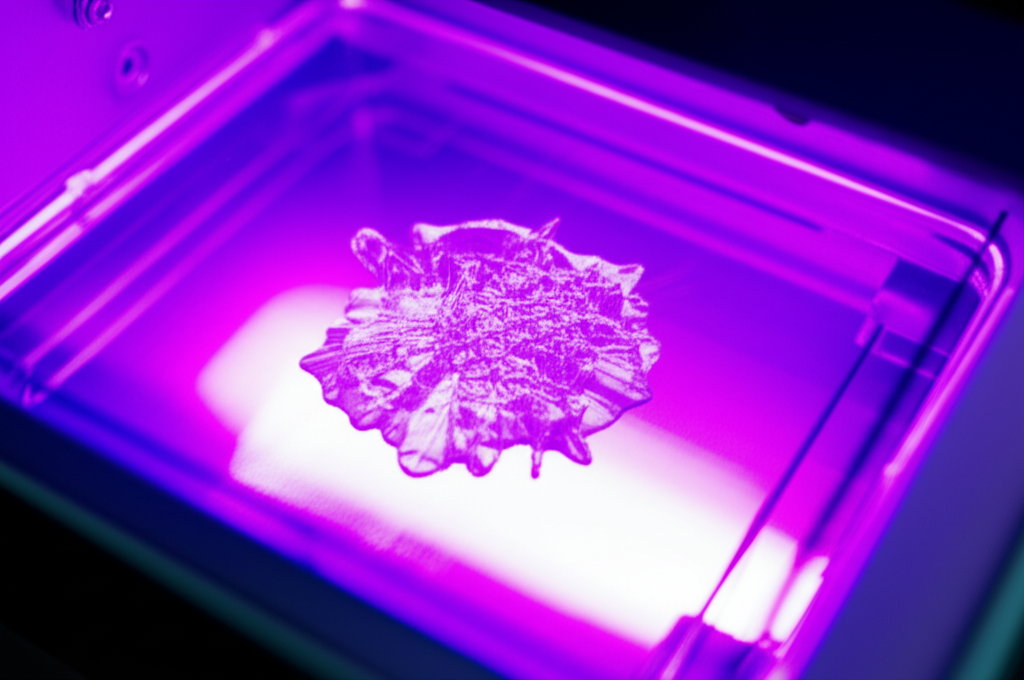
After all the surface treatments, a final, thorough UV curing step is essential. This not only fully hardens any clear resin layers applied but also ensures the underlying resin is completely cured, preventing yellowing, brittleness, or degradation over time. Proper resin finishing includes this crucial step.
- Even exposure: Ensure the part receives uniform UV light exposure. Rotating the part or using a curing station with multiple light sources is beneficial.
- Water bath curing: Curing your part submerged in water can significantly improve the final cure. Water displaces oxygen, which inhibits the resin curing process, leading to a harder, less tacky, and clearer surface.
- Avoid over-curing: While thorough curing is important, excessive UV exposure, especially for prolonged periods or at very high intensities, can lead to yellowing of some clear resins. Find the sweet spot for your specific resin.
Troubleshooting common issues with transparent prints

Even with the best techniques, challenges can arise:
- Cloudiness or haziness: Often caused by incomplete washing (residual uncured resin), insufficient sanding (previous grit scratches remain), or trapped moisture. Revisit washing and sanding steps.
- Yellowing: Can be due to specific resin formulations, over-curing, or prolonged exposure to sunlight after printing. Some resins are more prone to yellowing than others; consider trying a different brand if it’s a persistent issue.
- Bubbles or ‘orange peel’ in clear coat: Indicates issues with clear coat application – too thick, too humid, or dust contamination. Re-sanding and re-applying the clear coat in a controlled environment is usually necessary.
Essential tools and materials for crystal clear results
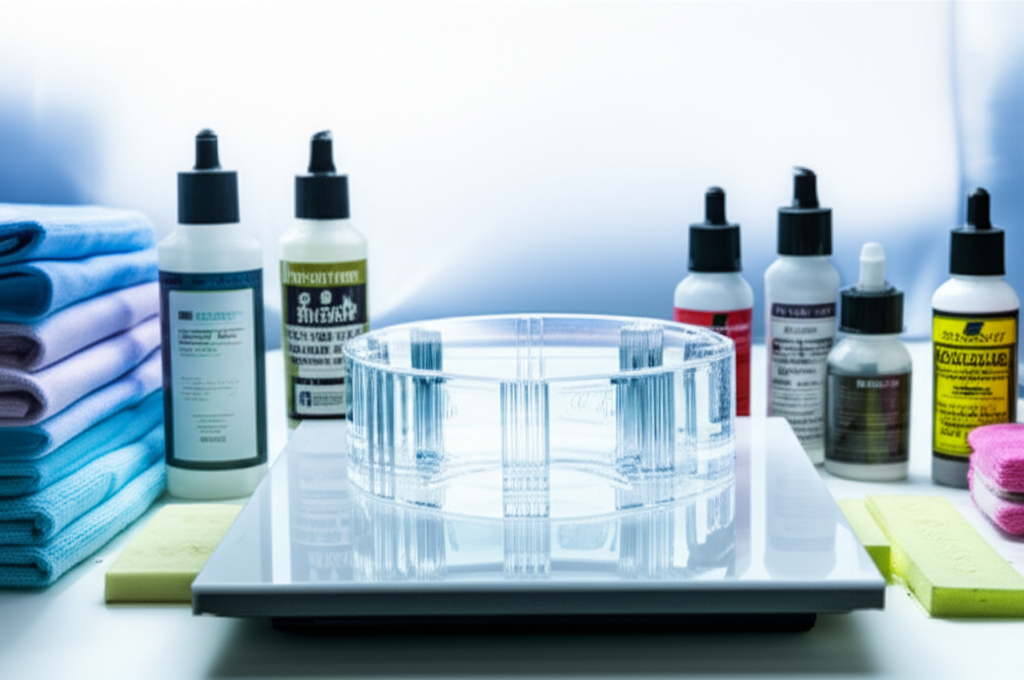
- Isopropyl Alcohol (IPA) or resin cleaner
- Safety gear: nitrile gloves, eye protection, respirator
- Wet/dry sandpaper: a full range from 200 to 5000+ grit
- Microfiber cloths
- Plastic polishing compounds (cutting and finishing)
- Rotary tool with various buffing attachments
- Clear coat spray (e.g., 2K automotive clear coat) or fresh clear resin for dipping, or Pledge Floor Care Multi-Surface Finish
- UV curing station (with optional water bath)
- Strong light source for inspection
Safety first: handling clear resin and chemicals
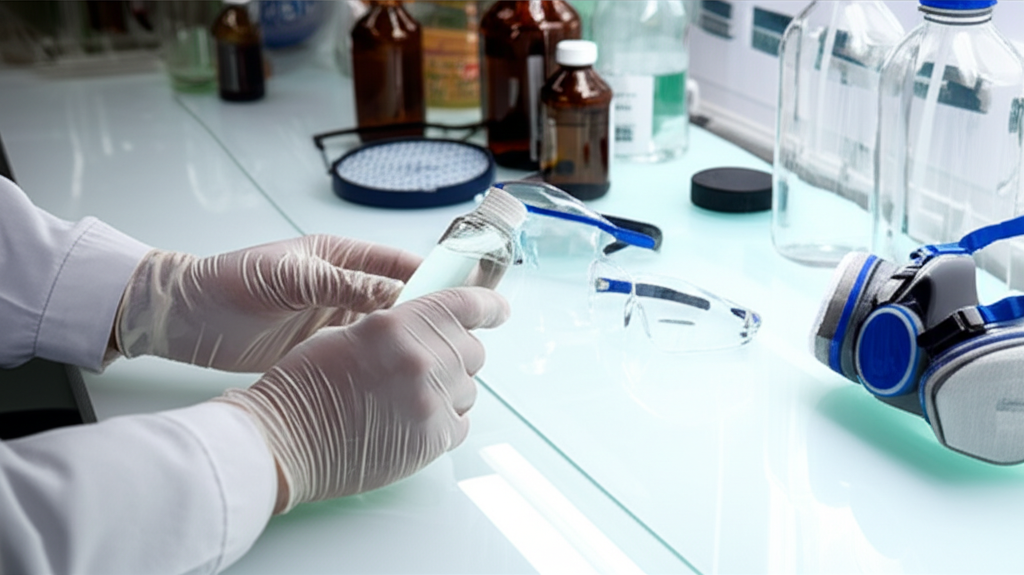
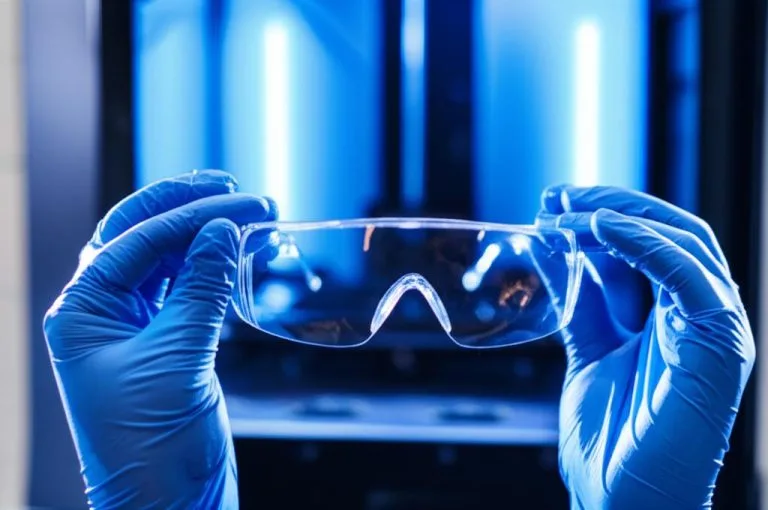
Always prioritize safety when working with resins and chemicals. Wear appropriate Personal Protective Equipment (PPE), including gloves and eye protection. Ensure adequate ventilation in your workspace. Dispose of resin and contaminated materials responsibly according to local regulations.
Conclusion
Achieving truly crystal clear resin prints is a testament to patience, precision, and an understanding of advanced post-processing techniques. It’s an iterative process that demands attention to detail at every stage, from thorough washing and meticulous progressive sanding to expert polishing resin and the final touch of a clear coat or dipping. While it requires time and effort, the reward of holding a perfectly transparent, glass-like object, showcasing the full potential of your clear resin, is immensely satisfying. By mastering these techniques, you’ll unlock a new realm of possibilities for your 3D printing projects, elevating them from mere prints to works of art with stunning optical clarity.
Frequently asked questions
Can I skip sanding and just use a clear coat spray to make my print transparent?
No. A clear coat alone will not produce optical clarity because it cannot fill the deep layer lines and rough surface texture left by printing. The article emphasizes that sanding progressively from coarse to fine grits is the critical step for removing these imperfections; the clear coat or dipping step only fills the microscopic scratches remaining after you have already sanded up to at least 3000-5000 grit.
How do I prevent the resin from yellowing during the final UV curing step?
The article warns that excessive UV exposure can cause yellowing in some clear resins. To avoid this, cure the part submerged in a water bath, which displaces oxygen and allows a harder, clearer cure without requiring as much time or intensity. You must find the “sweet spot” for your specific resin by testing shorter cure times rather than defaulting to the longest cycle.
Is Pledge floor polish as effective as a dedicated automotive clear coat for clarity?
For smaller parts, yes. The article lists Pledge Floor Care Multi-Surface Finish as a “popular and cost-effective method” that self-levels beautifully, filling micro-scratches and adding a glossy protective layer. However, it notes that automotive-grade 2K clear coats offer a more durable, high-gloss finish, so your choice depends on part size and whether you prioritize cost or long-term durability.