A truly successful 3D print begins with a flawless first layer. And the secret to a flawless first layer? A perfectly level print bed. While many modern 3D printers boast auto-leveling features, understanding and mastering manual bed leveling remains a fundamental skill for any enthusiast. Not only does it provide a deeper insight into your machine's mechanics, but it also serves as a critical fallback and a way to fine-tune even the most advanced systems. This comprehensive guide will walk you through the process, ensuring your prints stick like glue and lay down a foundation for success.
Why is manual bed leveling so crucial?

Think of your 3D printer's bed as the canvas for your creation. If the canvas isn't flat and evenly positioned, your masterpiece is doomed from the start. A well-calibrated print bed ensures consistent first layer adhesion, which is paramount for preventing warping, delamination, and outright print failures. When the nozzle is too close, it can scratch the bed or extrude insufficient material, leading to thin, weak lines. Too far, and the filament won't stick, resulting in spaghetti monsters or prints that detach mid-way. Proper 3D printer calibration, starting with the bed, sets the stage for high-quality, reliable prints time after time.
Before you begin: essential preparation and tools
Before diving into the actual leveling process, a few preparatory steps are essential to ensure accuracy and safety. Don't skip these; they lay the groundwork for a successful calibration.
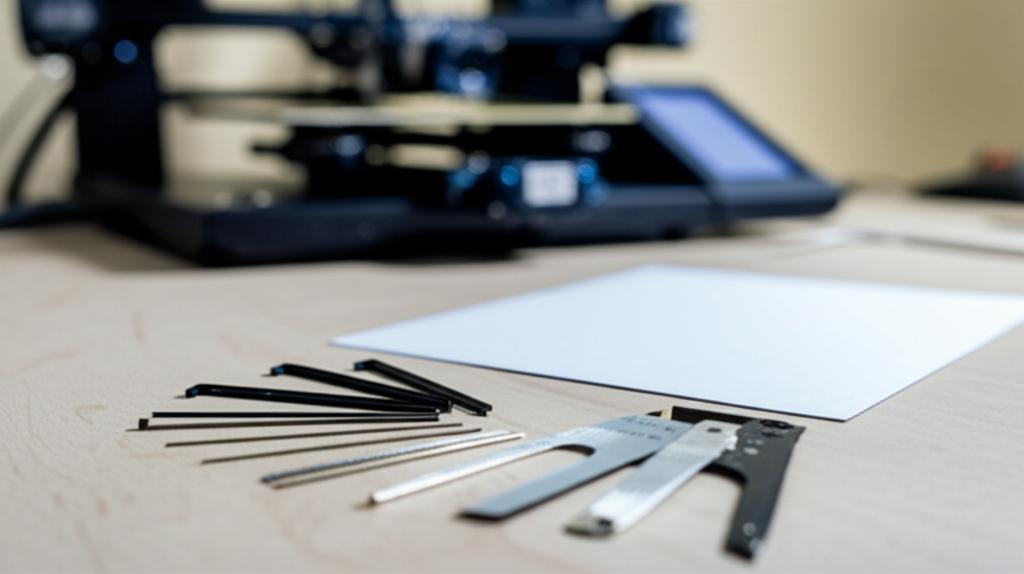
Tools you'll need:
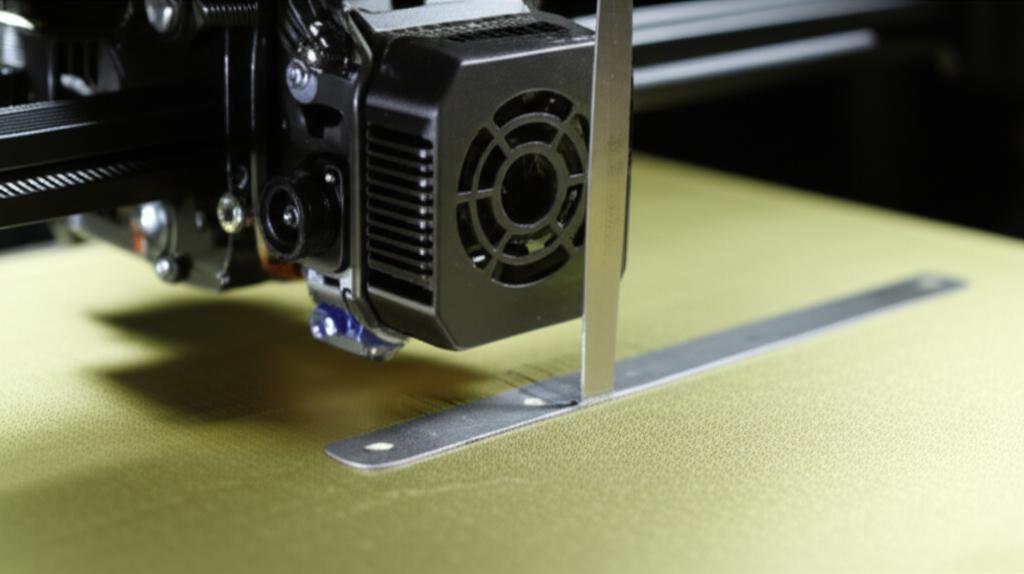
- A piece of standard printer paper (80gsm): This is your go-to feeler gauge for the "paper method."
- Heat-resistant gloves (optional but recommended): For handling the heated print bed.
- Cleaning supplies: Isopropyl alcohol (IPA) or a glass cleaner, and a clean microfiber cloth.
- Allen wrenches/spanners: If your bed leveling screws require them, though most consumer printers use thumb screws.
Pre-leveling checks:
Clean your print bed thoroughly: Any residue, dust, or old filament can interfere with adhesion and leveling accuracy. Use IPA or a suitable cleaner and a clean cloth to wipe down the entire surface. A pristine bed is essential for good adhesion.
Inspect your nozzle: Ensure it's clean and free of any plastic buildup. A dirty or partially clogged nozzle can give false readings during the leveling process.
Check your bed mounting: Gently try to wiggle your print bed. It should be firmly attached with minimal play. Loose mounting can lead to inconsistent leveling.
Preheat your bed and nozzle: This is a critical step often overlooked. The print bed and nozzle expand when heated, so leveling them at your typical printing temperature (or slightly above) ensures accuracy during actual printing. For PLA, set the bed to 60°C and the nozzle to 200°C. For ABS, bed to 100°C and nozzle to 240°C. Allow them to reach and stabilize at these temperatures for at least 5-10 minutes.
The step-by-step manual bed leveling guide (the paper method)
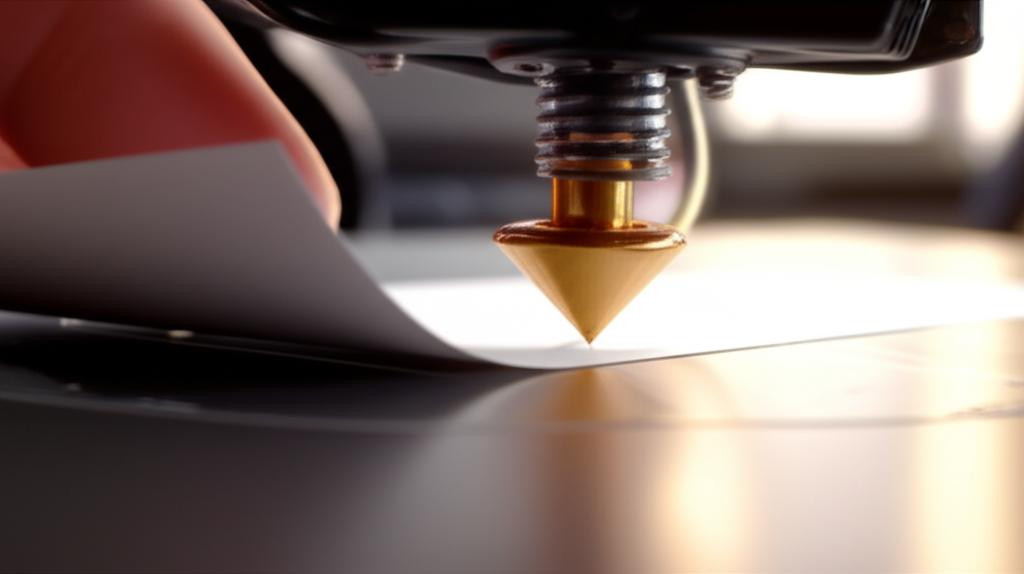
This is the core of the print bed leveling guide. The "paper method" is universally recognized for its simplicity and effectiveness. It relies on feeling the slight drag of a piece of paper between the nozzle and the print bed.
Step 1: Position the nozzle
- Disable steppers: Most printers have an option in their control menu (e.g., 'Prepare' > 'Disable Steppers' or 'Move Axis' > 'Disable Steppers'). This allows you to manually move the print head and bed.
- Move the print head: Gently slide the print head (X and Y axes) to the first leveling corner. Typically, you start with the front-left corner of the print bed. Ensure the nozzle is directly over one of the bed leveling screws.
- Lower the Z-axis: Manually or via the printer's controls, lower the nozzle until it's very close to the bed, but not touching.
Step 2: The paper test and initial adjustment
- Place the paper: Slide your piece of standard printer paper between the nozzle and the print bed.
- Adjust the bed screw: Slowly turn the bed leveling screw directly beneath the nozzle. If the nozzle is too high, turn the screw clockwise (tightening it) to raise the bed. If it's too low and pinching the paper, turn it counter-clockwise (loosening it) to lower the bed.
- Feel for the 'sweet spot': The goal is to feel a slight resistance or drag on the paper when you slide it back and forth, but it should still move freely without tearing. It's like a gentle friction, not a tight grip. This indicates the nozzle is approximately 0.1mm (the thickness of a standard piece of paper) from the bed.
Step 3: Leveling the corners (and the center)
Once the first corner is set, you'll repeat the process for the remaining corners. It's crucial to understand that adjusting one corner can slightly affect the others, so you'll need to make multiple passes.
Move to the next corner: Slide the print head to the front-right corner, directly above its leveling screw.
Repeat the paper test: Place the paper under the nozzle and adjust the screw until you feel that same slight drag.
Continue around the bed: Move to the back-right corner, then the back-left corner, repeating the paper test and adjustment for each.
Check the center: Once all four corners are adjusted, carefully move the nozzle to the very center of the print bed. Perform the paper test here. The drag should be similar to the corners. If it's significantly different, your bed might be warped, or you need another pass.
Step 4: Fine-tuning and multiple passes
Don't expect perfection on the first round. Manual bed leveling is an iterative process. After completing one full circuit of the corners and checking the center, go back to the front-left corner and repeat the entire process (Steps 2 and 3). You'll likely find that some corners need minor adjustments again. Continue making passes around the bed until all four corners and the center exhibit the same consistent drag on the paper. This might take two, three, or even four full circuits.
Beyond the basics: advanced considerations for perfect first layers
While the paper method gets you 90% of the way there, understanding these additional factors can elevate your first layer game.
Understanding and setting your Z-offset
The Z-offset is the final, crucial adjustment that dictates the exact distance between your nozzle and the print bed after leveling. The paper method gets you to approximately 0.1mm. Your printer's firmware (Marlin, Klipper, etc.) allows you to fine-tune this value, often in increments as small as 0.01mm. A positive Z-offset moves the nozzle further from the bed, while a negative Z-offset brings it closer. This is where you dial in that perfect 'squish' for your first layer.
- How to adjust: Most printers have a 'Z-offset' or 'Baby Stepping' option in their 'Tune' or 'Control' menu during a print.
- During a test print: Start a single-layer test print (a large square or grid is ideal). As the first layer goes down, adjust the Z-offset in small increments.
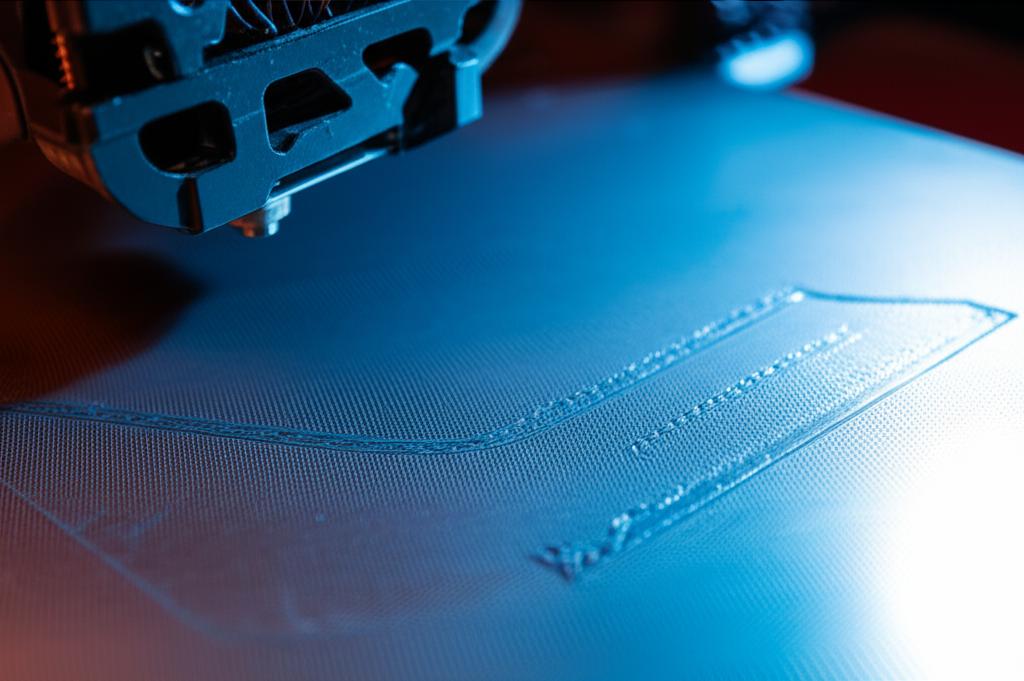
- Signs of a good Z-offset: The extruded lines should be slightly flattened and seamlessly merge, with no gaps between them. The surface should be smooth and consistent.
- Signs of too low Z-offset: The nozzle will drag through the plastic, creating ridges, or even stop extruding. The first layer will look thin and translucent.
- Signs of too high Z-offset: The lines will be round, have gaps between them, and won't stick well to the bed.
Bed materials and their impact
Different print bed surfaces interact differently with filament and can affect your ideal Z-offset and adhesion strategies:
- Glass: Offers a perfectly flat surface and can yield incredibly smooth bottoms. Often requires an adhesive (glue stick, hairspray) for good adhesion.
- PEI (Polyetherimide): A popular choice for its excellent adhesion properties for many filaments without additional adhesives. Available as sheets, flexible steel plates, or coated surfaces.
- Magnetic flexible plates: Convenient for print removal, but ensure the underlying magnetic base is flat.
- BuildTak/Kapton: Adhesive sheets that provide good grip, but can wear over time.
Always consult your filament manufacturer's recommendations for bed temperature and surface preparation.
Dealing with a warped print bed
Even with meticulous manual bed leveling, some beds can be slightly warped, meaning the center might be higher or lower than the corners. This is where the center check in Step 3 becomes critical. If you notice a significant discrepancy:
- Glass upgrade: A thick piece of borosilicate glass can often mitigate minor warps by providing a truly flat surface.
- Mesh bed leveling (firmware feature): Some firmware (like Marlin) allows you to manually create a mesh of compensation points across the bed. You still manually probe points, but the printer then compensates during printing. This isn't auto-leveling, but rather a firmware-assisted manual leveling.
- Minor shimming: For very slight localized dips, a small piece of aluminum foil under the bed surface (between the heated bed and the print surface) can sometimes help.
Troubleshooting common first layer issues
Even after careful 3D printer calibration, you might encounter issues. Here's how to diagnose and fix them:
Poor first layer adhesion (print detaches/warps):
- Too high Z-offset: Lower it incrementally.
- Dirty print bed: Clean it thoroughly.
- Insufficient bed temperature: Increase it slightly (within filament specs).
- Nozzle too cold: Ensure it's at the correct printing temperature.
- Drafts/cold room: Enclose your printer if printing with warp-prone materials like ABS.
- No adhesion aid: Consider glue stick, hairspray, or a PEI sheet.
Nozzle digging into the bed/scratches:
- Too low Z-offset: Raise it incrementally.
- Bed leveled too high: Re-level the bed, ensuring proper paper drag.
"Elephant's foot" (first layer bulges outwards):
- Too low Z-offset: The nozzle is squishing the first layer too much. Raise it slightly.
- Excessive bed temperature: The base of the print stays molten too long. Reduce bed temperature slightly.
Gaps between lines on the first layer:
- Too high Z-offset: Lower it incrementally.
- Under-extrusion: Check filament flow rate, nozzle for clogs.
Uneven first layer (some parts stick, others don't):
- Uneven bed leveling: Perform another full pass of the leveling corners.
- Warped bed: Consider solutions for warped beds (glass, mesh leveling).
- Uneven bed heating: Check if your heated bed has hot/cold spots.
When to re-level your print bed
Manual bed leveling isn't a one-and-done task. It's a regular maintenance ritual for consistent results:
- After moving your printer: Even a slight bump can throw off calibration.
- After significant maintenance: Replacing a nozzle, hotend, or working on the print bed itself necessitates re-leveling.
- If prints start failing: Poor first layer adhesion is often the first sign that your bed needs attention.
- Periodically: Even without issues, a quick check every few weeks or after 10-20 prints is good practice.
- When changing print surfaces: Different surfaces (e.g., switching from glass to PEI) might require slight Z-offset adjustments or a full re-level.
Conclusion: practice makes perfect
Mastering manual bed leveling is an indispensable skill in 3D printing. It's the bedrock upon which all successful prints are built. While it might seem tedious at first, with practice, you'll develop a keen eye and a precise touch, making the process quick and intuitive. By diligently following this print bed leveling guide, understanding the nuances of Z-offset, and knowing how to troubleshoot common issues, you'll significantly improve your print quality and reduce frustrating failures. Remember, patience and precision are your best friends in achieving that perfectly level print bed every single time.