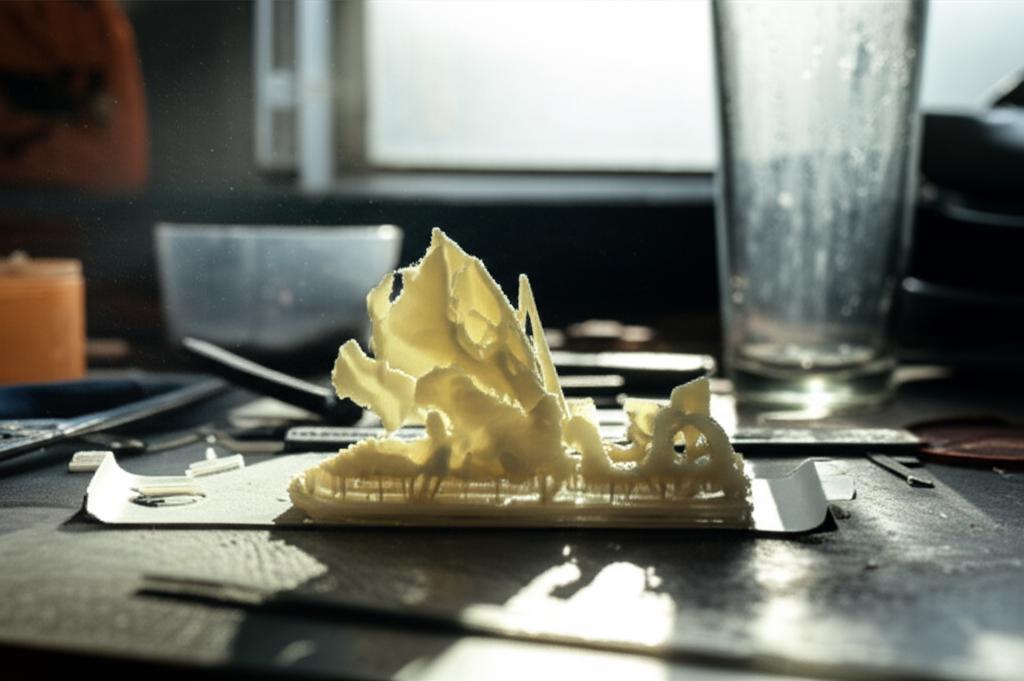
Few things are as frustrating in resin 3D printing as pulling a seemingly perfect print off the build plate, only for it to snap or shatter with the slightest pressure. This common issue, often leading to print failure, points to your brittle resin prints lacking the desired mechanical strength. Understanding the root causes is the first step towards achieving robust, functional parts.
Brittleness in resin prints can stem from a variety of factors, ranging from the inherent resin properties themselves to nuanced aspects of the printing and post-curing process. This guide will delve into these critical areas, offering insights into how different approaches and solutions can influence the final durability and cost-effectiveness of your resin prints.
Understanding resin properties and selection

Not all resins are created equal. The market offers a wide spectrum of photopolymer resins, each formulated with specific mechanical properties in mind. Your choice of resin is perhaps the most fundamental factor influencing the brittleness of your finished parts.
- Standard resins: These are typically the most affordable and widely available. While excellent for highly detailed models and prototypes where mechanical stress isn't a primary concern, they often exhibit inherent brittleness. Their formulation prioritizes printability and resolution over impact resistance or flexibility.
- Tough or ABS-like resins: Engineered to mimic the mechanical properties of ABS plastic, these resins offer significantly improved impact resistance and flexibility compared to standard resins. They are less prone to snapping and can withstand moderate stress, making them suitable for functional prototypes and parts requiring some durability. The trade-off is often a higher price point per liter, reflecting the advanced polymer chemistry involved in their formulation.
- Flexible or engineering resins: At the higher end of the spectrum, these resins are designed for specific applications requiring extreme flexibility, heat resistance, or chemical inertness. Their features include high elongation at break and superior impact strength, virtually eliminating brittleness. Naturally, these specialized resins come with a premium cost, but their performance characteristics justify the investment for demanding applications.
When selecting a resin, consider the intended use of your print. While standard resins offer a cost-effective solution for aesthetic models, investing in tougher or more flexible resins, despite their higher initial cost, can prevent repeated print failure and wasted material if your application demands durability. The 'cost structure' here isn't just the price per bottle, but the total cost of successful, functional parts.
The critical role of curing: under-curing vs. over-curing
The curing process, both during printing and post-processing, is paramount. Incorrect curing is a leading cause of brittle resin prints.
Under-curing: the common culprit
When a resin print is under-cured, the photopolymerization reaction hasn't fully completed. This leaves residual uncured resin within the part, resulting in a print that feels soft, gummy, or, crucially, highly brittle and prone to breaking. It's a classic case of a part that looks solid but lacks internal integrity.
Causes of under-curing:
- Insufficient exposure time: The most common cause. If the layers aren't exposed to UV light long enough during printing, they won't fully cure.
- Weak UV light source: An aging LCD screen or DLP projector, or a low-power UV lamp in your post-curing station, can lead to inadequate curing.
- Low ambient temperature: Resins cure more effectively at warmer temperatures. A cold printing environment can significantly reduce curing efficiency.
- Incorrect resin profile: Each resin has specific exposure requirements. Using generic settings for a new resin often leads to issues.
Solutions and their implications:
- Optimize exposure settings: Perform calibration prints (like RERF or validation matrix) to find the optimal exposure time for your specific resin and printer. This is a free solution, requiring only time and a small amount of resin.
- Ensure adequate post-curing: A dedicated post-curing station with uniform UV light distribution is often a worthwhile investment. While a simple UV nail lamp might be a low-cost entry point, a purpose-built curing station offers features like rotating turntables and specific wavelength LEDs for more consistent and effective curing, reducing brittleness and improving part strength. The cost difference is significant, but so is the feature set and reliability.
- Control environmental temperature: Using a printer enclosure, a small space heater, or even just ensuring your print area is consistently warm can dramatically improve curing. These solutions range from low-cost DIY options to more integrated, higher-cost heated enclosures.
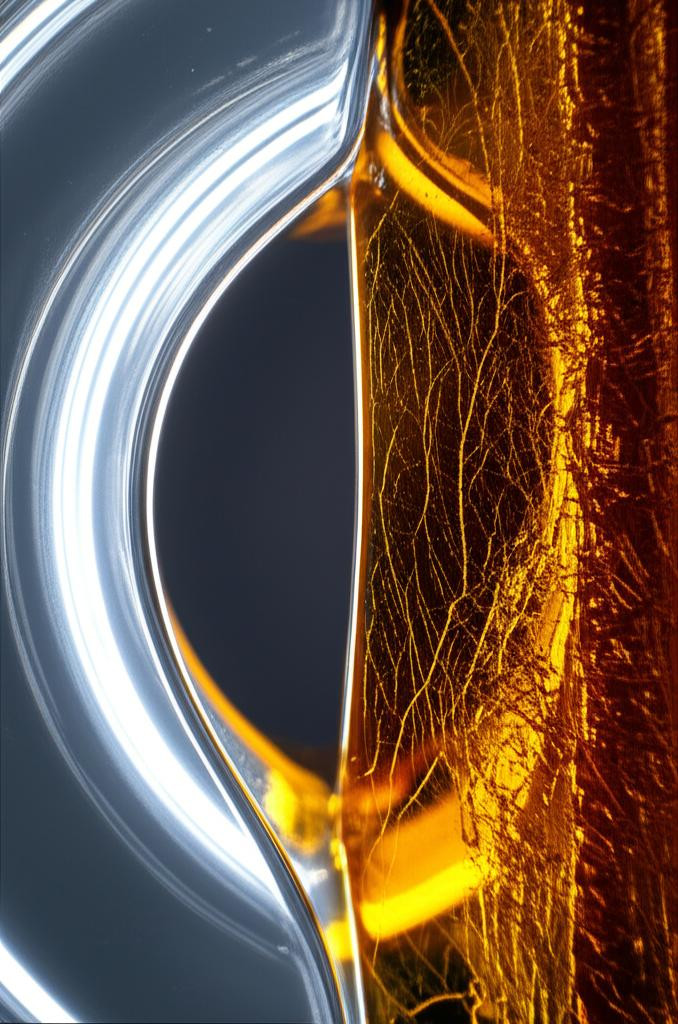
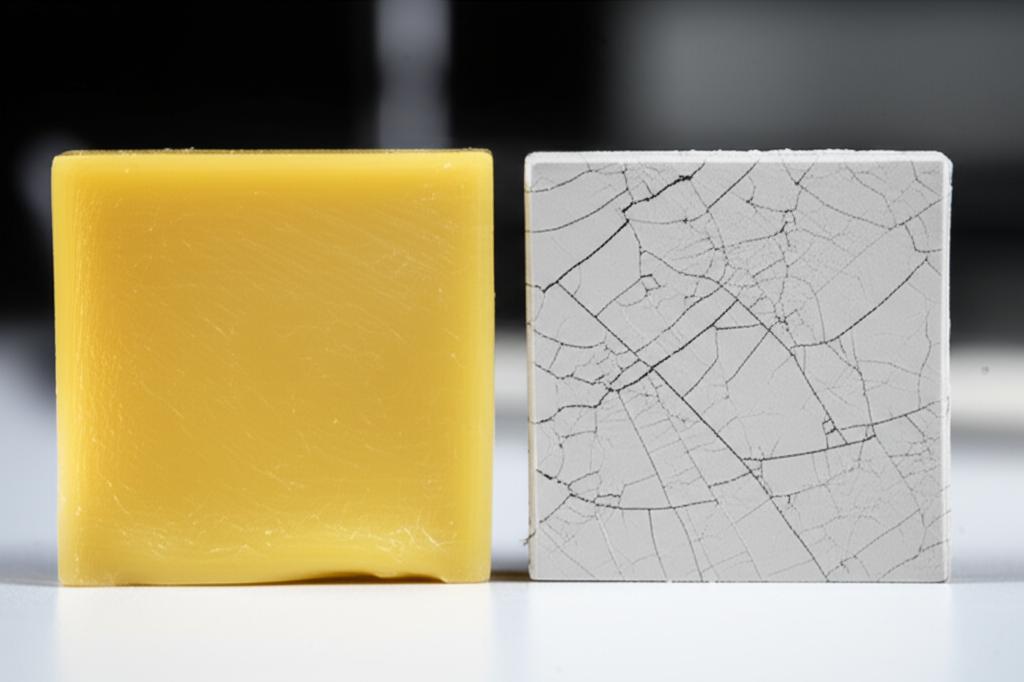
Over-curing: the lesser-known foe
While less common than under-curing, over-curing can also lead to brittle resin prints. When resin is exposed to excessive UV light, particularly during post-curing, it can become overly cross-linked. This makes the material extremely hard but also very rigid and susceptible to shattering upon impact.
Causes of over-curing:
- Excessive post-curing time: Leaving prints in a powerful UV curing station for too long.
- High-intensity UV light: Some curing stations are very powerful, requiring shorter curing times.
- Thin features: Delicate parts are more susceptible to over-curing.
Solutions and their implications:
- Optimize post-curing duration: Follow resin manufacturer guidelines, but always experiment. Shorter post-curing times are often better, especially for standard resins.
- Monitor curing process: Regularly check your prints during post-curing, especially when using new resins or a new curing setup.
- Consider controlled curing stations: Advanced curing stations offer timed cycles and even temperature control, providing more precise control over the post-curing process. While a higher upfront cost, their features can prevent costly print failures due to over-curing.
Print settings and structural considerations
Beyond the resin itself and its curing, how you prepare your model for printing can also impact its final strength and susceptibility to brittleness.
- Wall thickness: Thin walls are inherently weaker and more brittle, regardless of resin type. Ensure your model's design incorporates adequate wall thickness for its intended function.
- Hollowing: Hollowing out prints saves resin and can reduce print time, but it also creates hollow structures that are more prone to collapse or brittleness if not designed with sufficient internal support or drainage holes.
- Support structures: While primarily for print success, poorly placed or too sparse support structures can lead to localized under-curing or stress points during printing, contributing to overall brittleness. Proper support removal techniques are also crucial to prevent damage to the part.
Environmental factors
The environment in which you print and store your resin and prints plays a subtle but significant role.
- Temperature: As mentioned, colder temperatures can lead to under-curing. Consistent room temperature (20-25°C or 68-77°F) is ideal for most resins. Maintaining this through a heated enclosure (a feature in some higher-end printers or an add-on) can improve consistency, though it adds to the operational cost.
- Humidity: While less direct, high humidity can affect resin performance over time, especially if the resin is left exposed. Proper storage of resin in sealed containers is a low-cost preventive measure.
- Sunlight/UV exposure: Uncured resin exposed to ambient UV light can begin to cure prematurely, altering its properties. Cured prints, if left in direct sunlight for extended periods, can continue to cure, potentially leading to over-curing and increased brittleness. Store prints and resin in opaque containers away from light sources.
Troubleshooting brittle resin prints: a systematic approach
When faced with brittle resin prints, a systematic troubleshooting SLA approach is key. Instead of randomly changing settings, consider these steps:
- Review resin choice: Is your resin suitable for the application's durability requirements? Consider upgrading to a tough or ABS-like resin if brittleness is a consistent issue for functional parts. This is a direct cost impact, but potentially a long-term saving in terms of successful prints.
- Calibrate exposure: Run exposure calibration tests for your specific resin and printer. This is a low-cost, high-impact solution.
- Optimize post-curing: Experiment with shorter post-curing times. Ensure your curing station provides uniform UV light. If using a basic setup, consider investing in a dedicated curing station for its controlled features and efficiency.
- Check print settings: Ensure adequate wall thickness and proper hollowing for your model.
- Monitor environment: Maintain a stable, warm printing environment.
- Resin freshness and storage: Use fresh resin and store it properly away from light and extreme temperatures.
"The most durable prints often result from a harmonious balance between resin properties, precise exposure, and controlled post-curing, rather than simply maximizing any single factor."
Addressing brittle resin prints requires a holistic understanding of your entire workflow. By meticulously examining your resin choice, curing parameters, print settings, and environmental conditions, you can identify the weak links. Different solutions, from adjusting software settings to investing in specialized resins or curing equipment, offer varying features and cost implications. The most effective strategy involves making informed decisions based on your specific needs, allowing you to consistently produce strong, reliable, and durable resin prints.