Updating Marlin Firmware on Your 3D Printer: A Beginner’s Guide
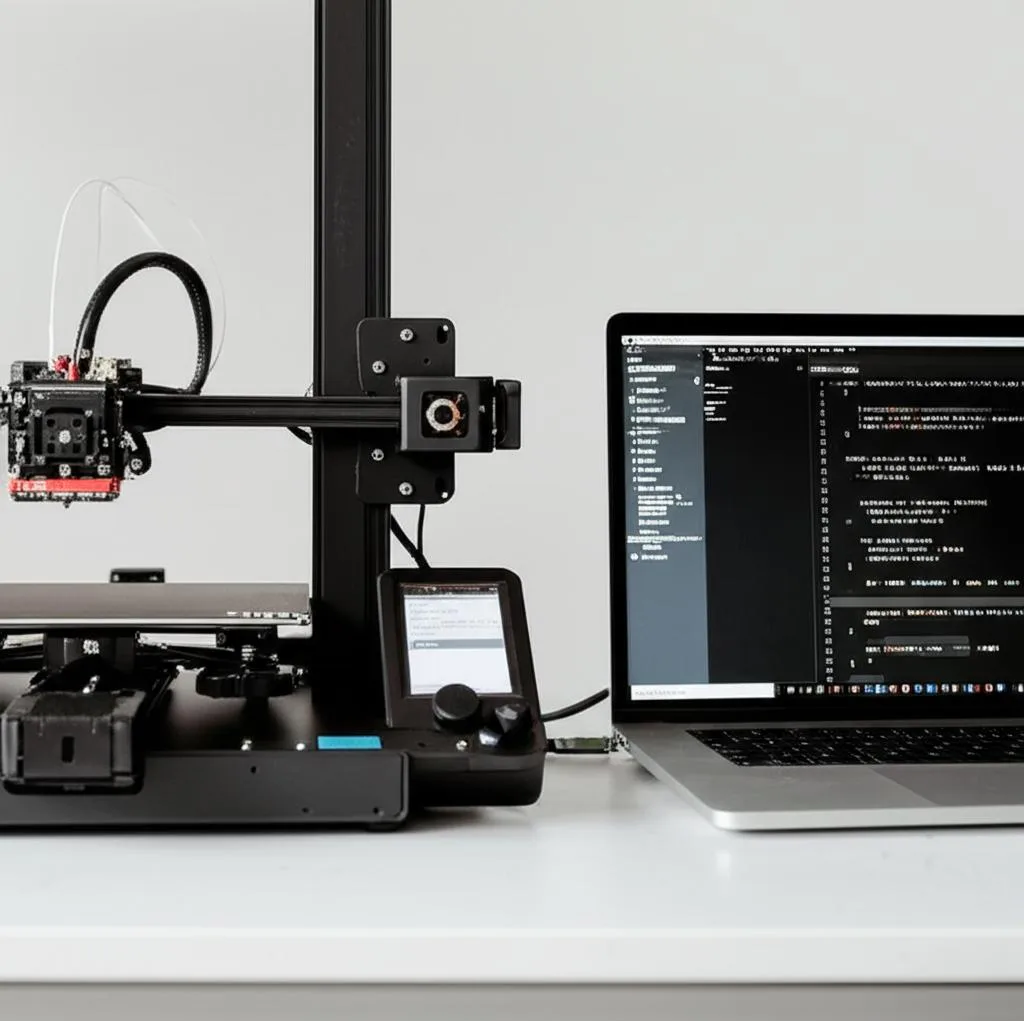
Upgrading your 3D printer’s firmware can seem daunting, but it’s crucial for unlocking new features, improving print quality, and resolving bugs. For many FDM printers, open-source Marlin firmware is the standard. This guide will simplify the process of updating your 3D printing Marlin firmware, making it accessible even for beginners.
Why Update Your Marlin Firmware?
Regular firmware updates offer significant advantages. They introduce support for new hardware (like auto-bed leveling or filament sensors), enhance existing features (PID tuning, linear advance), fix issues, and improve overall printer performance. It’s an essential aspect of proper Hardware and Modifications management for your 3D setup.
Prerequisites Before You Start
Ensure you have:
- Arduino IDE or PlatformIO: For compiling firmware (PlatformIO recommended).
- USB Cable: To connect printer to computer.
- Printer’s Mainboard Info: Know your control board type (e.g., SKR Mini E3, Creality V4.2.x).
- Marlin Firmware Source: Download the latest stable or bugfix release from the official Marlin GitHub.
Step-by-Step Update Process
- Backup Configuration: Use M503 command via a terminal (like Pronterface) to get your current settings. Save this output.
- Download Marlin: Get the desired version from the official Marlin GitHub page.
- Extract and Configure: Unzip the folder. Edit `Configuration.h` and `Configuration_adv.h` (in the `Marlin` subfolder). Configure for your specific board, drivers, display, and features (e.g., BLTouch). Example config files for popular printers are often available on GitHub.
- Compile Firmware: Open the Marlin project in your IDE (Arduino IDE or PlatformIO). Select the correct board. Compile to check for errors and create the binary.
- Upload to Printer: Connect your printer via USB. Select the correct serial port in your IDE. Click upload to flash the firmware onto your mainboard.
- Verify and Test: After upload, reconnect. Optionally, perform M502 (reset defaults) then M500 (save to EEPROM). Test all functions: homing, bed leveling, motor movement, heating, and endstops.
Troubleshooting Tips
Common issues include compilation errors (incorrect configuration), upload failures (wrong port/board, drivers), or unexpected printer behavior. Double-check your `Configuration.h` and `Configuration_adv.h`. Consult Marlin documentation, community forums, or Discord for help.
Conclusion
Updating your 3D printing Marlin firmware is a powerful way to customize and optimize your 3D printer. While it demands attention, following these steps will empower you to manage this essential task, enhancing your 3D printing experience. Happy printing!
Frequently asked questions
Can I update Marlin firmware without using the Arduino IDE or PlatformIO?
Yes, many newer mainboards support firmware updates via a microSD card. You compile the firmware on your computer using the Arduino IDE or PlatformIO, then copy the resulting binary file (usually named “firmware.bin”) onto a microSD card, insert it into the printer, and power-cycle the printer. Always check your specific board documentation for the correct file name and procedure.
What should I do if the firmware upload fails or my printer won’t connect after updating?
First, verify you selected the correct board type and serial port in your IDE. If the upload fails, try a different USB cable or port, and ensure the correct USB drivers are installed for your mainboard (e.g., CH340 or CP210x drivers). If the printer is unresponsive after a successful upload, perform a factory reset using the M502 command via a terminal, then save with M500, and re-test basic functions like homing and heating.
Do I need to re-tune my printer settings (like PID or E-steps) after a firmware update?
Yes, you should re-tune critical settings after updating. While you can restore your old settings by loading the M503 backup you saved before the update, firmware changes may affect calibration values. It is best practice to re-run PID auto-tuning for your hotend and bed, recalibrate your E-steps, and re-check your Z-offset if using auto bed leveling, especially if you enabled new features like Linear Advance or changed driver modes.