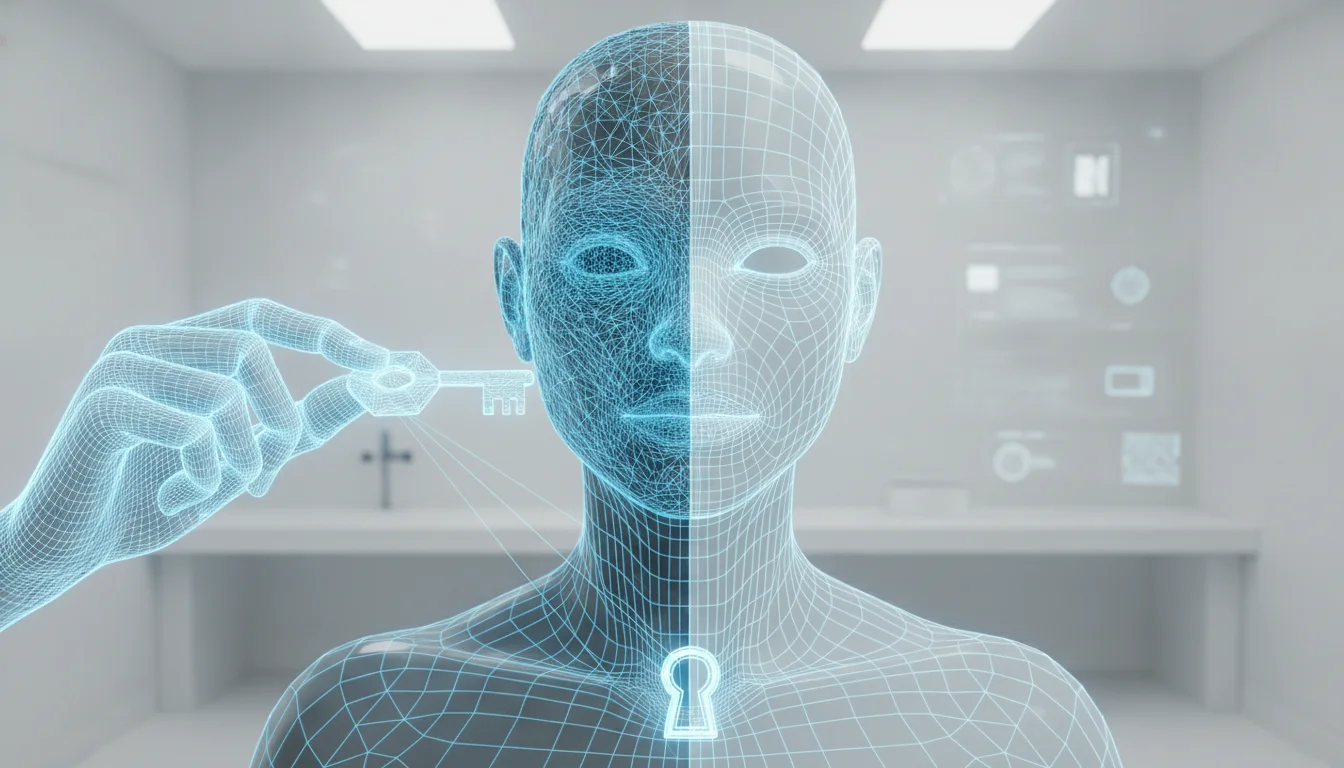
In the dynamic world of 3D character modeling, the journey from a high-resolution sculpt to an animation-ready asset is often fraught with technical challenges. One of the most critical hurdles is achieving clean, efficient, and animatable mesh topology. While ZBrush excels at organic sculpting with millions of polygons, such dense meshes are impractical for rigging and animation pipelines. This is where ZBrush ZRemesher steps in as a game-changer, offering an intelligent, automated solution for retopology that bridges the gap between artistic freedom and production efficiency.
This comprehensive guide will delve deep into ZRemesher, exploring its capabilities, best practices, and advanced techniques to help professional character modelers create assets that not only look stunning but also perform flawlessly in animation. We’ll uncover how to harness this powerful tool to transform your intricate sculpts into pristine, quad-based meshes, ensuring smooth deformations and a streamlined workflow.
Understanding the critical role of retopology for animation
Before diving into the mechanics of ZRemesher, it’s essential to grasp why retopology is so indispensable, especially for animation. A sculpt created with tools like Dynamesh or Voxel Remesher is fantastic for creative exploration, but its topology is often chaotic, with triangles, ngons, and uneven polygon distribution. This irregular structure presents numerous problems for downstream processes:
- Deformation issues: During animation, a character’s mesh needs to bend and stretch smoothly at joints and across muscle groups. Poor topology leads to pinching, undesirable volume loss, and jagged deformations. Clean, evenly distributed quads, particularly around areas of high movement, are paramount for natural-looking animation.
- UV mapping complications: Unwrapping UVs for texturing becomes a nightmare with messy topology. Clean edge loops make it significantly easier to create logical UV islands, minimizing seams and distortion.
- Texturing and baking artifacts: Baking normal maps, ambient occlusion, or other texture data from a high-poly sculpt onto a low-poly mesh is prone to errors if the low-poly mesh has poor topology. Artifacts, seams, and projection errors are common.
- Rigging and weight painting challenges: Rigs rely on the mesh’s underlying structure. Trying to weight paint a mesh with an unpredictable polygon flow is time-consuming and often yields suboptimal results.
- Performance overhead: High-polygon meshes are computationally expensive, slowing down animation playback, rendering, and real-time engine performance. Retopology creates a lower-poly, optimized mesh.
In essence, clean mesh topology isn’t just a nicety; it’s a fundamental requirement for any professional character modeling pipeline aiming for animation-ready assets. ZRemesher offers an intelligent solution to automate much of this often tedious process.
Exploring ZRemesher’s core features and controls
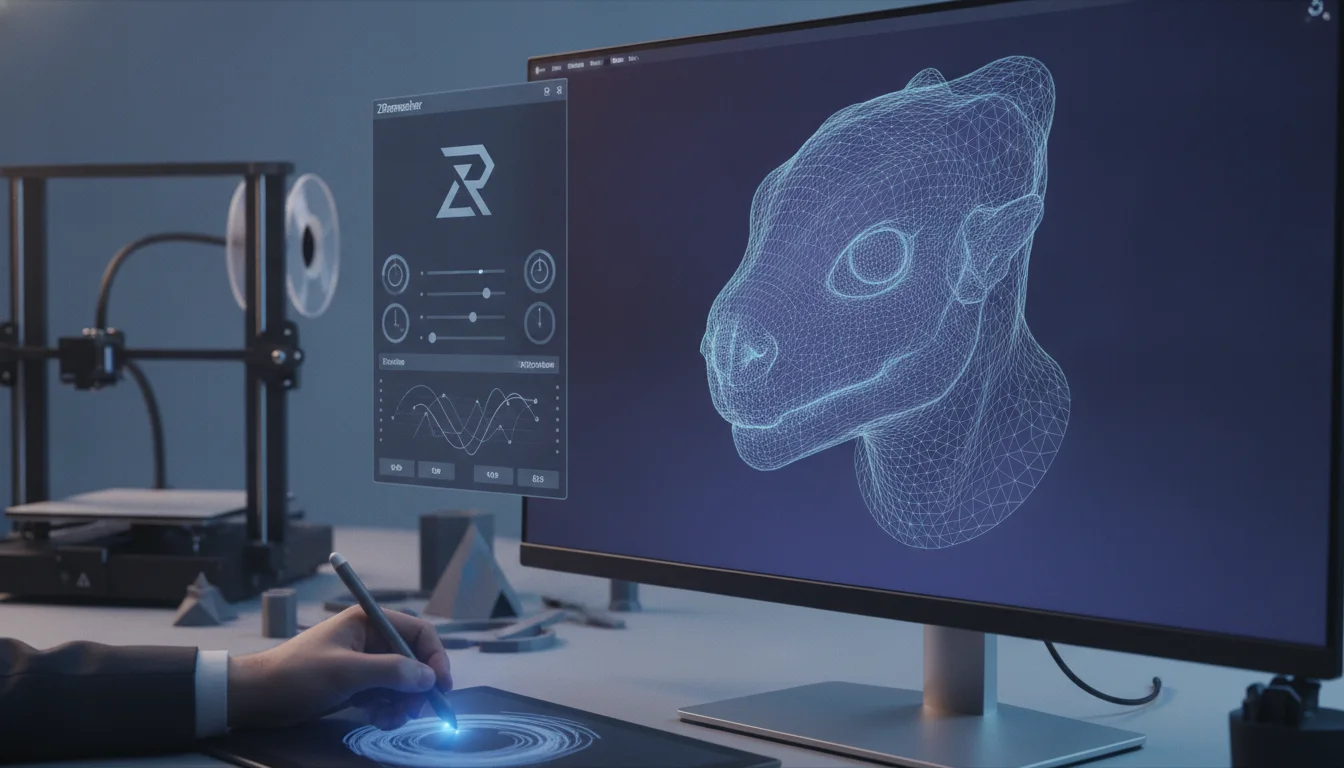
ZRemesher is a sophisticated algorithm designed to analyze your mesh’s surface and generate new, optimized quad-based topology. It’s not a one-click solution but a powerful tool that, when understood and guided correctly, can produce exceptional results. Let’s break down its key features and parameters:
Target polygon count
This is arguably the most fundamental control. It allows you to specify the desired number of polygons for your new mesh. You can set it directly or use the ‘Half’ or ‘Same’ options to quickly reduce or maintain the current polycount. Experimenting with this value is crucial to find the right balance between detail preservation and polygon budget for your final asset.
Adaptive size
The ‘Adaptive Size’ slider controls how ZRemesher distributes polygons across the mesh. A higher value will result in more uniform polygon distribution, which is generally good for overall smooth deformation. A lower value allows ZRemesher to create smaller polygons in areas with high surface detail and larger polygons in flatter areas, preserving subtle forms more accurately. It’s a trade-off between uniform flow and detail preservation.
Curve guides (ZRemesher Guides Brush)
This is where ZRemesher truly shines in terms of user control. The ZRemesher Guides Brush allows you to draw strokes directly onto your mesh, explicitly telling ZRemesher where you want your edge loops to flow. This is invaluable for critical areas like the face (around eyes, mouth), elbows, knees, and shoulders, where specific edge flow is essential for deformation. The ‘Curve Strength’ slider determines how much ZRemesher respects these guides.
Polypaint guides
Beyond explicit curve guides, ZRemesher can also interpret polypaint information to influence polygon density. By painting areas with more detail (e.g., wrinkles, scars) with a specific color, you can tell ZRemesher to concentrate more polygons in those regions. This is particularly useful for subtle surface details that might be overlooked by adaptive sizing alone.
Hard surface detection (detect edges)
For models that combine organic forms with hard-surface elements, or even just sharp creases within an organic sculpt, ‘Detect Edges’ is a powerful feature. When enabled, ZRemesher will attempt to preserve hard edges and creases, preventing them from becoming smoothed out during the retopology process. This is excellent for mechanical parts, clothing seams, or stylized characters with sharp features.
Symmetry
If your character is symmetrical, activating the ‘Symmetry’ option (usually along the X-axis) is crucial. ZRemesher will then generate perfectly mirrored topology, which is essential for rigging and animation, as well as for further sculpting on the symmetrical base mesh.
Freeze border, freeze groups, and keep polygroups
These advanced options provide even finer control, especially when working with complex models or iterative retopology:
- Freeze Border: Preserves the topology of open mesh borders.
- Freeze Groups: Prevents ZRemesher from altering the existing topology within specific PolyGroups.
- Keep Polygroups: ZRemesher will try to maintain the boundaries of existing PolyGroups in the new topology, which can be incredibly useful for managing different parts of a character.
A professional workflow with ZRemesher for character modeling
Achieving optimal results with ZRemesher involves more than just hitting a button. It’s an iterative process that requires thoughtful preparation and strategic application. Here’s a typical workflow:
1. Preparation of your high-poly sculpt
Before ZRemeshing, ensure your sculpt is a single, watertight mesh. Merge all relevant SubTools (e.g., body, head, limbs) into one using ‘Merge Down’ or ‘Boolean’ operations. If your mesh has holes or is open, use ‘Close Holes’ or Dynamesh to make it solid. It’s often beneficial to Dynamesh or Voxel Remesh your merged sculpt one last time to ensure a uniform surface for ZRemesher to analyze, especially if it’s composed of many separate pieces.
2. Initial ZRemesh: getting a base mesh
Start with a general ZRemesh to get a clean base. Don’t expect perfection on the first pass. Set a ‘Target Polygon Count’ that gives you a reasonable density (e.g., 5-10k for a full character). Keep ‘Adaptive Size’ at a medium value (around 50) and ensure ‘Symmetry’ is enabled if applicable. Hit ‘ZRemesh’. This first pass will give you a much cleaner, quad-based mesh to work with.
3. Refining topology with guides
This is where the magic happens for animation-ready characters. Use the ZRemesher Guides Brush (found in the ‘Brush’ palette under ‘ZRemesher Guides’) to draw essential edge loops:
- Facial loops: Crucial around the eyes, mouth, and nose for expressive animation.
- Joint loops: Rings of polygons around elbows, knees, shoulders, and hips to ensure smooth bending.
- Muscle flow: Guide loops along major muscle groups to aid deformation.
After drawing your guides, adjust the ‘Curve Strength’ (try 70-100) and re-run ZRemesher. You’ll likely need to do this multiple times, refining your guides and adjusting parameters. Don’t be afraid to clear guides and redraw them as needed.
4. Leveraging polypaint for density control
For areas requiring more detail than your general polycount allows, such as intricate wrinkles, scars, or specific clothing folds, use Polypaint. Select a bright, contrasting color and paint directly onto your sculpt in the areas where you want higher polygon density. Then, in the ZRemesher settings, enable ‘Use Polypaint’ and adjust ‘Polypaint Color Blending’ to control its influence. This allows for localized detail preservation without increasing the overall polycount unnecessarily.
5. Iterative process and projecting details
ZRemeshing is rarely a one-shot deal. You might ZRemesh a few times, adjusting guides and settings. After each successful ZRemesh, you’ll have a new mesh with clean topology but potentially less detail than your original sculpt. To bring back the high-frequency details, use the ‘ProjectAll’ feature. Subdivide your new retopologized mesh a few times (to a similar polycount as your original sculpt), then use ‘ProjectAll’ (found under ‘SubTool > Project’) to transfer the details from your high-poly original onto the new mesh. This allows you to retain all your sculpted information on a clean, animatable base.
6. Post-ZRemesh cleanup and UV unwrapping
Even with ZRemesher’s intelligence, some manual cleanup might be necessary. Use ZBrush’s traditional modeling tools (ZModeler, Edge Loop, Slide Edge) to tweak any minor imperfections in the edge flow, especially in areas that will be heavily animated. Once you’re satisfied with the topology, you can proceed with UV unwrapping directly in ZBrush using UV Master or export the mesh to another application for UV layout and texturing.
Beyond the basics: advanced tips for optimal ZRemesher results
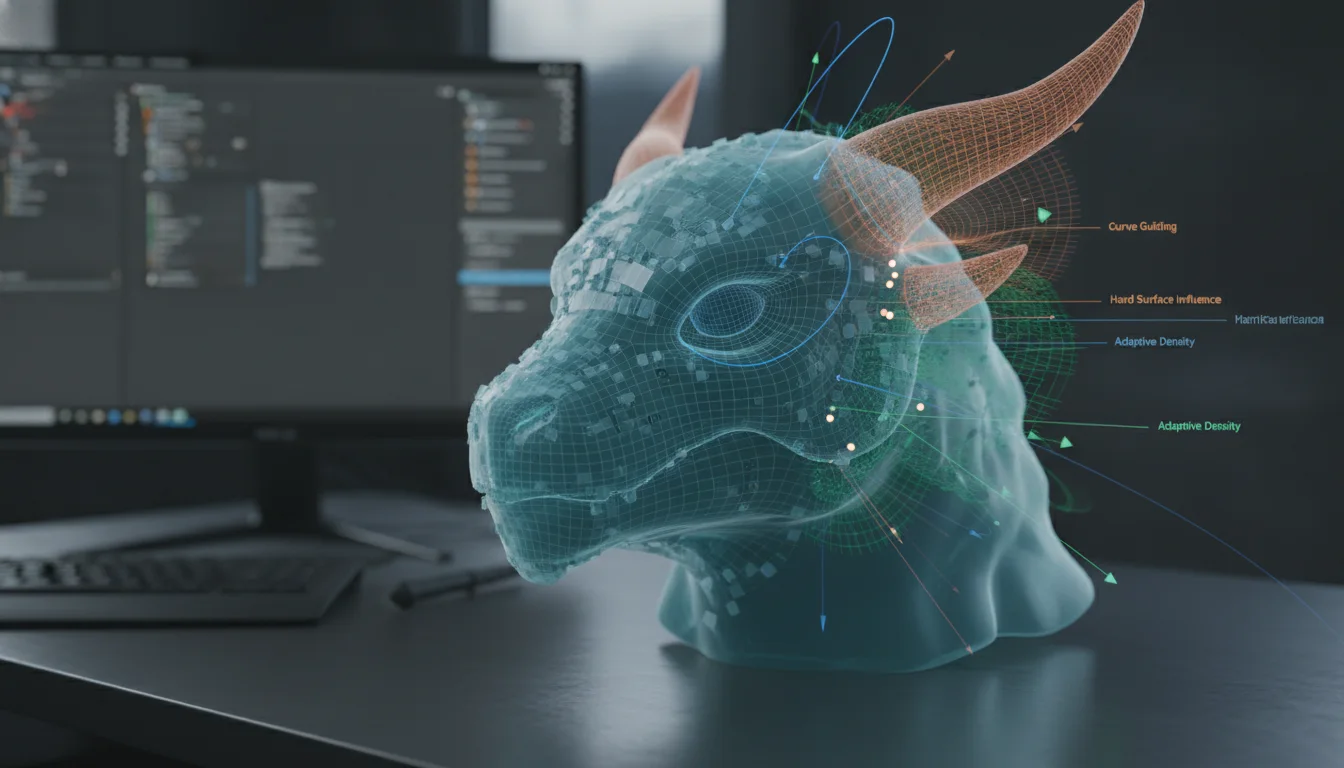
- Polygroups for control: Before ZRemeshing, create PolyGroups for different parts of your character (e.g., head, torso, arms, legs). You can then use the ‘Keep PolyGroups’ option to ensure ZRemesher respects these boundaries, giving you more predictable results and making subsequent cleanup easier.
- ZRemeshing by polygroups: Sometimes, it’s beneficial to ZRemesh specific PolyGroups independently. Mask off areas you don’t want to affect, or hide PolyGroups, and ZRemesher will only process the visible geometry.
- Combining ZRemesher with manual retopology: For highly complex or critical areas (like a character’s face), a hybrid approach often yields the best results. Use ZRemesher for the bulk of the body, then manually retopologize the face using ZBrush’s ZModeler or a dedicated retopology tool in another software. You can then merge these pieces.
- Considering animation needs from the start: As you sculpt, try to keep animation in mind. Think about how joints will bend and where muscle groups will flex. This foresight can inform your ZRemesher guide placement and overall topology strategy.
- Iterate on small sections: If you’re struggling with a particular area, try isolating it with masking or PolyGroups and ZRemeshing just that section. This can help you fine-tune the settings and guides without affecting the entire mesh.
- Use the ‘Freeze Border’ option: If you’re ZRemeshing a piece of clothing or an armor plate that needs to connect perfectly to another mesh, ‘Freeze Border’ will ensure the edges remain intact, simplifying the merging process.
ZRemesher’s impact on the sculpting workflow
The world’s first desktop full-color 3D & UV printer. Back the Kickstarter campaign with a refundable $50 deposit for VIP pricing.
The introduction and continuous improvement of ZBrush ZRemesher have fundamentally transformed the professional character modeling workflow. It has shifted the focus from the painstaking, often tedious task of manual retopology to a more artist-centric approach. Sculptors can now dedicate more time to the creative process, focusing on form, detail, and artistic expression, knowing that ZRemesher can efficiently handle the technical demands of creating clean mesh topology.
While manual retopology still holds its place for absolute precision in highly specialized cases, ZRemesher provides an unparalleled balance of speed, control, and quality. It empowers artists to rapidly prototype, iterate, and produce animation-ready assets with significantly reduced turnaround times, making it an indispensable tool in any modern 3D sculpting workflow.
Conclusion
ZBrush ZRemesher is more than just an automated retopology tool; it’s a cornerstone of the professional character modeling pipeline. By mastering its features and understanding how to effectively guide its intelligent algorithms, artists can consistently achieve clean mesh topology that is perfectly suited for rigging, animation, and game engine integration. From setting target polygon counts and utilizing adaptive sizing to strategically placing curve guides and leveraging polypaint, every parameter plays a vital role in sculpting workflow efficiency and the final quality of your animation-ready characters.
Embrace ZRemesher as a powerful ally in your 3D journey, allowing you to bridge the gap between your highest-resolution sculpts and the optimized, animatable assets demanded by today’s production environments. With practice and a deep understanding of its capabilities, you’ll unlock new levels of efficiency and artistic freedom in your professional character modeling endeavors.
Frequently asked questions
Should I Dynamesh my sculpt before using ZRemesher, or can I ZRemesh a mesh that has separate pieces merged together?
Yes, you should prepare your high-poly sculpt before ZRemeshing. The article recommends merging all relevant SubTools into one watertight mesh using Merge Down or Boolean operations, and then running Dynamesh or Voxel Remesh one last time to ensure a uniform surface for ZRemesher to analyze, especially if the sculpt is composed of many separate pieces.
After ZRemeshing, my mesh lost a lot of surface detail. How do I get the high-frequency details back onto the clean topology?
After a successful ZRemesh, subdivide your new retopologized mesh a few times until it has a similar polygon count to your original sculpt. Then use the ProjectAll feature, found under SubTool > Project, to transfer the details from your high-poly original onto the new mesh. This lets you retain all sculpted information on a clean, animatable base.
What’s the best way to handle a character’s face if ZRemesher isn’t giving me the edge flow I need around the eyes and mouth?
For highly critical areas like a character’s face, a hybrid approach often yields the best results. Use ZRemesher for the bulk of the body, then manually retopologize the face using ZBrush’s ZModeler or a dedicated retopology tool in another software, then merge these pieces together. You can also use the ZRemesher Guides Brush to draw specific edge loops around the eyes, mouth, and nose before running ZRemesher again.