Achieving a perfect first layer is often considered the holy grail of 3D printing. Without it, prints can warp, detach from the build plate, or suffer from unsightly imperfections that compromise the entire model. While fully automatic bed leveling (ABL) systems have gained popularity, many printers, especially those on the more accessible end of the spectrum, come equipped with or can be upgraded to utilize assisted bed leveling features. These intelligent systems don’t fully automate the process but provide invaluable guidance, transforming a tedious chore into a precise, manageable task. This guide delves into the world of assisted bed leveling, exploring how to leverage your printer’s inherent capabilities or readily available add-ons to dramatically improve your print quality.
Understanding the spectrum of bed leveling
Before diving into the specifics of assisted bed leveling, it’s helpful to understand where it sits within the broader landscape of bed leveling techniques. Generally, bed leveling can be categorized into three main approaches:
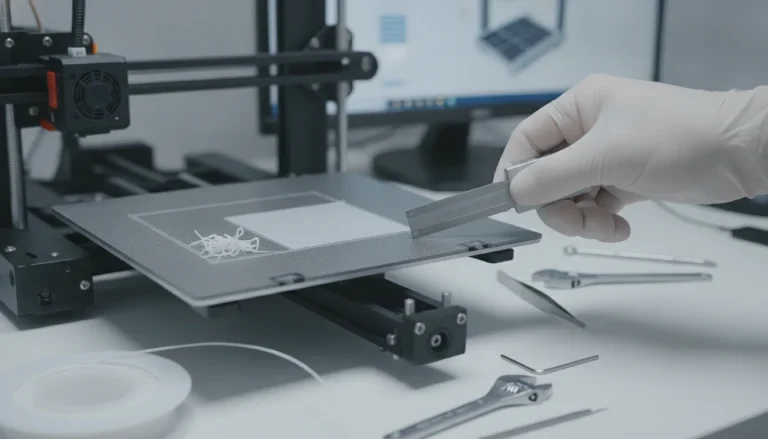
- Manual Bed Leveling: This is the most basic form, where the user manually adjusts the bed’s four (or three) corners using a piece of paper or a feeler gauge. It relies entirely on the user’s perception and consistency, offering no digital feedback or compensation.
- Assisted Bed Leveling: This method bridges the gap between purely manual and fully automatic. It uses the printer’s firmware or external software to guide the user through the leveling process, often by probing points and providing visual or auditory feedback on where adjustments are needed. The user still performs the physical adjustments.
- Automatic Bed Leveling (ABL): This is the most advanced form, employing a probe (such as a BLTouch, CRTouch, or inductive sensor) to map the bed’s surface automatically. The printer’s firmware then uses this mesh data to compensate for any unevenness during printing, adjusting the Z-axis height dynamically without requiring manual intervention during the print itself.
Our focus here is on assisted bed leveling, a powerful approach that offers significant advantages over purely manual methods without the full hardware investment sometimes associated with ABL.
What is assisted bed leveling and how does it work?
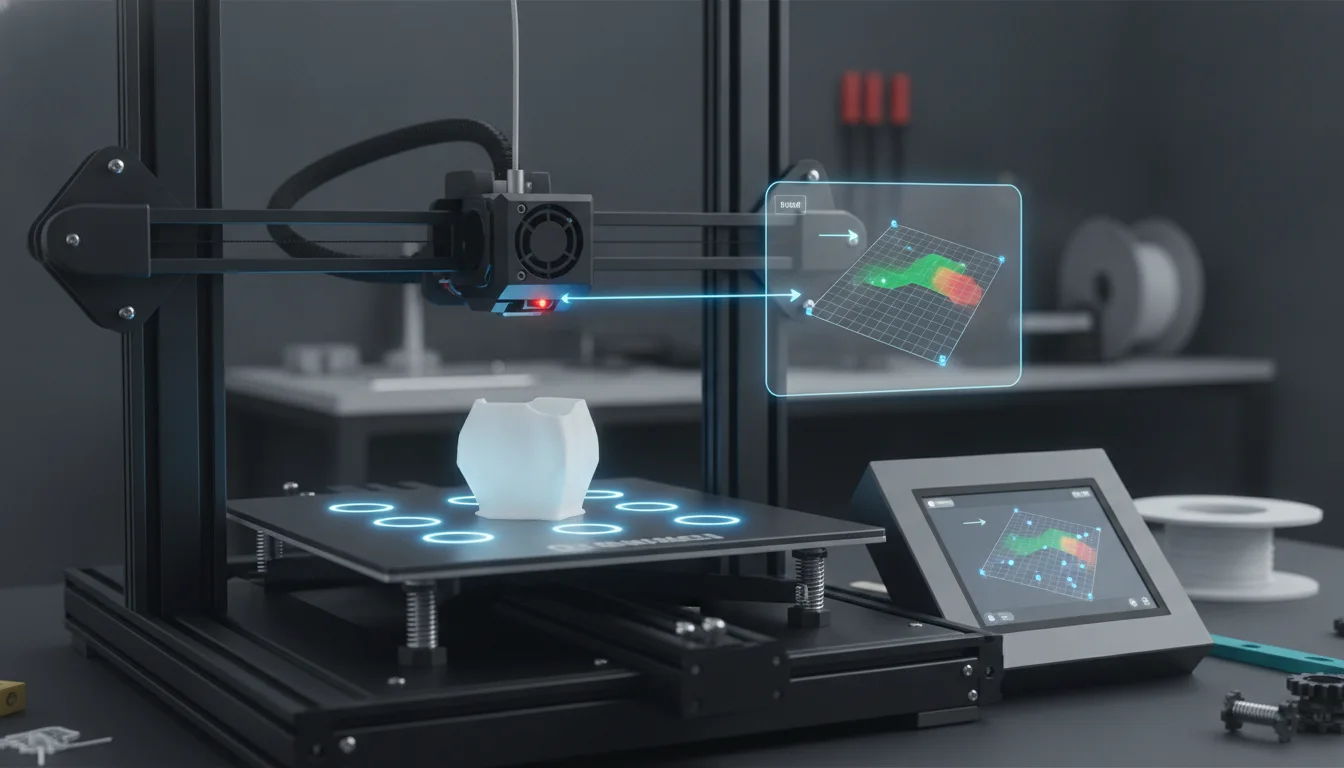
Assisted bed leveling is a smart approach to ensuring your print bed is perfectly aligned with your hotend’s movement. Unlike manual leveling, where you’re left to guess the correct height at each point, assisted systems provide data-driven feedback. The core principle involves probing multiple points across the print surface and then indicating to the user how much adjustment is required at specific locations to achieve an optimal level.
The “assistance” can manifest in several ways:
- Firmware-guided feedback: Many modern printer firmwares, especially open-source options like Marlin, include features that guide you through a manual mesh leveling process. The printer moves the nozzle to various points on the bed, and at each point, it might prompt you to adjust the bed until a certain condition is met (e.g., paper friction). Some advanced implementations might even tell you whether to turn the adjustment knob clockwise or counter-clockwise.
- Software visualization: Tools like the OctoPrint Bed Visualizer plugin work in conjunction with a bed leveling probe (like a BLTouch). The probe takes measurements across the entire bed, and the software then generates a visual heatmap of your bed’s topology. This graphical representation clearly shows high and low spots, allowing you to manually adjust your bed screws with precision until the heatmap is as flat as possible.
The primary goal of assisted bed leveling is to help you create a consistent, flat surface across your entire print area, which is paramount for excellent first layer adhesion and overall print quality.
Leveraging firmware’s built-in assisted leveling features
Every model we design and test gets uploaded as a free STL – browse the full profile on MakerWorld.
Many 3D printers, particularly popular models like the Ender 3 series, come with firmware that can be configured for assisted bed leveling, often referred to as manual mesh calibration or firmware leveling. This method is particularly attractive because it typically requires no additional hardware investment, relying solely on the printer’s existing components and a firmware upgrade if not already enabled.
How firmware-guided manual mesh calibration works
- Initiation: You start the manual mesh leveling routine through your printer’s LCD menu.
- Probing points: The printer will move its nozzle (or a dedicated probe, if available and configured) to a series of predefined points across the bed. These points usually form a grid (e.g., 3×3, 5×5, or even 7×7).
- User adjustment: At each point, the printer pauses. If you have a Z-probe, it might take a measurement. If not, you’ll typically be instructed to use a piece of paper or a feeler gauge between the nozzle and the bed. You then adjust the bed’s leveling knobs until the desired friction is achieved at that specific point.
- Feedback (optional but helpful): Some advanced firmwares might offer on-screen feedback, indicating whether the current point is too high or too low relative to the others, or even suggest which way to turn the nearest leveling knob.
- Saving the mesh: Once all points are calibrated, the firmware stores this “mesh” of height deviations in its memory (EEPROM). During subsequent prints, the printer will use this stored mesh data to make tiny, dynamic Z-axis adjustments, effectively compensating for any remaining minute inconsistencies in the bed’s surface.
Printers and firmware considerations
For printers like the Ender 3 leveling, custom firmware such as Marlin (or pre-compiled versions like JyersUI or Professional Firmware) often enables these features. If your printer’s stock firmware doesn’t support manual mesh leveling, you might need to flash a custom firmware. This process involves a bit of technical know-how but is well-documented within the 3D printing community. The cost associated here is primarily time and effort, as open-source firmware is generally free.
Advantages of firmware-based assisted leveling:
- Cost-effective: Often requires no additional hardware, making it a budget-friendly option.
- Enhanced precision: Allows for detailed mapping of the entire bed surface, not just the corners.
- Improved consistency: Reduces the variability of manual corner leveling.
- Builds user skill: Helps users understand their printer’s mechanics and the impact of bed adjustments.
Considerations for firmware-based assisted leveling:
- Time-consuming: The initial calibration can take a significant amount of time, especially for larger grids.
- Manual effort: Still requires active user participation in adjusting the bed screws.
- Firmware complexity: Flashing custom firmware can be daunting for beginners.
- No real-time visualization: Feedback is often text-based or tactile, lacking a comprehensive visual overview.
Advanced bed leveling with software visualization: The power of Bed Visualizer
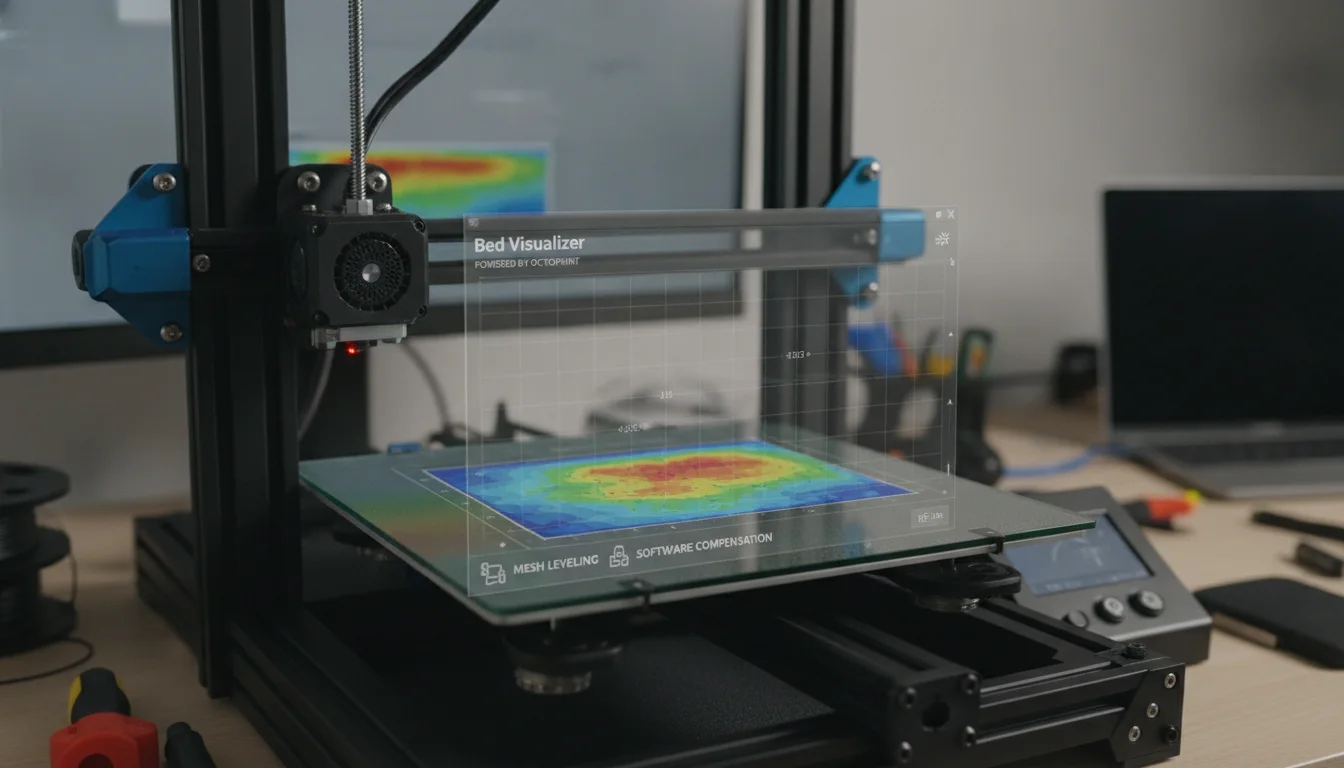
For those seeking a more visual and data-rich approach to assisted bed leveling, combining a Z-probe with a software solution like the OctoPrint Bed Visualizer plugin can be a game-changer. This method provides an intuitive graphical representation of your print bed’s topography, making it much easier to identify and correct high and low spots.
How the Bed Visualizer plugin works
- Hardware requirement: This method necessitates a Z-probe (e.g., BLTouch, CRTouch, inductive sensor, capacitive sensor) installed on your 3D printer. This probe is crucial for accurately measuring the distance between the nozzle and the bed at various points.
- OctoPrint setup: You’ll need an OctoPrint instance running, typically on a Raspberry Pi, connected to your 3D printer. OctoPrint acts as a web interface and control center for your printer.
- Bed Visualizer installation: The Bed Visualizer plugin is installed within OctoPrint.
- Mesh generation: Through OctoPrint, you initiate a G-code command (e.g., G28 followed by G29 for Marlin) that instructs your printer to perform a bed leveling routine using its probe. The probe systematically measures a grid of points across your entire print bed.
- Data visualization: Once the probing is complete, the Bed Visualizer plugin takes this raw data and renders it as a colorful 3D heatmap. This heatmap visually represents the high (red) and low (blue) areas of your print bed relative to an ideal flat surface.
- Manual adjustment: Armed with this visual information, you can then precisely adjust your bed leveling screws. The heatmap provides immediate feedback on the impact of your adjustments, allowing you to iterate until the bed is as flat and uniform as possible.
- Saving the mesh (optional): After manually leveling the bed to your satisfaction, you can save the newly created mesh in your printer’s EEPROM, allowing the firmware to apply compensation during prints.
Cost and complexity considerations
Implementing a Bed Visualizer setup involves a greater initial investment than purely firmware-based methods. You’ll need:
- A Z-probe: Costs vary depending on the type (BLTouch, CRTouch, inductive, etc.) but typically range from $20 to $60.
- A Raspberry Pi: Essential for running OctoPrint, costs can range from $35-$100+ depending on the model and availability.
- Additional accessories: Power supply, microSD card, and potentially a case for the Raspberry Pi.
- Time and technical skill: Setting up OctoPrint, installing the probe, flashing firmware (if needed for probe support), and configuring the plugin requires some technical aptitude and time investment.
Advantages of probe-based assisted leveling with Bed Visualizer:
- Highly accurate visualization: Provides a clear, intuitive, and precise graphical representation of bed topography.
- Empowers precise adjustments: Eliminates guesswork, allowing for targeted manual adjustments.
- Data-driven decisions: You can see the impact of each screw turn in real-time (by re-probing).
- Can lead to near-perfect manual leveling: With patience, users can achieve incredibly flat beds.
Considerations for probe-based assisted leveling with Bed Visualizer:
- Higher initial cost: Requires investment in a Z-probe and a Raspberry Pi for OctoPrint.
- Increased setup complexity: More hardware and software to configure.
- Still requires manual adjustment: The user is still responsible for turning the leveling screws.
- Not fully automatic: While the probe collects data automatically, the leveling itself is manual.
Comparing different assisted bed leveling solutions
When choosing an assisted bed leveling approach, it’s essential to consider the trade-offs between cost, complexity, accuracy, and the level of automation you desire. Both firmware-guided manual mesh calibration and probe-based solutions with visualizers offer distinct advantages.
Firmware-guided manual mesh calibration
- Cost structure: Generally low to zero direct monetary cost if your printer’s firmware supports it or if you’re comfortable flashing open-source firmware. The primary cost is time for the initial setup and calibration.
- Features: Guides the user point-by-point, stores a mesh for compensation during prints. Some firmwares offer directional feedback for knob adjustments.
- Complexity: Moderate. Flashing firmware can be a hurdle, but the calibration process itself is straightforward once understood.
- Accuracy: Very good, especially with a high number of mesh points. Relies on the user’s consistency with the paper/feeler gauge method.
- Best suited for: Users on a tight budget, those comfortable with firmware modification, or those who prefer a hands-on approach to understanding their printer. Excellent for Ender 3 leveling and similar entry-level machines.
Probe-based assisted leveling with Bed Visualizer (e.g., OctoPrint)
- Cost structure: Higher initial monetary cost due to the requirement of a Z-probe (e.g., BLTouch) and a Raspberry Pi for OctoPrint. The recurring cost is negligible.
- Features: Generates a highly accurate 3D heatmap of the bed surface, providing clear visual feedback for manual adjustments. Can integrate with other OctoPrint features.
- Complexity: Higher. Involves installing hardware (probe, Raspberry Pi), configuring firmware for probe support, and setting up OctoPrint and its plugins.
- Accuracy: Potentially the most accurate form of assisted leveling, as the probe takes consistent measurements, and the visualizer allows for highly precise manual adjustments.
- Best suited for: Users willing to invest in hardware for a more data-driven and visual experience, those already using or planning to use OctoPrint, and those who prioritize maximum manual precision. This is a step towards advanced bed leveling without going fully ABL.
It’s important to remember that neither of these assisted methods fully automates the physical adjustment of your bed. They are tools designed to empower you, the user, to achieve a perfectly level print surface with greater ease and accuracy than purely manual methods.
Factors to consider when making your choice
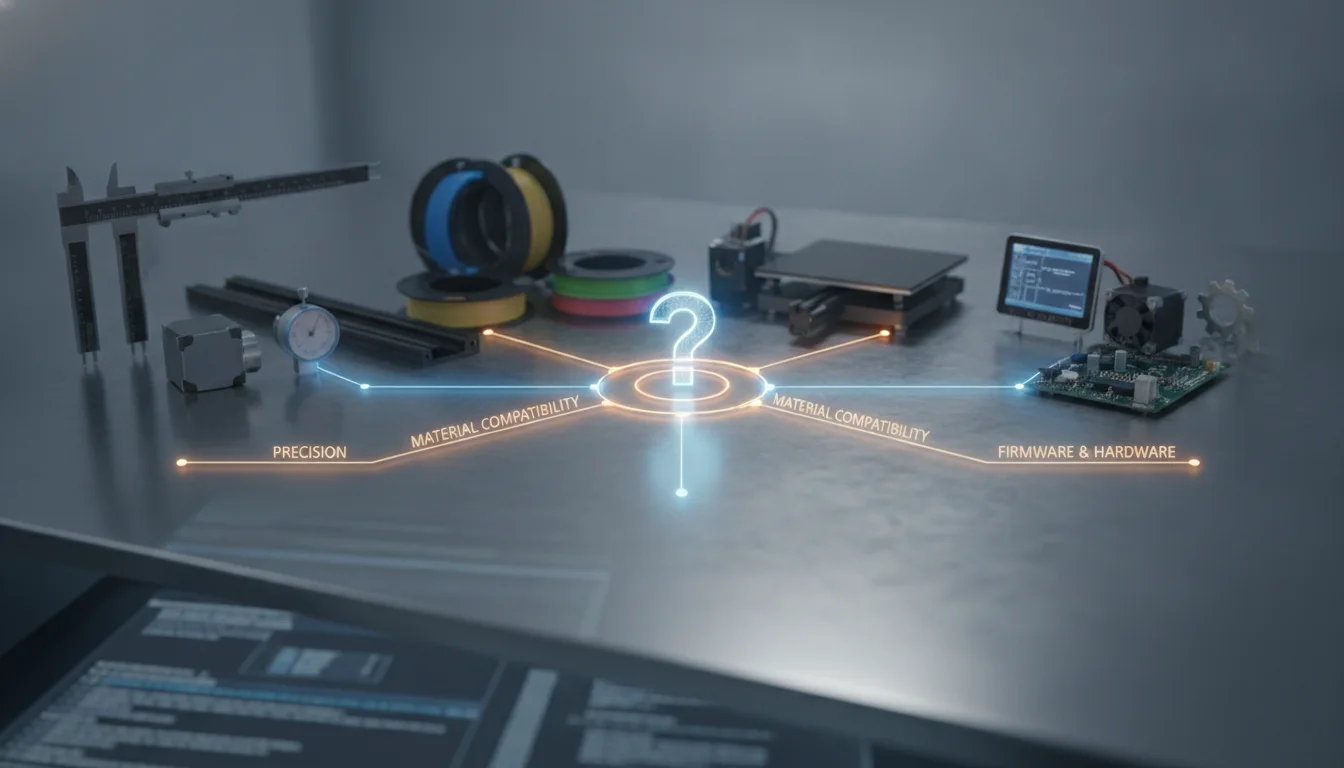
Deciding which assisted bed leveling solution is right for you involves weighing several personal and technical factors:
- Your printer’s capabilities: Does your printer’s mainboard support a Z-probe? Is its stock firmware capable of manual mesh leveling, or will you need to flash custom firmware? Some older or very basic printers might have limitations.
- Budget: Are you looking for a free solution (firmware-only, assuming no new hardware) or are you willing to invest in a Z-probe and a Raspberry Pi for a more advanced visual experience?
- Technical comfort level: Are you comfortable with flashing firmware, working with G-code, and setting up single-board computers like the Raspberry Pi? Or do you prefer a simpler, more integrated solution?
- Desired level of precision: While both methods offer significant improvements over purely manual leveling, the visual feedback from a Bed Visualizer often allows for a finer degree of manual tuning.
- Time investment: Both methods require an initial time investment for setup and calibration. Consider how much time you’re willing to dedicate to this process.
Tips for successful assisted bed leveling
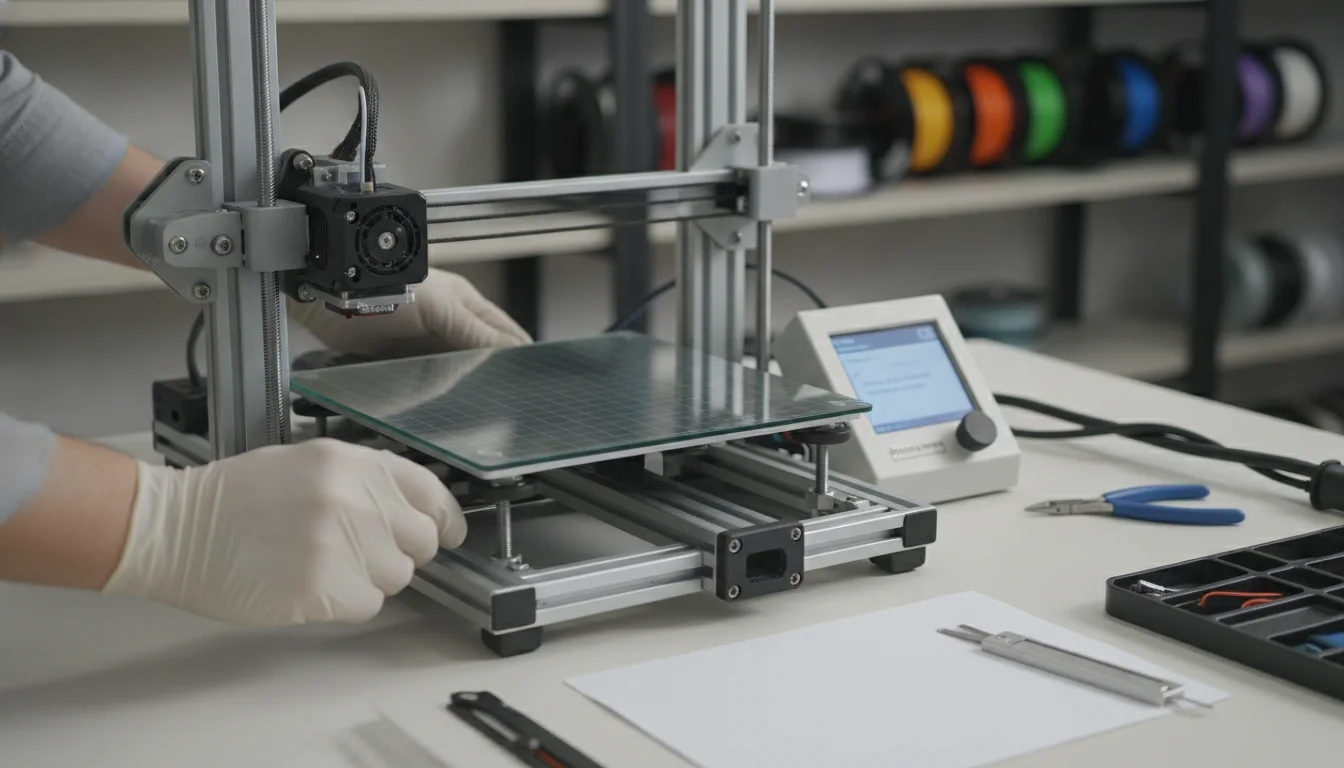
Regardless of the method you choose, a few best practices can help ensure your assisted bed leveling efforts yield the best possible results:
- Warm up your print bed: Always perform leveling with your bed at its typical printing temperature. Print beds can expand and contract with temperature changes, affecting their flatness.
- Check your printer’s mechanics: Ensure your gantry is square, eccentric nuts are properly tightened (not too tight, not too loose), and there’s no wobble in your print head or bed. A mechanically sound printer is the foundation for accurate leveling.
- Use a consistent method: If using the paper method, always use the same type of paper and aim for the same amount of drag at each point. For probe-based systems, ensure your probe is calibrated correctly (Z-offset).
- Iterate and refine: Especially with Bed Visualizer, don’t expect perfection in one go. Make adjustments, re-probe, and observe the changes in the heatmap. It’s an iterative process.
- Save your settings: After achieving a satisfactory level, remember to save your mesh to the printer’s EEPROM (e.g., using M500 command in Marlin) so it’s loaded automatically with each print.
- Consider periodic re-leveling: Print beds can shift over time due to vibrations, temperature cycles, or even just general use. Periodically re-checking your level, especially if you notice print quality degradation, is a good habit.
Conclusion
Assisted bed leveling represents a significant leap forward from traditional manual methods, offering a pathway to consistently excellent first layers without the full commitment to an automatic bed leveling system. Whether you opt for the cost-effective, hands-on approach of firmware-guided manual mesh calibration or the visually intuitive precision of a probe-based system with a tool like Bed Visualizer, the benefits are clear: reduced print failures, improved adhesion, and ultimately, higher quality 3D prints.
By understanding the features, cost structures, and complexities of each solution, you can make an informed decision that aligns with your specific needs, technical comfort, and budget. Embrace the power of assisted bed leveling, and unlock a new level of reliability and quality in your 3D printing journey.
Frequently asked questions
Can I use assisted bed leveling if my printer has a glass bed?
Yes, assisted bed leveling works with glass beds, but with a key caveat. If you use a firmware-guided manual mesh method without a probe, the process is identical to any other bed surface. If you use a probe-based system like a BLTouch with a Bed Visualizer, you must ensure the probe can reliably trigger on glass; inductive sensors often cannot, so you would need a capacitive sensor or a physical probe like a BLTouch. Always perform leveling at your printing temperature, as glass expands noticeably when heated.
What is the most common mistake people make with firmware-guided manual mesh leveling?
The most common mistake is not warming up the bed to printing temperature before starting the calibration. Print beds expand and warp slightly when heated, so a mesh created on a cold bed will be inaccurate during a hot print. Additionally, users often rush the paper feeler test and apply inconsistent pressure at each grid point, which introduces errors into the stored mesh.
Do I need to re-run assisted bed leveling before every print?
No, you do not need to re-level before every print if you save the mesh to your printer’s EEPROM (using an M500 command in Marlin) and have it load automatically (via M420 S1 in your start G-code). However, you should periodically re-check your level, especially if you notice first layer issues, after moving the printer, or after several dozen print hours, as bed screws can loosen from vibration and thermal cycling.