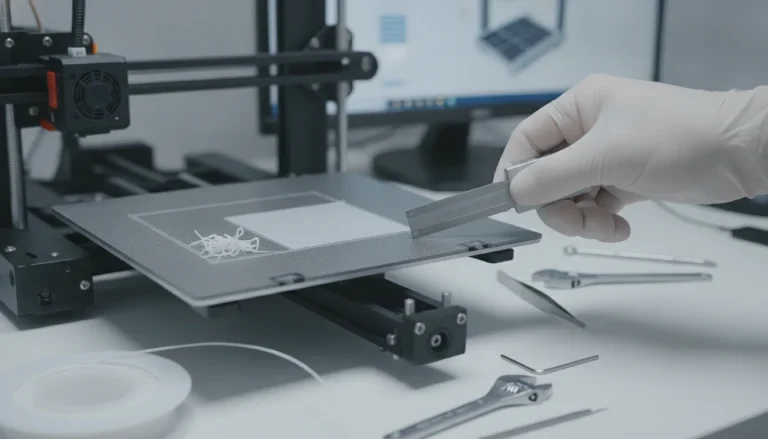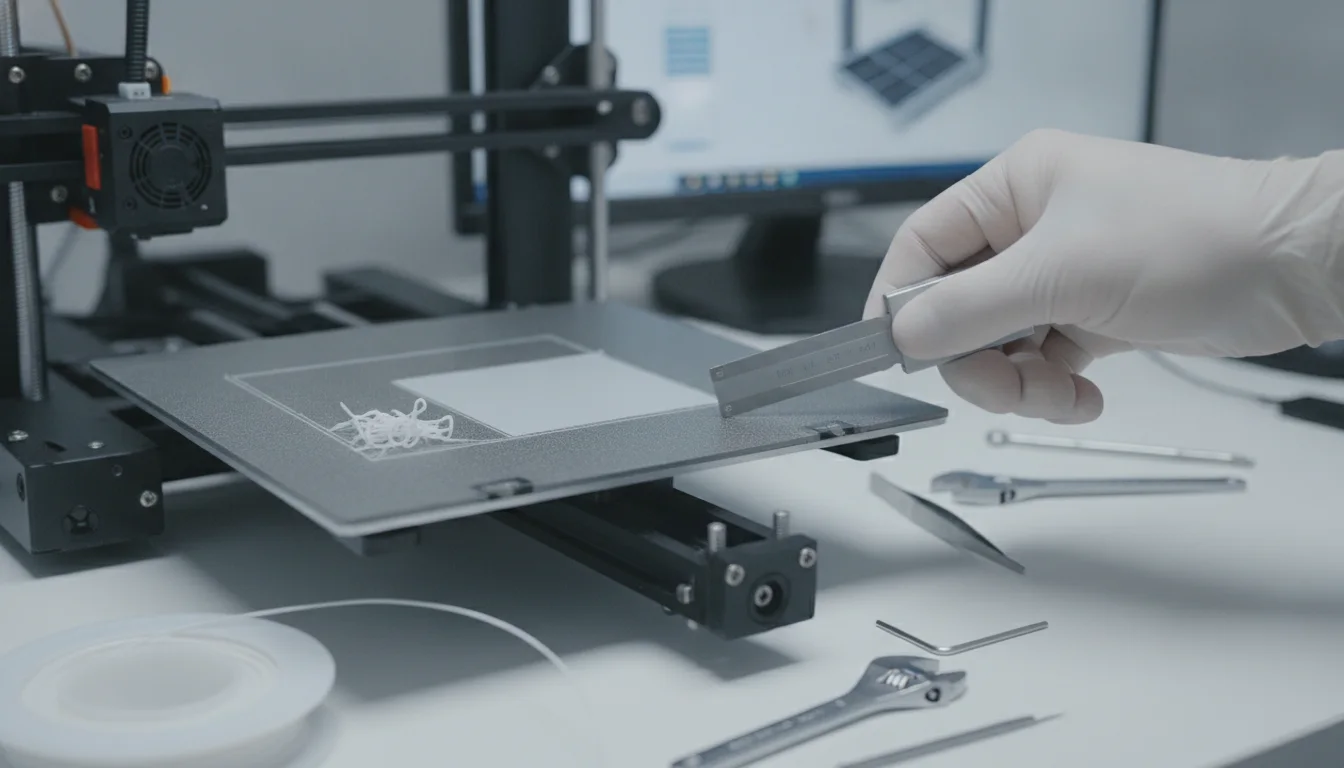
The first layer of any 3D print is arguably the most critical. It’s the foundation upon which your entire creation rests, and its quality dictates the success and structural integrity of the print. A perfect first layer adheres evenly, is consistent in thickness, and shows no signs of warping or detachment. However, many 3D printing enthusiasts, both beginners and veterans, frequently encounter a range of frustrating first layer issues that can derail a print from the get-go. Understanding these common problems – from a squished first layer to a gappy first layer, or even a stringy first layer – and knowing how to diagnose and fix them is paramount for achieving reliable and high-quality results.
Why the first layer matters so much
A retro-styled turntable and add-on speaker system with concrete and wood enclosure options. Currently running on Kickstarter.
A well-adhered and properly laid first layer ensures that the subsequent layers have a stable base, preventing common problems like warping, shifting, and even complete print failure. It also directly impacts the bottom surface finish of your print, which can be crucial for aesthetics or functional fit. Neglecting first layer calibration is a common pitfall that can lead to hours of wasted filament and frustration.
Common first layer issues: symptoms and quick diagnostics
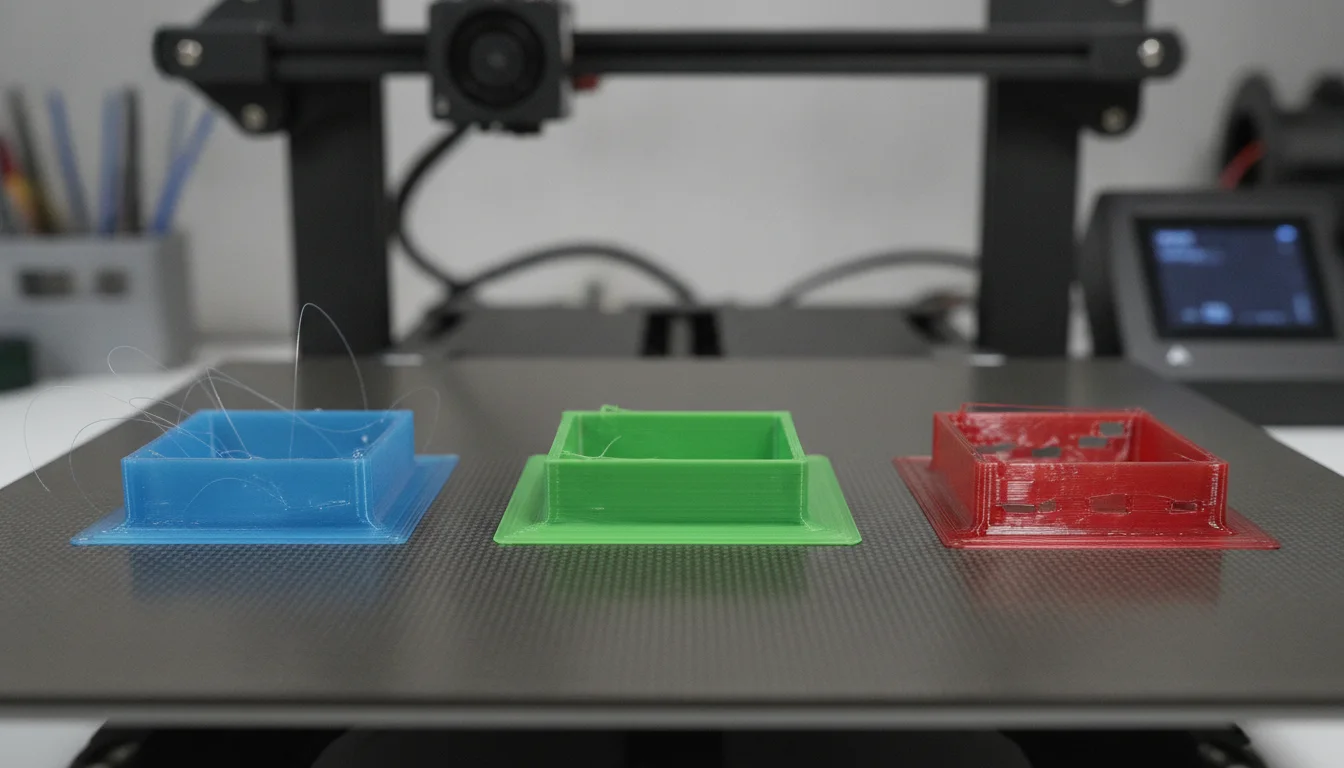
Let’s delve into the most prevalent first layer issues you might encounter and what they typically look like.
The squished first layer and elephant foot
A squished first layer occurs when the nozzle is too close to the print bed. Instead of laying down a neat, round bead of filament, the nozzle presses the material flat and wide. While this might initially seem to improve adhesion, it often leads to a phenomenon known as elephant foot. This is where the base of your print flares outwards, creating an unsightly and often dimensionally inaccurate bottom edge. This can be particularly problematic for parts designed to fit precisely into other components.
- Symptoms: Extremely wide, flat lines; lines squashing into each other with no visible separation; print base wider than intended; difficult to remove print from bed; ridges forming on the top surface of the first layer.
- Diagnosis: The nozzle too close to the bed is the primary culprit.
The gappy first layer and poor adhesion
Conversely, a gappy first layer (also known as under-extrusion on the first layer or poor bed adhesion) happens when the nozzle is too far from the print bed. The filament is laid down as thin, disconnected lines, or it simply doesn’t stick to the bed at all. This results in poor bed adhesion, leading to prints detaching mid-print, warping, or having a rough, uneven bottom surface.
- Symptoms: Thin, transparent lines; gaps between lines of filament; lines not sticking to the bed; print detaching from the bed; rough or uneven bottom surface texture.
- Diagnosis: The nozzle too far from the bed, insufficient extrusion, or an unclean print surface.
The stringy first layer and under-extrusion
While stringing is more commonly associated with retraction settings during travel moves, a stringy first layer can indicate severe extrusion problems specifically at the start of a print or on the first layer. This usually manifests as very thin, wispy lines that don’t form a solid surface, or even gaps where filament should be. It’s distinct from a gappy first layer in that the material might be present but extremely sparse or stretched.
- Symptoms: Very thin, almost transparent lines; lines breaking easily; visible gaps within the fill of the first layer; rough, uneven texture; poor layer adhesion.
- Diagnosis: Severe under-extrusion, partial nozzle clog, or incorrect filament diameter settings.
Root causes and in-depth diagnosis
A retro-styled turntable and add-on speaker system with concrete and wood enclosure options. Currently running on Kickstarter.
Understanding the visual symptoms is the first step; the next is to pinpoint the exact underlying cause. Most first layer issues boil down to a few key areas of calibration and settings.
Incorrect Z-offset or nozzle height
This is by far the most common cause of both squished first layer and gappy first layer problems. The Z-offset defines the precise distance between your nozzle and the print bed after the printer has homed its Z-axis. If the nozzle too close, it squishes the filament; if the nozzle too far, it struggles to adhere.
- Diagnosis: Visually inspect the first layer as it prints. Use a single-layer test print or a calibration square. A good first layer should look slightly squished, but with distinct lines that are bonded together without overlapping excessively or leaving gaps.
Uneven bed leveling/tramming
Even if your Z-offset is perfect, an uneven print bed will cause inconsistencies. One side of the bed might have a perfect first layer, while another suffers from a squished first layer or gappy first layer. This is particularly noticeable on larger prints.
- Diagnosis: Print a bed leveling test pattern that covers the entire build plate. Observe how the first layer is laid down in different areas.
Extrusion problems: under-extrusion or over-extrusion
Extrusion problems can manifest as a stringy first layer or a gappy first layer if under-extruding, or an overly thick, messy layer if over-extruding. This isn’t just about the nozzle height; it’s about the amount of plastic being pushed out.
- Under-extrusion: Not enough filament is being pushed through. Causes include incorrect E-steps, too low flow rate, partial clogs, or incorrect filament diameter setting in the slicer.
- Over-extrusion: Too much filament is being pushed through. Causes include too high flow rate, incorrect E-steps, or incorrect filament diameter setting.
- Diagnosis: Perform an E-steps calibration. Then print a single-wall cube and measure the wall thickness, comparing it to your slicer’s line width setting.
Print bed temperature and adhesion methods
The print bed temperature plays a crucial role in filament adhesion. Too low a temperature, and the plastic won’t stick; too high, and it might become too soft and warp. The type of bed surface (glass, PEI, build plate sticker) and any adhesion aids (glue stick, hairspray) also significantly impact success.
- Diagnosis: Check your filament manufacturer’s recommended bed temperature. Experiment with slight adjustments. Ensure your bed surface is clean and free of oils or dust.
First layer print speed
Printing the first layer too fast doesn’t give the filament enough time to properly adhere to the bed. It can lead to poor adhesion, lifting, and a gappy first layer, especially with larger prints or materials prone to warping.
- Diagnosis: If other settings seem correct but adhesion is still an issue, try reducing your first layer speed in the slicer.
Comprehensive fixes for common first layer issues
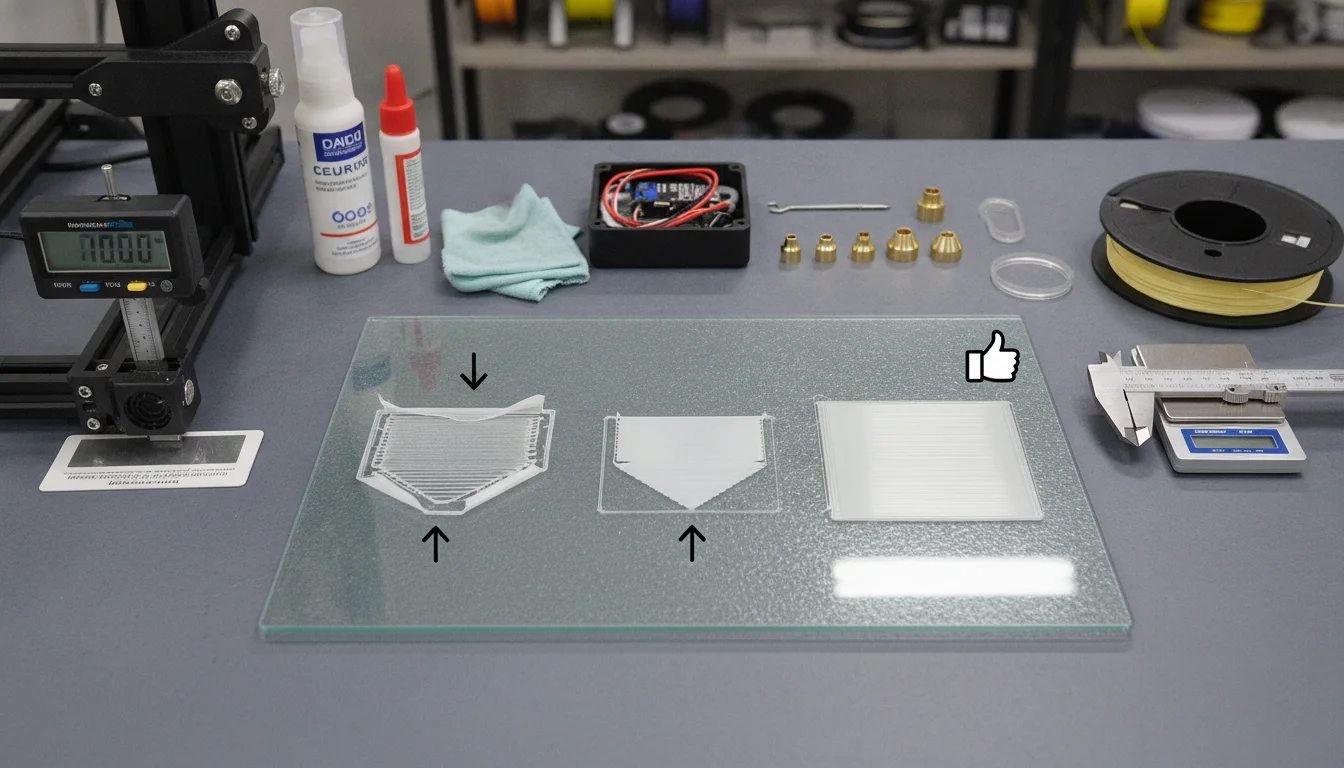
Now that we’ve diagnosed the issues, let’s explore the practical steps to rectify them and achieve that perfect first layer.
Calibrating Z-offset and nozzle height
This is often the most impactful adjustment.
- Manual Adjustment: For printers with manual Z-offset, slowly adjust it up or down in small increments (e.g., 0.02mm) while printing a single-layer calibration square. Aim for a slightly squished line that adheres well and shows minimal gaps or excessive overlap.
- Auto Bed Leveling (ABL) Systems: Even with ABL, you still need to set your Z-offset correctly. ABL compensates for bed unevenness but doesn’t set the initial nozzle height. Use the printer’s Z-offset wizard or manually adjust it after ABL has created its mesh.
- Feelers Gauge/Paper Method: For initial setup, use a piece of standard printer paper (approx. 0.1mm thick) to set the initial Z-height. The nozzle should lightly drag on the paper with slight resistance. This is a starting point; fine-tuning is usually required.
Remember: If your nozzle too close, increase the Z-offset (move nozzle higher); if your nozzle too far, decrease the Z-offset (move nozzle lower).
Ensuring a perfectly level print bed
Whether manual or automatic, bed leveling is crucial.
- Manual Bed Leveling: Use a bed leveling test print. Adjust the bed screws at each corner until the first layer is consistent across the entire bed. Repeat this process a few times as adjusting one corner can affect others.
- Automatic Bed Leveling (ABL): Run your ABL routine before each print, or periodically if your bed holds its level well. Ensure your Z-offset is correctly set after the ABL process.
- Inspect Your Bed: Sometimes, the bed itself might be warped. A glass bed can help mitigate this, or a flexible steel sheet on a well-supported magnetic base.
Addressing extrusion problems
Correcting extrusion problems is vital for a consistent first layer.
- Calibrate E-steps: This ensures your extruder motor pushes out the correct length of filament. There are many guides online for this process, which typically involves marking a length of filament and extruding a set amount.
- Adjust Flow Rate/Extrusion Multiplier: In your slicer, this setting fine-tunes the amount of filament extruded. If E-steps are calibrated, a small adjustment (e.g., 95-105%) can fix minor under or over-extrusion. Reduce for over-extrusion, increase for under-extrusion. This is especially useful for different filament types.
- Check Filament Diameter: Ensure the filament diameter setting in your slicer matches your actual filament (e.g., 1.75mm or 2.85mm).
- Inspect Nozzle for Clogs/Wear: A partially clogged or worn nozzle can lead to a stringy first layer or under-extrusion. Replace the nozzle if it’s old or shows signs of wear.
Optimizing bed temperature and adhesion
The right temperature and surface preparation make all the difference.
- Consult Filament Recommendations: Start with the bed temperature recommended by your filament manufacturer.
- Clean Your Print Bed: Oils from fingers, dust, and residue can severely impair adhesion. Clean glass or PEI sheets with isopropyl alcohol. For other surfaces, follow manufacturer guidelines.
- Use Adhesion Aids: For stubborn filaments or surfaces, consider a thin layer of glue stick, hairspray, or specialized adhesion sprays.
- Increase First Layer Temperature (Slightly): Sometimes, increasing the bed temperature by 5-10°C for the first layer can help initial adhesion, then drop it to the recommended temperature for subsequent layers.
Adjusting first layer print speed
Slowing down the first layer gives it time to bond.
- Slicer Settings: Most slicers have a dedicated setting for “first layer speed” or “initial layer print speed.” Reducing this to 15-30 mm/s is a good starting point.
- First Layer Travel Speed: Also consider slowing down the travel speed for the first layer to prevent accidental dislodging of freshly laid lines.
Mitigating elephant foot
If your squished first layer is causing elephant foot, here are specific fixes:
- Horizontal Expansion/Compensation: Many slicers offer a “horizontal expansion” or “elephant foot compensation” setting. A small negative value (e.g., -0.1mm to -0.2mm) can shrink the first layer slightly to counteract the outward flare.
- Chamfer or Fillet the First Layer: Design your model with a small chamfer or fillet on the bottom edge. This can visually hide the elephant foot or allow the squish to blend in more naturally.
- Cooling: Ensure your part cooling fan is off for the first few layers. Turning it on too early can cause warping, but keeping it off for the first layer can also reduce the chances of the lower layers cooling too quickly and shrinking unevenly.
Preventative measures and best practices
Prevention is always better than cure. Incorporating these habits will minimize first layer issues.
- Regular Calibration: Make Z-offset calibration, bed leveling, and E-steps calibration part of your routine maintenance.
- Cleanliness: Keep your print bed meticulously clean.
- Filament Storage: Store filament in a dry environment to prevent moisture absorption, which can lead to extrusion problems.
- Test Prints: Use small, quick-to-print calibration squares or lines to test your first layer settings before committing to a large print.
- Slicer Profiles: Develop and save specific slicer profiles for different filaments and printer setups once you’ve dialed in your settings.
- Inspect Your Hardware: Periodically check for worn nozzles, loose belts, or wobbly print beds.
Conclusion
Mastering the first layer is a rite of passage for every 3D printing enthusiast. While first layer issues like a squished first layer, gappy first layer, or stringy first layer can be frustrating, they are almost always solvable with careful diagnosis and methodical adjustments. By understanding the interplay between nozzle height, bed leveling, extrusion, and temperature, you’ll be well-equipped to tackle these challenges head-on. A little patience and systematic troubleshooting will pave the way for consistently successful and beautiful 3D prints.
Frequently asked questions
Can I fix a gappy first layer by just increasing the flow rate, or do I need to adjust the Z-offset first?
Always start with the Z-offset, because a nozzle too far from the bed is the most common cause of a gappy first layer. If the gap is fixed and lines still look thin or disconnected, then calibrate E-steps and increase flow rate (extrusion multiplier) as a secondary step—but adjusting flow alone won’t fix a height problem.
Will a glass bed eliminate the need for manual bed leveling and Z-offset calibration?
No. A glass bed can reduce warping and provide a flatter surface, but you still must level the bed (tram the corners) and set the Z-offset correctly for your specific printer. Even with auto bed leveling (ABL), the Z-offset must be calibrated after the mesh is created, or you’ll still get a squished or gappy first layer.
How do I know if my first layer issue is caused by a clogged nozzle versus bad Z-offset?
Run a single-layer calibration square. If the lines are missing or extremely thin in the same spots across multiple test prints, suspect a partial nozzle clog or under-extrusion. If the lines are consistently too wide (squished) or too separated (gaps) across the entire print, the Z-offset is wrong. Clean or replace the nozzle if the pattern is spotty; adjust Z-offset if the pattern is uniform.