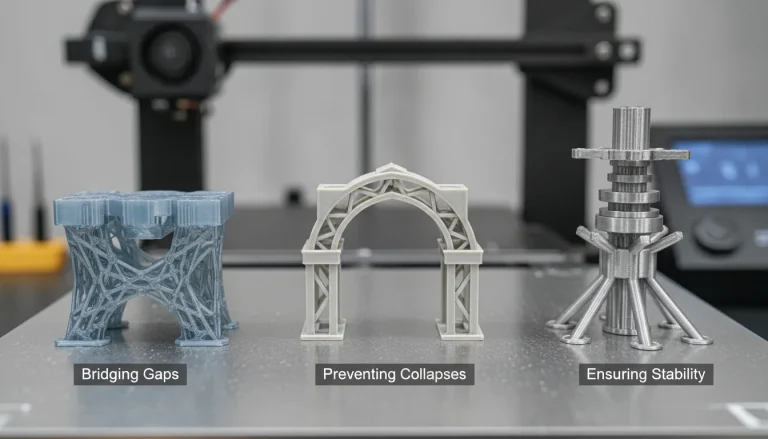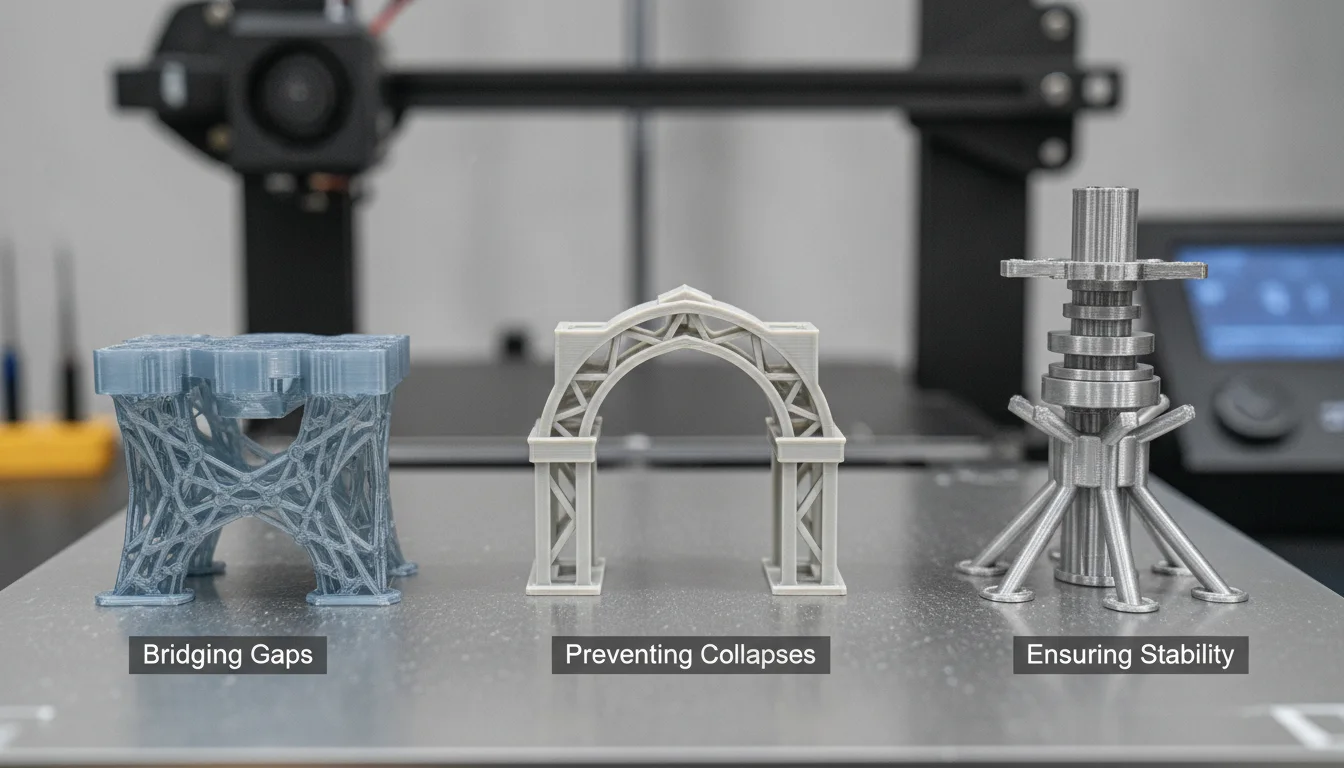
Support structures are the unsung heroes of successful 3D prints, enabling the creation of complex geometries and intricate overhangs that would otherwise defy gravity. Yet, even for seasoned enthusiasts and professionals, encountering support failures is a common rite of passage. These issues, ranging from minor cosmetic flaws to outright print collapse, can be incredibly frustrating and costly in terms of time and material. This guide delves into the nuances of troubleshooting 3D prints, focusing specifically on optimizing support structures to bridge gaps effectively, prevent catastrophic failures, and ensure robust support stability throughout the printing process.
Understanding the root causes of support failures
Before diving into solutions, it’s crucial to grasp why support structures sometimes fall short. Most support failures stem from a combination of design choices, material properties, and slicer settings.
- Bridging issues: This occurs when a horizontal span of material, intended to be supported, sags or fails to connect properly across a gap. It’s fundamentally a battle against gravity and inadequate cooling, where molten plastic lacks sufficient time to solidify before drooping.
- Print collapse: Often the most dramatic failure, a full print collapse can be triggered by several factors. Inadequate support stability, supports detaching from the build plate or the model itself, or supports being too weak to bear the weight of subsequent layers are prime culprits. Vibrations, excessive print forces, or even a top-heavy design can exacerbate these issues.
- Poor adhesion: Supports failing to stick to the build plate or subsequent layers of the print render them useless. This can be due to an unlevel bed, incorrect first layer settings, or insufficient bed adhesion methods.
- Fusing to the print: Conversely, supports that adhere too strongly to the model can be nearly impossible to remove without damaging the print’s surface, defeating their purpose of enabling clean overhangs.
Preventing support failures: proactive measures

The best way to deal with support failures is to prevent them from happening in the first place. A proactive approach involves careful consideration during design and meticulous optimization of slicer settings.
Design considerations for robust support structures
- Part orientation: This is arguably the most impactful decision. Rotating a model can dramatically reduce the need for supports or relegate them to less visible surfaces. Aim to orient parts so that the largest flat surface is on the build plate and overhangs are minimized or angled to be self-supporting (typically angles less than 45-60 degrees require minimal or no support).
- Minimizing overhangs: Where possible, design features with chamfers or fillets instead of sharp, unsupported overhangs. Incorporating design elements that naturally reduce the need for external supports can save significant post-processing time.
- Designing for self-supporting features: Consider incorporating small, internal supports directly into the model’s CAD design for critical areas that are difficult for slicer-generated supports to reach or remove.
Slicer settings optimization for enhanced support stability
The slicer is your primary tool for fine-tuning support generation. Mastering these settings is paramount for preventing support failures.
-
Support density and pattern:
- Density: A higher support density generally leads to greater support stability and better contact with the supported part, reducing bridging issues and print collapse. However, it also consumes more material and makes removal harder. A balance must be struck, often between 10-20% for most applications.
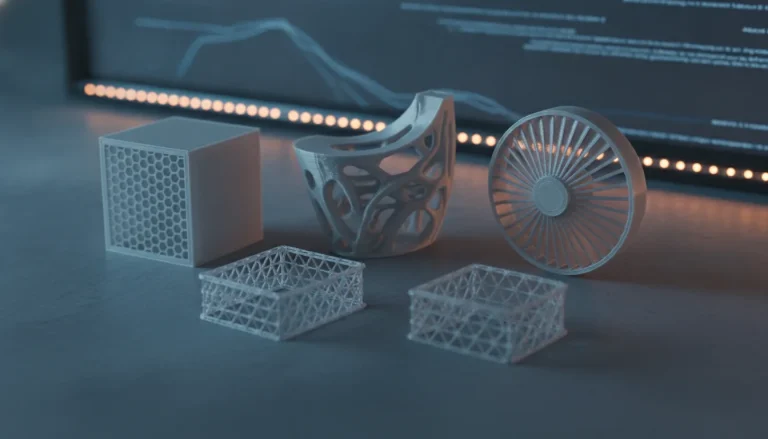
- Pattern: Different patterns offer distinct advantages. Grid and zig-zag patterns are common and offer good stability. Lines are faster and use less material but can be less stable. Concentric patterns are good for round objects. Tree supports, discussed later, are a more advanced option for organic shapes.
-
Support interface settings: These settings dictate how the support structure connects to the model’s surface and are critical for balancing adhesion and ease of removal.
- Top/bottom separation distance: This vertical gap between the support and the model is crucial. Too small, and supports fuse; too large, and bridging issues or poor surface quality result. Experimentation, often in increments of layer height, is key. Typical values range from 0.1mm to 0.3mm.
- Interface layers/pattern: Adding a few solid interface layers on top of the sparse support structure provides a smoother, more consistent surface for the model to print on, significantly improving the quality of supported surfaces and reducing sagging.
-
Print speed, temperature, and cooling:
- Print speed: Printing too fast can compromise layer adhesion and give molten plastic insufficient time to cool, leading to sagged overhangs and weak supports.
- Temperature: An optimal print temperature ensures good layer bonding without making the plastic too fluid, which could exacerbate bridging issues and make supports less rigid.
- Cooling (fan speed): Adequate cooling is vital for solidifying layers quickly, especially for overhangs and bridges. However, too much cooling can lead to poor layer adhesion or warping, especially with materials like ABS.
- Retraction settings: Properly calibrated retraction helps prevent stringing and oozing, which can create unwanted blobs on supports or the model, interfering with proper contact and potentially leading to support failures.
Material selection and its impact on support structures
The choice of filament significantly influences how supports behave, how well they adhere, and how easily they can be removed.
-
Standard filaments (PLA, PETG, ABS):
- PLA: Generally the easiest to work with for supports. It cools quickly, leading to good overhang quality, and supports often snap off relatively cleanly. However, it can be prone to stringing if retraction is not tuned.
- PETG: Known for its strength and layer adhesion, but also for being stringy. Supports for PETG can be challenging to remove cleanly due to its strong adhesion. Higher separation distances or specific interface settings are often needed.
- ABS: Requires an enclosed printer to manage warping. Supports can be brittle and prone to breaking during removal. Like PETG, ABS supports can adhere strongly, necessitating careful tuning of interface settings.
-
Soluble support materials (PVA, HIPS): These materials offer a premium solution for complex geometries and superior surface finish, though they come with distinct cost and operational considerations.
-
PVA (Polyvinyl Alcohol):
- Features: Water-soluble, making removal effortless and ideal for intricate internal structures or delicate parts where manual removal would be impossible or damaging. It leaves an excellent surface finish. Requires a dual extruder printer.
- Cost and considerations: Significantly higher material cost per kilogram compared to standard filaments. PVA is highly hygroscopic, meaning it absorbs moisture from the air, requiring careful storage in a dry box. This adds to operational complexity and potential material waste if not properly managed.
-
HIPS (High Impact Polystyrene):
- Features: Soluble in limonene, a citrus-based solvent. It’s stronger and more rigid than PVA, making it suitable for supporting heavier ABS prints, as it shares similar printing temperatures and adhesion properties. Also requires a dual extruder printer.
- Cost and considerations: Higher material cost than standard filaments. Limonene, while less hazardous than some industrial solvents, still requires proper ventilation and disposal. The post-processing time for dissolution can also be considerable.
- Objective comparison: Soluble supports like PVA and HIPS offer unparalleled ease of removal and superior surface quality for highly complex models, making them an excellent choice for professional applications where aesthetics and functionality are paramount. However, this comes at a higher investment cost for materials and, crucially, requires a dual extrusion system. For hobbyists or simpler prints, the added expense and complexity might not justify the benefits over well-tuned standard supports, where the trade-off is more manual post-processing for lower material costs. The decision hinges on the specific application’s demands for surface finish, geometric complexity, and budget constraints.
-
PVA (Polyvinyl Alcohol):
Diagnosing and troubleshooting specific support failures
When support failures occur, identifying the exact problem is the first step toward a solution. Here’s how to diagnose common issues and implement targeted fixes.
-
Supports not adhering to the build plate:
- Diagnosis: Supports lift off the bed early in the print, leading to instability or complete detachment.
- Troubleshooting: Ensure your build plate is perfectly level. Clean the build surface thoroughly. Increase initial layer print temperature and/or bed temperature. Use adhesion aids like glue stick, hairspray, or PEI sheets. Slow down the initial layer print speed. Increase initial layer line width for better squish.
-
Supports detaching mid-print:
- Diagnosis: Supports break away from the model or each other during printing, often due to insufficient support stability or external forces.
- Troubleshooting: Increase support density to make them more robust. Reduce overall print speed to minimize forces on the supports. Check for printer vibrations or loose belts. Ensure adequate cooling for the supports themselves, but not so much that it causes warping. If using a specific support type like tree supports, consider if they are robust enough for the load.
-
Supports fusing to the print:
- Diagnosis: Supports are extremely difficult to remove, often leaving residue or damaging the print surface.
- Troubleshooting: Increase the top/bottom separation distance in your slicer. Reduce print temperature slightly. Ensure adequate cooling for the supported layers. Check for over-extrusion, which can cause material to spread and fuse more easily.
-
Weak or brittle supports:
- Diagnosis: Supports are fragile, break easily, or cannot withstand the weight of the model’s upper layers, leading to print collapse.
- Troubleshooting: Check for under-extrusion in your overall print settings. Increase print temperature slightly to improve layer adhesion within the supports. Reduce fan speed if supports are cooling too rapidly and becoming brittle. Experiment with a different support pattern that offers more structural integrity.
-
Bridging issues on supported areas:
- Diagnosis: Even with supports, the underside of supported overhangs shows sagging, poor adhesion, or uneven surfaces.
- Troubleshooting: This indicates the top surface of the support isn’t providing a sufficiently flat or cool base. Increase the number of support interface layers. Increase the support interface density. Optimize bridging specific settings in your slicer (e.g., slower bridging speed, higher fan speed for bridges). Ensure the filament is dry, as moisture can cause bubbling and inconsistent extrusion during bridging.
-
Print collapse due to inadequate support:
- Diagnosis: The entire print or a significant portion fails because the support structure was simply not enough to hold the weight or overcome printing forces.
- Troubleshooting: Re-evaluate the model’s orientation to minimize the most challenging overhangs. Significantly increase support density, especially for large or heavy overhangs. Consider a different, more robust support pattern. Manually add supports in critical areas if your slicer allows for it. For very heavy or tall prints, ensure the build plate adhesion is exceptionally strong to prevent the entire support-and-print assembly from detaching.
Advanced support strategies and considerations
Beyond basic settings, several advanced techniques can further refine your approach to support structures.
- Tree supports: An innovative support option, particularly effective for organic shapes. Tree supports branch out from the build plate, contacting the model at minimal, optimized points. They use less material than traditional supports and are often easier to remove, leading to a cleaner surface finish. However, their complex geometry can sometimes lead to reduced support stability for very heavy, flat overhangs, or they might struggle with intricate internal cavities. They require careful tuning and understanding of their generation parameters.
- Custom supports: Many advanced slicers allow for manual placement or blocking of supports. This gives you granular control, enabling you to add support only where absolutely necessary, or to remove it from areas where it would be difficult to extract or would damage aesthetics. This is invaluable for fine-tuning support stability in specific, challenging regions of a print.
- Hybrid support systems: Sometimes, a combination of strategies yields the best results. For example, using dense, traditional supports for heavy, flat overhangs that require maximum support stability, while employing tree supports for delicate, organic features. This tailored approach optimizes both material usage and print quality.
Post-processing and support removal

Even with perfectly printed supports, their removal is the final hurdle. The technique varies significantly based on the support material and print.
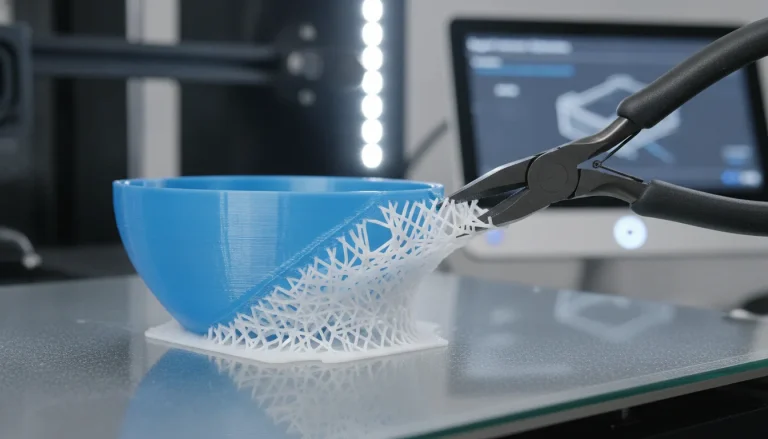
- Manual removal: For standard supports, tools like flush cutters, needle-nose pliers, and deburring tools are essential. Patience and a delicate hand are key to prevent damaging the print. Score lines can sometimes be printed into the support interface to aid removal. Sandpaper or files can clean up residual marks.
- Soluble support removal: PVA supports dissolve in water, often hastened by warm water or an ultrasonic cleaner. HIPS supports dissolve in limonene. These methods offer hands-off removal and superior surface finish, especially for internal cavities. However, they require appropriate equipment and handling of solvents, adding to the overall post-processing workflow and cost.
Conclusion
Mastering support structures in 3D printing is an ongoing journey of experimentation and refinement. There’s no one-size-fits-all solution for preventing support failures; rather, it’s a holistic process that begins with thoughtful design, extends through meticulous slicer configuration, and culminates in careful post-processing. By understanding the root causes of issues like bridging issues and print collapse, and by diligently optimizing for robust support stability, you can significantly enhance your success rate and achieve consistently high-quality 3D prints. Embrace the iterative nature of troubleshooting 3D prints, learn from each failure, and your prints will stand tall, supported by your expertise.
Frequently asked questions
What is the best support density to start with for a standard PLA print?
Start with a support density between 10% and 20% for most applications. This range balances sufficient support stability to prevent print collapse against reasonable material consumption and ease of manual removal. If you see sagging on supported surfaces, increase density toward 20%; if supports are difficult to remove, lower it toward 10%.
Can I use tree supports for every print, or are there cases where they fail?
Tree supports work well for organic shapes and minimize material use, but they can struggle with very heavy, flat overhangs and intricate internal cavities where their branching structure lacks the necessary support stability. For large flat spans, traditional grid or zig-zag supports at higher density are usually more reliable to prevent print collapse.
Why do my supports fuse to the print even when I increase the separation distance?
If increasing the top/bottom separation distance (typically 0.1mm to 0.3mm) doesn’t help, check for over-extrusion in your overall print settings and try reducing print temperature slightly. Inadequate cooling on the supported layers can also cause fusing, so ensure your part cooling fan is running at sufficient speed for the material you are using.