Achieving consistently high-quality 3D prints is a nuanced art, often hinging on meticulous adjustments and preventative maintenance. Among the most critical, yet frequently overlooked, aspects of 3D printer care is the proper calibration of belt tension. The belts on your 3D printer are the unsung heroes, responsible for the precise movement of your print head along the X and Y axes. When these belts are not optimally tensioned, the ripple effect can be seen directly in your print quality, leading to a host of frustrating artifacts and compromised accuracy.
This comprehensive guide delves into why belt tension matters, how to identify issues, and various methods to effectively calibrate belt tension, empowering you to maintain your machine and produce truly flawless prints. Understanding and implementing these checks is a cornerstone of effective 3D printer maintenance, ensuring longevity for your equipment and superior results for your projects.
Understanding belt tension and its impact on print quality

Explore the
Snapmaker U1
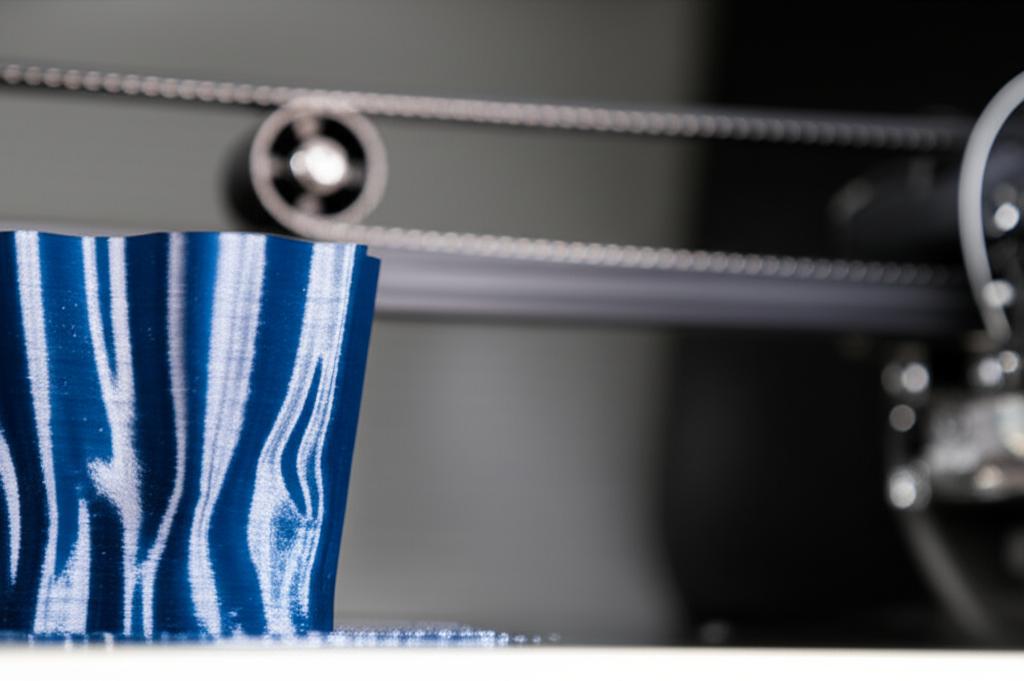
Your 3D printer's motion system relies on a series of stepper motors, pulleys, and belts to translate digital commands into physical movement. The belts, typically made of reinforced rubber or fiberglass, connect the stepper motors to the print head (or print bed, depending on the axis). For these components to work in harmony, the belts must be held at an appropriate tension.
Too loose: If a belt is too slack, it can slip over the pulley teeth, causing a momentary loss of position. This often manifests as ghosting (faint echoes of features on a print surface), layer shifting (where subsequent layers are misaligned), or dimensional inaccuracies. The print head might also exhibit a "wobbly" movement, particularly during rapid direction changes, further degrading print accuracy.
Too tight: Conversely, a belt that is excessively tight can strain the stepper motors, leading to premature wear and tear on bearings, motors, and the belts themselves. Over-tightening can also introduce vibrations into the system, which might appear as subtle ripples or patterns on your print surfaces. It can also cause the motors to skip steps due to increased resistance, ironically leading to similar issues as a loose belt, such as layer shifting, but for different reasons.
Finding that sweet spot – where the belt is taut enough to prevent slippage but not so tight as to introduce undue stress – is paramount for achieving optimal print quality.
Identifying signs of incorrect belt tension
Before diving into calibration, it's crucial to recognize the tell-tale signs that your belts might need attention. Keep an eye out for these common print artifacts:
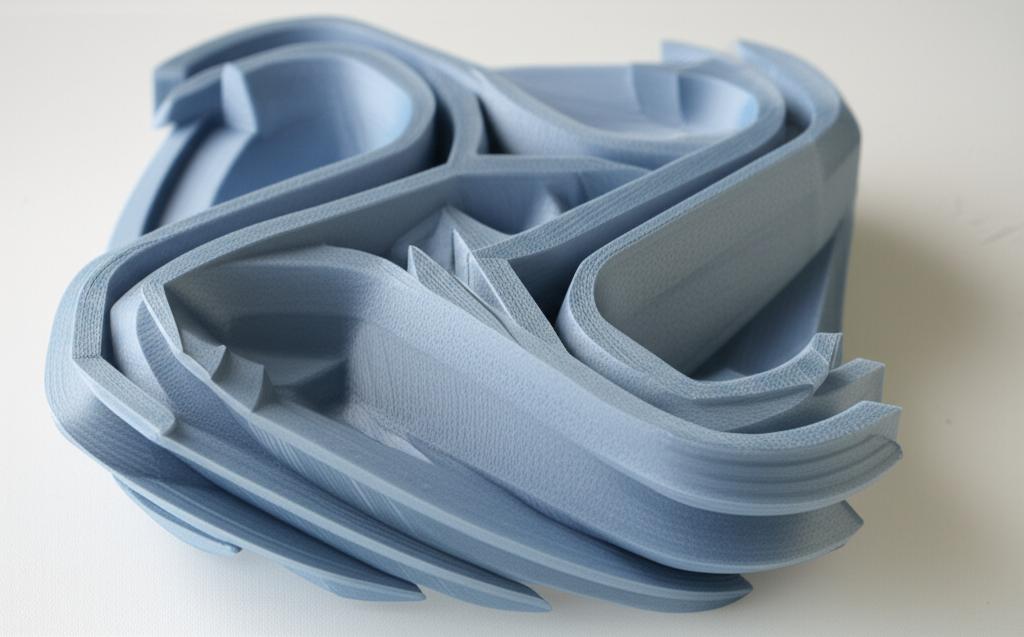
- Ghosting or ringing: These appear as faint, repeating patterns or shadows of features (like corners or holes) on the surface of your print, usually trailing the actual feature. This is often caused by vibrations from loose belts or an unstable print head.
- Layer shifting: This is perhaps the most obvious sign. Your print will look like it has distinct steps or offsets between layers, indicating that the print head lost its position on one or both axes during printing.
- Dimensional inaccuracies: Parts that are supposed to be a specific size might consistently print slightly larger or smaller, or holes might not be perfectly round. While other factors can contribute, incorrect belt tension can certainly play a role.
- Rough or inconsistent surface finishes: If your print surfaces feel uneven or show subtle irregularities, it could be due to inconsistent movement caused by poorly tensioned belts.
- Audible anomalies: A loose belt might make a slight "thwip" sound when the print head changes direction quickly. An overly tight belt might cause your motors to whine or groan under stress.
Methods for calibrating belt tension
There are several approaches to calibrate belt tension, ranging from subjective manual checks to more objective, tool-assisted methods. Each offers a different balance of precision, ease of use, and associated "cost structure" (time, tools, or applications).
1. The manual or 'feel' method
This is the most common and accessible method, requiring no special tools. It relies on your tactile sense to determine appropriate tension.
- Features: It's free, quick, and requires no additional equipment. It's a great starting point for routine checks.
- Process: Gently pluck the belt as you would a guitar string. A properly tensioned belt should feel firm and offer some resistance, producing a low "twang" sound. It shouldn't feel slack or excessively rigid. Compare the tension of your X-axis belt to your Y-axis belt; they should feel similar.
- Considerations: This method is highly subjective. What feels "right" to one person might be too loose or too tight for another. It's best used after you've developed an intuition for your specific printer's optimal tension.
2. The sound or frequency method
This method leverages the principle that a tensioned belt vibrates at a specific frequency, much like a musical instrument string. Higher tension correlates with a higher frequency.
- Features: Offers a more objective measurement than the manual method. Many smartphone apps (e.g., Gates Carbon Drive Calculator, various guitar tuner apps) can measure frequency, making it a low-cost solution if you already own a smartphone.
- Process: Gently pluck the belt and use a frequency analysis app to measure the pitch. Many printer manufacturers or community forums provide recommended frequency ranges for specific printer models. Aim to match these frequencies.
- Considerations: Ambient noise can interfere with accurate readings. Finding the exact recommended frequency for your specific belt type and length can sometimes be challenging, as it's not always explicitly stated by manufacturers.
3. The deflection or force measurement method
This is the most objective and precise method, involving measuring the force required to deflect the belt by a specific amount.
- Features: Provides highly repeatable and objective measurements, leading to the most accurate tensioning. It removes much of the guesswork.
- Process: Using a specialized belt tension meter (like a spring scale or a digital force gauge), apply a known force to the center of a belt span (e.g., 100g) and measure how much it deflects. Alternatively, some tools measure the force required to deflect the belt by a fixed distance.
- Considerations: This method typically requires purchasing a specific tool, which represents a higher initial "cost structure" compared to the other methods. However, for those prioritizing ultimate precision and consistency, the investment can be well worth it.
A step-by-step guide to calibrating belt tension
While the exact procedure might vary slightly between printer models, the general steps for calibrating belt tension remain consistent. This step-by-step guide provides a universal approach:
- Safety first: Always power off and unplug your 3D printer before performing any maintenance or adjustments. This prevents accidental movement or electrical hazards.
- Locate the belts: Identify the belts responsible for your X and Y axes. The X-axis belt typically moves the print head left and right, while the Y-axis belt moves the print bed (or gantry) forward and backward.
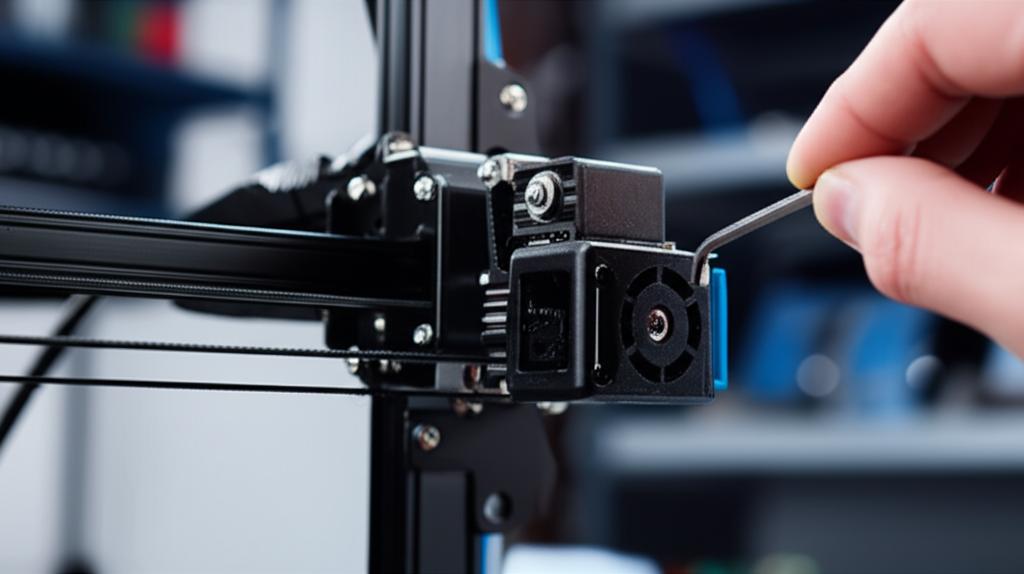
- Identify tensioning mechanisms: Most printers have adjustable tensioners, often screws or eccentric nuts, located at one end of each belt. Familiarize yourself with how they work on your specific model.
- Loosen existing tension (if necessary): If your belts are currently too tight, or if you're starting from scratch, slightly loosen the tensioning mechanism to allow for adjustment.
- Apply initial tension: Gently tighten the tensioning mechanism until the belt feels taut but not overly stretched. Use your chosen method (manual, sound, or deflection) to get a preliminary reading.
- Fine-tune the tension: Make small, incremental adjustments. If using the sound method, aim for the recommended frequency. If using the deflection method, aim for the recommended force/deflection ratio. For the manual method, ensure the belt feels firm and consistent across its length.
- Secure the tensioners: Once you're satisfied with the tension, carefully tighten any locking nuts or screws on the tensioning mechanism to prevent it from loosening during operation. Be careful not to overtighten, as this can change the tension you just set.
- Verify and re-check: Move the print head (and bed) manually across their full range of motion to ensure smooth, unobstructed movement. Re-check the belt tension after moving to ensure it hasn't changed.
- Perform a test print: Plug in and power on your printer. Print a calibration cube or a small test print known to highlight issues like ghosting or layer shifting. Analyze the print for any improvements or remaining artifacts.
- Iterate if necessary: If the test print still shows signs of incorrect tension, repeat the process, making finer adjustments until you achieve the desired print quality and print accuracy.
Preventative maintenance for lasting performance

Calibrating belt tension isn't a one-time fix; it's an ongoing part of comprehensive 3D printer maintenance. Belts can stretch over time, and tensioners can loosen due to vibrations. Incorporate these practices into your routine:
- Regular checks: Periodically check your belt tension, especially if you notice a decline in print quality or after moving your printer.
- Keep belts clean: Dust and debris can accumulate on belts and pulleys, affecting their grip and causing wear. Use a soft brush or compressed air to keep them clean.
- Inspect for wear: Over time, belts can show signs of wear, such as fraying, cracking, or missing teeth. If you notice significant wear, it's time for a replacement.
- Lubricate moving parts: While not directly related to belts, ensuring that your linear rails or rods are clean and lubricated will reduce friction and strain on your entire motion system, indirectly benefiting belt longevity and performance.
Conclusion
Mastering the art of calibrating belt tension is a crucial skill for any 3D printer enthusiast or professional. By understanding the mechanics, recognizing the symptoms of improper tension, and applying the appropriate calibration methods, you can significantly enhance your print quality and achieve unparalleled print accuracy. This aspect of 3D printer maintenance is a testament to the fact that often, the smallest adjustments can yield the most significant improvements. Make regular belt tension checks a cornerstone of your 3D printing workflow, and watch your prints transform from good to truly flawless.
