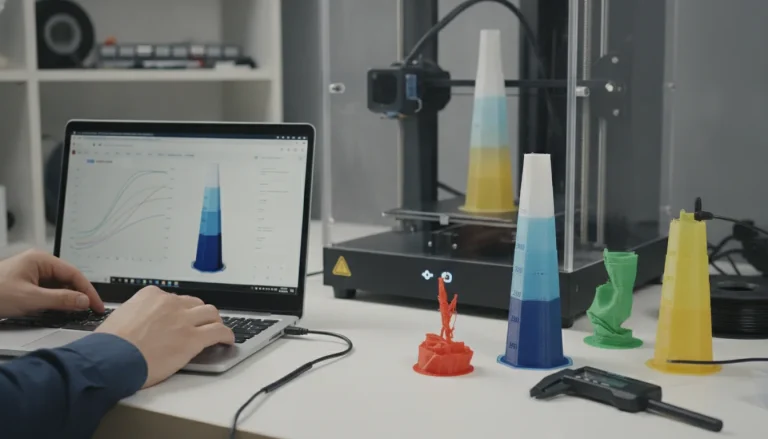
In the intricate world of 3D printing, achieving impeccable print quality often feels like chasing a moving target. From perfect first layers to smooth surfaces and robust structural integrity, numerous variables come into play. Among the most critical, yet frequently overlooked, is the print temperature. This seemingly minor setting holds the power to make or break your prints, impacting everything from aesthetic finish to mechanical strength. Enter the temperature tower – an indispensable tool for any serious 3D printing enthusiast or professional looking to elevate their craft.
This guide delves deep into the art and science of calibrating temperature towers, providing a comprehensive roadmap to unlock flawless filament performance across various material types. We’ll explore why temperature matters so much, how to conduct your calibration effectively, and what tell-tale signs to look for to pinpoint your printer’s sweet spot for each filament.
Why temperature is a game-changer for 3D print quality
Understanding the profound impact of print temperature is the first step towards mastering 3D printing. Each filament type, and even different brands of the same type, has an optimal temperature range where its properties shine. Operating outside this range can lead to a litany of common print quality issues:
-
Stringing and oozing: Too high a temperature can make the plastic overly molten, causing it to ooze from the nozzle during travel moves, resulting in unsightly strings or wisps across your print.
-
Poor layer adhesion: Conversely, a temperature that’s too low can prevent layers from properly fusing, leading to weak parts that delaminate or break easily. This is particularly critical for structural components.
-
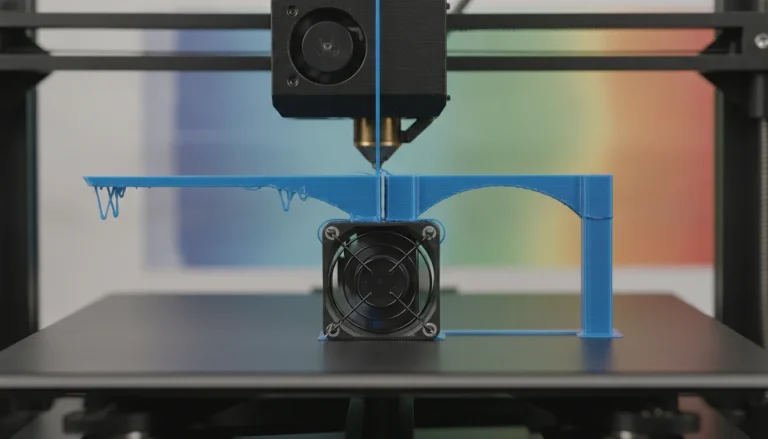
Bridging and overhang performance: Optimal temperature is crucial for successful bridging (printing horizontally in mid-air) and managing overhangs. Too hot, and the plastic sags; too cold, and it won’t bond.
-
Surface finish and detail: Correct temperature contributes to a smooth, consistent surface finish and the ability to reproduce fine details accurately. Incorrect temperatures can lead to rough textures, blobs, or diminished clarity.
-
Warping and curling: While often linked to bed adhesion and cooling, print temperature also plays a role in how plastic cools and shrinks, influencing issues like warping, especially with materials like ABS.
The “cost” of not properly calibrating your temperature can quickly add up. Think of the wasted filament from failed prints, the hours spent troubleshooting, and the frustration of consistently subpar results. Investing a small amount of time and material in a temperature tower can save significant resources and headaches in the long run, transforming your printing experience.
What exactly is a temperature tower?
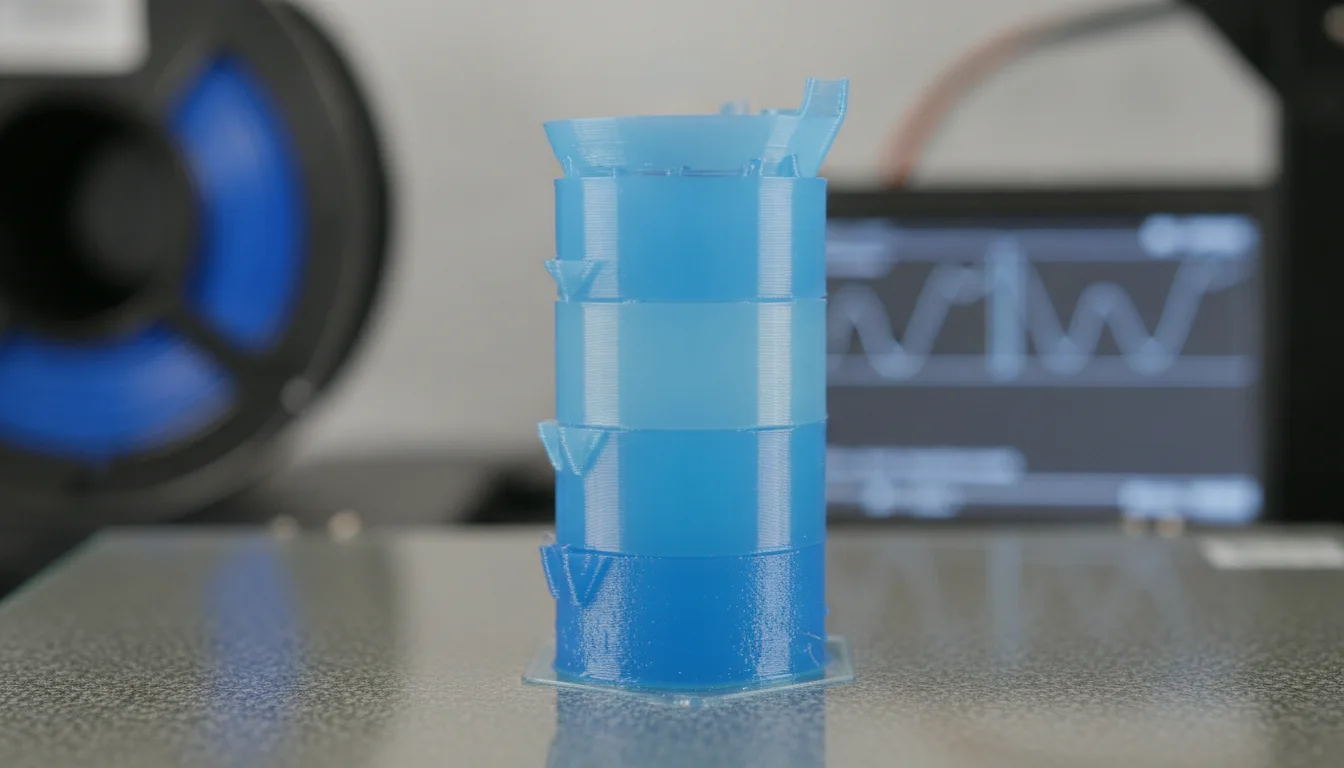
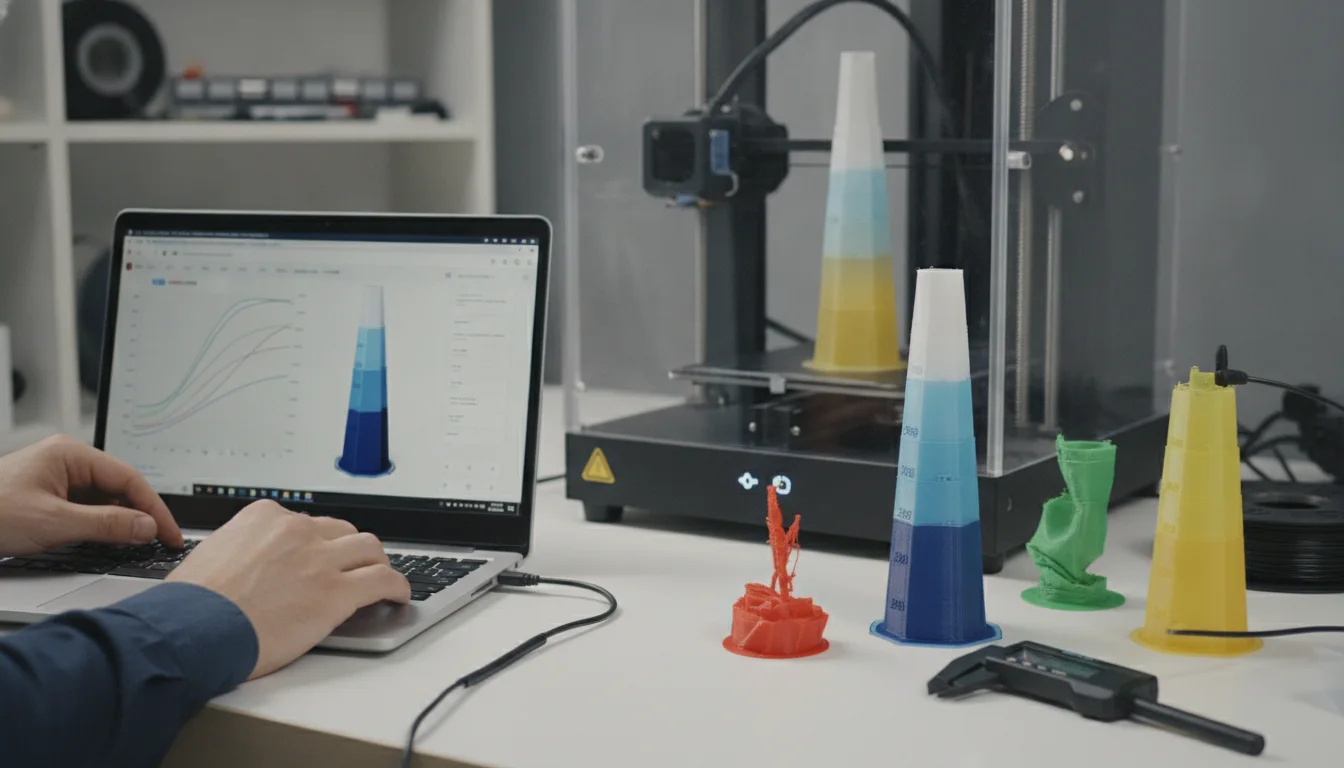
A temperature tower is a specialized test print designed to systematically evaluate the effects of different printing temperatures on a specific filament. It typically consists of a series of stacked sections, each printed at a progressively different temperature. For example, the bottom section might print at 230°C, the next at 225°C, and so on, decreasing by 5°C for each subsequent segment.
How it works
The magic of a temperature tower lies in its G-code. While the model itself is static, the G-code is carefully crafted to insert commands that change the nozzle temperature at specific Z-heights. This allows you to observe how the same geometric features (overhangs, bridging tests, fine details, text) perform at various temperatures within a single print. By comparing these sections side-by-side, you can visually and tactilely identify the optimal temperature for your chosen filament on your specific printer.
Preparing for your temperature tower calibration

Before you hit print, a little preparation goes a long way to ensure accurate and useful results from your filament calibration.
1. Choose your filament wisely
Select the specific spool of filament you wish to calibrate. Remember, even different colors or batches of the same filament type from the same manufacturer can behave slightly differently. Calibrate each new spool for best results.
2. Obtain a temperature tower model
Numerous pre-designed temperature tower models are available on platforms like Thingiverse or Printables. Look for models that include a variety of features to test, such as:
- Overhangs (e.g., 45°, 60°, 75°)
- Bridging tests (short and long spans)
- Small text or intricate details
- Thin walls or spikes
3. Prepare your slicer settings
Consistency is key. For the most accurate results, ensure all other slicer settings (retraction distance, retraction speed, fan speed, print speed, flow rate) are kept constant throughout the print and are already reasonably dialed in. If you’re unsure, use your standard, well-tested profile settings as a baseline. The goal is to isolate temperature as the primary variable.
4. Modify the G-code (or use a plugin)
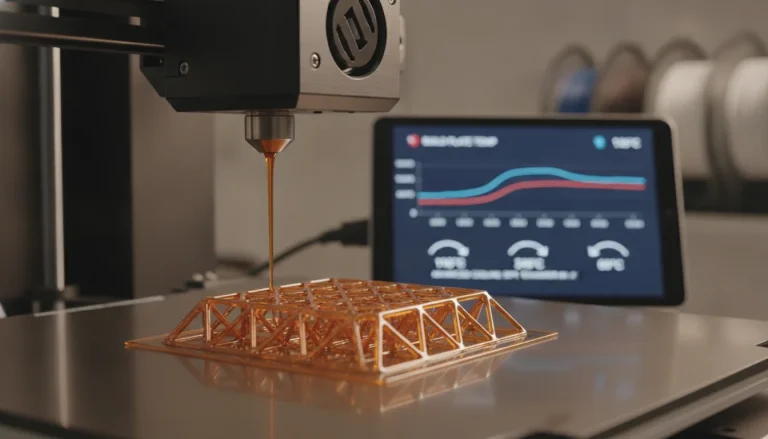
This is the most crucial step. You need to insert commands into your sliced G-code file that instruct the printer to change temperature at the start of each new section of the tower. Many slicers, like PrusaSlicer or Cura, offer plugins or built-in post-processing scripts that automate this. If doing it manually, you’ll identify the Z-heights where each section begins and insert a M104 S[temperature] command (for setting hotend temperature) before that layer.
Pro Tip: Always start your temperature range slightly above and below the manufacturer’s recommended temperature for your chosen filament. For example, if PLA recommends 200-220°C, you might test from 225°C down to 190°C in 5°C increments.
Running the temperature tower for different filaments
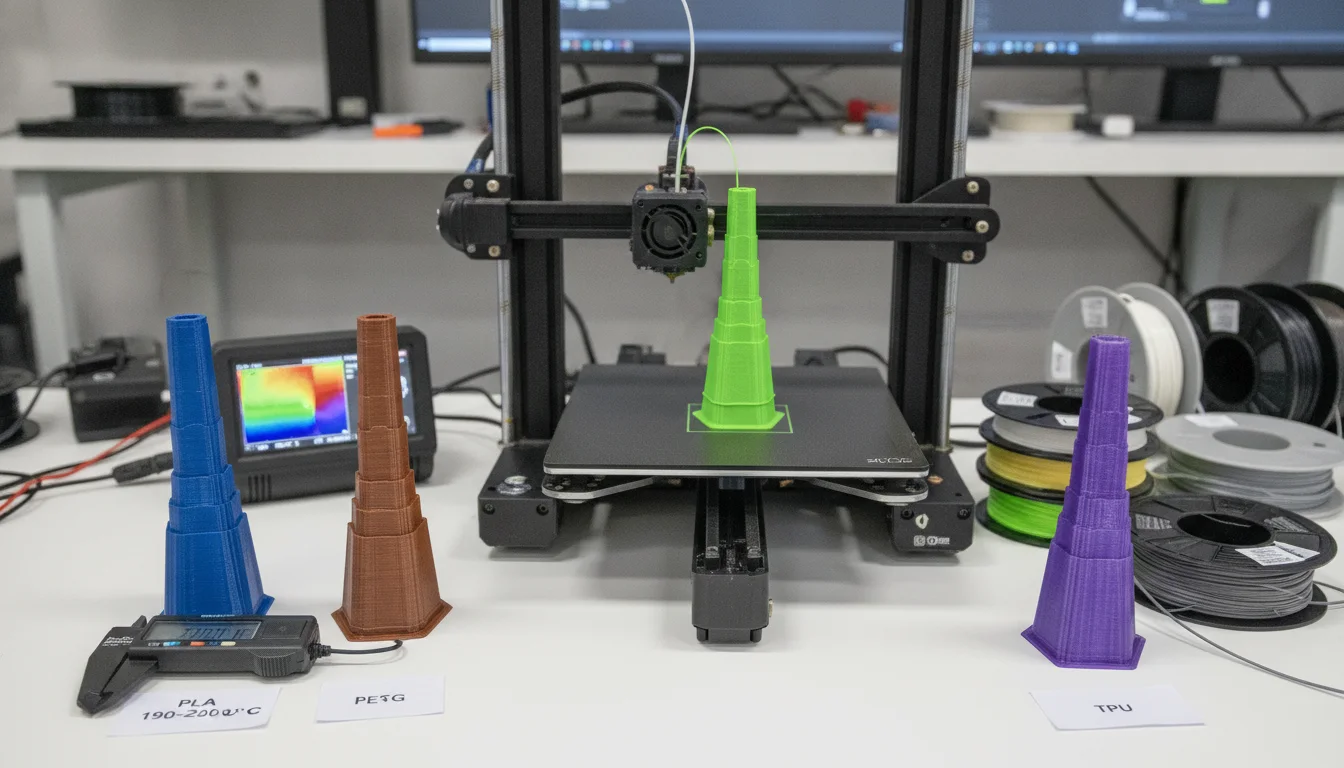
While the general process remains the same, specific considerations apply to popular filament types.
PLA (Polylactic Acid)
PLA is often the easiest to work with, but still benefits greatly from temperature calibration. Look for:
- Stringing: PLA is prone to stringing if too hot. Observe which temperature minimizes or eliminates strings.
- Glossiness vs. Matte Finish: Higher temperatures often result in a glossier finish, while lower temperatures can produce a more matte look. Choose based on aesthetic preference and structural integrity.
- Bridging: PLA usually bridges well, but too high a temperature can cause sagging.
- Layer Adhesion: Ensure layers are well bonded without being overly molten.
PETG (Polyethylene Terephthalate Glycol)
PETG is known for its strength and moderate flexibility, but it’s also notorious for stringing and oozing. A temperature tower is almost mandatory for PETG.
- Stringing: This will be your primary focus. PETG often requires lower temperatures than expected for minimal stringing.
- Layer Adhesion: PETG has excellent layer adhesion, but ensure it’s not so hot that it becomes overly sticky and prone to blobs.
- Surface Finish: Can be glossy or slightly matte. Too hot can lead to a very “wet” look with visible layer lines.
ABS (Acrylonitrile Butadiene Styrene)
ABS is strong and durable, but trickier to print due to its tendency to warp. Temperature calibration here balances layer adhesion with minimizing warping.
- Layer Adhesion: Crucial for ABS. Too low a temperature will result in brittle parts.
- Warping: While an enclosure is vital for ABS, optimizing temperature can further reduce internal stresses that lead to warping.
- Surface Quality: Can be challenging to get smooth. Look for the temperature that provides the best surface without excessive oozing.
- Ventilation: Always print ABS in a well-ventilated area due to fumes.
Analyzing the results: finding the sweet spot
Once your temperature tower is complete, it’s time for critical analysis. Don’t just glance at it; pick it up, feel it, and scrutinize every detail.
-
Visual Inspection:
- Examine each section for stringing. Which temperature range shows the least amount of strings?
- Check bridging sections. Which temperature produces the cleanest, least saggy bridges?
- Inspect overhangs. Which temperature yields the smoothest underside with minimal curling?
- Look at the overall surface finish. Is it consistent? Are there any blobs, gaps, or irregularities?
- Read any small text or details. Which section shows the sharpest, most legible features?
-
Tactile and Mechanical Inspection:
- Try to break off sections of the tower. Which temperature offers the strongest layer adhesion? You want layers that are difficult to separate.
- Feel the texture. Is it smooth or rough?
- If possible, perform a small bend test on individual sections to gauge flexibility and strength.
The “sweet spot” is typically the temperature range where you observe the best balance across all these criteria. Often, it’s a compromise – you might find a temperature that eliminates stringing but slightly reduces layer adhesion, or vice-versa. Your decision should align with the primary goal of your prints (e.g., strength over aesthetics, or vice-versa).
Implementing your findings for consistent print quality
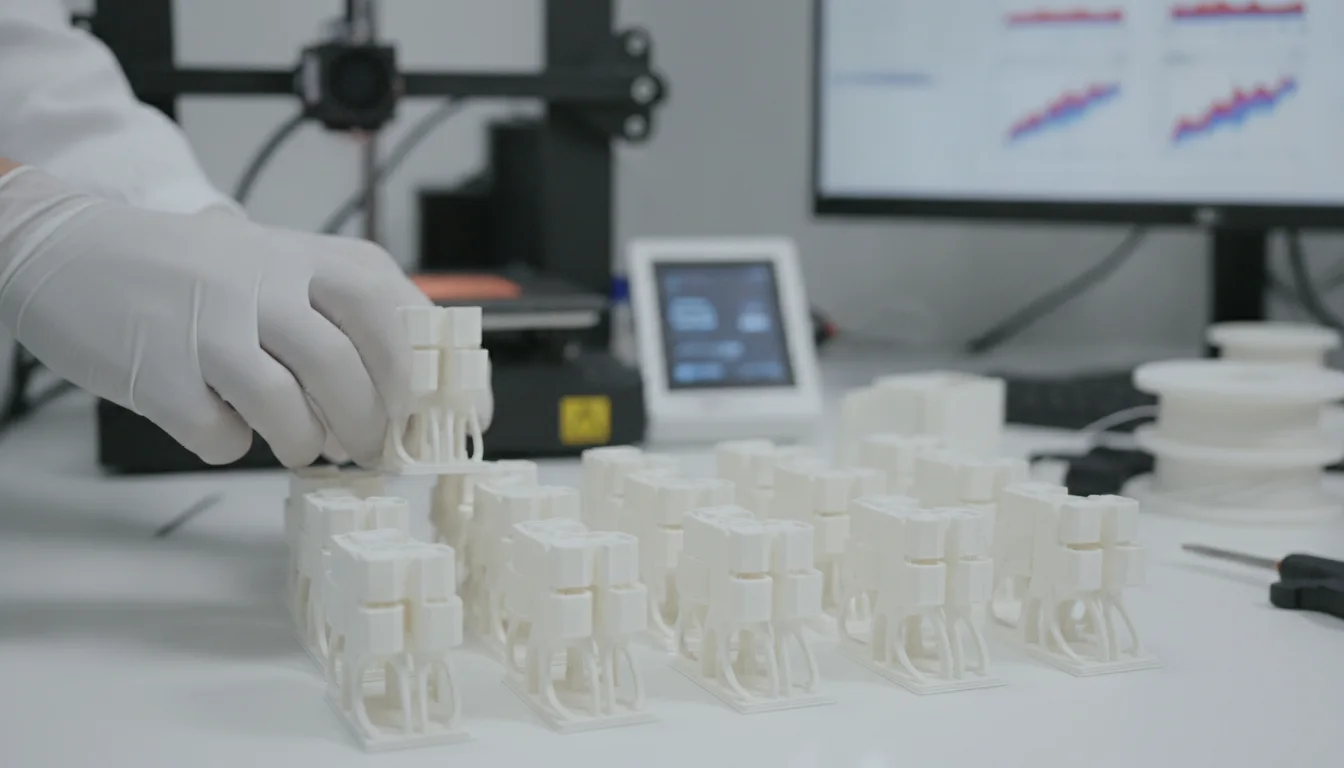
Once you’ve identified the optimal temperature for a specific filament, the next step is to update your slicer profiles. Create a new profile (or modify an existing one) specifically for that filament and its optimal temperature. This ensures that every time you load that filament, your printer will operate at its peak performance setting.
Remember, filament calibration is not a one-and-done task. Factors like ambient temperature, nozzle wear, and even slight variations between filament batches can influence optimal settings. It’s a continuous process of refinement that empowers you to maintain superior print quality and consistency across all your projects.
The value of precise calibration

While running a temperature tower requires a small investment of time and a modest amount of filament, the return on this investment is substantial. By objectively analyzing the performance of your materials, you gain:
- Enhanced Print Quality: Consistently produce prints with excellent surface finish, strong layer adhesion, and minimal defects like stringing.
- Reduced Material Waste: Fewer failed prints mean less wasted filament, leading to tangible cost savings over time.
- Time Efficiency: Spend less time troubleshooting and reprinting, and more time creating.
- Increased Reliability: Gain confidence in your printer’s ability to produce consistent, high-quality results project after project.
- Empowerment: Develop a deeper understanding of your printer and materials, enabling you to make informed decisions and fine-tune settings with precision.
The choice to perform detailed filament calibration is ultimately yours. However, the factual analysis points to a clear benefit: the small effort of calibrating via a temperature tower yields significant advantages in print quality, efficiency, and overall printing satisfaction. It’s a foundational technique in advanced calibration that transforms guesswork into guaranteed results.
Mastering the temperature tower is a pivotal step in becoming a truly proficient 3D printer operator. It provides the objective data needed to move beyond generic settings and tailor your printer’s performance to the unique characteristics of each filament, ultimately leading to a world of flawless prints and endless creative possibilities.
Frequently asked questions
How much filament does a temperature tower typically use?
A standard temperature tower uses roughly 5 to 10 grams of filament, depending on its size and the number of sections. This is far less than the material wasted on a single failed full-size print, making it a very economical calibration step.
Can I reuse the same temperature tower G-code for a different brand of the same filament type?
No, you should run a new tower for each new spool, even if it is the same type and brand. Different colors and batches of filament can have slightly different optimal temperature ranges, so reusing old G-code may give you inaccurate results.
What should I do if every section of my temperature tower looks bad?
If no section produces acceptable results, your baseline slicer settings (such as retraction, fan speed, or print speed) may be far off, or the filament could be wet (moisture-damaged). Dry the filament first, then calibrate retraction and flow rate before rerunning the temperature tower.