For many 3D printing enthusiasts, the sight of a print featuring significant overhangs or bridges can evoke a mix of excitement and trepidation. These architectural elements, where extruded plastic must defy gravity or span open air, are often the ultimate test of a 3D printer’s calibration and a user’s understanding of their slicer settings. While factors like print speed, layer height, and nozzle diameter play their part, the twin pillars of success for these challenging geometries are undeniably print temperature and cooling settings. Getting these right is not just about avoiding failure; it’s about achieving exceptional print quality and, in many cases, making support-free printing a reality.
Understanding the anatomy of overhangs and bridges
Before diving into the intricacies of settings, it’s crucial to have a clear understanding of what we’re up against.
What are overhangs?
An overhang in 3D printing refers to any part of a model that extends outwards without direct material below it to build upon. Imagine a roof eave or the underside of an arm on a figurine. Overhangs are typically quantified by their angle relative to the build plate. A 90-degree overhang (a horizontal surface printed mid-air) is the most challenging, while angles closer to 45 degrees (a gentle slope) are often manageable without supports.
- Gentle Slopes: Overhangs with angles less than 45-60 degrees from the vertical (or 30-45 degrees from the horizontal) can often be printed successfully without supports, as each new layer still partially rests on the previous one.
- Acute Angles: Steeper overhangs (e.g., 70-90 degrees from vertical) present a greater challenge. Here, only a small fraction of the new layer can bond to the layer below, making it highly susceptible to sagging and curling due to gravity and insufficient cooling.
The primary reason overhangs fail is simple: gravity. Without adequate support or rapid solidification, the newly extruded, molten plastic sags downwards before it has a chance to solidify and bond properly to the layer below. This results in rough undersides, drooping, or even complete print failure.
What is bridging?
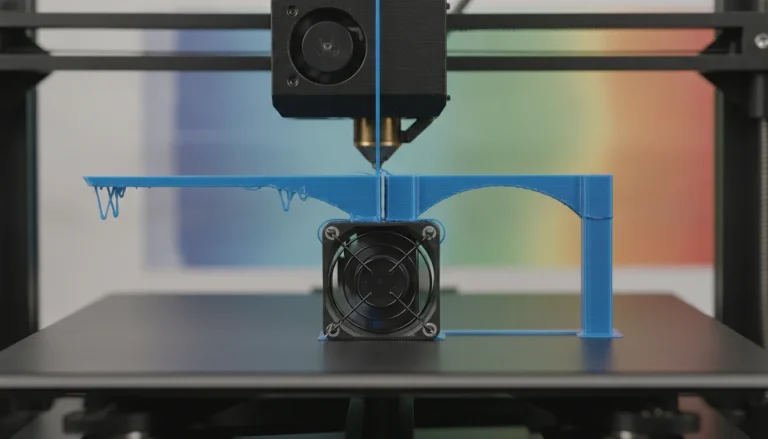
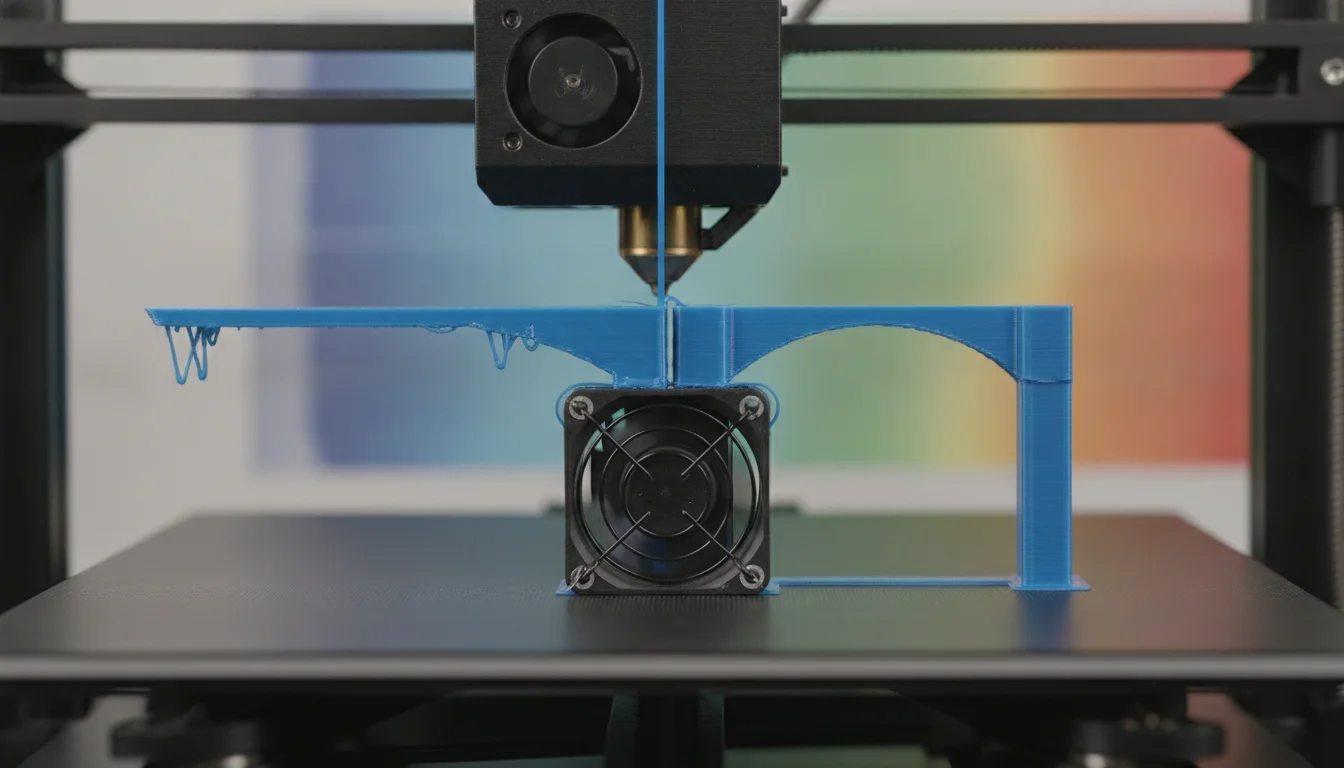
Bridging is a specific type of overhang where the printer extrudes a line of plastic across an open gap between two existing, supported points. Think of the ceiling of a doorway or the top of a hole. Unlike a continuous overhang, bridging involves extruding a segment of plastic entirely into thin air, relying on the plastic’s surface tension and rapid cooling to span the distance without significant droop.
- The Physics of Bridging: When a bridge is printed, the extruder lays down a filament strand from one anchor point to another. The success of this operation hinges on the plastic cooling and solidifying almost instantaneously as it leaves the nozzle, preventing it from drooping under its own weight.
- Common Applications: Bridging is essential for printing models with holes, cutouts, or internal structures that require spanning gaps.
While challenging, successful bridging is a hallmark of a well-calibrated machine and optimized settings, allowing for complex geometries to be printed without the need for extensive support structures.
The pivotal role of print temperature
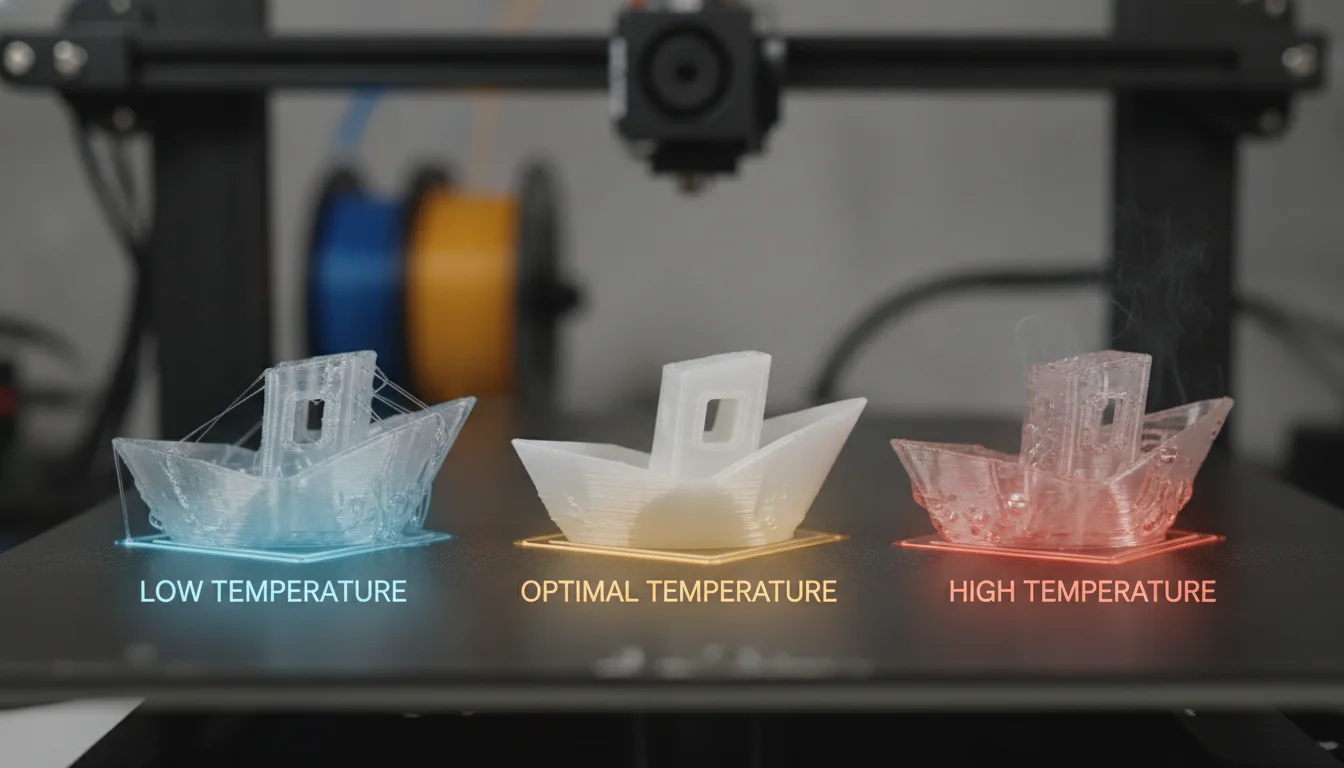
The temperature at which your hotend operates is a fundamental parameter that dictates the viscosity and flow characteristics of the molten plastic. It’s a delicate balance; too high or too low, and your overhangs and bridging will suffer.
The Goldilocks zone of nozzle temperature
Finding the optimal nozzle temperature is like finding the Goldilocks zone – not too hot, not too cold, but just right for your specific filament and printing conditions.
Too high print temperature
When the nozzle temperature is excessively high, the plastic becomes overly molten and less viscous. This can lead to a cascade of problems:
- Excessive Sagging and Drooping: The primary issue for overhangs. The plastic remains liquid for too long, succumbing to gravity before it can solidify.
- Stringing and Oozing: Highly fluid plastic is more prone to oozing from the nozzle during travel moves, creating undesirable strings and cobwebs.
- Reduced Dimensional Accuracy: Overly soft plastic can be easily deformed, leading to less precise prints.
- Material Degradation: For some plastics, excessively high temperatures can lead to thermal degradation, releasing fumes and weakening the material.
Too low print temperature
Conversely, a nozzle temperature that is too low can also be detrimental:
- Poor Layer Adhesion: The plastic isn’t molten enough to properly fuse with the previous layer, resulting in weak, brittle parts that delaminate easily.
- Under-extrusion: Increased viscosity makes it harder for the extruder to push the plastic through the nozzle, leading to insufficient material deposition.
- Nozzle Clogging: Persistent low temperatures can lead to partial or complete nozzle clogs.
- Brittle Overhangs and Bridges: Even if they form, they might be weak and prone to breaking.
Optimal print temperature
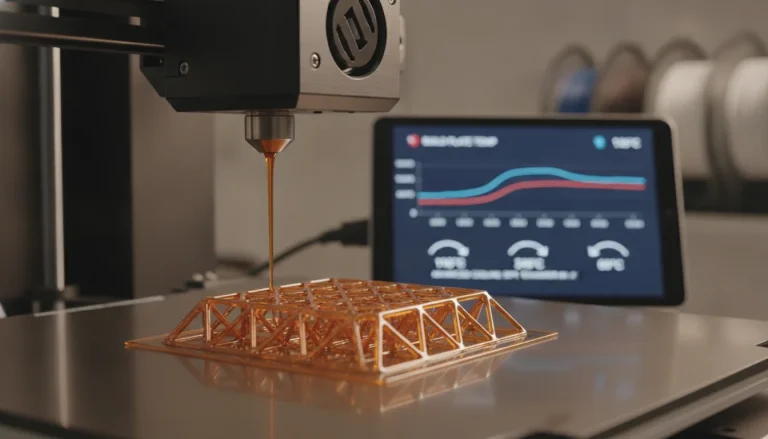
The optimal temperature strikes a balance, allowing for smooth, consistent flow and proper layer adhesion, while also enabling rapid solidification. This temperature is highly material-specific:
- PLA: Typically prints well between 190-220°C. It’s relatively forgiving.
- PETG: Requires higher temperatures, usually 220-250°C. It’s prone to stringing, so finding the lower end of its optimal range is often beneficial.
- ABS: Prints at even higher temperatures, 230-260°C. It’s very sensitive to cooling and prone to warping.
- Nylon & Polycarbonate: Often require 250°C and above, often with an enclosure.
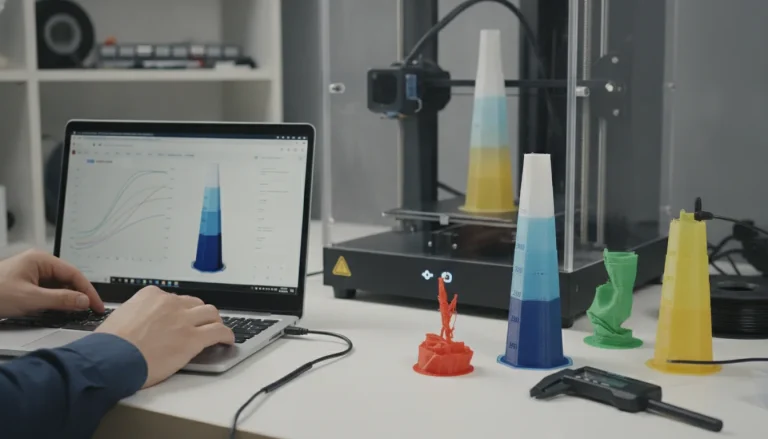
The best way to determine the ideal temperature for your specific filament brand and color is through a temperature tower calibration print. This print features sections printed at different temperatures, allowing you to visually inspect which temperature yields the best results for overhangs, bridging, and overall print quality.
The indispensable power of cooling

While print temperature determines how fluid your plastic is, cooling dictates how quickly it solidifies. For challenging geometries like overhangs and bridges, rapid and controlled cooling is absolutely critical.
The mechanism of part cooling
Most FDM 3D printers are equipped with a part cooling fan that directs airflow onto the freshly extruded plastic. This rapid heat dissipation causes the plastic to solidify almost instantly, maintaining its shape before gravity or subsequent layers can deform it.
Benefits of effective cooling for overhangs
For overhangs, a well-tuned cooling system is a game-changer:
- Prevents Sagging and Curling: By solidifying the plastic quickly, the fan prevents the molten material from drooping under its own weight. This is especially vital for steep overhangs.
- Sharpens Edges and Corners: Rapid cooling helps maintain the crispness of details and prevents edges from rounding off or curling upwards.
- Reduces Ghosting/Ringing: While not directly related to overhangs, good cooling can contribute to overall print quality by stabilizing the plastic.
- Improves Surface Finish: A properly cooled overhang will have a much smoother and more consistent underside.
Benefits of effective cooling for bridging
For bridging, cooling is arguably even more critical than for general overhangs:
- Solidifies Strands Mid-Air: As each filament strand is extruded across a gap, the cooling fan must solidify it rapidly enough for it to hold its tension and not sag.
- Minimizes Droop: Without sufficient cooling, bridge lines will inevitably droop, creating an uneven and often failed bridge.
- Ensures Straight Lines: Effective cooling helps maintain the linearity of the bridge, preventing it from curving or becoming wavy.
The downside of excessive cooling
While cooling is generally beneficial for overhangs and bridges, it’s not a one-size-fits-all solution. Excessive cooling can be detrimental, particularly for certain materials:
- Reduced Layer Adhesion: Rapid cooling can cause the plastic to shrink too quickly, preventing proper bonding between layers. This is a common issue for materials like ABS, ASA, and Nylon, leading to brittle parts and delamination.
- Warping and Cracking: For materials with high thermal expansion/contraction rates (e.g., ABS), excessive cooling can induce internal stresses, leading to severe warping, cracking, and splitting.
- Thermal Shock: Drastic temperature differences can shock the material, causing structural weaknesses.
- Aesthetic Issues: For some filaments, too much cooling can lead to a duller finish or visible layer lines.
Therefore, it’s common practice to disable or significantly reduce cooling for the first few layers of any print to promote bed adhesion, and to use minimal or no cooling for materials like ABS and ASA, often requiring an enclosure to maintain a stable ambient temperature.
Slicer cooling settings in detail
Your slicer software provides granular control over cooling settings, allowing you to fine-tune performance for overhangs and bridging.
- Fan Speed Percentage (Minimum/Maximum): This sets the overall range for your part cooling fan. Most slicers allow you to define a minimum speed (e.g., 0% for the first layer) and a maximum speed (e.g., 100% for optimal cooling on overhangs).
- Bridge Fan Speed: Many slicers offer a dedicated setting to override the general fan speed specifically for bridge perimeters and infill. Setting this to 100% is common for most materials (except those highly sensitive to cooling).
- Minimum Layer Time: This crucial setting ensures that each layer has sufficient time to cool and solidify before the next layer is printed on top of it. If a layer prints too quickly (e.g., printing a small feature), the printer will either slow down the print speed or lift the print head and wait until the minimum layer time has elapsed. This is invaluable for small features and acute overhangs.
- Lift Head When Retracting: Often paired with minimum layer time, this option lifts the nozzle away from the print during the waiting period, preventing heat creep or unwanted contact.
- Fan Speed for First Layers: Almost universally set to 0% to prevent rapid cooling that can cause the first layer to warp or detach from the build plate.
- Cooling Overrides: Some advanced slicers allow for cooling adjustments based on specific features, such as slower cooling for inner perimeters versus outer perimeters.
The symbiotic relationship: Temperature and cooling in harmony
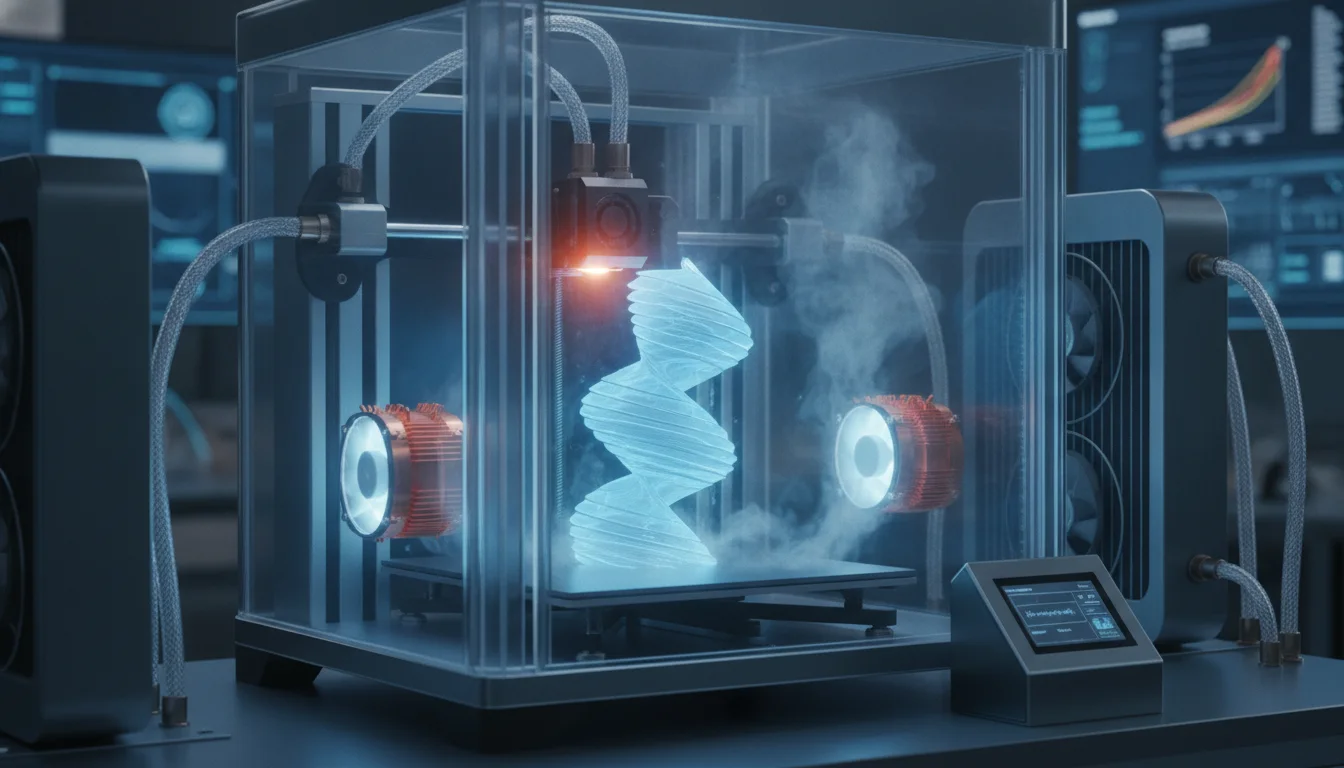
It’s a common misconception that simply cranking up the cooling fan or adjusting the nozzle temperature in isolation will solve all overhang and bridging issues. The truth is, these two settings work in concert, and achieving optimal print quality for challenging features requires finding a delicate balance between them.
Finding the dynamic duo for different materials
- PLA: This is generally the most forgiving filament. It benefits from a relatively low print temperature (190-220°C) and high cooling (often 80-100% fan speed for overhangs and bridges). The lower melt temperature and rapid solidification make it ideal for intricate details and steep overhangs.
- PETG: A bit trickier. PETG requires a higher print temperature (220-250°C) than PLA and is notorious for stringing. While some cooling is beneficial for overhangs and bridges, excessive cooling can lead to poor layer adhesion and increased stringing. A moderate cooling setting (e.g., 20-60%) is often a good starting point, adjusted downwards if layer adhesion issues arise, or upwards if overhangs droop.
- ABS/ASA: These high-temperature materials are very sensitive to rapid temperature changes. They print at high temperatures (230-260°C for ABS, 240-260°C for ASA) and generally require minimal to no part cooling. For overhangs and bridges, a small amount of cooling (e.g., 10-30%) might be used for very short durations, but often an enclosure is a more effective solution to manage ambient temperature and prevent warping and cracking. Aggressive cooling will almost certainly lead to print failure.
- Nylon & Polycarbonate: These are even more demanding, requiring very high temperatures (250°C+) and almost no part cooling. An enclosed and often heated build chamber is essential for successful printing, especially for overhangs.
The key is to understand that a higher print temperature often necessitates more aggressive cooling to solidify the plastic in time, especially for fast-moving parts or challenging geometries. Conversely, if you’re printing at the lower end of a filament’s temperature range, you might be able to get away with less cooling, reducing the risk of layer adhesion issues.
Advanced slicer settings for overhang and bridge mastery
Beyond temperature and cooling, several other slicer settings can be leveraged to further refine the quality of your overhangs and bridges.
Print speed
Slowing down the print speed for challenging sections is a highly effective strategy. For overhangs and bridges, slower speeds provide:
- More Cooling Time: Each layer or strand has more time exposed to the cooling fan before the next layer is deposited.
- Better Control: Slower extrusion allows for more precise material placement and less inertia, reducing the chances of deformation.
- Specific Settings: Many slicers allow you to set different speeds for outer perimeters, inner perimeters, and infill. Crucially, there are often dedicated settings for ‘Bridge Speed’ which should typically be much lower than your general print speed.
Extrusion settings
- Flow Rate/Extrusion Multiplier: Calibrating this accurately ensures that the correct amount of plastic is extruded. Over-extrusion can exacerbate sagging on overhangs and make bridging more difficult due to excess material.
- Line Width: While generally kept at nozzle diameter, some users experiment with slightly wider lines for bridges to increase surface area for adhesion, though this can also lead to more droop if not cooled aggressively.
Bridging specific settings
Modern slicers offer highly specialized settings for optimizing bridges:
- Bridge Flow Ratio: This setting, often found in PrusaSlicer or SuperSlicer, allows you to reduce the amount of plastic extruded specifically for bridge lines. Reducing flow (e.g., to 0.8-0.9) can significantly reduce droop, as there’s less material to sag.
- Bridge Speed: As mentioned, setting this to a very low value (e.g., 10-25 mm/s) is crucial for success.
- Bridge Fan Speed: Often set to 100% for most materials (where cooling is beneficial).
- Bridge Infill Pattern/Density: Some slicers allow you to choose specific infill patterns or densities directly below bridges to provide a better foundation.
Support structures
Despite all optimization efforts, some geometries are simply too extreme for support-free printing. In these cases, support structures are your friend. However, even with supports, optimizing temperature and cooling can improve the quality of the supported surfaces and make support removal easier.
- When to Use Them: For very steep overhangs (beyond 70 degrees from vertical) or very long, unsupported bridges.
- Types of Supports: Tree supports (organic, often easier to remove) vs. normal grid/line supports.
- Support Interface: A dense, often solid layer between the support and the model can improve the surface quality of the supported area.
- Z-Gap: The vertical distance between the support and the model. A larger gap makes removal easier but can reduce supported surface quality.
Model orientation
One of the simplest yet most effective strategies for managing overhangs is to orient your model on the build plate in a way that minimizes them. Rotating a part can often turn a challenging overhang into a gentle slope or even eliminate it entirely. This requires careful consideration of the model’s geometry and how different orientations affect the need for supports.
Designing for printability
For designers, creating models with 3D printing in mind can drastically improve printability:
- Chamfers and Fillets: Instead of sharp, 90-degree overhangs, incorporating chamfers (angled edges) or fillets (rounded edges) can make a significant difference, effectively turning a steep overhang into a series of smaller, more manageable ones.
- Self-Supporting Angles: Adhering to the “45-degree rule” (designing features that don’t exceed a 45-degree angle from the vertical without support) can largely eliminate overhang issues.
- Sacrificial Bridges: Sometimes, designing a thin, easily removable sacrificial bridge into the model itself can help support a difficult feature during printing.
Material-specific strategies
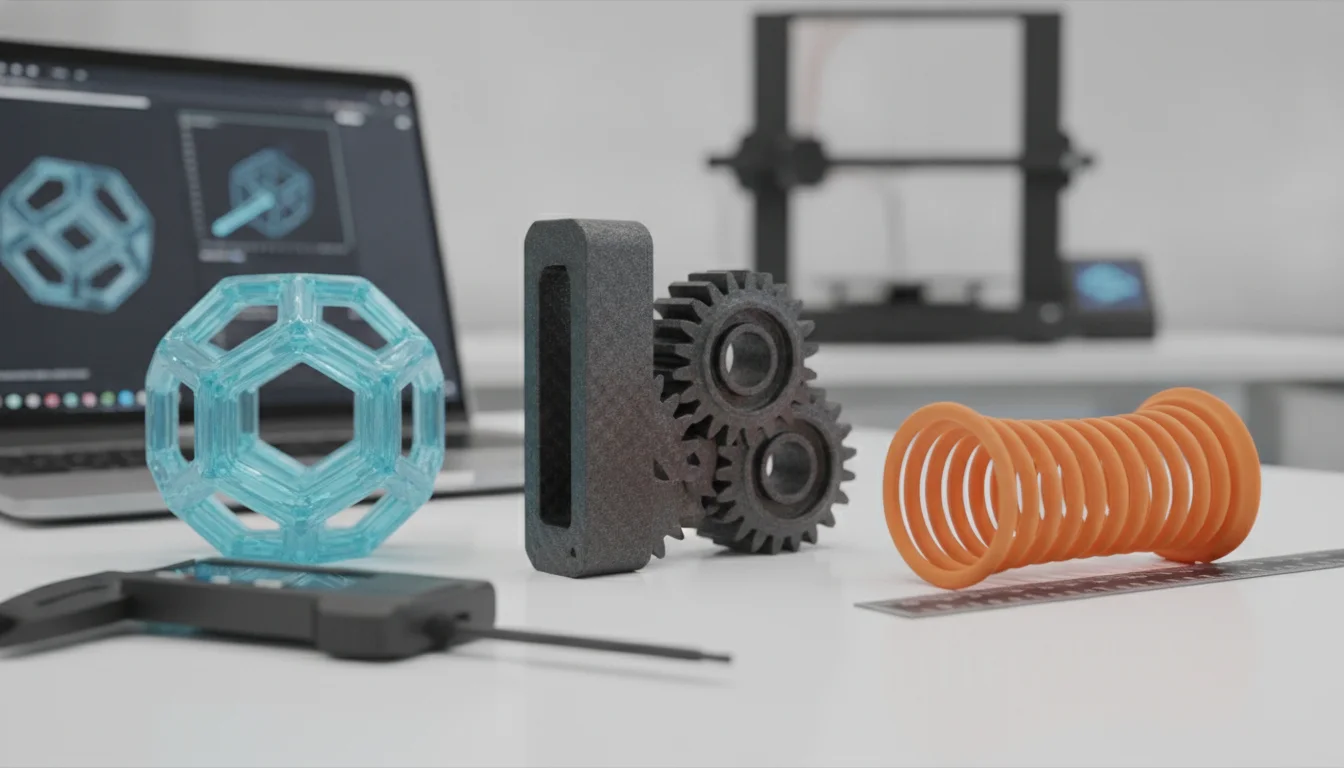
As touched upon, the ideal settings for print temperature and cooling settings are heavily dependent on the filament material. Understanding these nuances is key to achieving consistent print quality and maximizing support-free printing potential.
- PLA (Polylactic Acid):
- Temperature: Generally 190-220°C.
- Cooling: High cooling (70-100% fan speed) is almost always beneficial for overhangs and bridges, leading to crisp details and minimal sagging.
- Strategy: PLA is very forgiving. Focus on high cooling and a well-calibrated temperature tower to find the sweet spot for your specific brand.
- PETG (Polyethylene Terephthalate Glycol):
- Temperature: Higher than PLA, typically 220-250°C.
- Cooling: Moderate cooling (20-60%) is often best. Too much cooling can lead to poor layer adhesion and increased stringing. Too little can result in droopy overhangs.
- Strategy: Experiment to find the lowest temperature that allows good flow, combined with the minimum effective cooling to prevent droop without sacrificing layer strength or increasing stringing.
- ABS (Acrylonitrile Butadiene Styrene) & ASA (Acrylonitrile Styrene Acrylate):
- Temperature: High, 230-260°C for ABS, 240-260°C for ASA.
- Cooling: Minimal to no cooling (0-20% fan speed). These materials are highly susceptible to warping and cracking due to rapid temperature changes. An enclosure is often essential.
- Strategy: Prioritize maintaining a stable, warm environment. If any cooling is used for overhangs, it should be very gentle and localized, only if absolutely necessary to prevent extreme sagging.
- Nylon & Polycarbonate (PC):
- Temperature: Very high, 250°C+ for Nylon, 260-300°C for PC.
- Cooling: Almost no cooling (0-10%). These materials require even higher temperatures and are extremely sensitive to drafts and rapid cooling.
- Strategy: Heated enclosure is mandatory. Cooling for overhangs is a last resort and should be minimal.
- Flexible Filaments (TPU/TPE):
- Temperature: Varies, often 210-240°C.
- Cooling: Minimal cooling (0-30%). Over-cooling can lead to poor layer adhesion and a more rigid print than desired.
- Strategy: Focus on very slow print speeds, direct drive extruders, and minimal cooling to allow layers to bond without excessive hardening.
Calibration and diagnostic tools
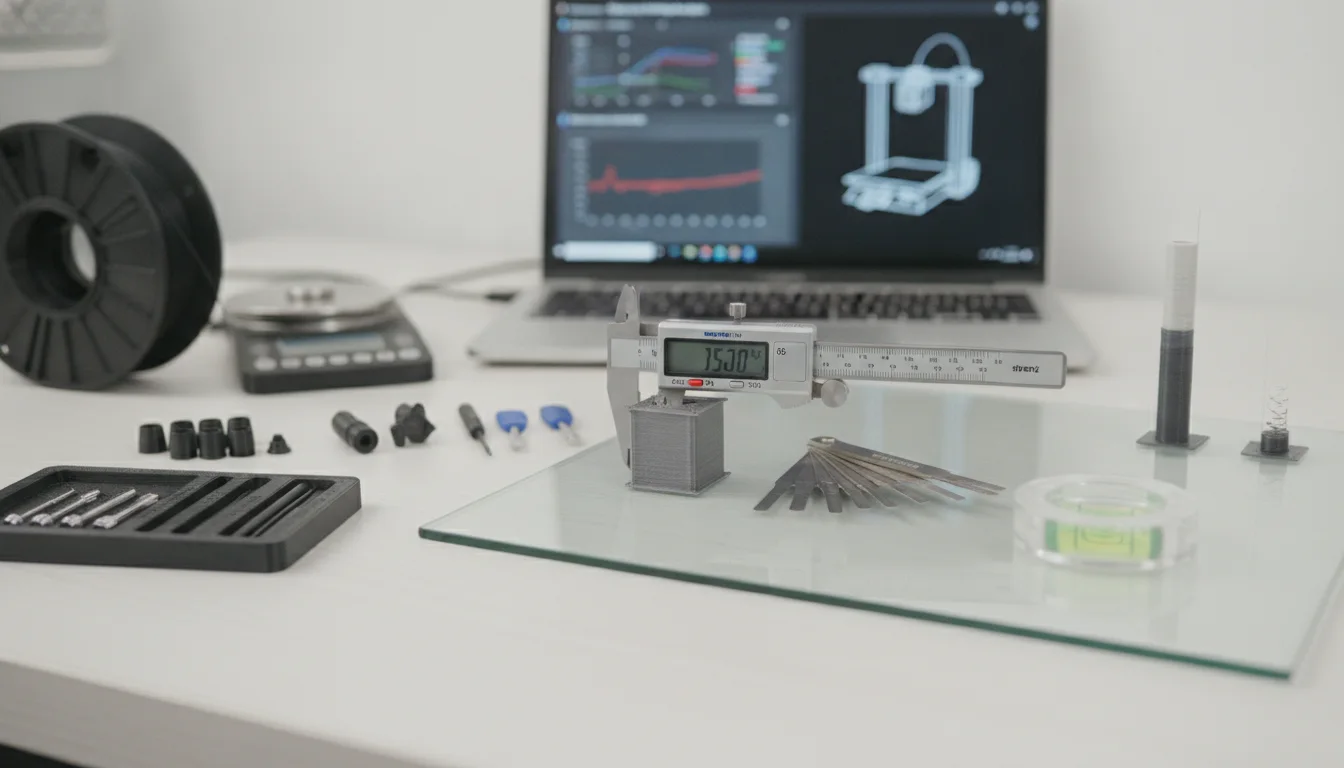
Achieving mastery over overhangs and bridges isn’t a one-time setup; it’s an iterative process of testing, observation, and adjustment. Thankfully, there are tools and techniques to guide you.
- Overhang Test Prints: These models feature various overhang angles (e.g., 20°, 30°, 45°, 60°, 70°, 80°) allowing you to visually assess at which angle your current settings start to fail.
- Bridging Test Prints: These models include gaps of increasing length, letting you determine the maximum distance your printer can bridge reliably with current settings.
- Temperature Towers: As mentioned, these are invaluable for dialing in the optimal print temperature for your specific filament.
- Cooling Towers/Tests: While less common, you can design or find tests that vary fan speed across different sections of a print to observe its impact on overhang quality and layer adhesion.
- Visual Inspection: Learn to “read” your prints. Sagging, stringing, curling, and delamination are all visual cues that point towards specific setting adjustments.
- Iterative Process: Make one change at a time, print a test, analyze the results, and then adjust again. Documenting your changes and observations is crucial for long-term success.
Conclusion

Conquering overhangs and bridges in 3D printing is a significant milestone for any enthusiast. It transforms a printer from a basic tool into a precision instrument capable of producing complex, functional, and aesthetically pleasing parts. The journey to perfect these challenging geometries hinges on a deep understanding and meticulous calibration of two fundamental slicer settings: print temperature and cooling settings.
There’s no magic bullet; the ideal combination is a dynamic interplay, influenced by your specific filament, printer hardware, and desired outcome. Whether you’re aiming for impeccable print quality, striving for completely support-free models, or simply looking to minimize post-processing, mastering these settings will be your most potent weapon.
Embrace experimentation, utilize calibration tools, and learn from every print. With patience and a systematic approach, you’ll soon be tackling even the most daunting overhangs and bridges with confidence, elevating your 3D printing prowess to new heights.
Frequently asked questions
What minimum overhang angle can I reliably print without supports after optimizing temperature and cooling?
With optimal settings, most printers can handle overhangs up to about 45–60 degrees from vertical (30–45 degrees from horizontal) without supports. Steeper angles beyond 70 degrees from vertical typically require support structures regardless of temperature and cooling tuning, as only a tiny fraction of the new layer can bond to the layer below.
Will increasing cooling fan speed to 100% always improve overhangs and bridges?
No. While high cooling (70–100%) works well for PLA, excessive cooling causes poor layer adhesion, warping, and cracking in materials like ABS, ASA, and Nylon. For PETG, moderate cooling (20–60%) is recommended—too much increases stringing and weakens layer bonds. Always match cooling to your specific filament type.
How do I know if my print temperature is too high or too low for overhangs?
Too-high temperature causes excessive sagging, drooping, stringing, and oozing on overhangs and bridges. Too-low temperature results in poor layer adhesion, under-extrusion, and brittle overhangs that may break. The most reliable way to find the sweet spot is to print a temperature tower calibration model, which shows visual results at different temperatures for your specific filament brand and color.