In the intricate world of 3D printing, achieving flawless, dimensionally accurate parts is often the holy grail. While many variables contribute to print quality, one often overlooked yet profoundly impactful setting is the flow rate, sometimes referred to as the extrusion multiplier. Calibrating this crucial slicer setting is paramount for overcoming common extrusion issues and ensuring your printed objects match their digital blueprints with precision.
Understanding flow rate and the extrusion multiplier
The world’s first desktop full-color 3D & UV printer. Back the Kickstarter campaign with a refundable $50 deposit for VIP pricing.
At its core, flow rate dictates how much plastic your 3D printer’s extruder pushes out relative to the amount it’s commanded to. It’s a percentage or a decimal value found within your slicer settings (e.g., Cura, PrusaSlicer, Simplify3D). A flow rate of 100% (or 1.0) means the printer attempts to extrude exactly the volume of filament flow calculated by the slicer based on your nozzle diameter and layer height. Adjusting this value fine-tunes the actual volume of material extruded, directly impacting the width and height of your printed lines.
The critical role of calibration
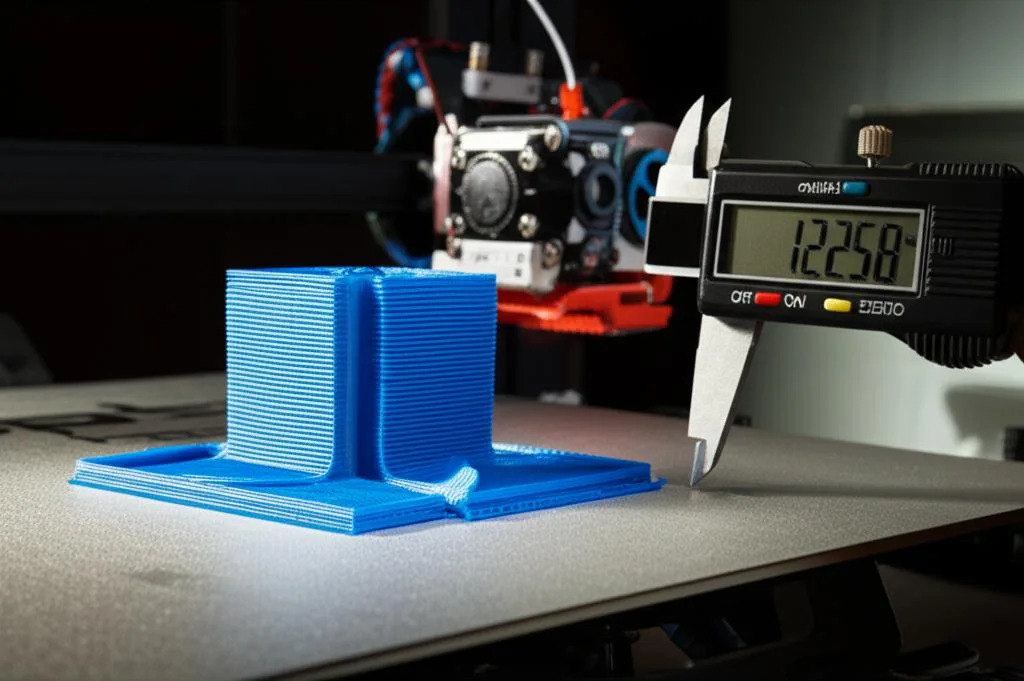
Precise filament flow is the bedrock of high-quality 3D prints. An incorrectly set flow rate can lead to a host of problems:
- Dimensional accuracy: This is arguably the most significant impact. Too much flow leads to over-extrusion, making parts larger than designed. Too little results in under-extrusion, causing parts to be smaller, weak, or incomplete.
- Surface finish: Over-extrusion can cause unsightly blobs, stringing, and rough surfaces, while under-extrusion leaves gaps and visible layer lines.
- Layer adhesion: Sufficient filament flow ensures proper bonding between layers. Under-extrusion can lead to weak, brittle parts that easily delaminate.
- Nozzle clogging: Excessive extrusion multiplier settings can put undue pressure on the extruder, potentially leading to clogs or grinding the filament.
Proper print calibration, specifically for flow rate, ensures consistent material deposition, leading to stronger, more aesthetically pleasing, and functionally accurate prints.
A step-by-step guide to flow rate calibration
Achieving the optimal flow rate is an iterative process, but it’s well worth the effort.
Prerequisites
Before diving into flow rate calibration, ensure your printer’s E-steps (extruder steps per millimeter) are accurately calibrated. This ensures the extruder motor is pushing the correct length of filament. Also, use a consistent filament type and brand you intend to print with, and ensure your nozzle is clean and free of clogs. Standardize your other slicer settings (temperature, speed) for the calibration print.
Printing the calibration object
The most common and effective method involves printing a simple single-wall cube. A 20x20x20mm cube with zero infill, zero top/bottom layers, and a single perimeter is ideal. Set your slicer to print a single wall with a specific line width (e.g., 0.4mm for a 0.4mm nozzle). This allows for direct measurement of the extruded wall thickness.
Measurement and calculation
- Once the cube is printed and cooled, use a precise digital caliper to measure the thickness of the single wall in several spots (e.g., 3-5 measurements) and average them.
- Compare this average measured thickness to your desired wall thickness (which should be your nozzle diameter, e.g., 0.4mm).
- Calculate your new extrusion multiplier using the following formula:
New Flow Rate = (Desired Wall Thickness / Average Measured Wall Thickness) * Current Flow Rate
For example, if your desired thickness is 0.4mm, your measured thickness is 0.45mm, and your current flow rate is 100% (1.0), your new flow rate would be (0.4 / 0.45) * 1.0 = 0.888 (or 88.8%).
Iterative refinement
Apply the new flow rate in your slicer settings and print another calibration cube. Measure again. You may need to repeat this process a couple of times until your measured wall thickness consistently matches your desired wall thickness. Remember to save this setting as a profile for that specific filament.
Impact of incorrect flow rate
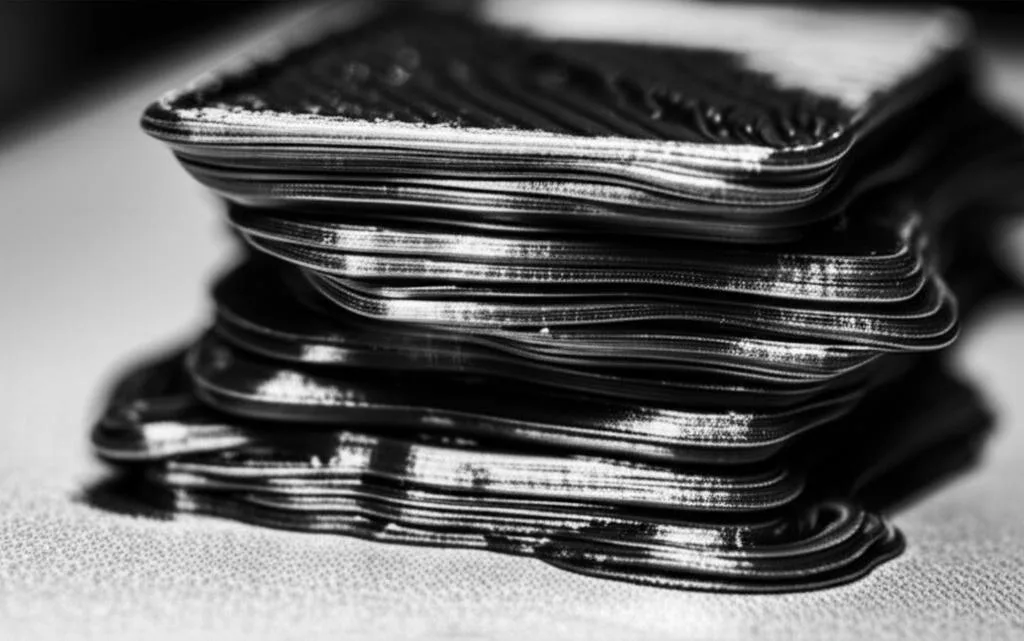
Ignoring flow rate calibration can lead to persistent extrusion issues. Under-extrusion manifests as gaps between perimeters, poor layer adhesion, and prints that are flimsy or incomplete. Conversely, over-extrusion results in bulging walls, elephant’s foot (the bottom layers squishing out), excessive stringing, and parts that are consistently too large, preventing proper assembly or fit.
Mastering slicer flow rate calibration is a fundamental step in elevating your 3D printing capabilities. It’s a commitment to achieving superior dimensional accuracy and eliminating frustrating extrusion issues. By taking the time to properly calibrate your filament flow, you’re not just adjusting a setting; you’re unlocking the full potential of your 3D printer, paving the way for professional-grade results and truly precise objects.
Frequently asked questions
Do I need to recalibrate flow rate for every new spool of filament?
Yes, you should recalibrate flow rate for each new spool, even if it is the same brand and color. Filament diameter tolerances and material composition can vary slightly between production batches, which changes the actual volume of plastic extruded. Re-running the single-wall cube test with the new spool ensures your dimensional accuracy remains consistent.
What should I do if my measured wall thickness is thinner than my nozzle diameter after calibration?
If your measured wall thickness is consistently thinner than your nozzle diameter (e.g., 0.36mm on a 0.4mm nozzle) even after adjusting flow rate upward, first verify that your extruder E-steps are accurately calibrated as the article advises. If E-steps are correct, the issue may be a partial nozzle clog or excessive filament friction in the Bowden tube, both of which restrict flow and require cleaning or replacement before further calibration.
Can I use the same flow rate setting for different layer heights and speeds?
No, the optimal flow rate can shift with significant changes to layer height or print speed. The calibration method in this article uses a specific layer height and speed to set a baseline for that particular filament profile. For best dimensional accuracy, you should re-run the single-wall cube test after changing layer height by more than 0.1mm or altering print speed by more than 30 mm/s.