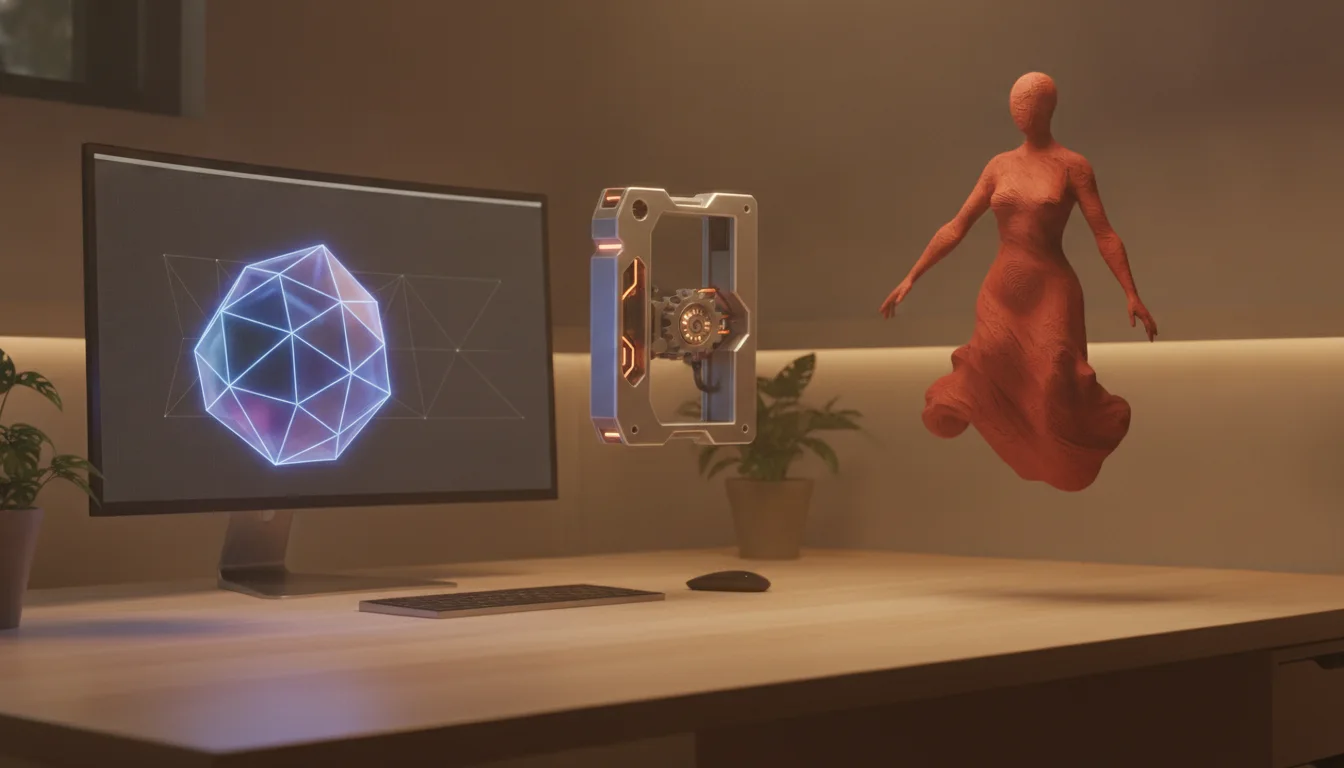
Open any 3D modeling app for the first time and you’ll hit a wall of unfamiliar words before you’ve even drawn a shape: mesh, NURBS, boolean, subdivision, history tree, watertight. Underneath the jargon, though, almost every tool you’ll encounter falls into one of three broad approaches to building a 3D object — polygonal modeling, solid (CAD) modeling, and digital sculpting. None of them is objectively “better.” Each one trades off precision, speed, and freedom differently, and the right choice depends entirely on what you’re trying to make and what you’ll do with it afterward, especially if the end goal is a 3D print. This guide walks through what each type actually is, where it shines, where it falls apart, and how to pick a starting point without wasting weeks on the wrong tool.
What “types of 3D modeling” actually means
The consumer toolchanger 3D printer: the SnapSwap 4-toolhead system swaps heads in 5 seconds for true multi-color and multi-material printing, with smart calibration and auto filament loading.
- 4 toolheads · 5 s swap
- Up to 500 mm/s · 20,000 mm/s²
- 270 mm cube build volume
- Multi-color & multi-material

When people talk about types of 3D modeling, they’re really talking about how the software represents a shape internally, because that representation dictates everything else — how you edit it, how forgiving it is of mistakes, and whether it can be 3D printed without extra work. There are three practical camps a beginner needs to know:
- Polygonal (mesh) modeling — the object is a skin made of flat triangles or quads stitched together at shared vertices. Blender, Maya, and 3ds Max default to this.
- Solid modeling — the object is defined mathematically as exact geometry (planes, cylinders, splines) built up through features like extrude, revolve, and fillet. Fusion 360, SolidWorks, Onshape, and FreeCAD live here.
- Digital sculpting — a specialized, high-density form of mesh modeling where you push, pull, and smooth a surface as if it were clay, using millions of small polygons instead of a handful of large ones. ZBrush and Blender’s Sculpt Mode are the standard tools.
For 3D printing specifically, this matters because every slicer — PrusaSlicer, Bambu Studio, Cura — only understands mesh geometry in the form of an STL or 3MF file. A CAD model built as pure solid geometry gets converted (tessellated) into a mesh the moment you export it. That conversion step is invisible if your model is clean, but it’s exactly where beginners run into “non-manifold” errors, holes in the mesh, or visibly faceted curves that needed a finer export resolution.
Polygonal modeling explained: the mesh backbone of most print files
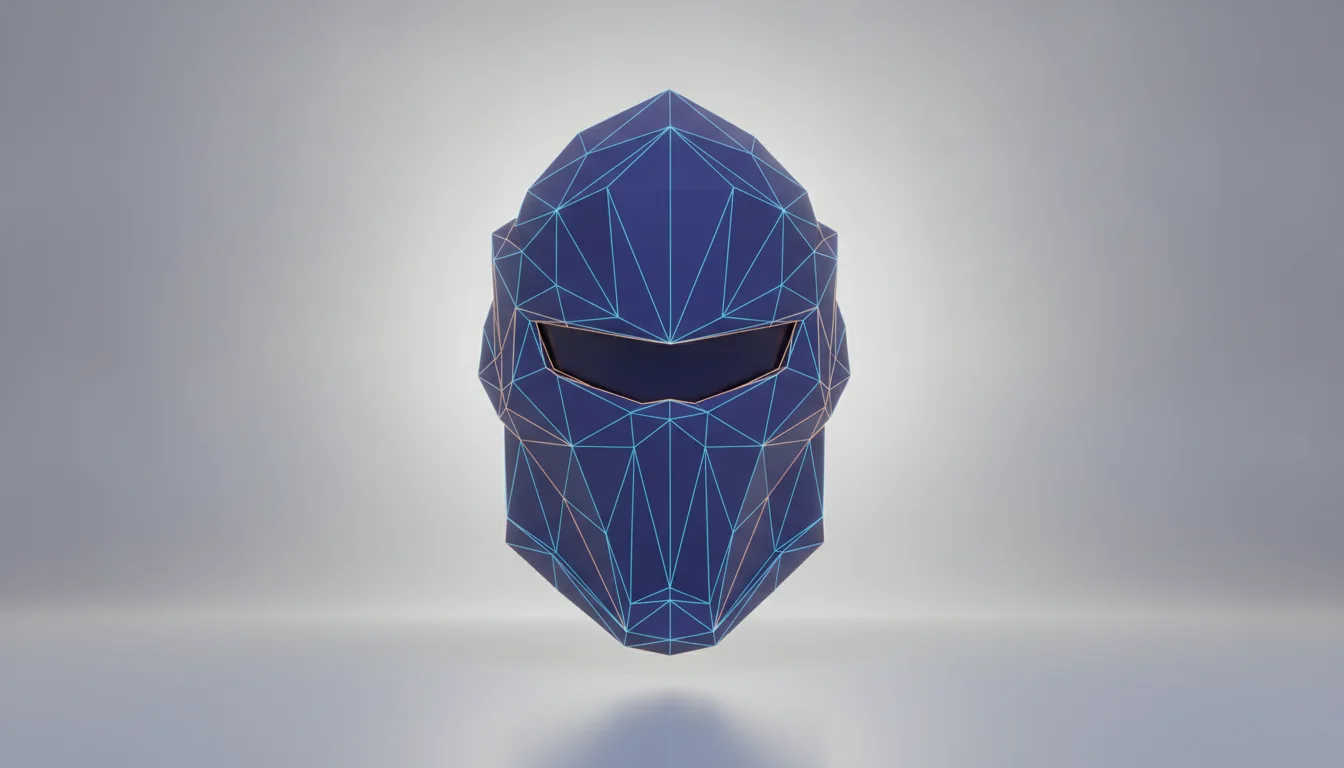
Polygonal modeling builds a shape out of vertices connected by edges, which in turn form flat faces — usually triangles or four-sided quads. Push a vertex, and every face touching it deforms with it. This is the native language of STL files, which is why polygonal tools like Blender are so directly compatible with the 3D printing pipeline: what you model is, structurally, almost exactly what you’ll slice.
The appeal for beginners is speed and flexibility. You can block out a helmet, a phone stand, or a game character in an afternoon using extrude, inset, bevel, and loop cuts, without worrying about engineering tolerances. Blender’s low learning curve for basic box modeling, combined with it being free and having enormous tutorial coverage, makes it the default recommendation for anyone starting with mesh work.
The catch is that polygonal models have no memory of intent. If you extrude a cylinder to be 40 mm tall and then decide it should be 42 mm, there’s no dimension field to edit — you select the top face and move it, eyeballing or snapping to a grid. There’s also no built-in concept of “this hole must always be 5 mm to fit an M5 bolt.” For functional, dimensionally exact parts, that lack of precision is a real liability. It’s also easy to end up with a non-manifold mesh — internal faces, flipped normals, or gaps where edges don’t quite meet — which is invisible on screen but causes slicers to fail or produce garbage infill. Tools like Blender’s 3D-Print Toolbox add-on or Meshmixer’s inspector exist specifically to catch these errors before you print.
Solid modeling basics: precision, constraints, and a feature history

Solid modeling, sometimes called CAD modeling, represents an object as an unambiguous, mathematically exact volume rather than a collection of surface polygons. You don’t push individual vertices; you define a 2D sketch with dimensioned lines and arcs, constrain it (this edge is always parallel to that one, this circle is always 8 mm), then turn it into 3D with a feature: extrude, revolve, sweep, or loft. Each feature stacks on top of the last in a history tree, so if you decide the base plate needs to be 3 mm thicker instead of 2 mm, you edit that one number and everything built afterward — fillets, holes, mounting bosses — updates automatically.
This is the natural home for anything that needs to fit something else: enclosures for a Raspberry Pi, brackets that bolt to existing hardware, replacement parts for a broken appliance, threaded inserts, snap-fits with calculated tolerances. Fusion 360 and Onshape are the two most common entry points for hobbyists, both offering free tiers for personal use; SolidWorks dominates in professional mechanical design; FreeCAD is the fully open-source option, rougher around the edges but genuinely capable and improving fast with each release.
Solid modeling’s weakness is organic, freeform shape. Sculpting a face, a dragon, or flowing drapery in a parametric CAD tool is painfully slow, because every curve wants to be defined by an equation rather than felt out by hand. Beginners coming from a “I just want to make cool stuff” mindset often find solid modeling frustratingly rigid at first — that rigidity is the entire point once you need a part that actually has to fit.
Digital sculpting for beginners: shaping like clay without worrying about topology
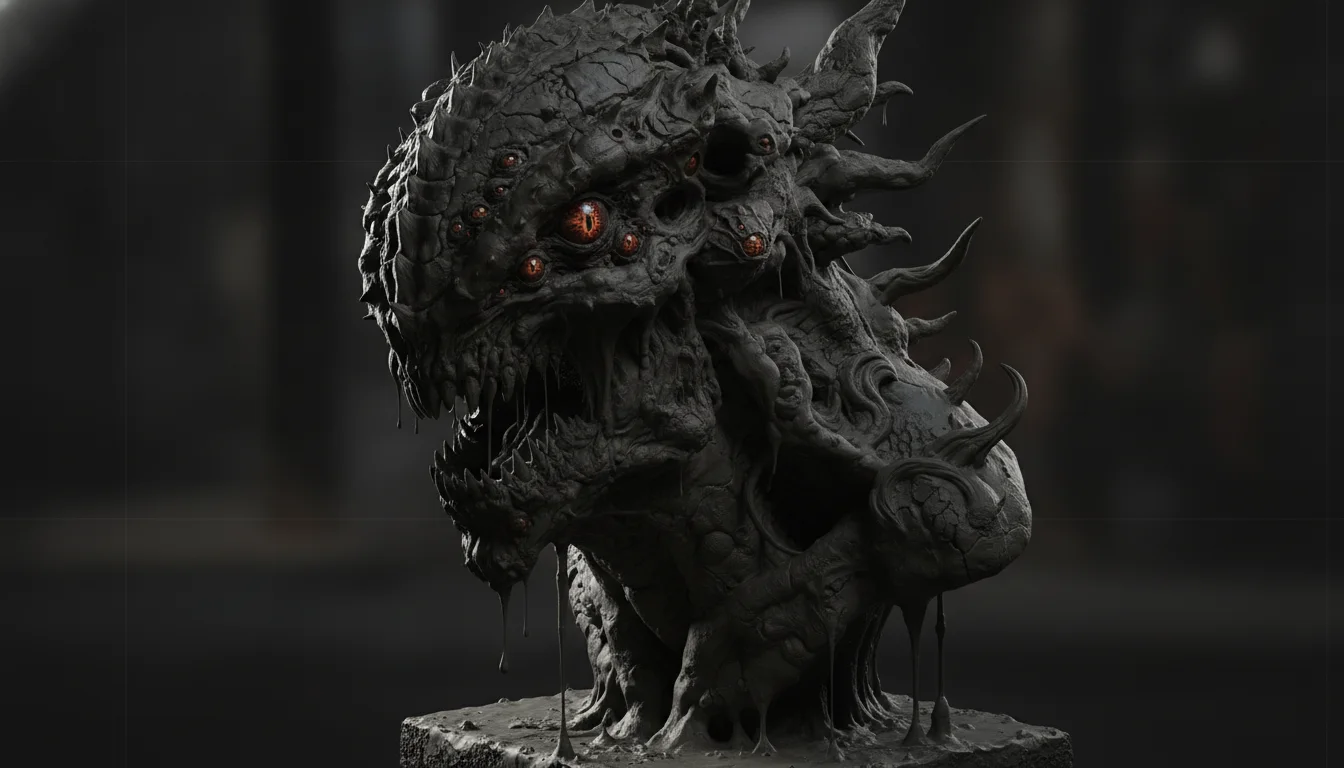
Digital sculpting takes the polygonal mesh idea and pushes it to an extreme: instead of a few hundred faces, a sculpt might use several million, subdivided densely enough that you can push and pull the surface with a brush the way you’d knead clay, without ever thinking about individual vertices. ZBrush pioneered this workflow and remains the industry standard for character and creature work; Blender’s Sculpt Mode has closed the gap enormously and is the practical starting point for most hobbyists, since it’s free and lives in the same app many people already use for regular polygonal modeling.
This is where miniatures, busts, stylized figures, and anything with organic, asymmetric detail actually gets made — the kind of geometry that would take days of manual vertex editing in a standard polygonal workflow takes hours with sculpting brushes like Clay Buildup, Smooth, and Crease. Dynamic topology (dyntopo in Blender, or ZBrush’s DynaMesh) automatically adds mesh density only where you’re actively sculpting detail, so you’re not managing polygon count by hand while you work.
The tradeoff shows up at export time. A finished sculpt can easily carry 5 to 20 million polygons, which is both overkill for detail a nozzle can physically resolve and a genuine performance problem for your slicer to load. Before printing, sculpted models almost always need decimation or remeshing — reducing polygon count while preserving the surface shape — using tools like Blender’s Decimate modifier or the retopology features in ZBrush and Meshmixer. Skip that step and PrusaSlicer or Bambu Studio will still open a 15-million-triangle STL, but slicing will take several minutes and the resulting G-code file will be needlessly bloated.
Parametric vs. direct modeling, and picking a starting point
The consumer toolchanger 3D printer: the SnapSwap 4-toolhead system swaps heads in 5 seconds for true multi-color and multi-material printing, with smart calibration and auto filament loading.
Within solid modeling specifically, there’s a second axis worth knowing: parametric vs. direct modeling. Parametric modeling — what Fusion 360, SolidWorks, and Onshape do by default — keeps that editable history tree, so changing an early dimension ripples forward through every dependent feature. Direct modeling, by contrast, lets you grab a face and push it, similar to polygonal editing, but on exact solid geometry rather than a rough mesh; there’s no history to update, so it’s faster for quick, one-off changes but offers no memory of design intent. SpaceClaim built its reputation entirely on direct modeling, and Shapr3D on iPad leans heavily direct-first while still layering in some parametric features. Fusion 360 actually supports both in the same file, letting you switch between a parametric timeline and direct push-pull edits depending on what a given change needs.
For a beginner deciding where to start, the honest answer depends on what you actually want to make in the next month:
- Want to make brackets, enclosures, or anything that has to bolt onto something real? Start with parametric solid modeling in Fusion 360 or Onshape — the dimensioned precision is worth the steeper initial learning curve.
- Want to make props, terrain, phone cases, or stylized objects fast, without engineering tolerances? Start with polygonal modeling in Blender.
- Want to sculpt figures, busts, or organic characters? Start directly in Blender’s Sculpt Mode — you can always retopologize and decimate later once the shape is right.
None of these choices is permanent, and plenty of serious hobbyists end up fluent in two or all three — blocking a base shape in CAD for exact dimensions, then bringing it into Blender to sculpt organic detail on top, and decimating before the final slice. Learning to recognize which category a given modeling problem falls into, before you open the software, will save you more frustration than any single tutorial.
Frequently asked questions
Can I use Blender for functional parts that need precise dimensions, like a bracket that must fit an M5 bolt?
You can, but it is not the best tool for the job. Blender lacks a parametric history tree, so there is no dimension field to edit after the fact—you must manually move vertices or faces to change a hole from 5 mm to 5.2 mm. For functional, dimensionally exact parts, a parametric CAD tool like Fusion 360 or Onshape is much more practical because it lets you define and update critical dimensions in a sketch that drives the entire model.
Why does my slicer show errors or fail to slice a model that looks fine on screen?
This is almost always caused by a non-manifold mesh—internal faces, flipped normals, or gaps where edges do not meet. Polygonal models built in Blender or other mesh tools are especially prone to these errors, which are invisible on screen but cause slicers to produce garbage infill or fail entirely. Run Blender’s 3D-Print Toolbox add-on or Meshmixer’s inspector to find and fix these issues before exporting your STL.
My sculpted model is 15 million polygons—do I need to reduce it before printing?
Yes, almost always. A finished sculpt with millions of polygons contains far more detail than a 3D printer nozzle can physically resolve, and it will slow down your slicer and produce a needlessly large G-code file. Use Blender’s Decimate modifier or the retopology features in ZBrush or Meshmixer to reduce the polygon count while preserving the surface shape before you export the STL.