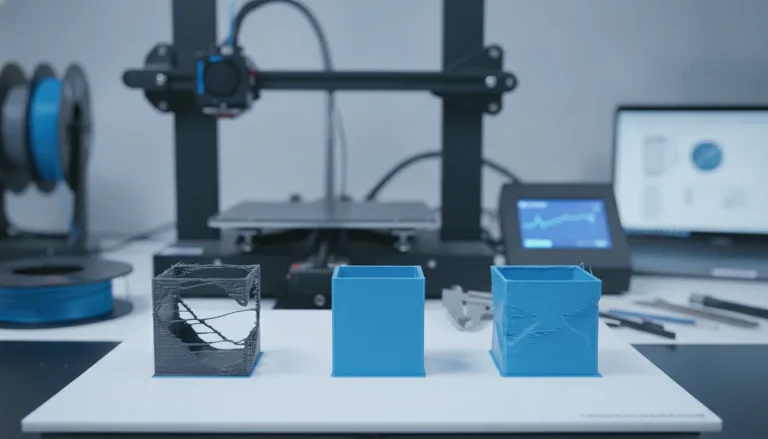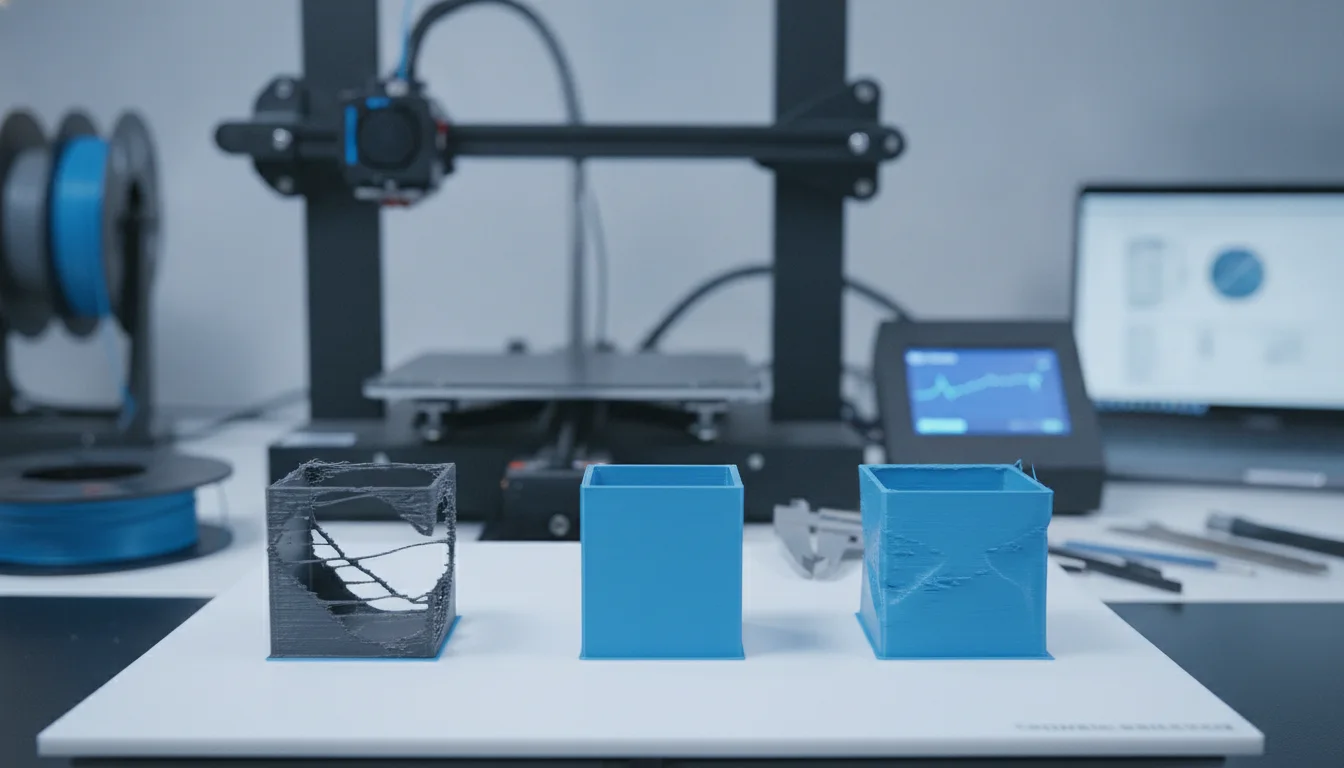
Achieving flawless 3D prints is often a journey of meticulous fine-tuning, and at the heart of consistent print quality lies precise material extrusion. Two common culprits behind unsightly and structurally weak prints are under-extrusion and over-extrusion. These issues manifest in various ways, from visible gaps in layers and brittle parts to oozing plastic and dimensional inaccuracies. Fortunately, they are highly solvable through a methodical calibration process focusing on your printer’s E-steps and flow rate (also known as the extrusion multiplier).
This comprehensive guide will walk you through the essential steps to understand, identify, and eliminate both under-extrusion and over-extrusion, empowering you to unlock your 3D printer’s full potential and consistently produce high-quality parts.
Understanding extrusion fundamentals in 3D printing
A retro-styled turntable and add-on speaker system with concrete and wood enclosure options. Currently running on Kickstarter.
Before diving into calibration, it’s crucial to grasp the basics of how your 3D printer handles filament. Extrusion is the process of pushing molten plastic through a nozzle onto the print bed. This process is controlled by the extruder motor, which precisely feeds a specific length of filament into the hotend.
What are E-steps?
E-steps, or Extruder Steps per Millimeter, represent the number of steps your extruder motor needs to take to push exactly one millimeter of filament through the hotend. This value is stored in your printer’s firmware and is a mechanical calibration. An incorrect E-step value means your printer is physically feeding either too much or too little filament, regardless of what your slicer software tells it to do.
What is flow rate (extrusion multiplier)?
The flow rate, often referred to as the extrusion multiplier in your slicer software, is a percentage-based adjustment that tells your printer to extrude more or less material than the E-steps value dictates. While E-steps deal with the mechanical accuracy of your extruder, the flow rate accounts for variables like filament density, diameter inconsistencies, and even the unique characteristics of different filament types (e.g., PLA, PETG, ABS). It’s a fine-tuning parameter applied by your slicer.
Identifying under-extrusion and over-extrusion
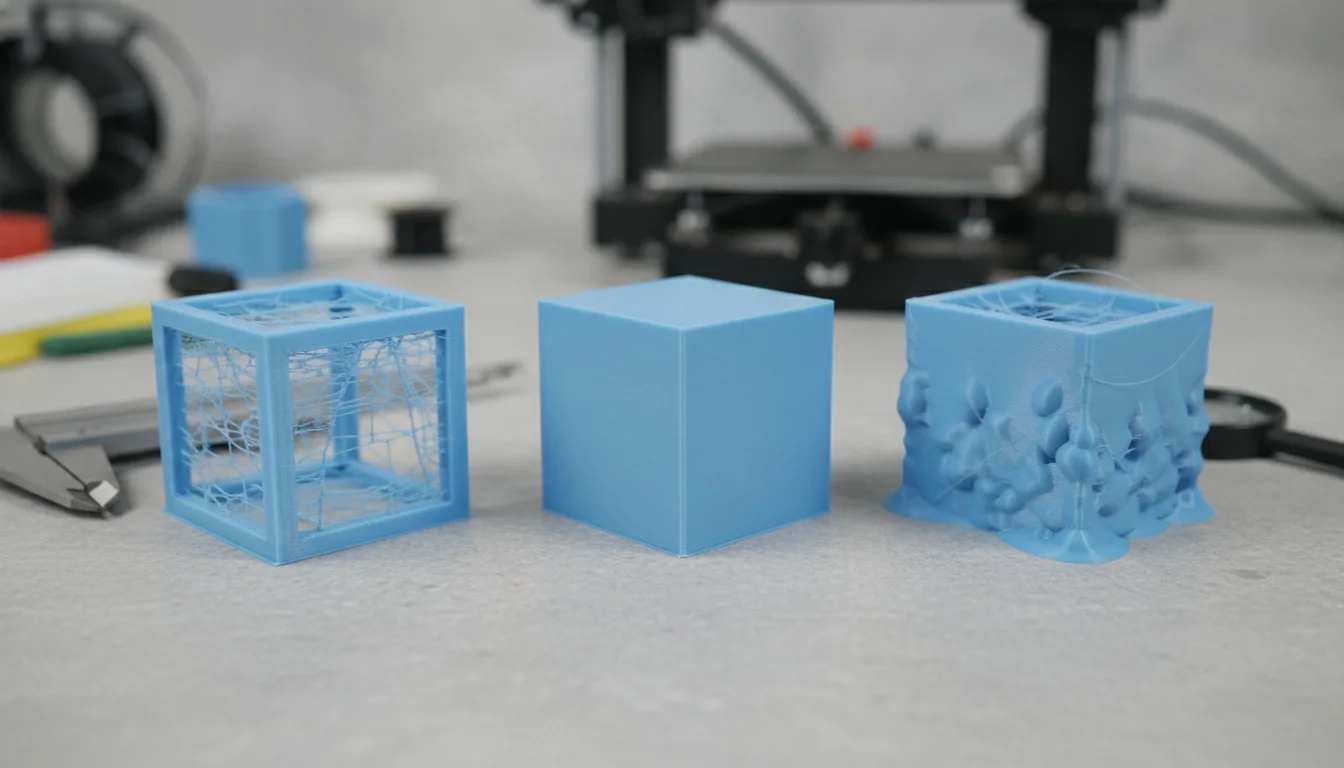
Knowing what to look for is the first step in troubleshooting. Here’s how to spot the signs:
Signs of under-extrusion
- Gaps between layers or infill: Layers don’t fully bond, leaving visible spaces.
- Weak and brittle prints: Parts easily break apart due to insufficient material.
- Missing sections: Infill or perimeters might not be fully formed.
- Poor top layers: Incomplete infill under the top surface leads to gaps or holes.
- Rough or inconsistent surfaces: The print surface appears patchy or uneven.
- Stringing or wispy lines: While often associated with retraction, severe under-extrusion can exacerbate it.
Signs of over-extrusion
- Blobs and zits on surfaces: Excess material builds up, creating imperfections.
- Stringing and oozing: Too much plastic flowing out, even during non-print moves.
- Elephant’s foot: The first few layers bulge outwards due to too much material being squished.
- Dimensional inaccuracy: Printed parts are larger than designed, making them difficult to fit together.
- Rough or bumpy top surfaces: Excess material causes ripples or ridges.
- Clogged nozzles: Persistent over-extrusion can lead to back pressure and clogs.
Before you begin: Essential preparations
Every model we design and test gets uploaded as a free STL – browse the full profile on MakerWorld.
Before you start tweaking settings, ensure your printer is in optimal condition. This lays a solid foundation for accurate calibration.
- Clean your nozzle: A partially clogged nozzle can mimic under-extrusion. Perform a cold pull or a hot nozzle clean.
- Check for filament path obstructions: Ensure the filament can move freely from spool to hotend.
- Tighten belts and check for play: Loose belts or wobbly components can affect print quality, masking extrusion issues.
- Use a consistent filament: For calibration, use a fresh, known-good roll of filament. Avoid old, brittle, or wet filament.
- Gather your tools: You’ll need a ruler or digital caliper, a marker, a calculator, and access to your printer’s terminal (via OctoPrint, Pronterface, or the printer’s LCD).
- Heat up your hotend: Always perform extrusion tests with the hotend at your typical printing temperature for the chosen filament.
Step-by-step calibration guide
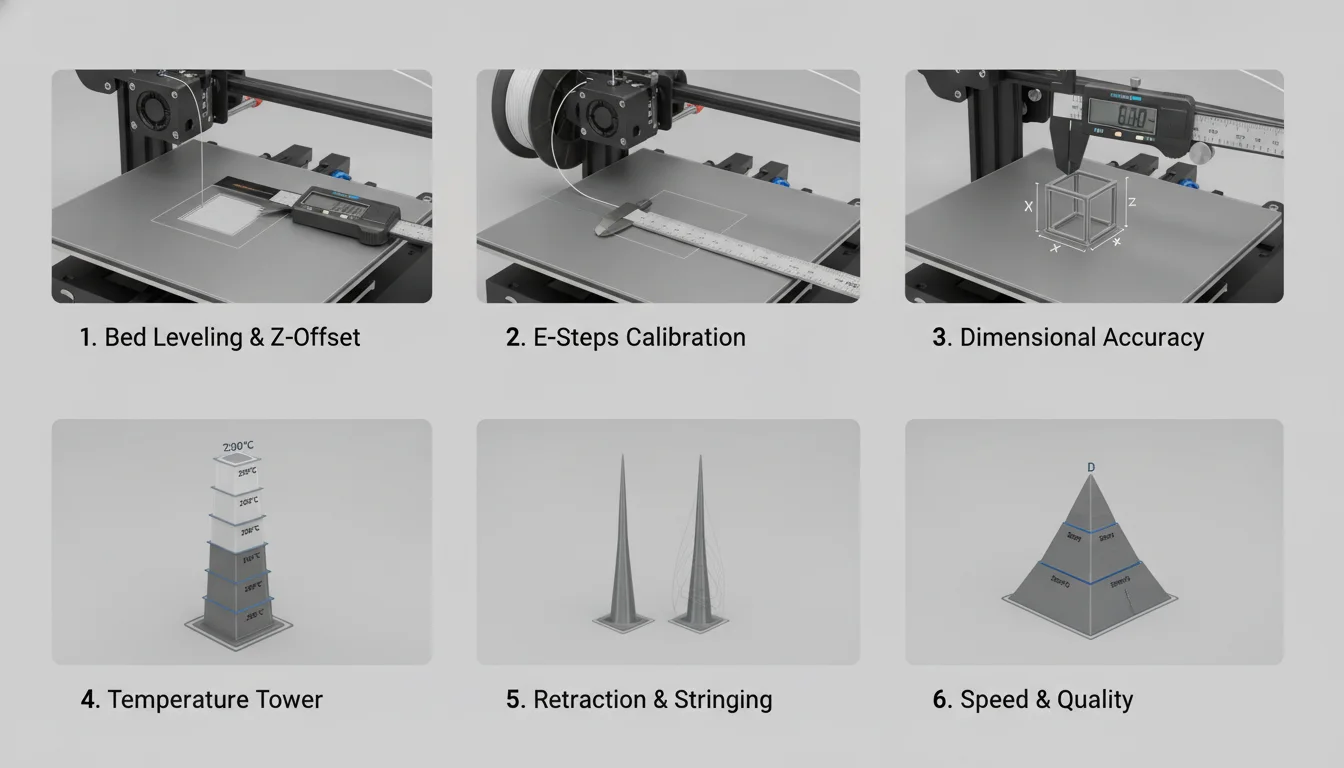
The calibration process should always begin with E-steps, as this establishes the mechanical accuracy of your extruder. Once E-steps are calibrated, you can fine-tune the material flow with the flow rate setting in your slicer.
Part 1: Calibrating E-steps (extruder steps per millimeter)
This calibration ensures your extruder motor pushes the exact amount of filament it’s commanded to.
- Record current E-steps:
- Connect your printer to a computer using a USB cable and open a terminal program (e.g., Pronterface, OctoPrint’s terminal).
- Send the command M503 to your printer. This will display its current configuration, including the E-steps value (often labeled as M92 Exxx.xx). Make a note of this number.
- Prepare for the test:
- Heat your hotend to your typical printing temperature for the filament you’re using.
- Ensure the nozzle is clear and free of clogs.
- Mark your filament: Measure 120mm from the point where the filament enters the extruder (or just before the extruder gear) and make a clear mark with a marker. This extra 20mm gives you room for error and ensures you’re measuring from a consistent point.
- Extrude a known length:
- Using your terminal, send the command G1 E100 F100. This tells your extruder to extrude 100mm of filament at a relatively slow speed (100 mm/minute).
- Wait for the extrusion to complete.
- Measure actual extruded length:
- Once the extrusion stops, measure the distance from the point where the filament enters the extruder to your mark.
- Subtract this measurement from your initial 120mm mark. For example, if your mark is now 25mm from the entry point, you extruded 120mm – 25mm = 95mm.
- Calculate new E-steps:
- Use the following formula: New E-steps = (Current E-steps * Desired Extrusion Length) / Actual Extrusion Length
- Using the example: New E-steps = (Current E-steps * 100) / 95
- Perform the calculation.
- Apply and save new E-steps:
- Send the command M92 E[NEW_E_STEPS] (replace [NEW_E_STEPS] with your calculated value).
- To save this setting permanently, send the command M500. This writes the new E-steps to your printer’s EEPROM.
- You can verify the change by sending M503 again.
- Verify the calibration:
- Repeat steps 2-4 (mark filament, extrude 100mm, measure).
- Ideally, your measurement should now be very close to 20mm (120mm initial mark – 100mm extruded = 20mm remaining). If it’s off by more than 1-2mm, repeat the calculation and adjustment.
Part 2: Calibrating flow rate (extrusion multiplier)
With your E-steps accurately set, the flow rate calibration fine-tunes the amount of plastic for specific filaments and print settings. This is adjusted in your slicer, not the printer’s firmware.
- Prepare a calibration print:
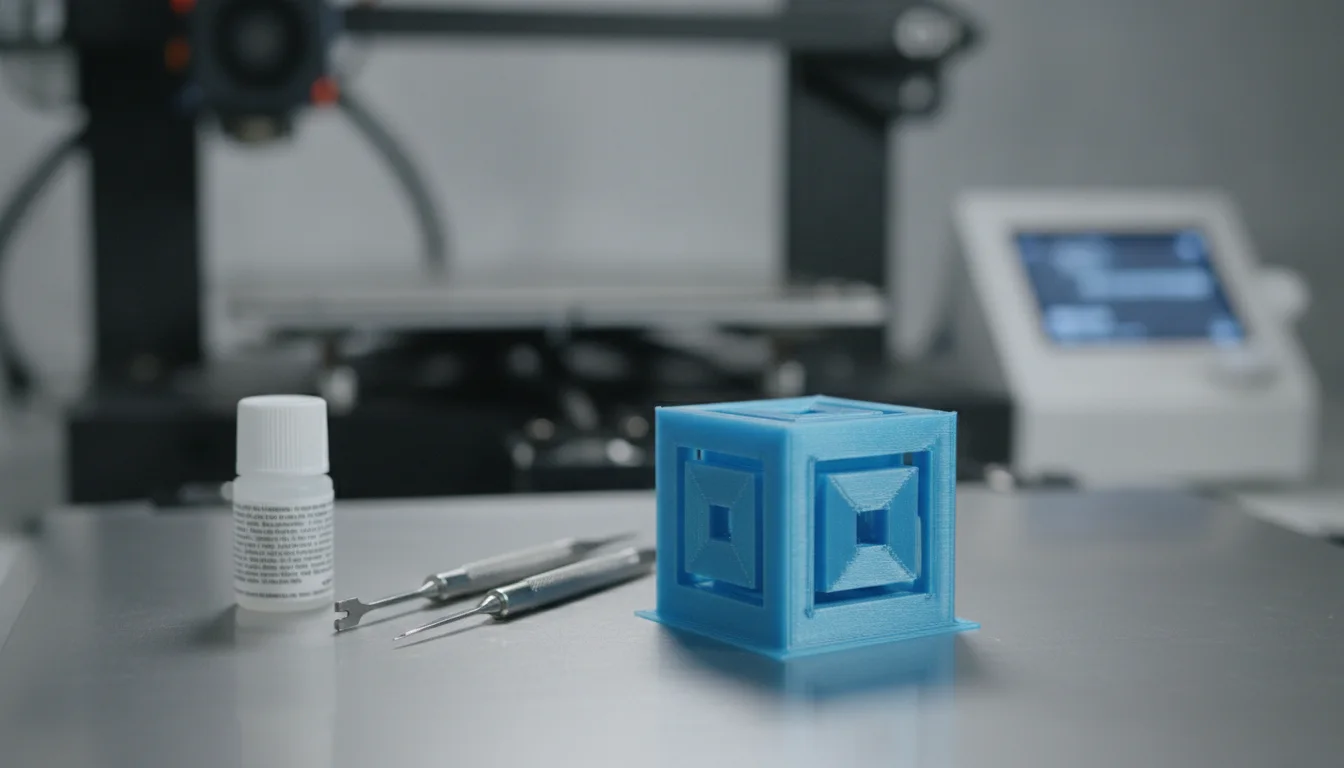
- In your slicer (Cura, PrusaSlicer, Simplify3D, etc.), create a simple, hollow 20x20x20mm cube model.
- Set the print settings for this cube:
- Wall line count: 1 or 2 (e.g., if your nozzle is 0.4mm, set 2 walls to get 0.8mm wall thickness).
- Top layers: 0
- Bottom layers: 0 or 1
- Infill: 0%
- Print speed: Use a moderate speed typical for your prints (e.g., 50-60 mm/s).
- Layer height: Use your standard layer height (e.g., 0.2mm).
- Initial flow rate: Set your slicer’s flow rate (or extrusion multiplier) to 100% (or 1.0).
- Slice and print this cube.
- Measure wall thickness:
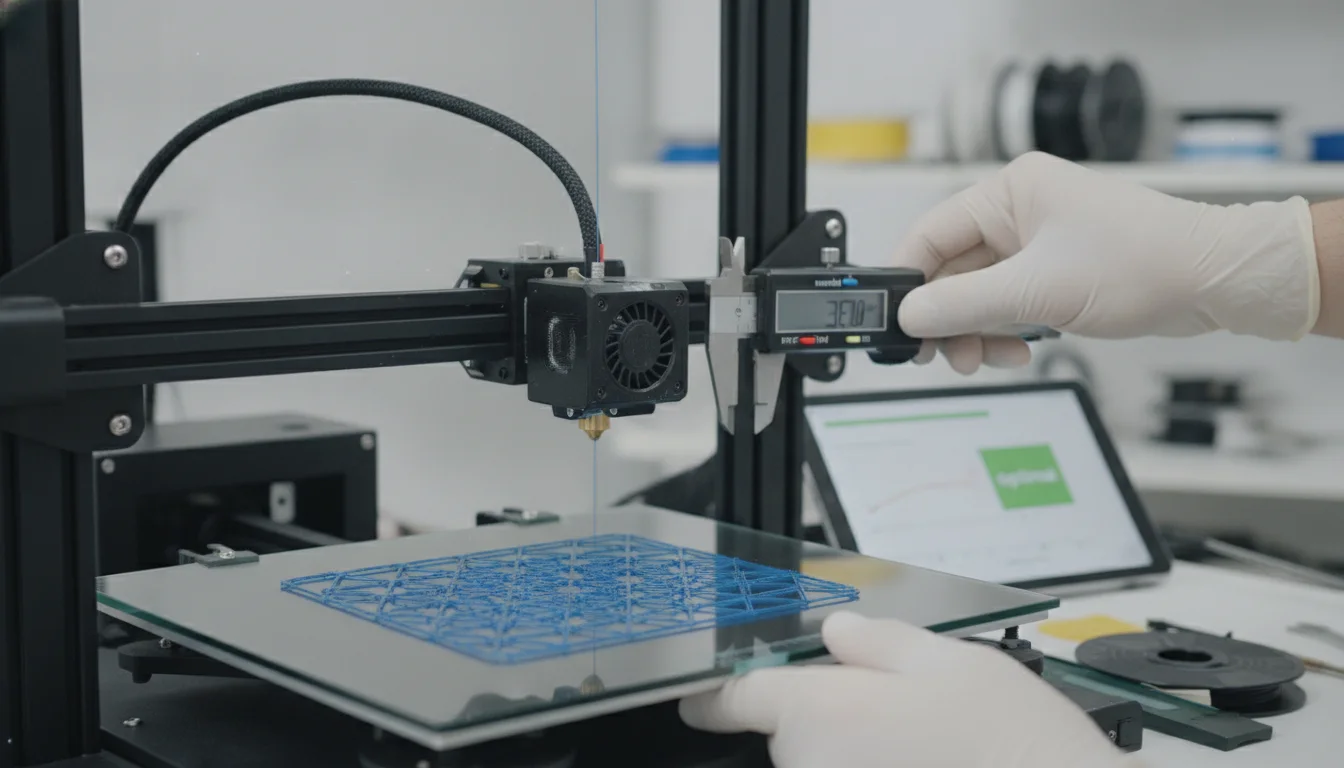
- Once the cube is printed and cooled, use your digital calipers to measure the thickness of the walls. Take several measurements at different points and average them.
- For a 0.4mm nozzle with 2 walls, your target thickness would be 0.8mm.
- Calculate new flow rate:
- Use the formula: New Flow Rate = (Current Flow Rate * Desired Wall Thickness) / Actual Wall Thickness
- Example: If your nozzle is 0.4mm and you printed with 2 walls (desired 0.8mm), but measured 0.85mm with a current flow rate of 100% (or 1.0): New Flow Rate = (1.0 * 0.8) / 0.85 = 0.941 (or 94.1%).
- If you measured 0.75mm: New Flow Rate = (1.0 * 0.8) / 0.75 = 1.066 (or 106.6%).
- Apply new flow rate in slicer:
- Go back to your slicer settings. Locate the “Flow” or “Extrusion Multiplier” setting (it’s usually under “Material” or “Extruder”).
- Enter your newly calculated percentage (e.g., 94.1%) or multiplier (e.g., 0.941).
- Print and verify:
- Print another calibration cube with the new flow rate.
- Measure the walls again. They should now be very close to your desired thickness.
- You may need to repeat this process once or twice, making small adjustments (e.g., 1-2%) until you achieve consistent and accurate wall thickness.
Advanced tip: Calibrating for different filaments
It’s important to remember that different filament brands and types (even different colors of the same brand) can have slightly varying densities and diameters. While your E-steps remain constant for your printer, you might find it beneficial to perform a flow rate calibration for each new spool or type of filament you use. Many slicers allow you to save specific flow rate settings as part of a filament profile, making it easy to switch between them.
Troubleshooting common issues after calibration
Even after E-steps and flow rate calibration, you might encounter residual issues. Here are a few things to check:
- Nozzle temperature: Too low a temperature can cause under-extrusion even with perfect calibration, as the plastic won’t melt consistently. Too high can lead to oozing and stringing.
- Print speed: Printing too fast can outpace your hotend’s ability to melt filament, leading to under-extrusion.
- Retraction settings: Incorrect retraction (distance and speed) can cause stringing or even partial clogs.
- Wet filament: Filament that has absorbed moisture can cause popping sounds during printing, leading to inconsistent extrusion and poor print quality. Dry your filament if suspected.
- Partially clogged nozzle: A persistent partial clog can manifest as under-extrusion.
- Bowden tube issues: If you have a Bowden setup, ensure the tube is securely seated and not experiencing any friction or gaps.
- Extruder wear: Over time, extruder gears can wear down, leading to inconsistent filament gripping.
Maintaining optimal print quality
Calibration isn’t a one-time event; it’s an ongoing commitment to maintaining your printer. Regular checks, especially when changing filament types or noticing a dip in print quality, will keep your machine running smoothly. Pay attention to your printer’s behavior and the visual cues of your prints. A well-calibrated machine is a joy to operate, consistently delivering the results you expect.
Conclusion
Eliminating under-extrusion and over-extrusion is a cornerstone of achieving professional-grade 3D prints. By systematically calibrating your E-steps to ensure mechanical accuracy and then fine-tuning your flow rate for material-specific consistency, you gain precise control over how much plastic your printer lays down. This step-by-step approach not only resolves common print quality issues but also deepens your understanding of your 3D printer’s mechanics and material science. Embrace this calibration process, and you’ll be well on your way to perfecting your 3D printing flow, yielding stronger, more accurate, and visually stunning creations.
Frequently asked questions
Do I need to recalibrate E-steps every time I switch filament brands or colors?
No. E-steps are a mechanical calibration for your extruder and should remain constant once set correctly. You only need to adjust the flow rate (extrusion multiplier) in your slicer when switching between different filament types, brands, or even colors, as these can have slightly different densities and diameters.
Can I skip E-step calibration and just adjust the flow rate in my slicer?
No. You must calibrate E-steps first because they correct the physical accuracy of your extruder motor. If your E-steps are off, your printer will feed the wrong amount of filament regardless of what flow percentage you set. Adjusting flow rate alone would only mask the mechanical error, leading to inconsistent results across different prints and filaments.
What should I do if my wall thickness measurements are inconsistent across the same print after calibration?
Inconsistent wall thickness usually points to a mechanical issue rather than a calibration problem. Check for a partially clogged nozzle, loose or worn extruder gears that slip on the filament, a loose drive gear grub screw, or a Bowden tube that isn’t seated properly against the nozzle. These issues cause erratic extrusion that a simple flow rate adjustment cannot fix.