Achieving truly seamless and strong bonds between 3D printed parts can often feel like chasing a mirage. While mechanical fasteners or glues offer solutions, they frequently leave visible lines or compromise the structural integrity and aesthetic continuity of your prints. This is where the magic of ABS solvent welding and ASA solvent welding comes into play, offering a method to create bonds that are not just robust but virtually invisible, making your multi-part prints appear as if they were a single, monolithic object straight off the print bed.
Solvent welding isn't merely gluing; it's a process of chemical bonding where a solvent temporarily dissolves the surface layers of the plastic, allowing them to fuse together at a molecular level. As the solvent evaporates, the plastic re-solidifies, creating a homogeneous bond that is often stronger than the original material itself. This technique is particularly effective for ABS (Acrylonitrile Butadiene Styrene) and ASA (Acrylonitrile Styrene Acrylate) filaments due to their chemical composition, which readily reacts with common solvents like acetone or MEK (Methyl Ethyl Ketone).
This comprehensive guide will walk you through the intricacies of mastering solvent welding for ABS and ASA 3D prints, from selecting the right solvent and preparing your parts to executing the weld and achieving those coveted invisible 3D print seams. Prepare to elevate your post-processing game and unlock new possibilities for your larger or multi-component projects.
Essential materials and tools for solvent welding

Before diving into the welding process, gathering the correct materials and tools is paramount. Safety should always be your top priority, so ensure you have the necessary protective gear.
- Solvent:
- Acetone: Readily available and highly effective for ABS. It also works for ASA, though some prefer stronger solvents for ASA. Ensure it's pure acetone, not nail polish remover with additives.
- MEK (Methyl Ethyl Ketone): A stronger solvent than acetone, often preferred for ASA or when a faster, more aggressive bond is needed for ABS. Handle with extra caution due to its higher toxicity.
- ABS/ASA Cement (specialized): These are often a blend of solvent and dissolved plastic (ABS or ASA). They offer a thicker consistency, which can fill small gaps and provide a more controlled application, reducing solvent run-off.
- Applicators:
- Small brush: Fine-tipped brushes (e.g., artist's brushes) are ideal for precise application along seams.
- Syringe with fine needle: Excellent for applying a very thin, controlled bead of solvent into tight crevices or along intricate seams.
- Cotton swabs/Q-tips: Useful for larger areas or for cleaning up excess solvent.
- Safety Gear:
- Chemical-resistant gloves: Nitrile or butyl gloves are essential to protect your skin from direct contact with solvents.
- Safety glasses/goggles: Protect your eyes from splashes or fumes.
- Respirator with organic vapor cartridges: Crucial for protecting your respiratory system, especially when working with MEK or in poorly ventilated areas.
- Clamping/Holding Tools:
- Clamps: C-clamps, spring clamps, or even binder clips can apply constant pressure during the curing process.
- Masking tape/painter's tape: Can hold parts temporarily in place before clamping or for gentle pressure.
- Weights: For flat parts, weights can provide even pressure.
- Work Surface Protection:
- Disposable mat or aluminum foil: Solvents can damage many surfaces, so protect your workbench.
- Cleaning Supplies:
- Isopropyl alcohol (IPA): For cleaning parts before welding.
- Lint-free cloths: For cleaning.
Safety first: handling solvents responsibly

Working with solvents requires a serious approach to safety. These chemicals can be hazardous if not handled correctly.
- Ventilation is key: Always work in a well-ventilated area, preferably outdoors or under a fume hood. If neither is available, ensure windows are open and a fan is drawing fumes away from you.
- Personal protective equipment (PPE): As mentioned, wear chemical-resistant gloves, safety glasses, and a respirator. Never skip these steps.
- Fire hazard: Acetone and MEK are highly flammable. Keep them away from open flames, sparks, heat sources, and electrical equipment that could spark. Do not smoke while working with these solvents.
- Storage: Store solvents in their original, tightly sealed containers in a cool, dry place, away from direct sunlight and out of reach of children and pets.
- Disposal: Dispose of solvent-soaked rags or excess solvent according to local regulations. Do not pour them down the drain.
- First aid: Familiarize yourself with the first aid instructions for your specific solvent. In case of skin contact, wash thoroughly with soap and water. If inhaled, move to fresh air. If ingested or splashed in eyes, seek immediate medical attention.
Step-by-step guide to mastering ABS and ASA solvent welding

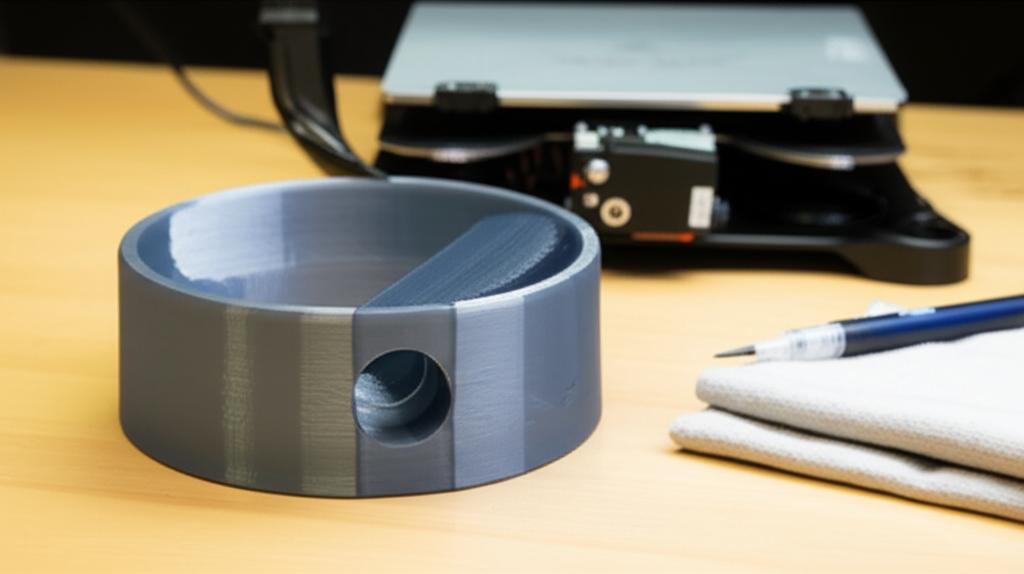
Explore the
Snapmaker U1
1. Part preparation: the foundation of a strong bond
The success of your solvent weld hinges significantly on how well you prepare your 3D printed parts.
- Cleaning: Ensure your parts are impeccably clean. Any dust, grease, fingerprints, or residual printing oils will hinder the chemical bonding process. Use isopropyl alcohol (IPA) and a lint-free cloth to thoroughly clean all bonding surfaces. Allow the IPA to evaporate completely before proceeding.
- Fitting and alignment: Dry-fit your parts to ensure they align perfectly. Gaps will significantly weaken the bond and make achieving invisible 3D print seams challenging. If there are minor imperfections or elephants' foot, carefully sand them down with fine-grit sandpaper (e.g., 400-600 grit) to create flat, flush surfaces. The tighter the fit, the stronger and less visible the final seam will be.
- Surface roughening (optional but recommended): For extremely smooth surfaces, a light scuffing with very fine sandpaper can create microscopic channels for the solvent to penetrate, improving adhesion. However, be careful not to create visible scratches.
2. Choosing the right solvent for your material and application
The choice of solvent is critical and depends on your material (ABS or ASA) and desired working time.
- For ABS: Acetone is generally the go-to. It works quickly and effectively. For a slightly slower, more controlled bond or to fill minor gaps, a specialized ABS cement (which contains dissolved ABS in acetone or MEK) can be beneficial.
- For ASA: While acetone can work, MEK often provides a more aggressive and reliable bond for ASA, which can be slightly more resistant to solvents than ABS. Again, specialized ASA cements are also available.
- Consider the application:
- Thin, precise seams: Pure acetone or MEK applied with a syringe or fine brush.
- Gap filling/stronger bond: Specialized ABS/ASA cement.
- Surface smoothing (related but distinct): For overall surface finish, acetone smoothing (vapor smoothing) is a different technique, but the solvent principle is the same. For seam blending, a small amount of solvent can be applied with a cotton swab to feather out the seam.
3. Applying the solvent: precision is key
This step requires a steady hand and careful attention to detail.
- Prepare your workspace: Ensure all safety precautions are in place (ventilation, PPE). Have your parts ready and your clamps within reach.
- Apply the solvent:
- For butt joints/flat surfaces: Apply a thin, even layer of solvent to one of the bonding surfaces. You want just enough to make the surface tacky and slightly glossy, but not so much that it drips excessively or creates puddles.
- For intricate joints/tight seams: Use a syringe with a fine needle to precisely deposit a small bead of solvent along the joint line after the parts have been brought together. This "capillary action" method draws the solvent into the seam.
- For larger areas: A small brush or cotton swab can be used. Dip sparingly and apply quickly.
- Act quickly: Solvents evaporate rapidly. Once applied, immediately bring the parts together.
4. Clamping and curing: the waiting game
Once the solvent is applied and parts are joined, proper clamping is crucial for a strong, seamless bond.
- Apply pressure: Immediately clamp the parts together, applying firm, even pressure across the entire joint. The goal is to squeeze out any excess solvent and ensure intimate contact between the dissolved plastic surfaces. Avoid excessive pressure that could deform the parts.
- Wipe excess: Gently wipe away any excess solvent that squeezes out of the seam with a clean, lint-free cloth or cotton swab. Be careful not to spread it onto surrounding areas, as it can mar the surface finish.
- Curing time: This is where patience pays off.
- Initial bond: A strong initial bond will form within minutes to an hour, allowing you to remove clamps.
- Full strength: For the bond to reach its maximum strength and for all solvent to fully evaporate, allow at least 24-48 hours. For critical parts, even longer (up to a week) is advisable. Rushing this step can result in a weaker bond or ghosting/warping over time.
5. Post-processing for truly invisible seams
Even with a perfect weld, some finishing might be necessary to achieve that coveted seamless look.
- Sanding: Once fully cured, any slight ridge or imperfection along the seam can be carefully sanded down. Start with a medium grit (e.g., 320-400) and progressively move to finer grits (600, 800, 1000+) for a smooth finish. Wet sanding can help reduce dust and achieve a finer polish.
- Seam blending: For minor surface imperfections or to truly make the seam disappear, a very light application of solvent with a cotton swab can be used to locally melt and blend the surface. This is a delicate process, as too much solvent will mar the surface. Alternatively, a small amount of dissolved ABS/ASA (made by dissolving filament scraps in acetone/MEK to create a paste) can be used as a filler for tiny gaps, then sanded smooth.
- Overall surface finish: If desired, the entire print can then undergo acetone smoothing (vapor smoothing) for ABS or similar solvent-based smoothing for ASA to achieve a uniform, glossy, and truly seamless appearance. This step is distinct from solvent welding itself but can perfectly complement it for a professional finish.
Tips for success and troubleshooting common issues
- Practice makes perfect: Start with scrap pieces to get a feel for the solvent, application technique, and curing times before tackling your final print.
- Less is often more: Use the minimum amount of solvent necessary. Excessive solvent can weaken the plastic, cause warping, or leave unsightly marks.
- Temperature and humidity: These factors can affect solvent evaporation rates. Higher temperatures and lower humidity will speed up evaporation, requiring quicker work.
- Consider pre-dissolved plastic: For larger gaps or to create a thicker "glue," dissolve some scrap ABS or ASA filament in acetone or MEK to create a slurry or paste. This can be applied to the joint, providing both filler and solvent. This is essentially what commercial ABS/ASA cements are.
- Dealing with warping: If parts warp during clamping or curing, it might be due to uneven pressure, excessive solvent, or insufficient curing time. Ensure even pressure and allow ample time for the solvent to fully evaporate and the plastic to re-solidify.
- Weak bonds: A weak bond often points to insufficient cleaning, poor part fit, or not enough clamping pressure during the initial bonding phase. Re-evaluate your preparation steps.
- Ghosting/discoloration: This can occur from uneven solvent application, solvent pooling, or not wiping away excess solvent promptly. Practice precise application.
Conclusion: unlocking superior print aesthetics and strength
Mastering ABS solvent welding and ASA solvent welding is a transformative skill for any 3D printing enthusiast or professional. By understanding the principles of chemical bonding and diligently following the steps outlined, you can transcend the limitations of traditional adhesives and achieve connections that are not only structurally superior but also aesthetically integrated. The ability to create truly invisible 3D print seams opens up a world of possibilities for producing larger, more complex, and visually stunning prints that defy their multi-part origins. With careful preparation, precise application, and a healthy dose of patience, you'll be creating professional-grade assemblies that stand the test of time and scrutiny.
