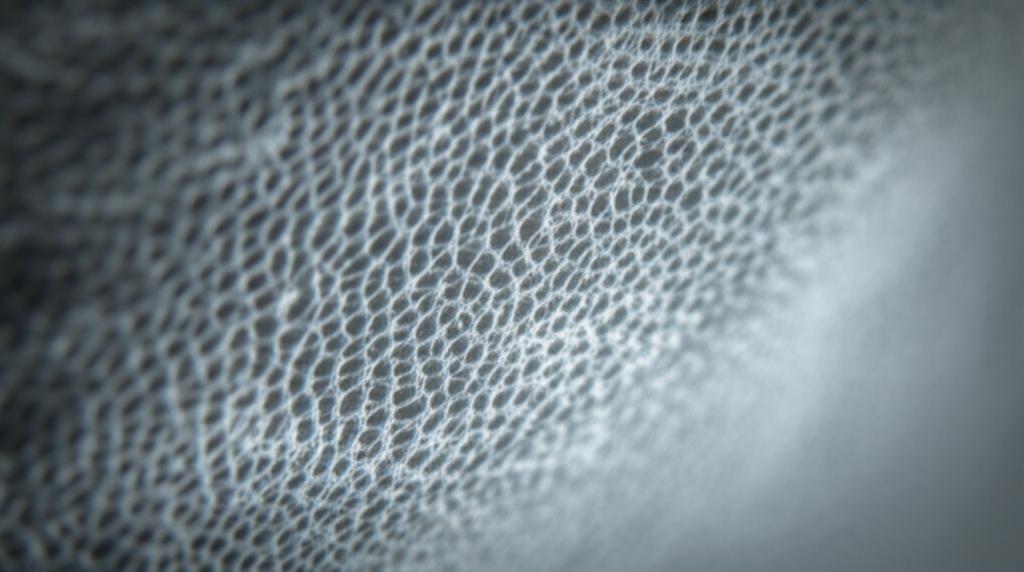
Stepping into the realm of advanced ZBrush sculpting is like unlocking a new dimension of artistic expression. While the basics lay a solid foundation, truly bringing creatures to life in a hyper-realistic fashion demands a deeper dive into techniques that go beyond simple form-making. This guide will walk you through the essential steps and thought processes behind crafting organic digital sculptures that truly stand out, focusing on realistic creature modeling, high-frequency detailing, and the nuanced art of skin pore creation.
Before we embark on this journey, it’s assumed you have a fundamental understanding of ZBrush’s interface, navigation, and core brushes. This tutorial isn't about teaching you where the 'Move' brush is, but rather how to wield it with purpose and precision.
Establishing the foundation: primary and secondary forms
Every great sculpture, digital or traditional, begins with a robust foundation. In ZBrush, this translates to carefully establishing your primary and secondary forms. Skimping on this stage will inevitably lead to a flimsy final product, no matter how much intricate detail you pile on later.
Blocking out primary forms and silhouette
- Start broad: Begin with a Dynamesh sphere or a basic base mesh. Your initial goal is to capture the overall mass, silhouette, and proportions of your creature. Think big shapes, not tiny details.
- Key brushes: The Clay Buildup brush is your workhorse here, great for adding and subtracting mass quickly. Combine it with the Move brush for pushing and pulling the silhouette until it feels right. The Standard brush can help define major planes.
- Reference is king: Always work with strong anatomical references. Whether it's animal anatomy, human anatomy, or a blend for a fantastical creature, understanding underlying bone and muscle structures is paramount for believable forms.
Refining secondary forms and major planes
Once your primary forms are locked in, it's time to refine the secondary details. These are the larger muscle groups, fat pads, major wrinkles, and tendon definitions that give your creature its character and underlying structure.
- Subdivision levels: Increase your subdivision levels gradually. This allows you to add more detail without sacrificing the integrity of your lower-res forms.
- Brush choice: Continue using Clay Buildup for adding volume, but introduce Dam_Standard for carving in creases and defining muscle separations. The Inflate brush can be useful for subtle swelling of muscles.
- Observe and analyze: Pay close attention to how muscles attach and overlap. Look at the flow of forms and how they interact under tension or relaxation. This is where your anatomical knowledge truly shines.
Crafting organic flow and anatomy
Organic forms are rarely rigid; they possess a natural flow and rhythm. Achieving this requires a keen eye for anatomy and a nuanced approach to sculpting transitions.
Understanding anatomy and natural transitions
Even for fantastical creatures, grounding your design in believable anatomy makes it more convincing. A creature with strong, well-defined muscles will feel powerful, while one with soft, flowing forms might appear more graceful or adipose.
- Study real-world examples: Don't just look at other artists' work; study photographs and videos of real animals. Observe skin elasticity, muscle flex, and how different tissues compress and stretch.
- Smooth transitions: Avoid harsh, abrupt changes in form. Use the Smooth brush sparingly and intelligently to soften areas and create natural blending between muscle groups and bone structures. Think of it as polishing, not erasing.
- Sculpting folds and creases: These aren't just random lines; they follow anatomical logic. Use Dam_Standard to define them, then subtly soften their edges with the Smooth brush or add subtle bulges around them with Clay Buildup to make them feel organic.
The art of high-frequency detailing
This is where realism truly takes hold. High-frequency detailing refers to the minute surface imperfections, textures, and patterns that give skin, scales, or fur its tactile quality. Without these, even the most perfectly sculpted forms will look like smooth plastic.
What is high-frequency detailing?
It encompasses everything from tiny skin pores, fine wrinkles, and subtle scars to the intricate patterns of scales, the texture of fur, or the subtle veins beneath the surface. These details are often invisible from a distance but become crucial up close.
Leveraging subdivision levels and custom alphas
- High subdivision levels: You'll need to push your subdivision levels quite high (often 5-7 or more) to capture these microscopic details effectively. Ensure your system can handle the polycount.
- Custom alphas: While ZBrush offers excellent default alphas, creating or acquiring custom alphas for specific skin pores, scales, or leathery textures is a game-changer. These grayscale images, applied with brushes, allow for rapid and consistent detailing.
- Surface noise: ZBrush's Surface Noise feature (found under the 'Tool > Surface' palette) is invaluable for quickly applying procedural textures like fine pores, subtle bumps, or even scale patterns across large areas. You can mask areas to apply different noise patterns, giving incredible control.
Mastering skin pore creation: a dedicated tutorial

Skin pores are perhaps the most challenging yet rewarding high-frequency detail to master. They instantly elevate your creature from digital model to living, breathing entity.
Method 1: Alpha-based sculpting for targeted pores
This method offers precise control over pore placement and density.
- Prepare your alpha: Find or create a seamless grayscale alpha of skin pores. Ensure it's high-resolution and has good contrast.
- Select your brush: The Standard brush with its 'DragRect' stroke is excellent for this. Load your skin pore alpha into the brush.
- Set brush intensity: Start with a low Z Intensity (e.g., 5-15) to avoid overly deep or uniform pores. You want subtlety.
- Apply with variation: Drag the brush across the surface. Crucially, vary the size of your drag strokes and the intensity. Don't just stamp uniformly. Rotate your alpha occasionally, or use different pore alphas, to break up repetition.
- Combine with Dam_Standard: Use a very light Dam_Standard brush to subtly enhance some pore edges or carve in tiny, irregular wrinkles around them, mimicking natural skin tension.
Method 2: Surface noise for organic, widespread pores
For more organic, widespread pore coverage, especially on areas like the back or limbs, Surface Noise is incredibly efficient.
- Masking: Mask off the areas where you want to apply pores. This allows for targeted application.
- Apply noise: Go to 'Tool > Surface > Noise'. Click 'NoisePlugIn' and select 'Alpha' or 'NoiseMaker' depending on your desired effect. If using an alpha, load your skin pore alpha.
- Adjust parameters: Experiment with 'Noise Scale' to control the size of the pores and 'Strength' to control their depth. The 'Mix Basic Noise' slider can add procedural variation.
- Apply to mesh: Once satisfied, click 'Apply to Mesh'. You can then subtly smooth areas or add more targeted details on top.
Method 3: Layered detailing and combining techniques
The most realistic results often come from combining methods and layering details.
- Start with broad noise: Use Surface Noise for a base layer of subtle, widespread pores.
- Add targeted details: On top of that, use alpha-based sculpting with the Standard brush to add more prominent pores in areas like the nose, forehead, or around the eyes.
- Introduce imperfections: Use the Dam_Standard brush (very lightly) to sculpt tiny veins, subtle scars, or small skin irregularities. The Inflate brush can create subtle bumps or raised areas.
- Polypaint for realism: Don't forget that subtle color variations (redness, mottling, subsurface scattering) can greatly enhance the realism of your skin pores. Use Polypaint with very low intensity and soft brushes to add these nuances.
Adding the final touches: polish and presentation
The final stage is about refining, polishing, and ensuring your creature is ready for its intended purpose.
Refining edges and softening transitions
Even with high-frequency details, sharp edges or abrupt transitions can break the illusion of realism. Go over your model, paying attention to areas where different forms meet. Use the Smooth brush with a low intensity to subtly blend and soften, ensuring a natural flow.
Addressing symmetry and asymmetry
While often starting with symmetry, real creatures are inherently asymmetrical. Introduce subtle variations by turning off symmetry (X key) and making small, organic adjustments. Slightly vary eye shapes, ear positions, or muscle bulges to break the perfect mirroring.
Baking details and presentation
If your creature is destined for a game engine or animation, you'll need to bake your high-resolution details onto a lower-polygon mesh. This process captures all that intricate sculpting as texture maps (normal maps, displacement maps), making your model performant. Finally, consider a good render setup within ZBrush (using BPR) or exporting to another renderer to showcase your hard work with proper lighting and materials.
Mastering advanced ZBrush sculpting is a journey of continuous learning and practice. It demands patience, a keen eye for detail, and a deep appreciation for anatomy and organic forms. By diligently applying these advanced techniques for realistic creature modeling, high-frequency detailing, and especially skin pore creation, you'll be well on your way to crafting digital creatures that truly captivate and convince.


