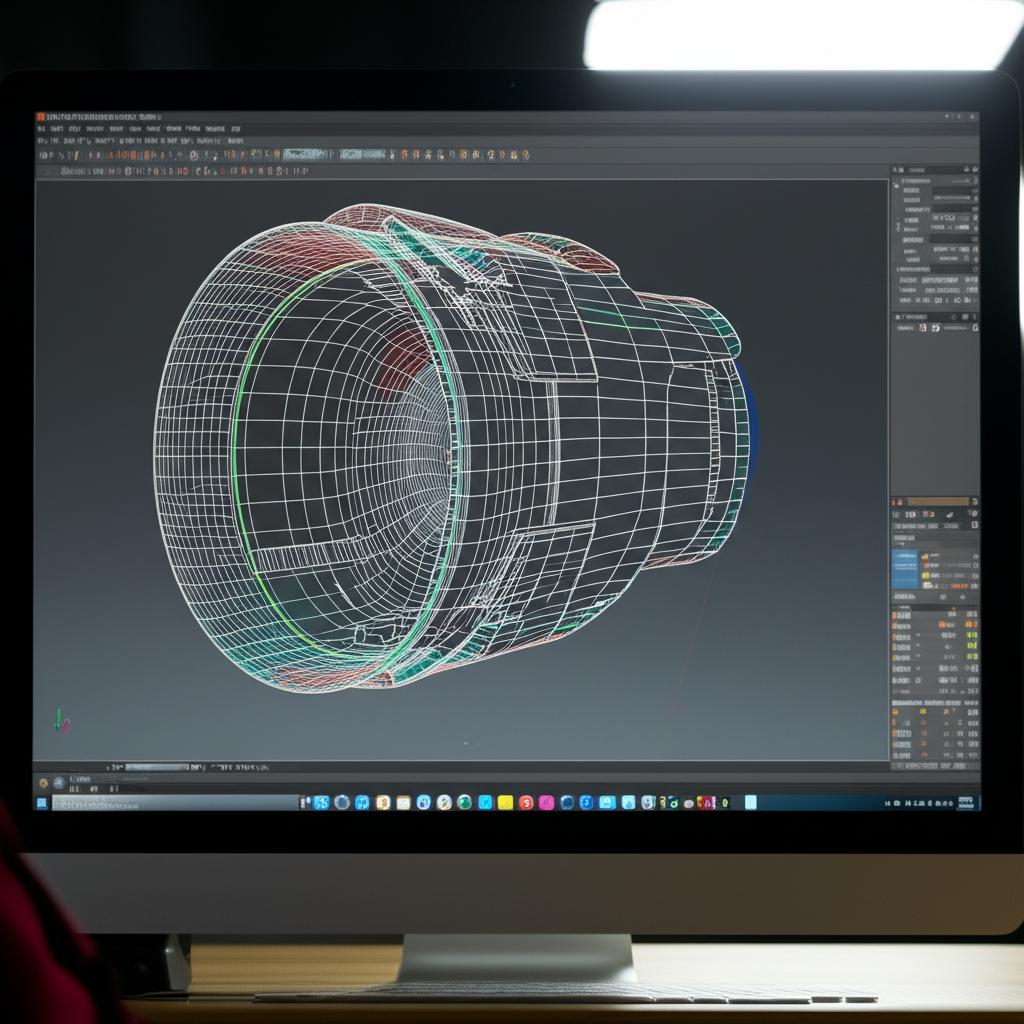
In the realm of 3D modeling, precision and flexibility are paramount, especially when tackling intricate hard-surface designs. Traditional boolean operations, while fundamental, often lead to messy topology, requiring extensive cleanup and limiting iterative changes. This is where Modo's MeshFusion steps in, revolutionizing the way artists approach complex geometry. Designed as a non-destructive modeling toolkit, MeshFusion empowers users to create seamless, watertight meshes from intersecting objects, offering an unparalleled level of control and iteration. It effectively bridges the gap between polygonal modeling and CAD modeling software, providing a robust solution for advanced 3D techniques.
This comprehensive guide will walk you through the essentials of Modo MeshFusion, from understanding its core concepts to applying advanced techniques for crafting sophisticated hard-surface models. By the end of this tutorial, you'll be well-equipped to leverage MeshFusion's power, transforming your workflow and design capabilities.
Understanding the core concepts of MeshFusion

Explore the
Snapmaker U1
Before diving into the practical steps, it's crucial to grasp the foundational principles that make MeshFusion so effective. At its heart, MeshFusion is about combining and subtracting meshes in a non-destructive manner, generating a new, clean mesh on the fly. This means you can adjust your source geometry at any point without having to re-do your entire boolean operation.
Key components:
- Primary Meshes: These are your foundational shapes. Think of them as the main body of your object.
- Trim Meshes: These are the shapes you use to cut into or add to your primary meshes. They define the details and intricate features.
- Strip Items: MeshFusion automatically generates 'strips' – the transitional geometry – where primary and trim meshes intersect. These strips are crucial for creating smooth, rounded edges and can be extensively customized.
- Fusion Item: This is the container for all your MeshFusion operations. It holds your primary and trim meshes, manages their relationships, and generates the final fused mesh.
- Non-Destructive Workflow: Unlike traditional booleans, MeshFusion keeps your source geometry intact. You can modify, move, scale, or even replace primary and trim meshes at any time, and the Fusion Item will update instantly.
Setting up your MeshFusion scene
To begin, ensure you have Modo installed and are familiar with its basic interface. We'll start with a simple setup to demonstrate the core functionality.
- Create your primary mesh: Start by creating a basic shape that will serve as your primary object. For this example, let's create a simple cube. Go to the 'Basic' tab, select 'Cube', and draw one in your viewport. Make sure it's selected in the 'Items' list.
- Add a trim mesh: Now, create another primitive that will act as a trim. A cylinder or a sphere works well for initial experiments. Place it so it intersects with your cube. For instance, create a cylinder and position it partially inside the cube.
- Activate MeshFusion: With both items in your scene, navigate to the 'Fusion' tab in Modo's layout. This tab provides all the necessary tools for MeshFusion operations.
- Create a new Fusion Item: Select your primary mesh (the cube). In the 'Fusion' tab, click the 'New Fusion' button. This will convert your selected mesh into a primary source for a new Fusion Item. You'll notice a new 'Fusion Item' appears in your 'Items' list, containing your cube.
Performing your first Fusion operation
With your Fusion Item set up, it's time to introduce the trim mesh and see MeshFusion in action.
- Select the trim mesh: In your 'Items' list, select the cylinder you created earlier.
- Apply the trim operation: While the trim mesh is selected, and with the Fusion Item active in the 'Items' list, go to the 'Fusion' tab. Under 'Add to Fusion', you'll see various operation types. For a simple cut, choose 'Subtract'. Click it.
- Observe the result: Instantly, you'll see the cylinder cut a hole into the cube, but with perfectly smooth, rounded edges where they intersect. This is the magic of MeshFusion!
Customizing strips and mesh properties

The beauty of MeshFusion lies in its ability to customize the transitional geometry – the strips – which define the quality and appearance of your intersections.
Adjusting strip properties:
- Select the strip: In the 'Items' list, expand your Fusion Item. You'll see the primary and trim sources, and also 'Strip Items'. Select one of the strip items (e.g., 'Cylinder_Strip').
- Modify strip width: In the 'Properties' panel, under the 'Fusion Strip' section, you'll find 'Strip Width'. Adjusting this value will make the rounded edge wider or narrower.
- Change strip profile: 'Strip Profile' allows you to change the shape of the rounded edge. Experiment with options like 'Round', 'Crease', or 'Flat' to see how they affect the geometry.
- Control resolution: 'Strip Density' controls the number of polygons used to generate the strip. Higher density results in smoother curves but increases polygon count.
Modifying source meshes:
Remember, MeshFusion is non-destructive. You can still modify your original primary and trim meshes:
- Transforming meshes: Select your original cube or cylinder item. Use Modo's transform tools (move, rotate, scale) to adjust their position, orientation, or size. The Fusion Item will update in real-time, showing the new intersection.
- Editing geometry: Go into component mode (vertices, edges, polygons) for your original cube or cylinder. Make changes to their shape. The Fusion Item will dynamically reflect these changes, allowing for extensive iterative design. This flexibility is a game-changer for hard surface modeling, often making it feel more like working with CAD modeling software.
Advanced MeshFusion techniques
Once you're comfortable with the basics, you can start exploring more complex operations.
Stacking operations:
MeshFusion truly shines when combining multiple trim operations. You can layer cuts and additions to build incredibly intricate forms.
- Add another trim: Create a new primitive, say a sphere, and position it to intersect with your existing fused object.
- Apply another operation: Select the sphere, and in the 'Fusion' tab, choose 'Subtract' (or 'Add' for combining shapes). The sphere will now cut into the previously fused object, creating a new, complex intersection.
- Mix operations: You're not limited to just subtraction. You can use 'Add' to merge shapes, 'Intersect' to keep only the overlapping volume, and 'Trim' to create a new object from the intersection.
Managing complex hierarchies:
As your designs grow more complex, your Fusion Item can contain many source meshes. Modo provides tools to manage this:
- Fusion Tree: In the 'Fusion' tab, the 'Fusion Tree' panel provides a visual representation of your operations. You can drag and drop sources to reorder them, change their operation type, or even temporarily disable them.
- Groups: Organize related primary and trim meshes into groups within the Fusion Tree for better management.
- Sub-Fusions: For extremely complex models, you can create 'Sub-Fusions' where one Fusion Item acts as a source for another. This allows for modular design and better performance.
Working with curves and text:
MeshFusion isn't limited to primitive shapes. You can convert curves and text into meshes and use them as trims for intricate detailing, logos, or engravings.
- Create a curve or text: Use Modo's curve tools or the 'Text' primitive to create your desired shape.
- Convert to mesh: Right-click on the curve or text item in the 'Items' list and choose 'Convert to Mesh'.
- Use as a trim: Now, this converted mesh can be used as a trim source in your Fusion Item, allowing for highly detailed and precise cuts.
Tips for clean topology and optimization
While MeshFusion handles much of the topology generation, understanding a few best practices can help you achieve even cleaner results and optimize performance.
- Start with clean geometry: The quality of your source meshes directly impacts the quality of the fused output. Use well-modeled, manifold (watertight) geometry for your primaries and trims. Avoid open edges or non-planar polygons in your source meshes.
- Simplify where possible: While MeshFusion is robust, using overly complex source meshes for simple operations can lead to unnecessary polygon counts. Simplify your source geometry when detail isn't required.
- Bake out your fusion: Once you are satisfied with your design, you can 'bake' the Fusion Item into a standard polygonal mesh. This creates a static, editable mesh that can be exported or further refined using traditional modeling tools. To do this, select the Fusion Item, and in the 'Fusion' tab, click 'Convert to Mesh'. You can choose to convert to 'Quads' or 'Triangles'.
- Utilize 'Strip Round Level': This setting, found in the strip properties, controls the number of segments used to round the edges. Adjusting this can help balance visual smoothness with polygon count.
- Consider 'Fusion SubDiv Level': For the overall Fusion Item, this setting in the 'Properties' panel affects the global resolution of the generated mesh. Increase it for smoother results, decrease it for better performance during design iterations.
Conclusion

Modo's MeshFusion is a truly powerful tool that transforms the landscape of hard-surface modeling. Its non-destructive workflow offers unparalleled flexibility, allowing designers to iterate rapidly and experiment with complex forms without fear of irreversible changes. By mastering its core concepts, from primary and trim meshes to customizable strips and advanced stacking operations, you gain a significant advantage in creating high-quality, intricate 3D models. Whether you're designing product prototypes, architectural elements, or intricate mechanical components, MeshFusion provides a robust and intuitive solution, bridging the gap between traditional polygonal modeling and the precision of CAD modeling software. Embrace this advanced 3D technique, and unlock a new level of creative freedom in your modeling endeavors.
