Warping in 3D printing is a persistent and frustrating issue that can derail even the most meticulously designed prints. It occurs when the printed material cools unevenly, causing internal stresses that pull the edges of the print upwards, away from the build plate. This phenomenon is primarily driven by thermal expansion and contraction: as the hot filament cools, it shrinks. If the shrinkage is uneven or if the part’s adhesion to the build plate isn’t strong enough to resist these forces, warping takes hold. Understanding the root causes is the first step toward implementing effective strategies to prevent warping, ensuring your prints remain flat and true to form.
Understanding the physics of warping
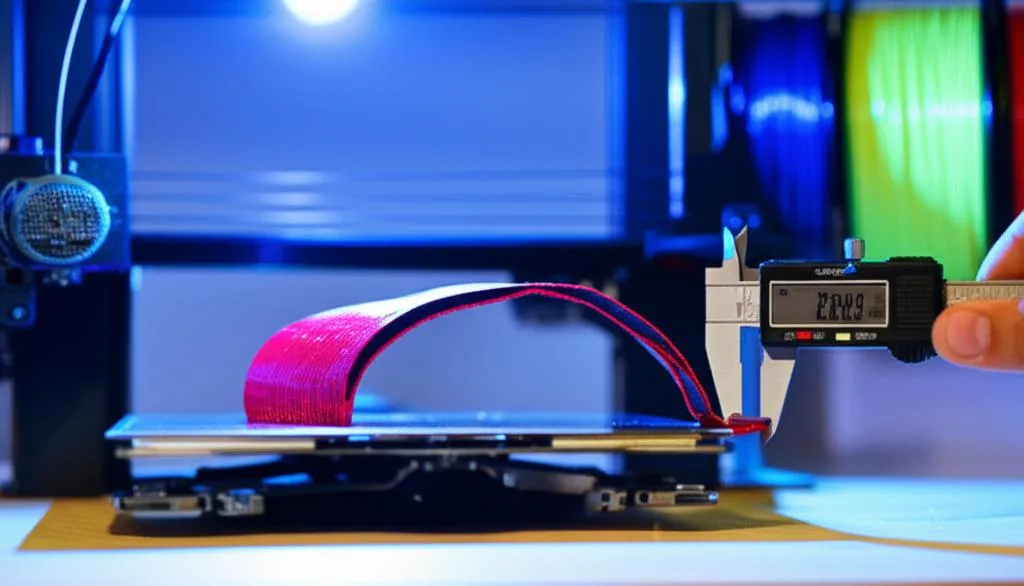
At its core, warping is a battle against physics. Most 3D printing filaments, particularly thermoplastics, expand when heated and contract when cooled. When a layer of hot plastic is laid down onto a cooler layer or a cool build plate, the newly deposited material tries to shrink. If the adhesion to the build plate or the underlying layers isn’t sufficient, the corners or edges of the print will lift. This effect is exacerbated by large flat surfaces, drafts, and filaments with high shrinkage rates, such as ABS.
Universal strategies to prevent warping
While different filaments present unique challenges, several foundational techniques are universally effective in combating warping.
Optimizing bed adhesion
A strong bond between the first layer and the build plate is paramount. Without it, even the most perfect temperature settings won’t save your print.
- Cleanliness is key: Grease, dust, and fingerprints are adhesion killers. Always clean your build plate thoroughly before printing. Isopropyl alcohol (IPA) is a common choice, but for some surfaces, warm water and dish soap can be more effective.
- Surface preparation: Different build plate materials offer varying levels of adhesion. Glass, PEI (Ultem), BuildTak, and textured plates all have their merits. For challenging prints, consider adhesion aids like glue stick (PVA), hairspray, or specialized adhesion liquids.
- First layer calibration: The ‘squish’ of your first layer is critical. Too high, and it won’t stick; too low, and it can cause elephant’s foot or nozzle clogging. Calibrate your Z-offset meticulously to achieve optimal first-layer compression.
Temperature control
Managing temperatures throughout the printing process is vital.
- Heated build plate: A heated bed helps keep the bottom layers of the print warm, reducing the temperature differential between the print and the build plate, thereby minimizing shrinkage and improving adhesion.
- Enclosures: For filaments highly prone to warping (like ABS or Nylon), an enclosure is almost essential. It maintains a consistent, elevated ambient temperature around the print, preventing rapid cooling and drafts.
- Draft prevention: Even without a full enclosure, shield your printer from open windows, air conditioning vents, or any sources of moving air that can cause uneven cooling.
Mechanical aids
- Brims: A brim is a single-layer skirt of plastic printed around the base of your part, expanding its footprint. It increases the surface area in contact with the build plate, significantly improving adhesion and resisting lift.
- Rafts: A raft creates a disposable base underneath your print. It can be particularly useful for prints with small footprints or complex first layers, providing a stable, warp-free foundation.
Filament-specific strategies to prevent warping
While general strategies are a good starting point, truly mastering warp prevention requires understanding the unique properties and filament specific settings for each material.
PLA warping: common but manageable
PLA (Polylactic Acid) is known for its ease of use and relatively low shrinkage. However, PLA warping can still occur, especially with large prints or in drafty environments.
- Bed temperature: Typically 50-65°C is sufficient. Too high, and PLA can become too soft, leading to elephant’s foot.
- Cooling: PLA benefits from active part cooling after the first few layers. Start with 50-100% fan speed after the initial layers to solidify the plastic quickly and prevent heat creep.
- Adhesion: A clean build plate (PEI, glass with glue stick) usually works well.
ABS warping: the ultimate challenge
ABS (Acrylonitrile Butadiene Styrene) is notorious for its high shrinkage rate, making ABS warping a constant battle. This material demands a more aggressive approach.
- Heated bed: Essential, typically 90-110°C. This keeps the bottom layers pliable and strongly adhered.
- Enclosure: A must-have. Maintaining an ambient temperature of 40-60°C minimizes the temperature gradient and drastically reduces warping.
- No cooling fan: Generally, part cooling should be turned off or set to a very minimal percentage (e.g., 5-10% for bridging) to prevent rapid cooling and subsequent shrinkage.
- Adhesion: ABS slurry (ABS dissolved in acetone), Kapton tape, or specialized ABS adhesion sheets work best.
PETG warping: sticky but sensitive
PETG (Polyethylene Terephthalate Glycol) offers a good balance of strength and ease of printing, but it has its quirks. PETG warping is less severe than ABS but more common than PLA.
- Heated bed: Typically 70-85°C. PETG adheres very strongly to some surfaces, particularly bare PEI or glass, sometimes too strongly, risking damage to the bed. A thin layer of glue stick can act as a release agent.
- Cooling: Use minimal part cooling (20-50%) or none at all, especially for the first few layers. Too much cooling can cause delamination and reduce layer adhesion.
- Print speed: PETG can be stringy; printing a bit slower can help with adhesion and overall print quality.
Other challenging filaments
Filaments like Nylon, Polycarbonate (PC), and some composites also exhibit significant shrinkage and require similar, if not more stringent, measures:
- High temperatures: Often require very high bed temperatures (100-120°C+) and hotend temperatures.
- Enclosures: Absolutely critical for stable printing environments.
- Specialized surfaces: Adhesion can be tricky; specific tapes (e.g., Garolite for Nylon) or high-temperature adhesives may be necessary.
Advanced troubleshooting and fine-tuning
Even with general and filament-specific strategies, some prints might still challenge you. Here are some advanced tips:
- Slicer settings review: Adjusting infill patterns, print speed (slower first layers), and even layer height can influence warping. Lower layer heights often result in better adhesion.
- Material quality: Subpar filament can be more prone to warping due to inconsistent diameter or moisture absorption. Ensure your filament is dry and from a reputable brand.
- Environmental factors: Humidity can affect some filaments. Keep your filament stored in a dry environment.
- Printer calibration: Regular maintenance, including PID tuning for your hotend and heated bed, ensures stable temperatures. E-steps calibration ensures accurate material extrusion.
Conquering warping in 3D printing is a journey of continuous learning and adjustment. By understanding the underlying principles of thermal dynamics and applying a combination of universal and filament specific settings, you can significantly reduce the incidence of warped prints. Experiment with different build plate surfaces, adhesion aids, and temperature profiles. With patience and methodical troubleshooting, you’ll be well on your way to consistently producing perfectly flat, high-quality 3D prints.