When diving into the world of 3D printing, few aspects are as critical yet as prone to misunderstanding as extrusion. The precise delivery of filament is the bedrock of print quality, and when things go awry, the culprits often boil down to either E-steps calibration or flow rate settings. Navigating the difference between these two can feel like threading a needle in the dark, leading many to haphazardly tweak settings without truly understanding the underlying issue. This guide aims to demystify the process, providing a clear roadmap for effective extrusion troubleshooting and helping you discern when to adjust E-steps versus the flow rate for common print problems.
Understanding extrusion fundamentals

The world’s first desktop full-color 3D & UV printer. Back the Kickstarter campaign with a refundable $50 deposit for VIP pricing.
At its core, 3D printing relies on extruding molten filament through a nozzle in controlled layers. The extruder motor, working in conjunction with a drive gear, pushes the filament into the hotend. The amount of filament pushed per unit of motor rotation is crucial. Any inaccuracy here directly translates to either too much or too little material being laid down, manifesting as various print defects.
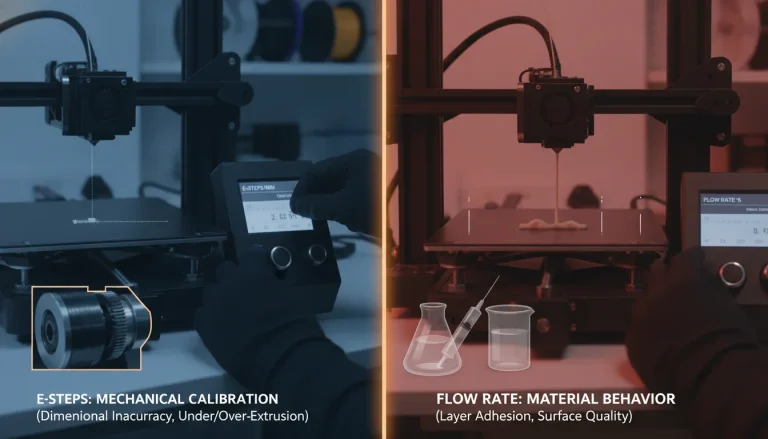
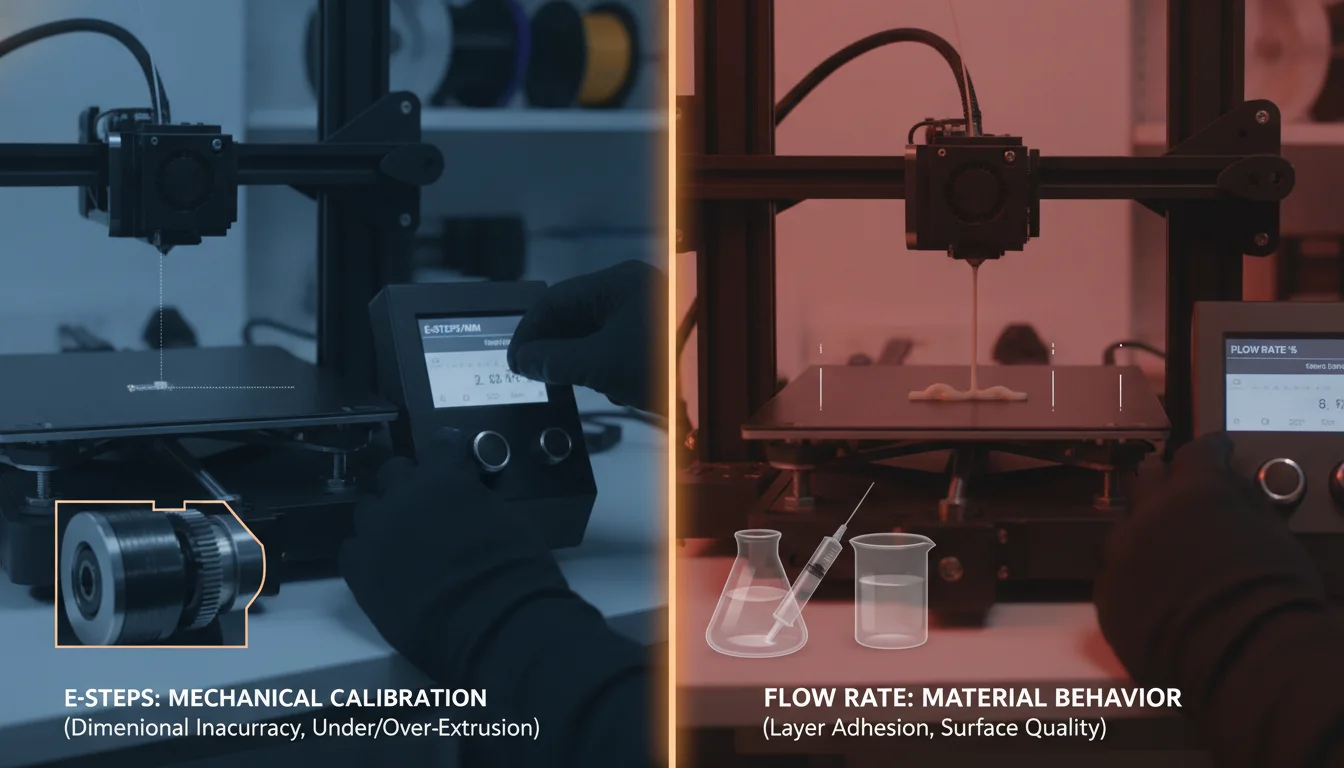
E-steps: The mechanical calibration
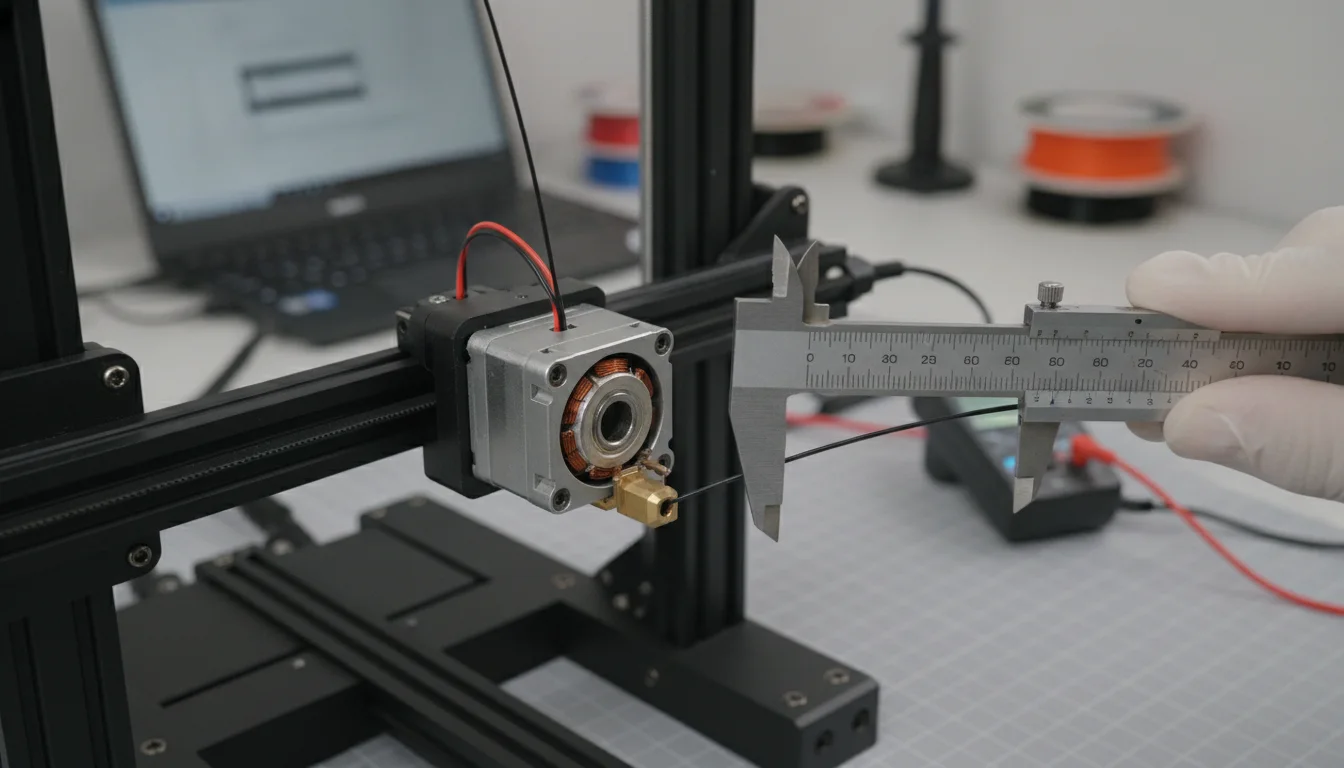
E-steps, short for ‘extruder steps per millimeter’, is a fundamental calibration setting stored in your 3D printer’s firmware. It dictates how many steps your extruder motor needs to take to push exactly one millimeter of filament through the extruder assembly. Think of it as the printer’s internal ruler for filament length.
Purpose and adjustment
- Purpose: To ensure the extruder motor precisely feeds the intended length of filament, independent of the filament’s diameter or material properties. It’s a mechanical calibration.
-
When to adjust:
- After assembling a new printer or replacing the extruder motor.
- When changing the extruder assembly (e.g., from Bowden to direct drive, or upgrading components like the drive gear).
- If you suspect a fundamental, consistent over or under-extrusion that affects all materials and prints.
- How to calibrate (briefly): You typically heat the hotend, mark 120mm of filament above the extruder entrance, command the printer to extrude 100mm, measure the remaining filament, and then calculate the new E-steps value using a specific formula. This value is then saved to the printer’s firmware.
Impact of incorrect E-steps
If your E-steps are off, your printer will consistently over-extrude or under-extrude by a fixed percentage, regardless of the filament type or slicer settings. This fundamental inaccuracy will plague every print, making it impossible to achieve consistent quality.
Flow rate: The slicer’s fine-tuning
Flow rate, often called ‘Extrusion Multiplier’ or ‘Flow Multiplier’ in slicer software, is a percentage-based setting that scales the amount of filament extruded. While E-steps deal with the physical movement of the extruder, flow rate addresses the actual volume of plastic laid down.
Purpose and adjustment
- Purpose: To compensate for variations in filament diameter, material density, and other factors that affect how much material is actually deposited into the print. It’s a material and slicer-dependent calibration.
-
When to adjust:
- When switching between different brands or types of filament (e.g., PLA to PETG, or one brand of PLA to another).
- To fine-tune print quality after E-steps have been accurately calibrated.
- To address specific print defects like poor layer adhesion, over-extrusion artifacts, or dimensional inaccuracies that vary with material or print settings.
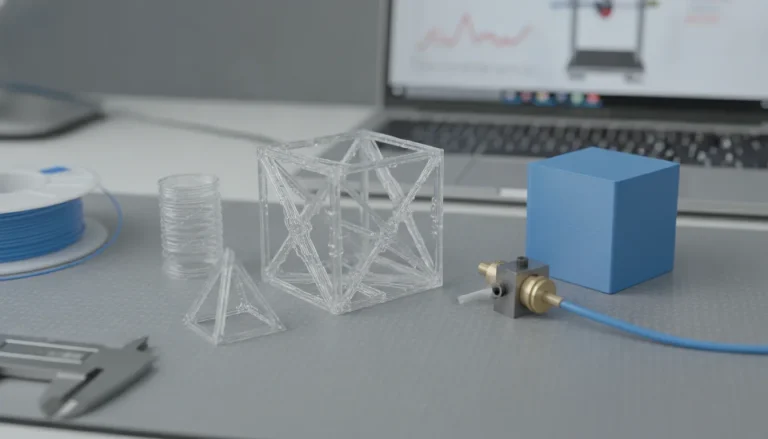
- How to calibrate (briefly): You typically print a single-wall cube or a calibration cube, measure the wall thickness with calipers, and adjust the flow rate in your slicer until the measured wall thickness matches the expected line width. This setting is saved within your slicer profile for a specific material.
Impact of incorrect flow rate
An incorrect flow rate can lead to issues like:
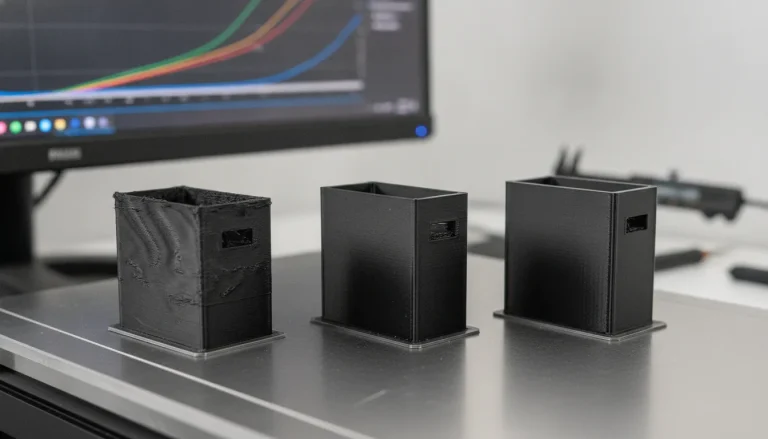
- Over-extrusion: Blobs, stringing, elephant’s foot, rough surfaces, reduced detail, and dimensional inaccuracy.
- Under-extrusion: Gaps between lines, poor layer adhesion, weak parts, visible infill, and brittle prints.
E-steps vs. flow rate: A direct comparison
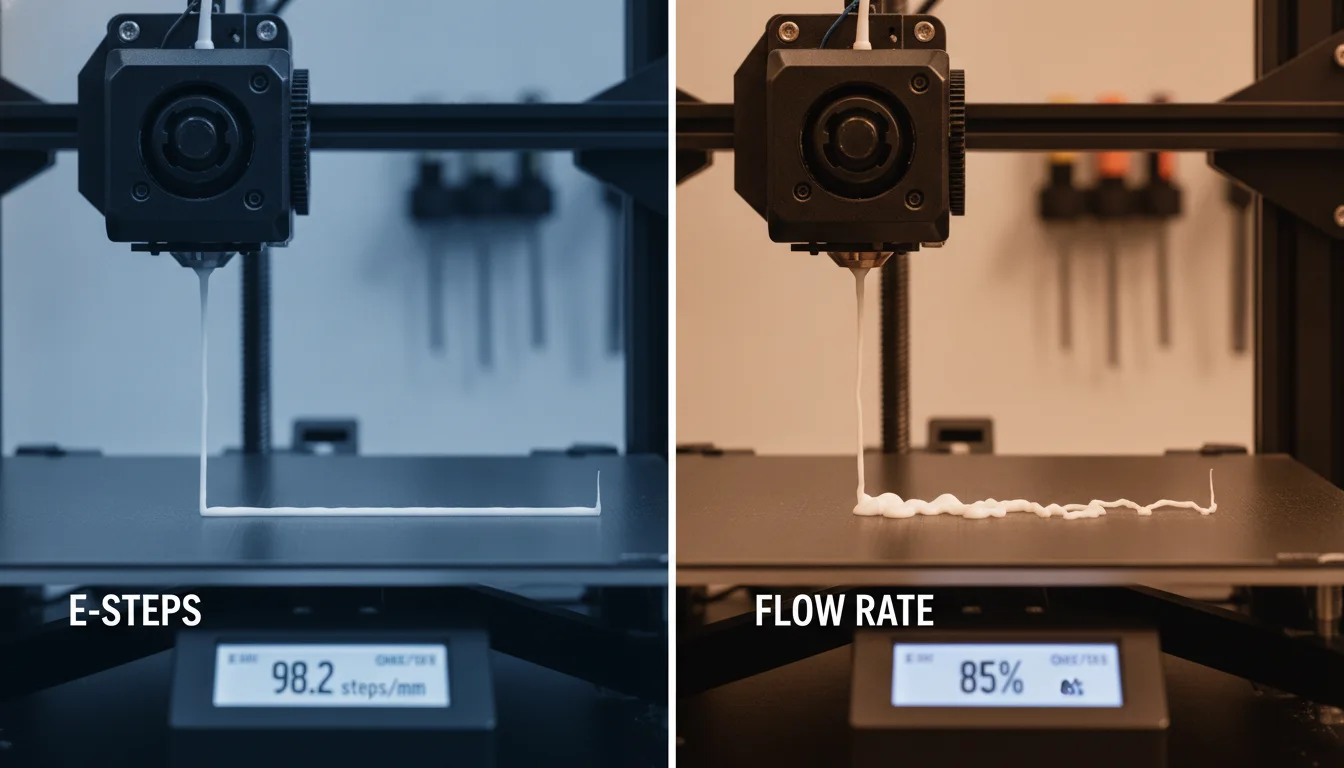
Understanding the distinction is key to effective print problem solving. Here’s a quick breakdown:
- Nature: E-steps is a hardware/firmware calibration; Flow Rate is a software/slicer calibration.
- Scope: E-steps affects the physical movement of the extruder motor; Flow Rate adjusts the volume of plastic extruded relative to the slicer’s instructions.
- Frequency: E-steps is typically a one-time calibration (or when hardware changes); Flow Rate often needs adjustment per filament type/brand.
- Root Cause: E-steps addresses mechanical accuracy; Flow Rate addresses material properties and volumetric output.
Common print problems and their solutions
Let’s look at how to approach common print defects with the E-steps vs flow rate distinction in mind.
Under-extrusion
Symptoms: Gaps in layers, weak prints, visible infill through walls, rough top surfaces, missing sections of prints.
- When to suspect E-steps: If you’ve never calibrated E-steps, or if you’ve recently changed your extruder hardware, and the under-extrusion is severe and consistent across all materials.
- When to suspect Flow Rate: If E-steps are known to be correct, and the under-extrusion appears only with a specific filament, or is minor and inconsistent.
- Other considerations: Clogged nozzle, heat creep, filament tangles, worn drive gear.
Over-extrusion
Symptoms: Blobs, stringing, oozing, rough surfaces, dimensional inaccuracies (parts are too large), elephant’s foot, nozzle dragging through previous layers.
- When to suspect E-steps: If you’ve never calibrated E-steps, or if you’ve recently changed your extruder hardware, and the over-extrusion is severe and consistent across all materials.
- When to suspect Flow Rate: If E-steps are known to be correct, and the over-extrusion appears only with a specific filament, or is minor and causes cosmetic issues.
- Other considerations: Nozzle too close to the bed, incorrect filament diameter setting in slicer.
Dimensional inaccuracy
Symptoms: Printed parts are consistently too large or too small compared to the CAD model.
- When to suspect E-steps: If the inaccuracy is significant and affects all axes (X, Y, Z, and E-axis for extrusion volume) indicating a fundamental scaling issue. While E-steps primarily affect the E-axis, severe over/under-extrusion can indirectly impact dimensions.
- When to suspect Flow Rate: If the inaccuracy is primarily related to wall thickness (e.g., holes are too small because of too much plastic), or if it varies between different materials.
- Other considerations: Incorrect X, Y, Z steps/mm calibration (for dimensional accuracy in those axes), thermal expansion/contraction of material.
Poor layer adhesion/weak prints
Symptoms: Layers peel apart easily, parts break with minimal force, visible gaps between lines.
- When to suspect E-steps: If under-extrusion is severe and consistent, leading to insufficient material being laid down for proper bonding.
- When to suspect Flow Rate: If E-steps are correct, but there’s slight under-extrusion for a specific material, preventing layers from fusing correctly.
- Other considerations: Printing too cold, too much cooling, wet filament, printing too fast.
A systematic troubleshooting approach
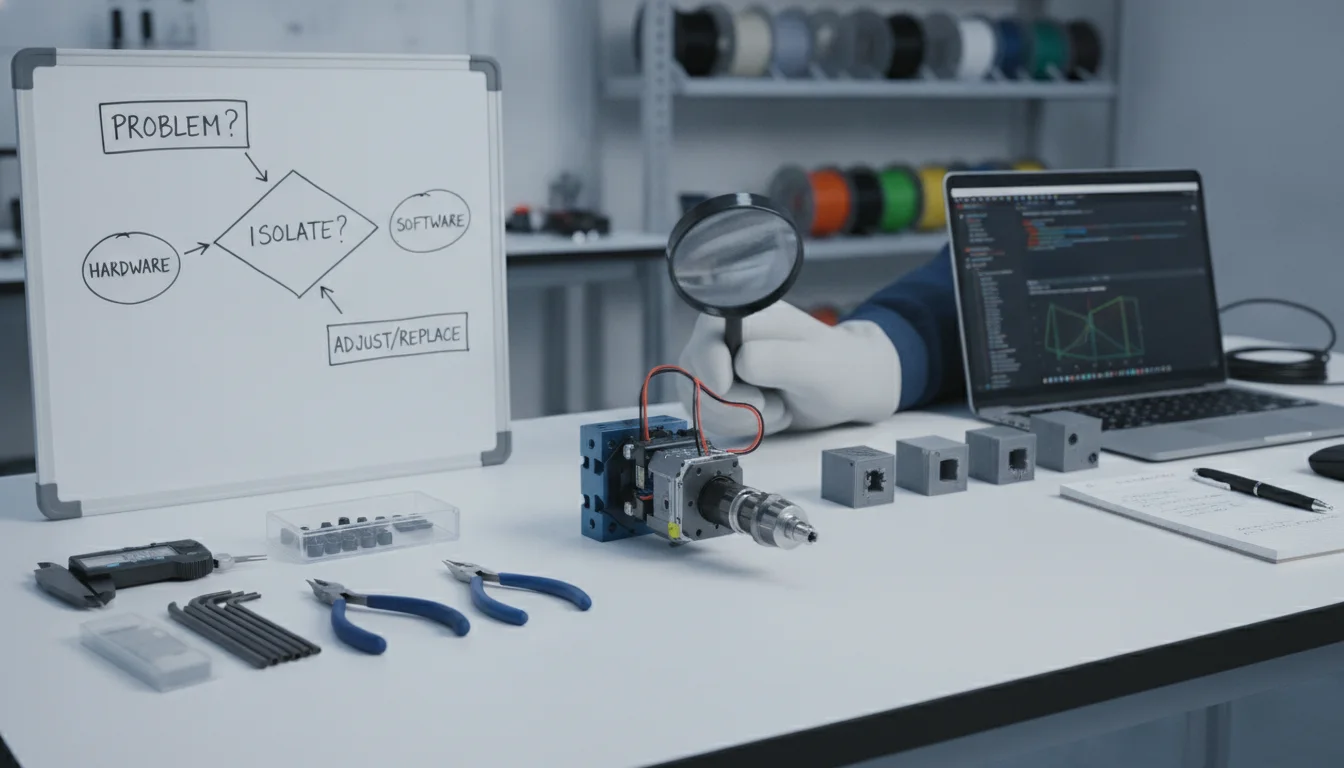
To effectively tackle extrusion troubleshooting and print defects, adopt a methodical approach:
- Calibrate E-steps first: This is your foundational step. Ensure your extruder motor is mechanically accurate in pushing the correct length of filament. This should be a one-time calibration unless you change hardware.
- Calibrate Flow Rate per material: Once E-steps are dialed in, calibrate the flow rate for each new filament type or brand you use. This fine-tunes the volumetric output.
- Address specific print problems: Only after E-steps and flow rate are correctly set should you move on to other slicer settings (temperatures, speeds, retraction) to resolve remaining issues.
- Change one variable at a time: When troubleshooting, alter only one setting at a time and test the results. This helps isolate the cause of the problem.
Mastering the distinction between E-steps and flow rate is a cornerstone of advanced 3D printing. By understanding their individual roles and impacts, you can approach extrusion troubleshooting with confidence and precision. This knowledge empowers you to systematically diagnose print problems, make informed adjustments, and ultimately achieve consistently high-quality 3D prints. Remember, E-steps sets the stage for mechanical accuracy, while flow rate fine-tunes the performance for each material, working in tandem to bring your digital designs to life.
Frequently asked questions
Can I use flow rate to fix E-steps that have never been calibrated?
No. Using flow rate to mask incorrect E-steps is a common mistake. E-steps correct the mechanical accuracy of how much filament the motor pushes, while flow rate compensates for material properties. If your E-steps are off, the error will be consistent across all materials and prints, and flow rate adjustments will only partially compensate, leading to unpredictable results when you switch filaments.
What tools do I need to calibrate E-steps and flow rate?
For E-steps, you need a ruler or tape measure capable of measuring 120mm of filament accurately, and the printer’s control interface to send extrusion commands. For flow rate calibration, you need a digital caliper to measure wall thickness of a test print, typically a single-wall cube. Both procedures require the hotend to be at printing temperature.
Should I recalibrate E-steps after changing from a 0.4mm nozzle to a 0.6mm nozzle?
No. E-steps calibrate the length of filament the extruder motor pushes, not the volume exiting the nozzle. Changing nozzle diameter does not affect the motor’s mechanical accuracy. You only need to recalibrate E-steps after changing extruder hardware such as the motor, drive gear, or extruder assembly (e.g., switching from Bowden to direct drive).