Achieving pristine 3D prints often feels like a delicate balancing act, and few challenges are as pervasive or frustrating as the appearance of ‘ringing’ and ‘ghosting’ artifacts. These visual imperfections, which manifest as faint echoes or ripples on the surface of your prints, can significantly detract from the quality of an otherwise well-designed model. While they might seem like mysterious printer maladies, they are typically tell-tale signs of underlying print speed issues and improper acceleration settings. Understanding their root causes and how to fine-tune your slicer settings is crucial for any enthusiast looking to elevate their 3D printing game.
Understanding ringing and ghosting in 3D printing
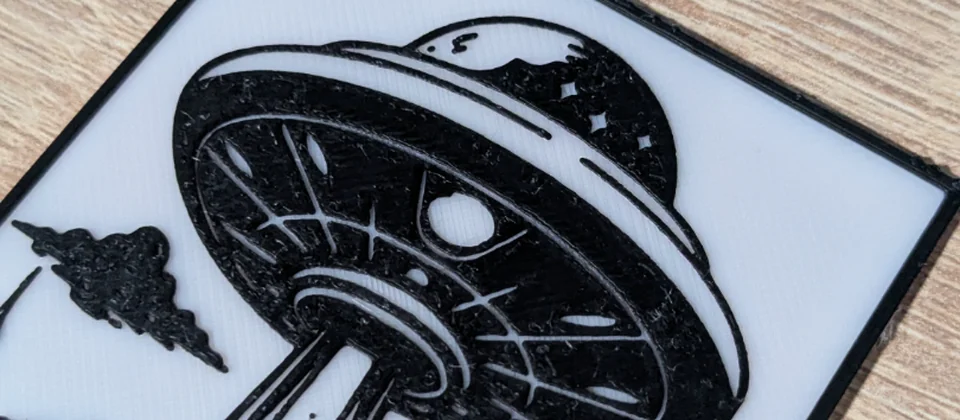
Every model we design and test gets uploaded as a free STL – browse the full profile on MakerWorld.
Before diving into solutions, it’s essential to grasp what ringing and ghosting actually are. Both terms refer to similar phenomena, often used interchangeably, but can sometimes describe slightly different visual effects:
-
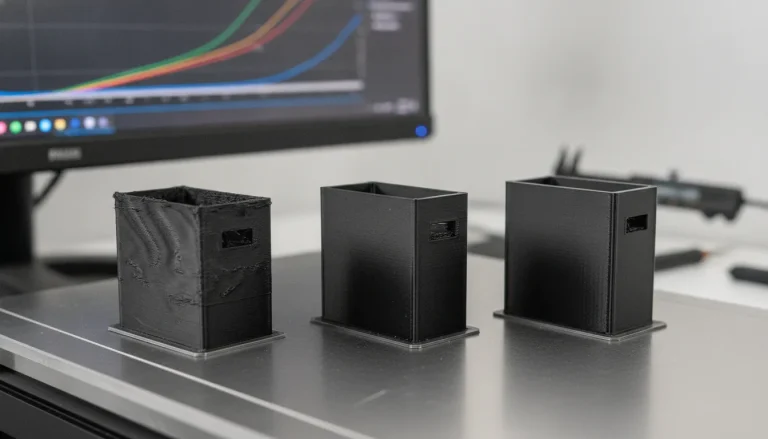
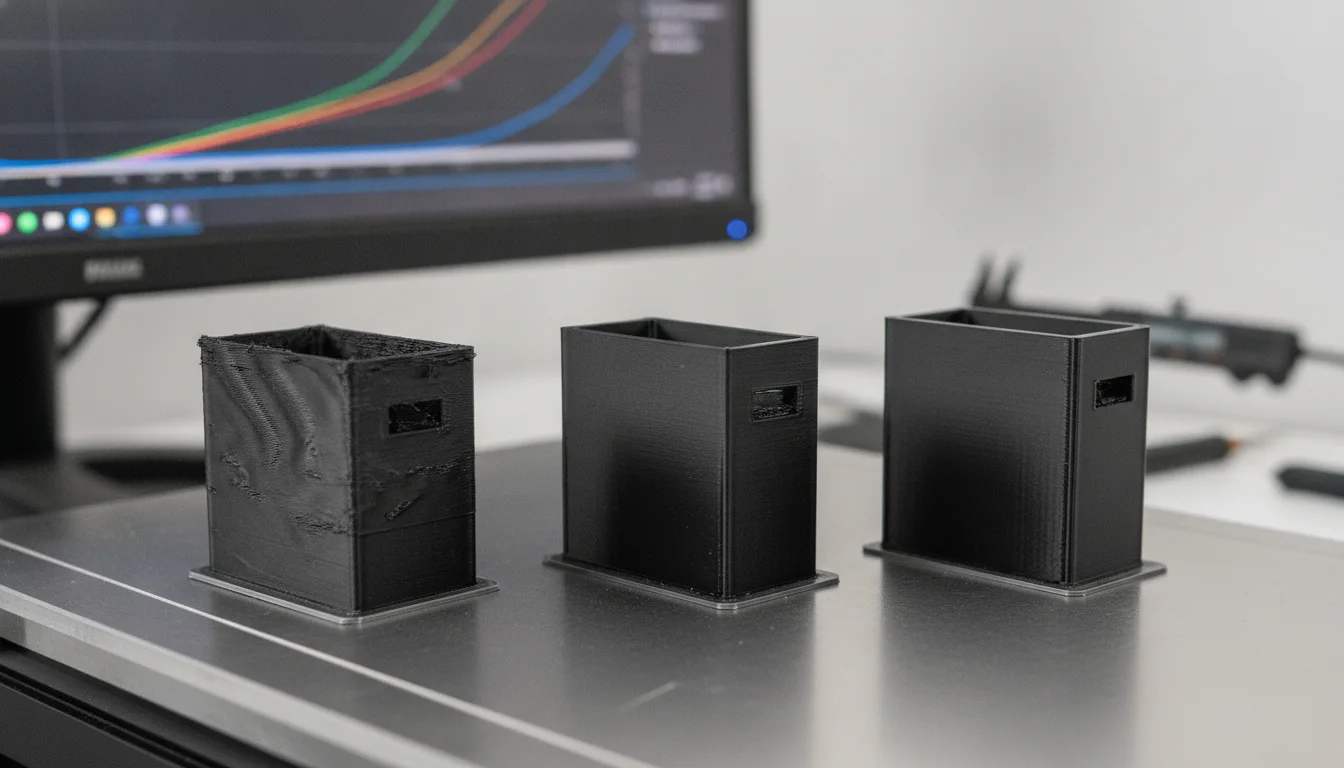
Ringing (or ‘Vibration Echoes’): This artifact appears as a series of faint, regularly spaced lines or ripples extending outwards from sharp features like corners or embossed text. It’s most noticeable on vertical walls and is a direct result of vibrations in the printer’s mechanical components after a sudden change in direction or speed.
-
Ghosting (or ‘Salmon Skin’): Often similar to ringing, ghosting typically refers to the faint ‘ghost’ of a feature appearing further along the print surface, usually after a rapid movement. It’s essentially a less pronounced, sometimes more irregular, form of ringing. The term ‘salmon skin’ is also used for a similar effect, though that often relates more to stepper motor drivers and their microstepping. For our purposes, we’ll treat ringing and ghosting as manifestations of the same underlying issue: excessive inertial forces.
These artifacts are fundamentally a consequence of inertia. When your print head, carrying the hot end and extruder, changes direction rapidly, the momentum of these moving parts, combined with the momentum of the print bed (on bedslinger-style printers), causes the printer frame or the print itself to momentarily oscillate or ‘ring’. This vibration is then imprinted onto the molten plastic as it’s laid down, creating the visible imperfections.
The role of print speed in artifact generation
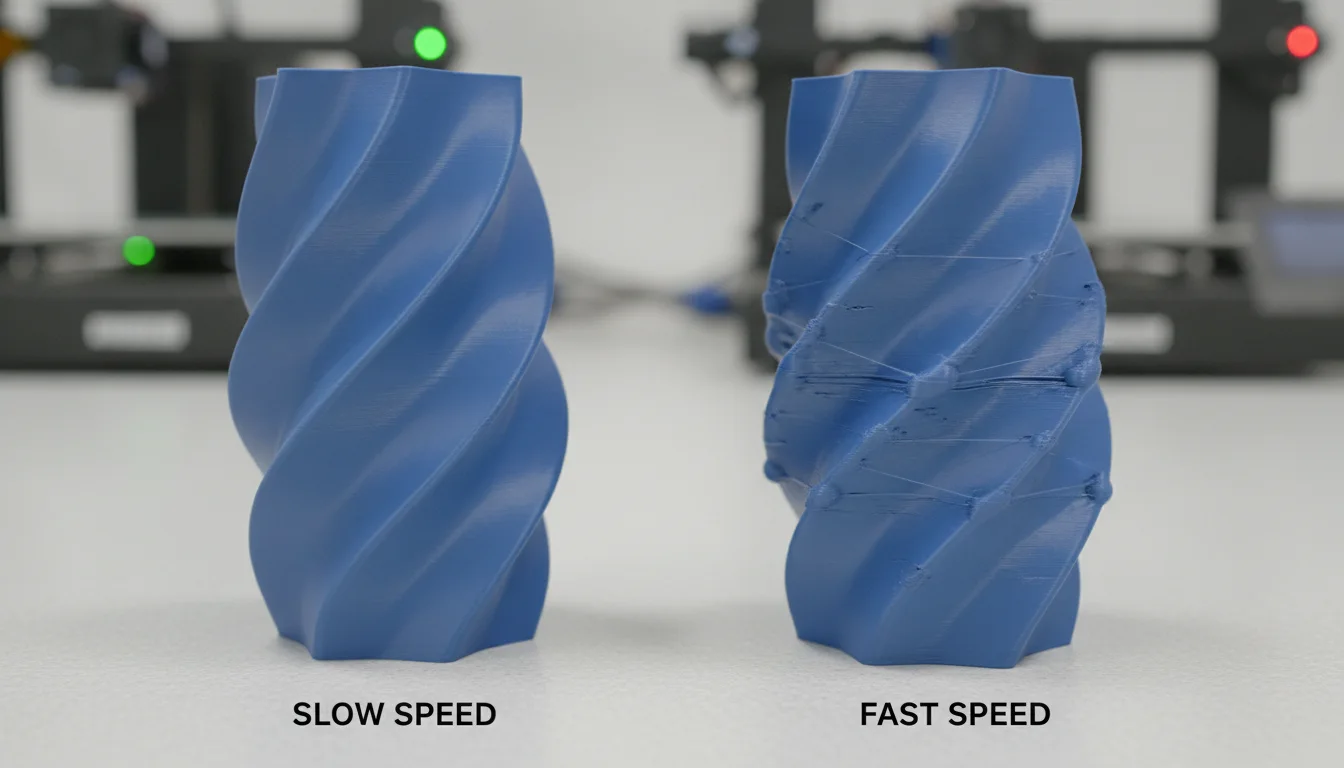
Print speed is often the first setting users tweak when trying to speed up their prints, and it’s a significant contributor to ringing and ghosting. While faster prints are desirable, there’s a direct trade-off with quality if the printer’s mechanical system cannot handle the increased velocity and subsequent directional changes.
-
Higher Speed, Greater Momentum: The faster your print head moves, the more kinetic energy it possesses. When it needs to stop or change direction abruptly (e.g., at a corner), this increased momentum requires more force to overcome, leading to more pronounced vibrations and oscillations.
-
Extrusion Dynamics: Very high print speeds can also introduce other issues, such as underextrusion if the hot end cannot melt and push plastic fast enough, or poor layer adhesion. However, in the context of ringing, the mechanical stress on the printer is the primary concern.
It’s important to understand that simply reducing your overall print speed might mitigate ringing, but it’s often a blunt instrument. Many printers can handle relatively high constant speeds on straight lines without issue. The problems typically arise during the transitions – the starts, stops, and sharp turns. This is where acceleration settings come into play.
Acceleration settings: the key to smoother prints
Acceleration is arguably the most critical setting when it comes to controlling ringing and ghosting. While print speed dictates how fast your printer moves, acceleration dictates how quickly it reaches that speed or slows down from it.
What is acceleration?
In the context of 3D printing, acceleration refers to the rate at which your print head (and print bed, if applicable) changes velocity. A higher acceleration value means the printer will reach its target speed (or decelerate from it) more quickly. A lower acceleration value means it will take more time and distance to speed up or slow down.
How acceleration impacts artifacts
When the print head accelerates or decelerates sharply, it imparts significant forces onto the printer’s frame and moving components. If these forces are too high for the structural rigidity of the printer or the tension of its belts, the system will flex and vibrate. These vibrations are then transferred to the nozzle, causing it to momentarily deviate from its intended path, resulting in the visible ringing or ghosting.
Common acceleration settings in slicers
Most modern slicers (like Cura, PrusaSlicer, Simplify3D) offer granular control over acceleration settings. You’ll typically find:
-
Print Acceleration: This is the general acceleration applied to all printing movements (extruding plastic). Reducing this is often the first step in tackling ringing.
-
Infill Acceleration: Infill movements are less critical for surface quality, so you might be able to use a higher acceleration here to save print time without impacting visible surfaces.
-
Travel Acceleration: Non-extruding movements (travel moves) can often be faster, as any vibrations during these moves won’t directly affect the print surface. However, excessively high travel acceleration can still shake the printer and potentially impact subsequent printing moves.
-
Initial Layer Acceleration: Often set lower to ensure good bed adhesion for the first layer.
-
Perimeter Acceleration: Some slicers allow specific acceleration for perimeters, which are the most visible parts of your print. Lowering this can significantly improve surface finish.
Additionally, you might encounter ‘Jerk’ settings. Jerk refers to the rate of change of acceleration, essentially how instantaneously the acceleration changes. High jerk values can lead to very abrupt changes in direction, contributing to ringing even at moderate acceleration settings. While modern firmwares often handle jerk more smoothly or replace it with ‘Junction Deviation’ or ‘Input Shaping’, understanding its role is still valuable for older firmware or specific slicers.
Diagnosing and troubleshooting print artifacts
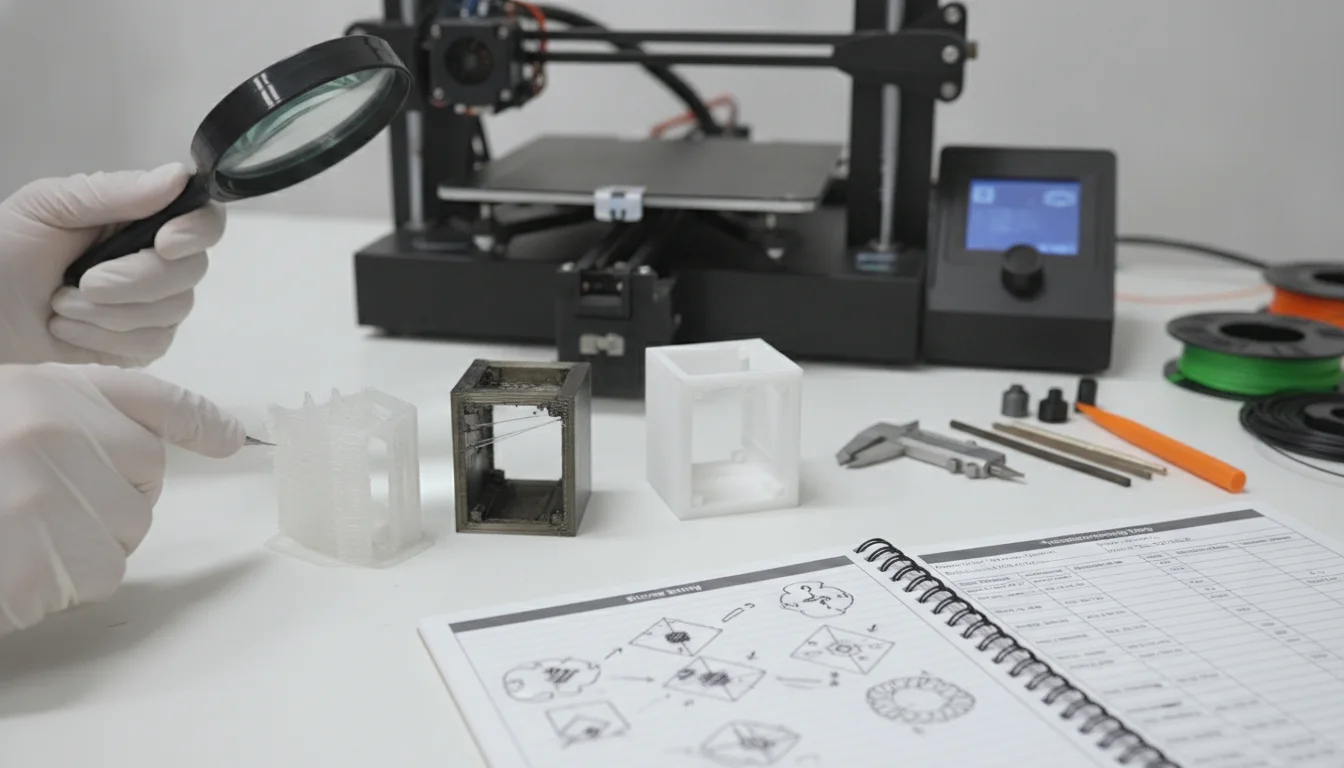
Effectively eliminating ringing and ghosting requires a systematic approach to diagnosis and adjustment.
1. Inspect your printer’s mechanics
Before diving into slicer settings, ensure your printer is mechanically sound. Loose belts, wobbly gantries, loose screws, or an unstable printer frame can all exacerbate ringing. Check:
-
Belt Tension: Belts should be taut but not overly tight. They should make a low thrumming sound when plucked, not a loose flapping sound. Overtight belts can wear out motors and bearings.
-
Frame Rigidity: Can you easily wobble any part of the printer? Reinforce if necessary.
-
Wheels/Bearings: Ensure V-slot wheels or linear bearings are properly adjusted – not too tight (causing binding) or too loose (causing play).
-
Hot End Mount: Is your hot end securely mounted without any play?
2. The test print approach
To diagnose ringing, print a calibration cube or a specialized ringing test print (many are available on sites like Printables or Thingiverse). These prints typically feature sharp corners, raised text, or other features that will highlight ringing. Print at your usual speed settings first to establish a baseline.
3. Adjusting acceleration settings (iterative process)
This is where the real work happens. The goal is to find the sweet spot where artifacts are eliminated without making your prints excessively slow. There’s no one-size-fits-all value, as it depends heavily on your specific printer’s design and rigidity.
-
Start Low: Begin by significantly reducing your ‘Print Acceleration’ (and ‘Perimeter Acceleration’ if available) in your slicer. A good starting point might be 500-800 mm/s². For many printers, default values can be as high as 2000-3000 mm/s².
-
Print and Observe: Print your test piece again with the lower acceleration. Is the ringing reduced or gone?
-
Gradually Increase: If the ringing is gone, incrementally increase the acceleration (e.g., by 100-200 mm/s² at a time) and print your test piece again. Repeat until you start to see faint ringing reappear. The last setting before it reappeared is likely your optimal maximum.
-
Consider Jerk (if applicable): If you’re still experiencing issues, or if your printer firmware uses it, you might also experiment with lowering your ‘Jerk’ setting. Common values range from 5-20 mm/s. Start at the lower end (e.g., 5-8 mm/s) and increase gradually.
4. Fine-tuning print speed
Once you’ve found a good acceleration setting that minimizes artifacts, you can then experiment with your overall print speed. With proper acceleration, you might find your printer can handle higher speeds than before without introducing ringing. Focus on:
-
Perimeter Speed: This is critical for visible quality. Keep it moderate.
-
Infill Speed: You can often push this higher, as infill quality is less critical.
-
Overall Print Speed: Adjust this last, always re-evaluating the print quality.
Balancing speed, quality, and printer limitations
It’s crucial to acknowledge that every 3D printer has inherent mechanical limitations. A budget Ender 3, for example, will likely never achieve the same print speeds and quality without artifacts as a high-end CoreXY machine designed for speed and rigidity. Your goal is to find the optimal balance for your specific setup.
-
Rigidity is King: The stiffer and more stable your printer’s frame, the higher acceleration values it can generally tolerate without vibrating.
-
Input Shaping/Resonance Compensation: Advanced firmwares like Klipper and Marlin 2.x offer features like Input Shaping (or Resonance Compensation). These technologies actively measure the resonant frequencies of your printer and apply counter-movements to cancel out vibrations, allowing for significantly higher print speeds and accelerations with minimal ringing. If your printer supports these, exploring them can be a game-changer.
-
Slower isn’t Always Worse: Sometimes, accepting a slightly longer print time by using conservative acceleration settings is a small price to pay for a perfectly smooth, artifact-free print.
Eliminating ringing and ghosting is a common hurdle in 3D printing, but it’s one that can be overcome with a systematic approach. By understanding the interplay between print speed, acceleration, and your printer’s mechanical capabilities, you can diagnose the problem, make targeted adjustments, and ultimately achieve the clean, professional-looking prints you’re striving for. Patience and iterative testing are your best allies on this journey to print perfection.
Frequently asked questions
Is it better to lower print speed or acceleration first when I see ringing?
Lower acceleration first. Print speed on straight sections rarely causes ringing; the problem is the sudden start/stop and direction changes. Reducing print acceleration (e.g., from 2000 mm/s² down to 500–800 mm/s²) directly reduces vibration forces, often eliminating ringing without drastically increasing total print time.
Can I fix ringing without slowing down my print at all?
Yes, if your printer supports Input Shaping (Klipper or Marlin 2.x with resonance compensation). This technology measures your printer’s resonant frequencies and applies counter-movements to cancel vibrations, allowing high speeds and accelerations with minimal ringing. Without Input Shaping, you will need to lower acceleration to eliminate artifacts.
Will tightening my belts harder always reduce ghosting?
No. Belts should be taut enough to produce a low thrumming sound when plucked, not loose and flapping. Overtightening belts can wear out motors and bearings and may even increase binding, which can introduce other artifacts. Always check belt tension before adjusting slicer settings, but do not overtighten.