Few things are as satisfying as watching a 3D printer bring a digital design to life. However, the excitement can quickly turn to frustration when the finished print emerges riddled with unsightly 3D print strings and stubborn print blobs. These common imperfections, often referred to collectively as surface blemishes, can detract significantly from the aesthetic and functional quality of your creations. While prevention is always the first line of defense, knowing how to effectively tackle these issues through meticulous post-processing cleanup is an invaluable skill for any 3D printing enthusiast. This guide will walk you through a systematic approach to restoring your prints to their intended glory.
Understanding the nature of 3D print strings and blobs

Explore the
Snapmaker U1
Before diving into cleanup, it helps to understand what you're dealing with. Both strings and blobs are forms of unwanted material deposition, but they manifest differently and often stem from distinct underlying causes.
What causes filament oozing and stringing?
3D print strings, also known as 'stringing' or 'hairy prints,' occur when molten filament oozes from the nozzle as it travels between different print sections. This filament oozing creates fine, hair-like strands or thicker threads across open spaces. Common culprits include insufficient retraction settings (the printer pulling back filament when moving), excessive print temperature, or too slow travel speeds.
Distinguishing between strings and blobs
Print blobs, on the other hand, are localized imperfections where an excess of filament has been deposited, creating a small, raised lump on the print's surface. These can be caused by over-extrusion, pauses in printing, incorrect nozzle wipe settings, or even inconsistent filament diameter. While strings are typically thin and wispy, blobs are more substantial and often require a different approach to removal.
Essential tools for post-processing cleanup
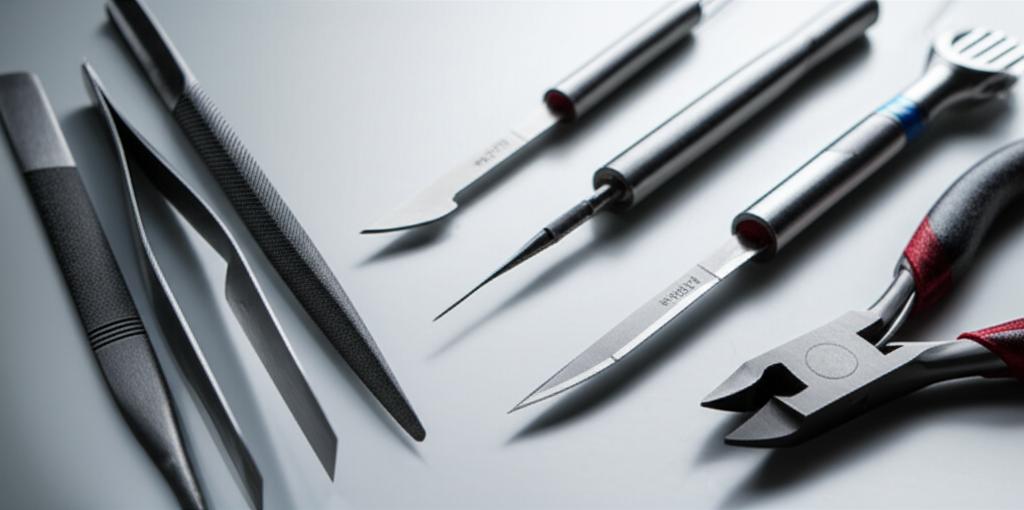
A well-equipped toolkit is crucial for effective post-processing cleanup. The 'best' tools often depend on the specific material, the severity of the blemishes, and your budget. Here's a look at common tools and their considerations:
- Flush cutters: Inexpensive and widely available, these are excellent for snipping off larger strings close to the print surface. They offer quick removal but lack the precision for very fine details.
- Hobby knife/Utility knife: Versatile for scraping away blobs, trimming excess material, or carefully cutting thicker strings. Precision blades offer control, but require careful handling due to sharpness.
- Sanding sticks/Sanding paper: Available in various grits, from coarse to ultra-fine. Sanding is a labor-intensive but highly effective method for smoothing out surfaces after initial removal, addressing surface blemishes, and blending repaired areas. The cost is minimal, but the time investment can be significant.
- Heat gun/Lighter: A heat gun provides controlled heat for melting away fine 3D print strings and wisps. A lighter can be used for quick passes on small areas but carries a higher risk of charring or damaging the print if not used carefully. Heat tools are generally affordable but demand practice to master.
- Deburring tool: Excellent for removing sharp edges, cleaning holes, and scraping away stubborn blobs or string remnants. These tools are moderately priced and offer good control, especially around curved edges.
- Dental picks/Fine tweezers: Ideal for reaching into intricate details, removing tiny bits of filament, or pulling out fine strings from crevices. These are relatively inexpensive and indispensable for precision work.
- Small files (needle files): Great for shaping, smoothing, and removing material from hard-to-reach areas or internal features. A set of needle files is a modest investment offering great versatility.
- Rotary tool (e.g., Dremel) with various bits: A more significant investment, a rotary tool can dramatically speed up material removal, sanding, and polishing. It offers power and precision but requires a steady hand and practice to avoid accidental damage. Different bits (grinding, sanding, polishing) expand its utility.
Tool considerations: Cost, safety, precision, material compatibility
When selecting tools, consider their initial cost versus their long-term utility. Simple hand tools are budget-friendly and offer a gentle approach, making them suitable for beginners. Powered tools, while more expensive, can offer efficiency for larger or more frequent cleanup tasks, but demand greater skill and safety precautions. Always prioritize safety: wear eye protection and gloves, and work in a well-ventilated area, especially when using heat or power tools. Also, be mindful of your print material; some plastics are more sensitive to heat or aggressive sanding than others.
Step-by-step guide to eliminating 3D print strings
Explore the
Snapmaker U1
Tackling 3D print strings requires a methodical approach to ensure a clean finish without damaging your print.
Step 1: Initial assessment and large string removal
Begin by thoroughly inspecting your print under good lighting. Identify all visible strings, from thick strands to fine wisps. For the thicker, more prominent strings, grab your flush cutters. Position the cutters as close as possible to the print surface without touching it and snip the strings. This method is quick and effective for removing the bulk of the stringing. Exercise caution to avoid accidentally cutting into the print itself, which can create new surface blemishes.
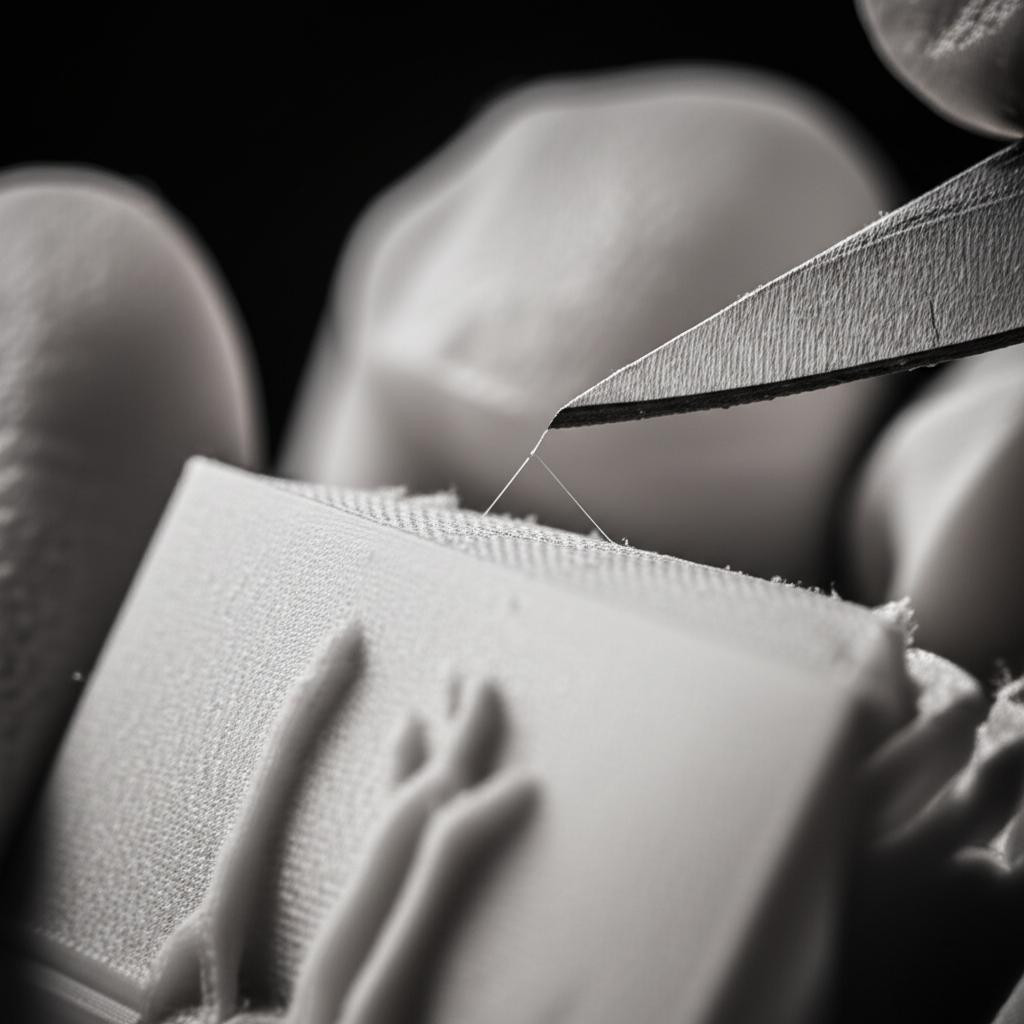
Step 2: Tackling fine filament oozing and wisps
After removing the larger strings, you'll likely be left with a multitude of fine, hair-like wisps – the tell-tale sign of filament oozing. This is where heat comes into play. A heat gun is generally preferred over a lighter due to its more controlled temperature output. Set your heat gun to a low-to-medium setting and make quick, sweeping passes over the affected areas. The heat will cause the fine plastic strands to retract and disappear without melting the underlying print. For very small or delicate areas, a quick, controlled pass with a lighter can work, but be extremely careful to avoid prolonged exposure, which can char the plastic or melt fine details. Ensure good ventilation when using heat tools.
Step 3: Addressing internal strings and hard-to-reach areas
Strings often hide within internal cavities, small holes, or complex geometries. For these areas, dental picks, fine tweezers, or a deburring tool are invaluable. Carefully insert the tool and gently scrape, pull, or snip the remaining strings. Patience is key here; rushing can lead to scratches or gouges. For very tight spaces, a small, pointed file from a needle file set can help to gently abrade away stubborn string remnants.
A systematic approach to removing print blobs and surface blemishes
Removing print blobs and other surface blemishes often requires a more aggressive, yet equally precise, approach than string removal.
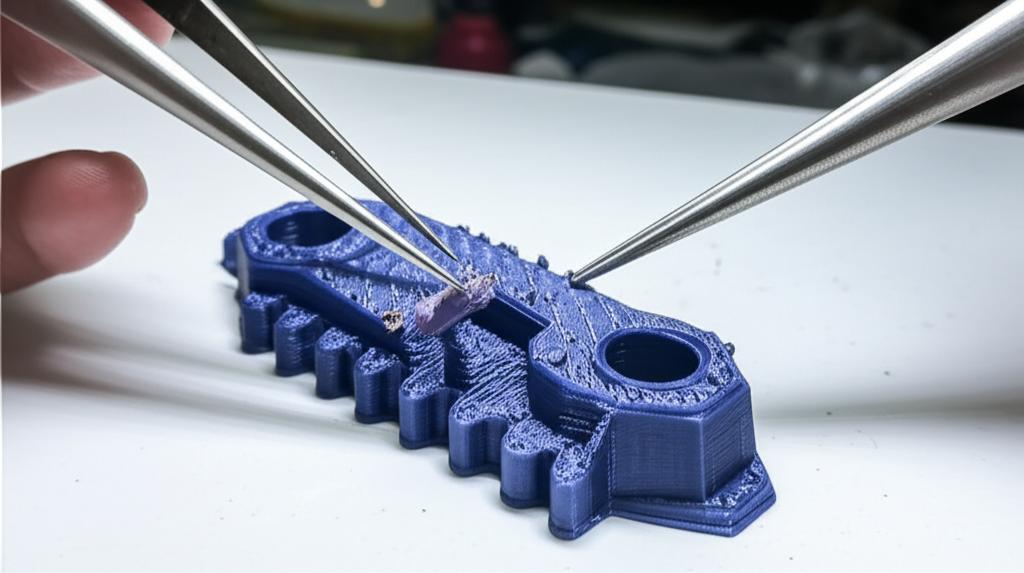
Step 1: Identifying and isolating blobs
Just like with strings, a thorough visual inspection is your starting point. Blobs can vary in size and prominence. Some might be small nubs, while others can be significant lumps of plastic. Note their location and consider the surrounding detail to plan your removal strategy.
Step 2: Mechanical removal of larger blobs
For larger or more pronounced blobs, mechanical removal is usually the most effective method. A sharp hobby knife or utility knife can be used to carefully scrape away the excess material. Hold the blade at a shallow angle and apply gentle, controlled pressure, working in small increments. For tougher blobs or areas where a knife might be too risky, a deburring tool can be very effective, allowing you to shave off layers of plastic. A rotary tool fitted with a small grinding or burr bit can also make quick work of larger blobs, but this requires a very steady hand and careful control to prevent damaging the print surface. Always wear eye protection when using these tools.
Step 3: Smoothing the surface after blob removal
Once the bulk of the blob is removed, you'll likely be left with a rough patch or a slight indentation. This is where sanding comes in. Start with a medium-grit sandpaper (e.g., 220-320 grit) to smooth out the initial rough area. Work in circular motions, applying even pressure. Gradually move to finer grits (e.g., 400, 600, 800, 1000+) to progressively refine the surface and remove sanding marks. The goal is to blend the repaired area seamlessly with the rest of the print. For materials like ABS, chemical smoothing with acetone vapor can offer an incredibly smooth finish, but this is an advanced technique requiring strict safety protocols, including excellent ventilation and personal protective equipment. It's not suitable for all materials (e.g., PLA) and can alter print dimensions and details.
Advanced techniques and finishing touches
For those seeking a truly professional finish, some advanced techniques can elevate your post-processing cleanup.
Chemical smoothing
As mentioned, chemical smoothing (e.g., acetone vapor for ABS, MEK for some other plastics) can dissolve the outermost layer of plastic, creating a perfectly smooth, glossy, or semi-glossy finish. This method is highly effective for eliminating layer lines, strings, and blobs, but it requires specialized equipment (a vapor chamber), extreme caution, and is material-specific. Always research compatibility and safety extensively before attempting chemical smoothing.
Priming and painting: covering minor imperfections
Even after thorough mechanical cleanup, tiny imperfections might remain. A coat of automotive primer can fill in minor scratches and provide a uniform surface for painting. Priming also helps paint adhere better and reveals any remaining flaws that need further attention. This adds an extra layer of finishing that can hide the last traces of surface blemishes.
Polishing: achieving a smooth, professional finish
For prints that don't need painting, polishing can achieve a smooth, sometimes glossy, finish. This typically involves using very fine grit sandpaper (up to 2000+ grit) followed by plastic polishing compounds applied with a soft cloth or a rotary tool with a buffing wheel. This process can bring out the natural luster of the plastic and make the print feel incredibly smooth to the touch, effectively erasing the last evidence of 3D print strings or print blobs.
Best practices for effective post-processing cleanup

- Work in a well-lit area: Good visibility is paramount for spotting all imperfections and performing precise work.
- Use appropriate safety gear: Always wear eye protection, especially when cutting, sanding, or using power tools. Gloves can protect your hands from cuts and chemical exposure.
- Start with less aggressive methods: Always begin with the least invasive tool or technique and gradually move to more aggressive ones if needed. It's easier to remove more material than to put it back.
- Practice on scrap prints: If you're new to a tool or technique, test it on a failed print or a scrap piece of the same filament.
- Understand your filament's properties: Different materials (PLA, ABS, PETG, Nylon) react differently to heat, sanding, and chemicals. Research your material to avoid damage.
Mastering the art of post-processing cleanup is an essential skill that transforms raw 3D prints into polished, professional-looking objects. While the presence of 3D print strings and print blobs can be disheartening, a systematic approach using the right tools and techniques can effectively eliminate these common issues. By understanding the nature of these imperfections and diligently applying the cleanup steps, you can ensure your 3D printed creations consistently meet the high standards you envision.