The rhythmic hum and occasional whine of a 3D printer can be a familiar symphony to many makers, but for others, it's an unwelcome cacophony. A significant portion of this operational noise often stems directly from the stepper motors, the unsung workhorses that precisely move your printhead and build plate. Beyond mere annoyance, these vibrations can translate into visible artifacts on your prints, such as ghosting or ringing. Fortunately, a straightforward and often cost-effective solution exists: the stepper motor damper.
Understanding stepper motor noise and vibration

Explore the
Snapmaker U1
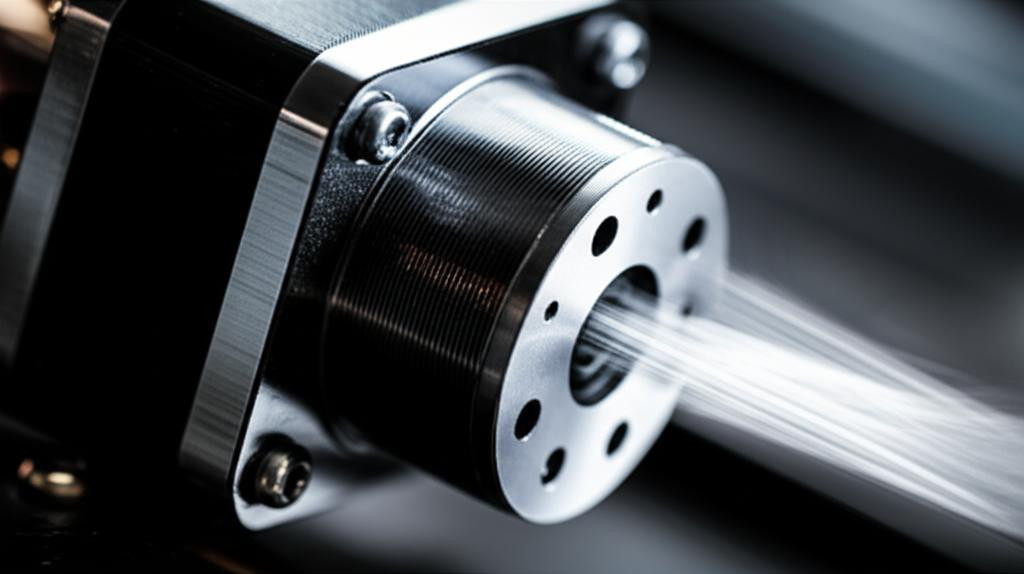
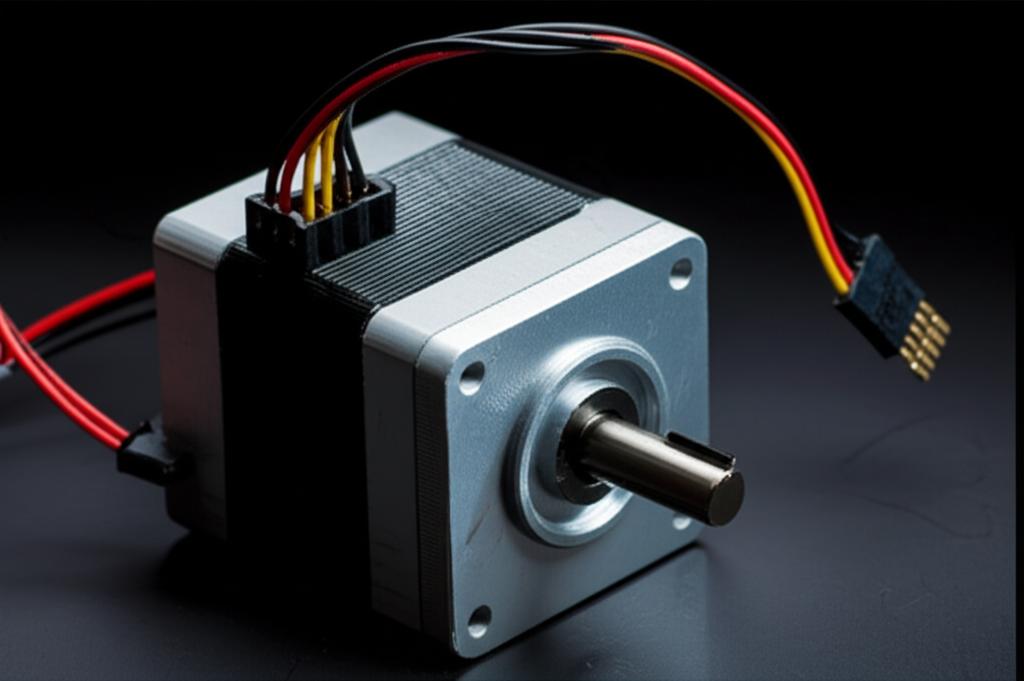
Stepper motors operate by rapidly switching electromagnetic fields to move in discrete steps. While incredibly precise, this rapid stepping action inevitably generates vibrations. These vibrations then propagate through the motor's mounting bracket and into the printer's frame, essentially turning your entire printer into a giant resonator. The result is audible noise and mechanical 3D printer vibration that can compromise print quality.
The severity of this issue can vary widely depending on the printer's design, the quality of its components, and even the materials used in its construction. A rigid frame might amplify certain frequencies, while a flimsier one might simply rattle more. Regardless, addressing these mechanical vibrations at their source – the stepper motor itself – is a highly effective strategy for achieving quiet 3D printing.
What are stepper motor dampers?
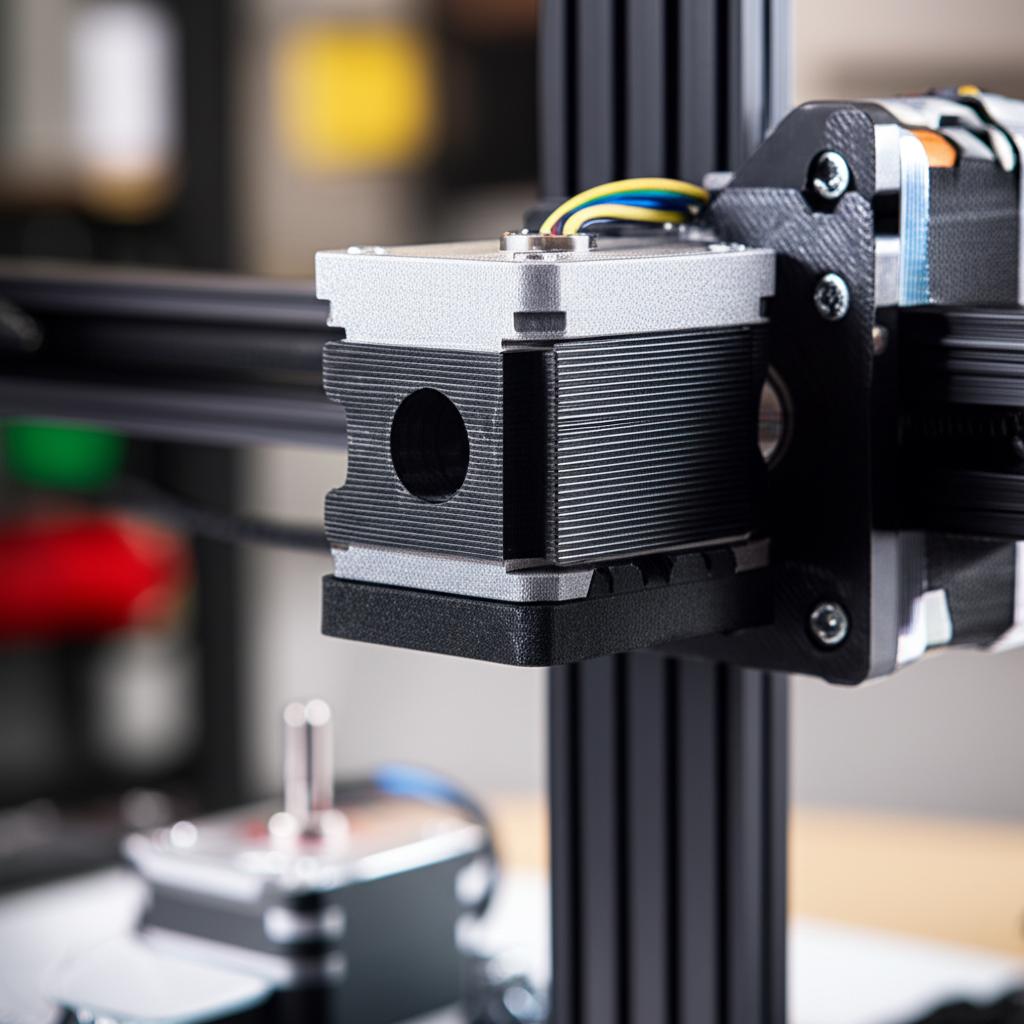
A stepper motor damper is a mechanical isolation device designed to decouple the stepper motor from the printer's frame or mounting bracket. Essentially, it acts as a shock absorber, absorbing the kinetic energy generated by the motor's vibrations before they can transmit to the rest of the printer. Most commonly, these dampers are made from rubber, silicone, or a combination of materials, chosen for their excellent vibration-dampening properties.
For most 3D printers, you'll be looking at dampers designed for NEMA 17 stepper motors, which is the standard size. These dampers typically fit between the motor and its mounting bracket, requiring slightly longer screws for installation. By interrupting the direct metal-on-metal contact, they significantly reduce the amplitude of vibrations transferred to the printer's structure, leading to a noticeable reduction in both audible noise and print artifacts.
The benefits of installing stepper motor dampers
Explore the
Snapmaker U1
The advantages of incorporating stepper motor dampers into your 3D printer are manifold, extending beyond just a quieter workspace:
- Significant noise reduction: This is arguably the primary benefit. By absorbing vibrations, dampers dramatically reduce motor noise, making your printing environment much more pleasant, especially for printers located in living spaces or shared offices.
- Improved print quality: Vibrations can manifest as ghosting, ringing, or "salmon skin" patterns on the surface of your prints. By isolating the motors, dampers help eliminate these imperfections, leading to smoother, cleaner, and more accurate models.
- Reduced wear and tear: Constant vibration can put stress on various printer components, including bearings, belts, and the frame itself. Dampers mitigate this stress, potentially extending the lifespan of your printer and reducing the need for maintenance.
- Enhanced user experience: A quieter printer is simply more enjoyable to use. It allows for longer print sessions without auditory fatigue and makes it easier to focus on other tasks while your printer is running.
Types of stepper motor dampers and their characteristics
When considering a stepper damper installation, you'll encounter a few common types, each with its own characteristics, cost structure, and installation considerations. Understanding these differences can help you make an informed decision tailored to your needs and budget.
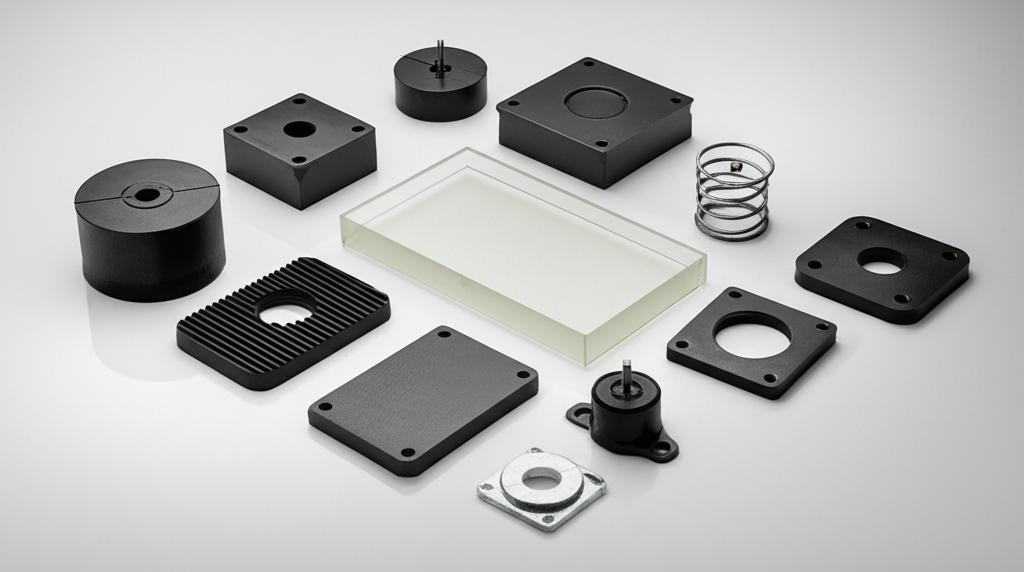
Standard rubber/silicone pad dampers
- Description: These are typically simple, square or rectangular pads made from rubber or silicone. They are designed to be sandwiched directly between the stepper motor and its mounting bracket.
- Cost: Generally the most affordable option, often costing just a few dollars per damper.
- Features: Offer good basic vibration absorption for their simplicity. They are lightweight and add minimal bulk.
- Installation: Very straightforward. Simply unscrew the motor, place the pad, and re-screw using slightly longer M3 screws (often included or easily sourced).
- Considerations: Material quality can vary significantly. Lower-quality rubber might degrade over time or offer less effective dampening. They can also slightly impede heat transfer from the motor to the frame if the motor relies on the frame for cooling.
NEMA 17 integrated bracket dampers
- Description: These dampers often consist of an aluminum bracket with an integrated rubber or silicone isolator. The motor mounts to one side of the isolator, and the bracket mounts to the printer frame on the other side, effectively creating a floating motor mount.
- Cost: Mid-range, typically costing between $5 to $15 per damper, reflecting their more complex construction and material use.
- Features: Provide more robust and often more effective isolation compared to simple pads. The metal bracket can also assist with heat dissipation, as it still provides a path for some thermal energy to escape. Their design can offer better long-term stability.
- Installation: Slightly more involved than simple pads. You'll remove the existing motor, attach it to the integrated damper, and then mount the entire assembly to the printer frame. This usually requires longer M3 screws. They can add a few millimeters to the motor's overall length, which might necessitate adjustments to belt tension or endstop positions.
- Considerations: The added length is the primary factor to consider, as it might affect clearance in tight spaces or require minor recalibration of your printer's axes.
Hybrid solutions and advanced approaches
While not strictly dampers, it's worth noting that physical dampers can be combined with other solutions for ultimate noise reduction. The most common advanced approach involves upgrading to silent stepper motor drivers (e.g., TMC2208, TMC2209). These drivers address the electrical noise generated by the motor's current control, which complements the mechanical isolation provided by physical dampers.
- Cost: Higher, as silent drivers typically cost $10-$20 per driver, plus the cost of dampers.
- Features: Drivers address electrical noise, while dampers address mechanical vibration. Together, they offer the most comprehensive noise reduction.
- Installation: Installing silent drivers is significantly more complex than installing physical dampers, often requiring firmware modifications and a deeper understanding of electronics.
Installation guide: A step-by-step overview
Installing stepper motor dampers is a relatively straightforward upgrade, but careful attention to detail is key. Here’s a general guide:
- Gather your tools: You'll typically need a set of hex keys (Allen wrenches), a screwdriver, and potentially new, longer M3 screws (often supplied with dampers).
- Safety first: Always unplug your 3D printer from the power outlet before performing any modifications.
- Identify target motors: Decide which motors you want to equip with dampers. The X and Y axes are usually the primary culprits for noise and ghosting, but you might also consider the Z and extruder motors.
- Access the motor: Depending on your printer, you might need to remove covers or other components to gain access to the stepper motor and its mounting screws.
- Disconnect wiring: Carefully disconnect the stepper motor's wiring harness. It's good practice to label the wires or take a photo to ensure correct reconnection.
- Remove the motor: Unscrew the motor from its mounting bracket. Be mindful of any belts or lead screws attached to the motor shaft. If removing a motor from a belt-driven axis, you might need to release belt tension first.
- Install the damper:
- For pad dampers: Place the damper directly between the motor and the mounting bracket.
- For integrated bracket dampers: Attach the motor to the damper's integrated bracket, then mount the entire assembly to the printer frame.
Cost analysis and feature comparison: Making an informed decision
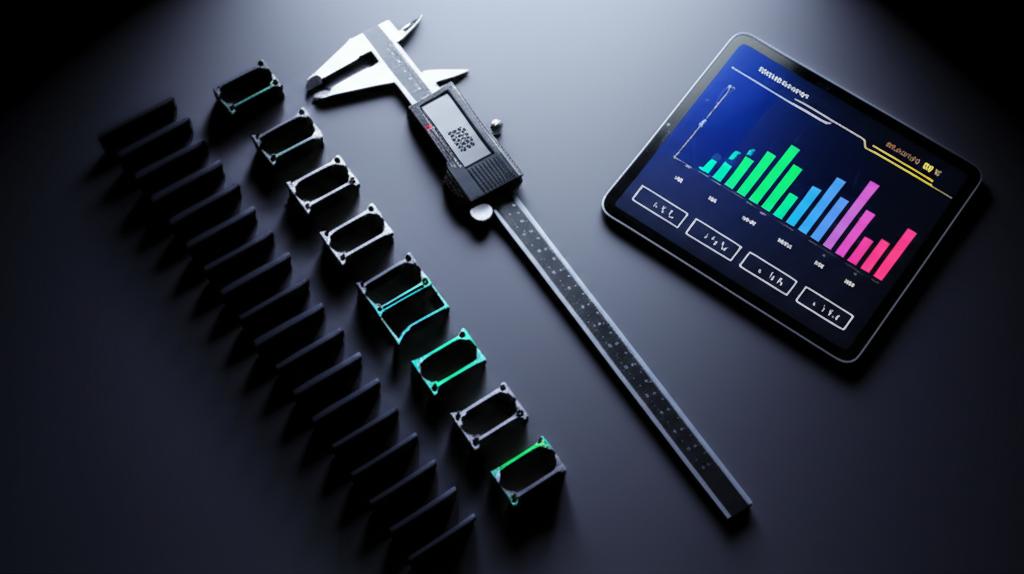
Choosing the right stepper motor damper involves weighing various factors, including cost, effectiveness, and ease of installation. Here's an objective look at the cost structures and features to help you make an informed decision:
Cost structures
- Low-end (simple rubber/silicone pads): These are typically the most budget-friendly, often available for just a few dollars per damper. A set for a common Cartesian printer (X, Y, E axes) might cost under $10.
- Mid-range (integrated NEMA 17 bracket dampers): These come at a slightly higher price point, usually ranging from $5 to $15 per damper. A set for three axes could be $15-$45. This price reflects the additional material (metal bracket) and more complex manufacturing.
- High-end (combination with silent stepper drivers): If you're considering a hybrid approach, silent stepper drivers themselves can cost $10-$20 each. Equipping a printer with three drivers and a set of mid-range dampers could easily push the total investment to $50-$100 or more.
Key features to compare
- Material quality and durability: Higher quality rubber or silicone compounds tend to offer better and more consistent vibration absorption over time. Some cheaper options might harden or degrade, losing effectiveness.
- Effectiveness in noise and vibration reduction: While all dampers aim to reduce noise, their actual performance can vary. Integrated bracket designs often provide superior isolation due to their more substantial decoupling mechanism.
- Ease of installation: Simple pad dampers are generally quicker and easier to install. Integrated bracket dampers require a bit more manipulation and careful re-assembly. Silent drivers, while not dampers, represent the most complex installation due to electronic and firmware considerations.
- Thermal performance: Dampers can create a slight thermal barrier between the motor and the frame, which might be a concern for motors that run very hot. Integrated bracket designs with metal components can help mitigate this by still providing some thermal mass or conduction path.
- Dimensional impact: Simple pads add minimal thickness (1-2mm). Integrated bracket dampers can add 5-10mm to the motor's length, which is a crucial factor for printers with limited clearance or fixed belt paths.
When making your decision, consider your budget, the level of noise reduction you desire, your comfort level with printer modifications, and any potential physical constraints of your specific printer model. For those on a tight budget or seeking a quick fix, simple pads are a great starting point. If you're willing to invest a bit more for enhanced performance and durability, integrated bracket dampers might be a better fit. For the ultimate quiet printing experience, a combination of physical dampers and silent stepper drivers offers the most comprehensive solution.
Potential considerations and trade-offs
While stepper motor dampers offer significant benefits, it's important to be aware of potential trade-offs:
- Heat dissipation: As mentioned, dampers can slightly reduce the motor's ability to transfer heat to the printer frame. For motors that run particularly hot, it might be wise to monitor their temperature or ensure they have adequate airflow. This is generally a minor concern for most 3D printer stepper motors.
- Added length: Dampers, especially the integrated bracket types, add a few millimeters to the motor's length. This can sometimes lead to clearance issues with other printer components or require adjustments to belt tension, endstops, or even lead screw alignment.
- Minimal torque reduction: While negligible for most 3D printing applications, the slight flexibility introduced by the damper material could, in theory, lead to a minuscule reduction in instantaneous torque transmission. This is rarely a practical concern.
- Printer frame rigidity: If your printer's frame itself is inherently flimsy or prone to resonance, dampers might have a reduced impact on overall noise, as the frame itself is the primary source of sound. In such cases, frame bracing or stiffening might be a complementary upgrade.
Conclusion
The quest for a quieter and more refined 3D printing experience often leads to exploring solutions like stepper motor dampers. These simple yet effective devices can dramatically reduce motor noise and mitigate the 3D printer vibration that causes common print artifacts. By decoupling the stepper motors from your printer's frame, you can enjoy a more peaceful environment and achieve higher-quality prints.
Whether you opt for the economical rubber pads or the more robust integrated bracket designs, the decision ultimately hinges on your specific needs, budget, and willingness to undertake modifications. By carefully considering the cost structures, features, and potential trade-offs discussed, you are well-equipped to make an informed choice and embark on your journey towards truly quiet 3D printing.