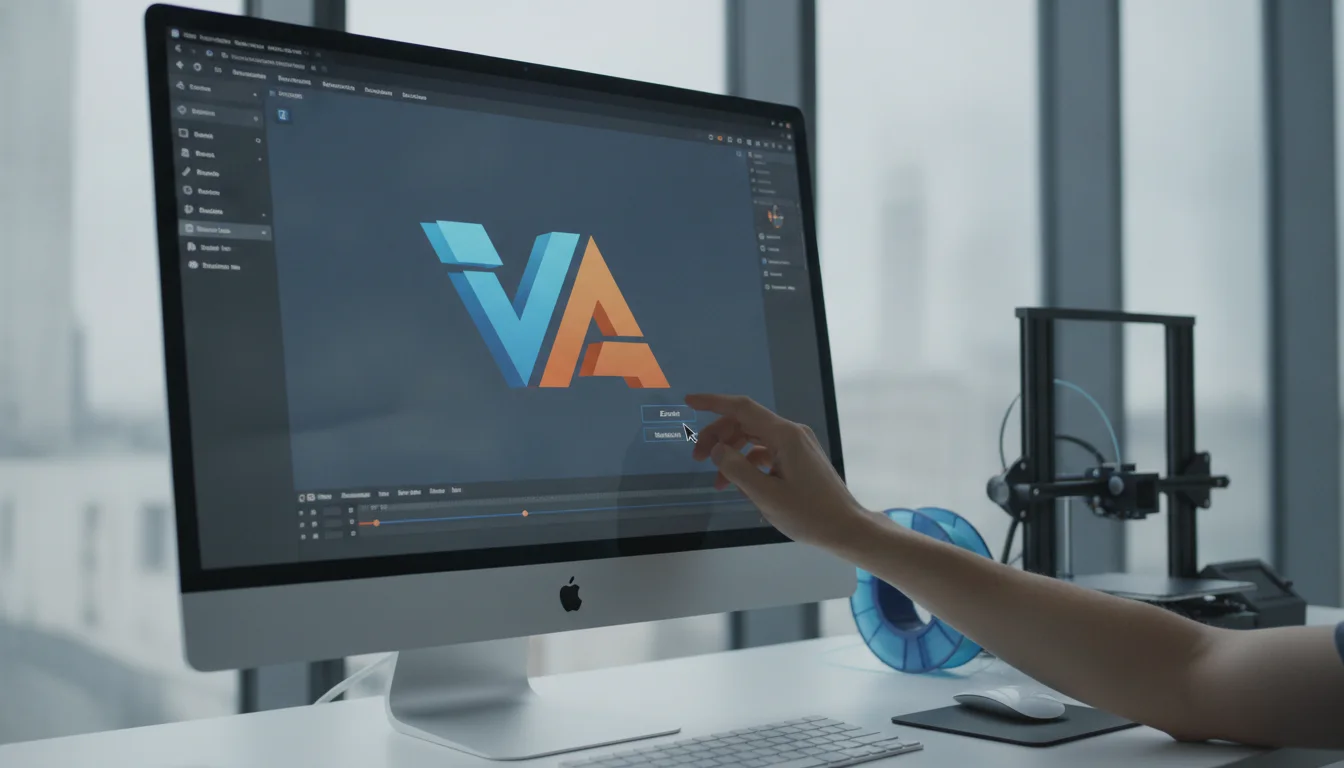
In today’s visually-driven world, a distinctive logo is paramount for any brand. While 2D logos have long been the standard, the allure of a dynamic, three-dimensional emblem is undeniable. Traditionally, crafting 3D designs required powerful desktop software, often accompanied by steep learning curves and significant financial investment. However, the landscape of 3D modeling has evolved dramatically, thanks to innovative online platforms like Vectary. This comprehensive Vectary tutorial will guide you through the process of creating a simple yet striking 3D logo from scratch, all within your web browser – absolutely no download 3D software required.
Vectary stands out as an exceptional tool for those looking to dive into online 3D modeling for beginners. Its intuitive interface and cloud-based nature make it accessible to anyone with an internet connection, democratizing 3D design in a way never before possible. Whether you’re a budding entrepreneur, a freelance designer, or simply curious about 3D, this guide will equip you with the knowledge to create 3D logo online with ease.
Why choose an online 3D modeler like Vectary?
The consumer toolchanger 3D printer: the SnapSwap 4-toolhead system swaps heads in 5 seconds for true multi-color and multi-material printing, with smart calibration and auto filament loading.
- 4 toolheads · 5 s swap
- Up to 500 mm/s · 20,000 mm/s²
- 270 mm cube build volume
- Multi-color & multi-material

The decision to opt for an online 3D modeling solution like Vectary, as opposed to traditional desktop software or outsourcing to a professional, hinges on several factors related to features, accessibility, and cost structure. Understanding these differences can help you make an informed choice for your 3D logo creation needs.
Accessibility and features: Online vs. desktop software
- No download, no installation: One of Vectary’s most compelling features is its browser-based operation. This eliminates the need for downloading and installing large software packages, which can be a significant hurdle for users with limited storage, older hardware, or restricted network environments. It also means you can access your projects from any computer, anywhere, simply by logging in.
- System requirements: Desktop 3D software often demands high-end graphics cards, substantial RAM, and powerful processors. Vectary, being cloud-rendered, offloads much of this processing to its servers, making it accessible even on less powerful machines. This feature alone drastically lowers the barrier to entry for many aspiring 3D designers.
- Ease of learning: While professional desktop software offers unparalleled depth and control, it typically comes with a steep learning curve. Vectary is designed with user-friendliness in mind, simplifying complex 3D concepts into approachable tools and workflows, making it ideal for online 3D modeling for beginners.
- Collaboration: Cloud-based platforms inherently support easier collaboration. Sharing projects and working with team members becomes more streamlined, a feature often more complex to set up with traditional desktop applications.
Cost structures: DIY with Vectary vs. professional services
When considering the cost of obtaining a 3D logo, there are generally three paths: using a free or freemium tool like Vectary, investing in paid software, or hiring a professional. Each has a distinct cost structure and set of features.
- Vectary’s freemium model: Vectary offers a robust free tier, allowing users to create and export a significant number of projects without any financial outlay. This is a crucial feature for beginners and those with limited budgets, enabling them to experiment and produce quality work at no direct cost. Paid plans unlock additional features, such as more projects, advanced materials, higher-resolution exports, commercial rights, and enhanced collaboration tools. This tiered structure allows users to scale their investment as their needs grow, providing flexibility that many dedicated software licenses do not.
- Paid desktop software: Traditional 3D modeling software often requires a substantial upfront purchase or a recurring subscription fee, which can range from hundreds to thousands of dollars annually. While these tools offer advanced capabilities, their cost can be prohibitive for individuals or small businesses, especially if 3D design is not their primary function.
- Hiring a professional: Outsourcing 3D logo design to a freelancer or agency can yield highly polished results tailored to specific requirements. However, this comes with a professional fee, which can vary widely based on complexity, designer experience, and turnaround time, often ranging from hundreds to thousands of dollars per project. While convenient, it offers less direct control over the creative process and can be a recurring expense for multiple projects.
By offering a powerful free tier and scalable paid plans, Vectary positions itself as an accessible and cost-effective solution, especially for those who want to maintain creative control and learn 3D design without a significant initial financial commitment.
Getting started with Vectary: Your first steps
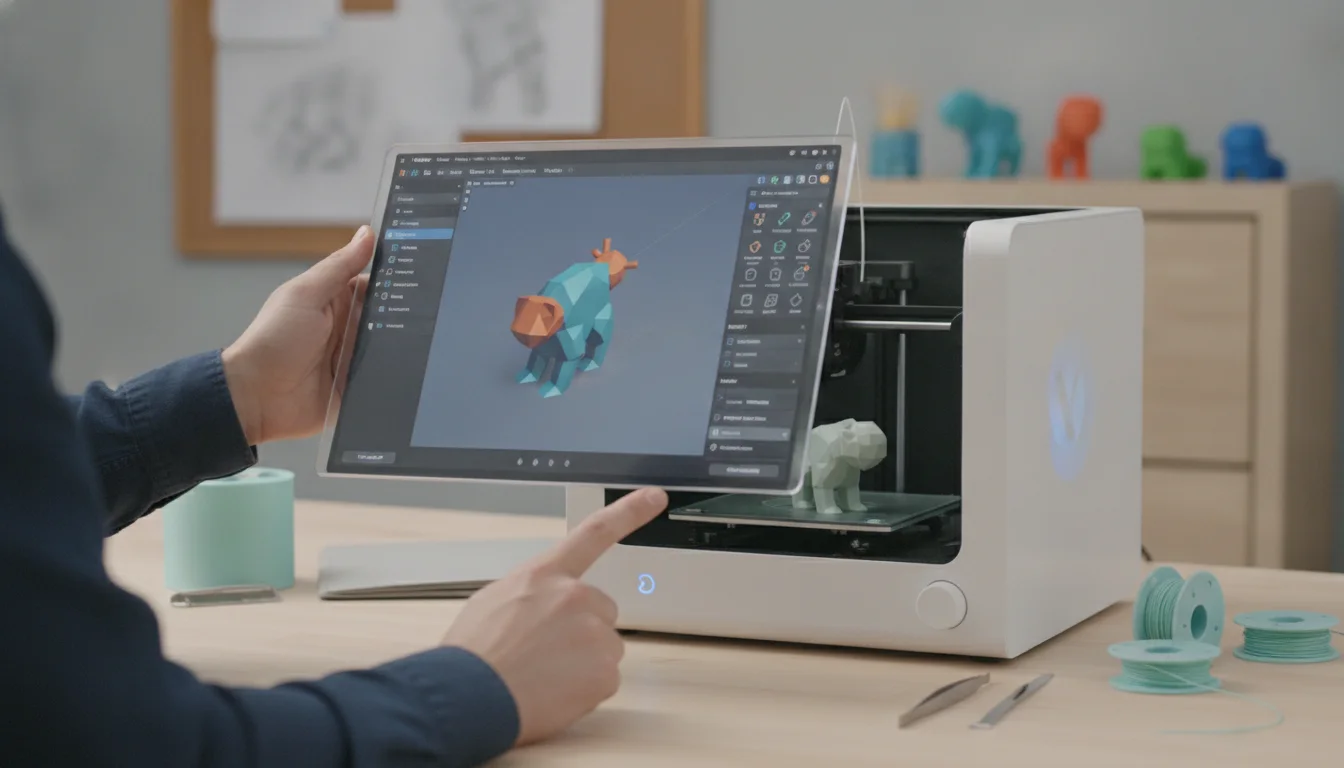
Before we dive into creating your 3D logo, let’s get you set up with Vectary.
1. Signing up and logging in
- Navigate to the Vectary website in your preferred web browser.
- Click on the “Get Started” or “Sign Up Free” button.
- You can sign up using your Google account for quick access or with your email address. Follow the on-screen prompts to complete your registration.
- Once registered, log in to your Vectary account. You’ll be taken to your dashboard, where you can manage your projects.
2. Understanding the interface
Vectary’s interface is designed to be intuitive. Here’s a quick overview of the main areas you’ll encounter:
- Viewport: The central area where you see and manipulate your 3D objects. You can orbit, pan, and zoom using your mouse (left-click + drag to orbit, right-click + drag to pan, scroll wheel to zoom).
- Toolbar (left side): Contains tools for selection, transformation (move, rotate, scale), and other essential modeling operations.
- Object list (right side, top): Lists all the objects in your scene, allowing you to select and organize them.
- Properties panel (right side, bottom): Displays the properties of the currently selected object, material, or light, allowing you to adjust parameters like color, texture, size, and position.
- Asset library (top bar): Provides access to a vast collection of free and premium 3D models, materials, lights, and environments to kickstart your projects.
3. Creating a new project
From your dashboard, click on “New Project” to start a fresh canvas. Vectary will load the editor, presenting you with an empty scene, ready for your creative input.
Step-by-step: Crafting your 3D logo

Now, let’s get hands-on and create your 3D logo online.
Step 1: Importing or creating your 2D logo shape
The foundation of your 3D logo will be a 2D shape or text. Vectary offers flexibility here:
- Using text: If your logo is text-based, click on the “Text” icon in the left toolbar. A text object will appear in your scene. In the properties panel on the right, type your logo text, choose a font, and adjust its size and style.
- Importing an SVG: For more complex or custom 2D logo designs, it’s best to create them in a vector graphics editor (like Adobe Illustrator or Inkscape) and export them as an SVG file. In Vectary, go to the top bar, click “Import,” and select your SVG file. Vectary will convert your 2D vector path into a 3D object. Ensure your SVG is clean and simplified for best results.
For this tutorial, let’s assume you’re starting with simple text. Position your text centrally in the viewport.
Step 2: Extruding for depth
This is where your 2D text transforms into 3D. Extrusion gives your flat shape volume.
- Select your text object in the viewport or from the object list.
- In the properties panel on the right, locate the “Extrude” option.
- Increase the “Depth” value. As you drag the slider or input a number, you’ll see your text gaining thickness and becoming a solid 3D object. Experiment with different depths to achieve the desired visual impact. A subtle depth often works best for logos.
Step 3: Adding materials and textures
Materials define how your logo looks – its color, shininess, transparency, and more. Textures add surface detail.
- With your 3D logo selected, go to the “Materials” tab in the properties panel.
- Basic color: Click on the color swatch next to “Base Color” to choose a primary color for your logo.
- Material presets: Vectary offers a fantastic library of materials. Click on the “Materials” icon in the top bar (next to the asset library). Browse through categories like “Metals,” “Plastics,” “Glass,” or “Fabrics.” Drag and drop a material directly onto your logo.
- Adjusting properties: Once a material is applied, you can fine-tune its properties in the panel. Experiment with “Roughness” (how shiny or matte it is), “Metallic” (for metallic sheen), and “Transparency” to get the perfect look. For a classic metallic logo, try a polished gold or silver material.
Step 4: Lighting your scene
Good lighting is crucial for making your 3D logo pop. It defines shadows, highlights, and overall mood.
- Go to the “Lights” section in the top bar.
- Drag and drop different light sources into your scene. Common choices include:
- Directional Light: Mimics sunlight, casting strong, parallel shadows.
- Point Light: Acts like a light bulb, emitting light in all directions.
- Spot Light: Creates a focused beam of light, great for highlighting specific areas.
- Area Light: Produces soft, even lighting, ideal for studio setups.
Step 5: Camera setup and composition
The camera determines what your final render will look like.
- In the top bar, click on the “Camera” icon. You can add a new camera or simply adjust your current viewport perspective.
- Position the camera to get the best angle of your logo. Consider the rule of thirds or other compositional guidelines.
- In the camera properties, you can adjust settings like “Field of View” (to control perspective distortion) and “Depth of Field” (to blur the background and focus on your logo).
Step 6: Exporting your 3D logo
Once you’re happy with your creation, it’s time to export it for use.
- Click on the “Export” button, usually found in the top right corner.
- Vectary offers various export options:
- Image (PNG/JPG): For 2D renders of your 3D logo. Choose your desired resolution and transparent background if needed. This is ideal for website banners, social media, or print materials.
- 3D Model (GLB/USDZ/OBJ): If you want to use your 3D logo in other 3D applications, AR experiences, or game engines, export it as a 3D model.
- Web Viewer: Vectary allows you to embed an interactive 3D viewer of your logo directly onto a website.
Understanding Vectary’s cost structure and features
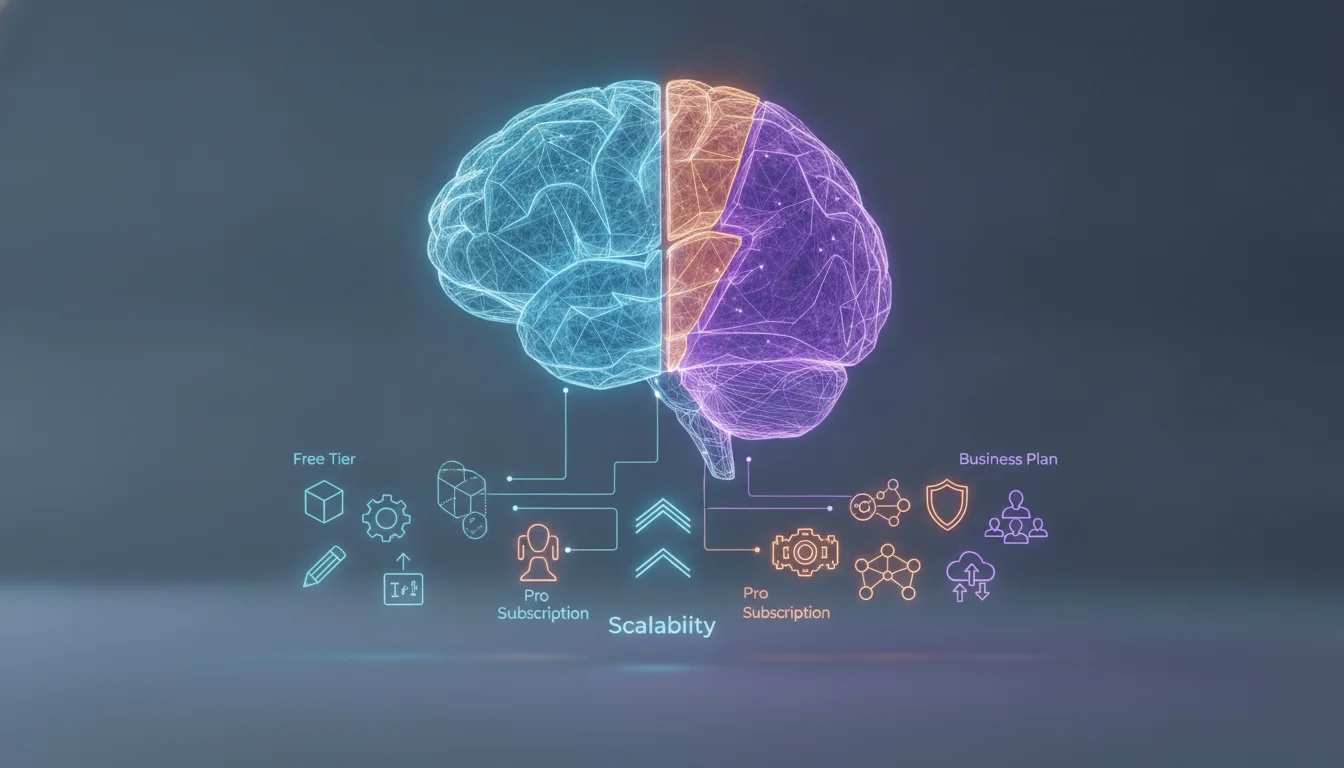
As discussed, Vectary offers a tiered subscription model designed to cater to a broad spectrum of users, from hobbyists to professionals. Understanding these tiers is crucial for leveraging the platform effectively and making informed decisions about your investment.
Free vs. paid plans: What’s included?
Vectary’s approach ensures that even with the free plan, users can accomplish significant tasks, making it an excellent entry point for online 3D modeling for beginners. Here’s a general overview of how features and cost structures typically differentiate:
- Free Plan: This tier is perfect for personal projects, learning, and experimentation. It typically includes:
- A limited number of projects (e.g., 10 projects).
- Access to core 3D modeling tools and basic asset libraries.
- Standard image exports (PNG/JPG) at reasonable resolutions.
- The ability to create and share basic 3D scenes.
- This plan effectively allows you to create 3D logo online without any financial commitment, proving its value as a no download 3D software solution for initial designs.
- Paid Plans (e.g., Premium, Business): These plans are tailored for users with more demanding needs, commercial projects, or collaborative environments. They typically unlock:
- An increased or unlimited number of projects.
- Access to advanced materials, textures, and a larger, premium asset library.
- Higher resolution exports and more 3D model export formats (e.g., GLB, USDZ, OBJ, FBX).
- Commercial use rights for your creations.
- Advanced collaboration features, allowing teams to work together seamlessly.
- Priority support.
- The removal of Vectary branding from embedded viewers.
Matching features to your needs
When evaluating which plan is right for you, consider the following:
- For beginners and learners: The free plan is an ideal starting point. It provides all the necessary tools to learn the basics, follow tutorials like this one, and create non-commercial projects. You can get a feel for 3D modeling without any financial risk.
- For small businesses and freelancers: If you plan to use your 3D logos for commercial purposes, or if you need access to more advanced rendering options and a broader selection of assets, a paid plan becomes a worthwhile investment. The ability to export higher quality images and 3D models, along with commercial rights, is often essential.
- For teams and agencies: Business-tier plans typically offer enhanced collaboration features, allowing multiple users to work on projects simultaneously and manage assets more effectively. This can significantly streamline workflows for larger organizations.
Vectary’s flexible pricing ensures that you only pay for the features you need, allowing you to scale up as your skills and project requirements evolve. This contrasts with many traditional software licenses that require a significant upfront cost regardless of your usage level, making Vectary a highly adaptable choice for diverse users.
Tips for optimizing your 3D logo and workflow
The consumer toolchanger 3D printer: the SnapSwap 4-toolhead system swaps heads in 5 seconds for true multi-color and multi-material printing, with smart calibration and auto filament loading.
To get the most out of your Vectary tutorial experience and ensure your 3D logos are top-notch, keep these tips in mind:
- Keep it simple: Especially for logos, less is often more. Overly complex geometry can make your logo hard to read and increase rendering times. Focus on clean lines and clear shapes.
- Experiment with lighting: Lighting can drastically change the mood and perception of your logo. Play around with different light types, colors, and intensities. Try a three-point lighting setup for professional results.
- Material choices matter: The material you choose communicates a lot about your brand. A metallic material suggests strength and modernity, while a matte finish might convey elegance or understated quality.
- Utilize the asset library: Vectary’s asset library is a treasure trove. Don’t be afraid to explore pre-made objects, materials, and environments to enhance your scene or inspire new ideas.
- Iterate and refine: 3D design is an iterative process. Create multiple versions, experiment with different colors, materials, and camera angles. Get feedback from others.
- Optimize for performance: While Vectary handles much of the heavy lifting, keeping your scene organized and using optimized models (if importing) can improve editor performance.
Conclusion
Creating a captivating 3D logo no longer requires years of training or expensive software. With Vectary, you have a powerful, accessible, and intuitive tool at your fingertips, enabling you to bring your creative visions to life directly in your web browser. This Vectary tutorial has walked you through the fundamental steps, from setting up your project to applying materials, lighting, and finally exporting your masterpiece. By understanding Vectary’s features and flexible cost structure, you can confidently choose the right path for your 3D design journey.
Whether you’re exploring online 3D modeling for beginners or looking for a quick way to create 3D logo online without the hassle of a software download, Vectary provides a robust solution. Now, it’s your turn to experiment, innovate, and watch your brand’s identity take on a whole new dimension.
Frequently asked questions
Can I use a 3D logo I make on Vectary’s free plan for commercial purposes, like on my business website?
Vectary’s free plan allows you to create and export 3D logos, but it does not include commercial use rights. If you intend to use your logo for any commercial purpose—such as on a business website, in marketing materials, or on products—you will need to upgrade to a paid plan that explicitly grants commercial rights.
What file format should I export from Vectary if I want to put my 3D logo on a website as an interactive model?
For an interactive 3D viewer embedded directly on a website, use Vectary’s “Web Viewer” export option, which generates an embed code. If you need a downloadable 3D file for other platforms, export as GLB (GL Transmission Format), as it is widely supported by web frameworks and AR viewers.
My SVG file won’t import correctly into Vectary. What is the most common cause and fix?
The most common cause is an overly complex or unoptimized SVG with many nested groups, effects, or strokes that Vectary cannot convert into a clean 3D path. To fix this, simplify your SVG in a vector editor like Inkscape or Illustrator: convert all text to paths, flatten layers, and remove any filters or effects before re-exporting as a basic SVG.