Photogrammetry, the science of making measurements from photographs, has become an accessible and powerful tool for creating detailed 3D models. From archaeological documentation to game asset creation, its applications are vast. While professional-grade setups can run into thousands, the good news for enthusiasts and budget-conscious professionals is that high-quality results are often achievable without breaking the bank. This guide delves into various budget photogrammetry camera options, moving beyond the ubiquitous smartphone to explore more dedicated, yet affordable, 3D scanning gear.
Understanding key camera requirements for photogrammetry

Explore the
Snapmaker U1
Before diving into specific camera types, it's crucial to understand what makes a camera suitable for photogrammetry. The goal is to capture crisp, undistorted images with consistent exposure and ample detail, which the software can then piece together into a cohesive 3D model. Several factors play a pivotal role:
- Sensor size and resolution: While more megapixels often sound better, sensor size is arguably more critical. Larger sensors (like APS-C or Full-Frame) generally offer better low-light performance, a wider dynamic range, and shallower depth of field when desired, translating to cleaner images with less noise. High resolution is beneficial for capturing fine details, but it must be paired with a quality sensor and lens.
- Lens quality and characteristics: The lens is often as important as, if not more important than, the camera body. A sharp lens with minimal distortion is paramount. Prime lenses (fixed focal length) are often preferred for their superior sharpness and lower distortion compared to zoom lenses. A consistent focal length is also vital; if using a zoom lens, it should be locked at a specific focal length for all photos in a dataset.
- Manual controls: The ability to manually set aperture, shutter speed, and ISO is non-negotiable. This ensures consistent exposure and depth of field across all photographs, which is critical for photogrammetry software to accurately align images. Auto modes can lead to variations that complicate the reconstruction process.
- RAW image capture: RAW files contain significantly more image data than compressed JPEG files. This extended data provides greater flexibility in post-processing for adjusting exposure, white balance, and recovering details in highlights and shadows, all without introducing artifacts. This robustness is invaluable for optimizing images before feeding them into photogrammetry software.
- Global versus rolling shutter: Most consumer cameras use a rolling shutter, meaning the sensor scans the scene line by line. For static objects, this is rarely an issue. However, for capturing moving subjects or when the camera itself is moving rapidly (e.g., drone photogrammetry), a rolling shutter can cause distortion. For typical static object photogrammetry, a rolling shutter camera is usually sufficient, but understanding its limitations is helpful.
Beyond the smartphone: Entry-level dedicated cameras
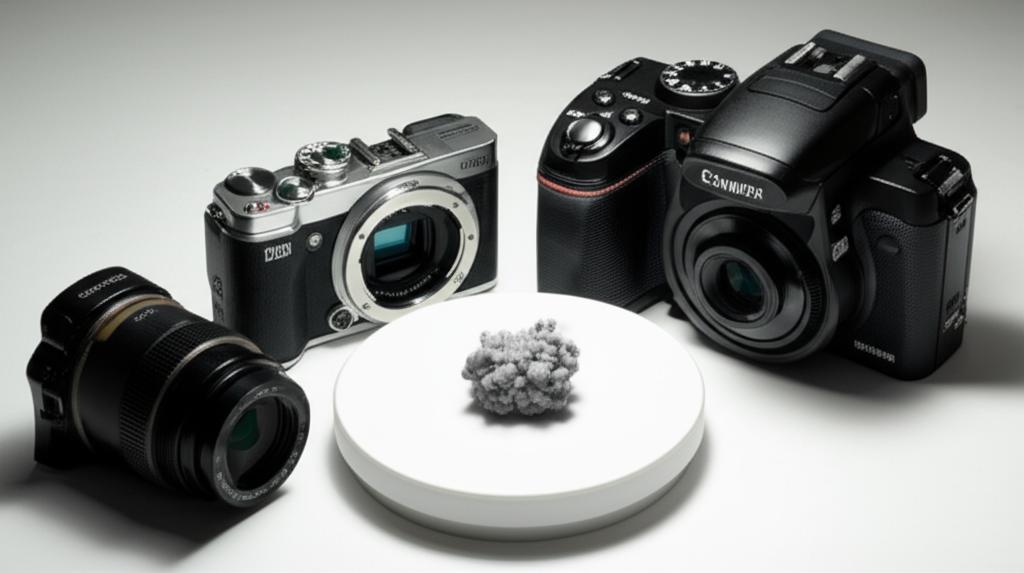
While modern smartphones boast impressive cameras, they often fall short in critical areas for professional-grade photogrammetry, such as true manual control, RAW output (or robust RAW files), and interchangeable, high-quality lenses. Stepping up to a dedicated camera opens up a world of possibilities for more precise and detailed 3D models.
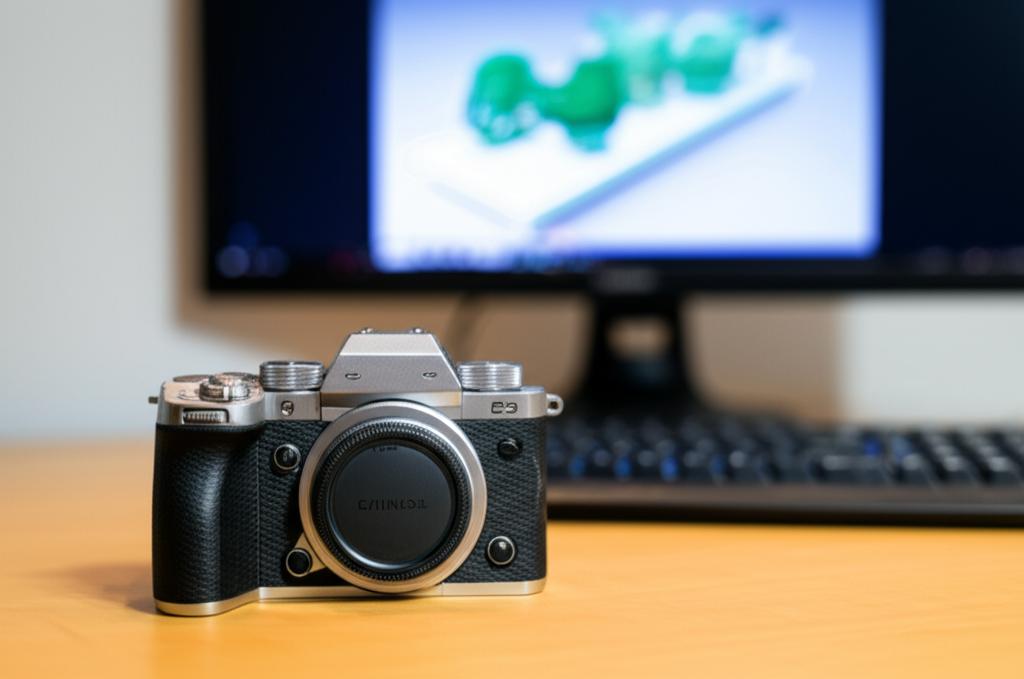
Entry-level DSLR and mirrorless cameras
For many, an entry-level DSLR (Digital Single-Lens Reflex) or mirrorless camera represents the sweet spot for budget photogrammetry camera setups. These cameras offer a significant upgrade over smartphones in terms of image quality, flexibility, and control.
Cost structure and features:
- Body cost: New entry-level DSLR or mirrorless bodies can range from approximately $400 to $800. Brands like Canon (e.g., Rebel series, EOS M series), Nikon (e.g., D3x00/D5x00 series, Z30/Z50), and Sony (e.g., Alpha a6000 series) offer compelling options. Used bodies can be found for significantly less, sometimes as low as $150-$300 for older, but still highly capable, models.
- Sensor size: Most entry-level models feature APS-C sensors, which are substantially larger than smartphone sensors, providing superior image quality, especially in challenging lighting conditions.
- Manual controls: Full manual control over aperture, shutter speed, and ISO is standard, allowing for precise image capture.
- RAW capability: All modern DSLRs and mirrorless cameras support RAW file output, offering maximum flexibility in post-processing.
- Interchangeable lenses: This is a major advantage. It allows users to select specific lenses tailored for photogrammetry, such as sharp prime lenses with minimal distortion.
Considerations:
- Lenses: While kit lenses (e.g., 18-55mm) can get you started, investing in a good quality prime lens (e.g., 35mm or 50mm f/1.8) is often recommended. These lenses are relatively affordable (new from $100-$300, used even less) and offer superior sharpness and lower distortion.
- Learning curve: Operating a DSLR or mirrorless camera in manual mode requires a basic understanding of photography principles.
- Portability: While more portable than high-end professional cameras, they are still bulkier than smartphones or compact cameras.
These cameras offer an excellent balance of image quality, control, and an upgrade path through lens choices, making them a strong contender for affordable 3D scanning gear.
Advanced compact cameras (point-and-shoot with larger sensors)
For those prioritizing portability without sacrificing too much image quality, advanced compact cameras can be a viable option. These cameras bridge the gap between basic point-and-shoots and interchangeable-lens systems.
Cost structure and features:
- Cost: New, these cameras typically range from $300 to $600. Popular series include Sony RX100, Canon G-series, and Panasonic LX100. Used prices can be quite attractive.
- Sensor size: Many advanced compacts feature 1-inch sensors, which are significantly larger than typical smartphone sensors, though smaller than APS-C. This provides a noticeable boost in image quality and low-light performance.
- Manual controls: Most offer full manual control, essential for consistent photogrammetry captures.
- RAW capability: RAW file support is common in this category.
- Fixed lens: The primary trade-off is the fixed, non-interchangeable lens. While these lenses are often of good quality, they can introduce more distortion than dedicated prime lenses on DSLRs/mirrorless cameras.
Considerations:
- Lens distortion: Carefully research reviews to assess the inherent distortion of the fixed lens. Photogrammetry software can correct for some distortion, but minimizing it at the capture stage is always preferable.
- Aperture range: While some offer wide apertures, ensuring a consistent aperture (often f/5.6 or f/8 for depth of field) across all shots is still key.
- Portability: Their compact size makes them ideal for field work or situations where a bulkier setup is impractical.
An advanced compact camera can serve as an excellent entry-level photogrammetry equipment choice, particularly if space and simplicity are high priorities.
The smart shopper's route: Used and refurbished gear
One of the most effective ways to acquire a capable budget photogrammetry camera is by exploring the used and refurbished market. This approach can unlock access to higher-tier cameras and lenses that would be out of budget when purchased new.
Cost implications and benefits:
- Significant savings: Used camera bodies and lenses can often be found for 30-70% less than their new retail price, making higher-end equipment surprisingly affordable.
- Access to older flagship models: Many older professional or enthusiast-level DSLRs (e.g., Nikon D7000/D7100, Canon 7D, older Sony Alpha models) still offer excellent image quality, robust build, and comprehensive manual controls perfect for photogrammetry. These often feature larger sensors and better build quality than new entry-level models at a similar price point.
Where to look and what to check:
- Reputable retailers: Websites like MPB, KEH, and B&H Photo (used section) offer used gear that has been inspected and often comes with a limited warranty.
- Online marketplaces: eBay, Facebook Marketplace, and local classifieds can offer great deals, but require more due diligence from the buyer.
- What to inspect:
- Shutter count: For DSLRs, a lower shutter count indicates less use.
- Sensor cleanliness: Check for dust spots or scratches on the sensor (test with a photo of a plain, light surface at a small aperture).
- Lens condition: Inspect for scratches, fungus, haze, or excessive dust inside the lens elements. Check the aperture blades for smooth operation.
- Physical condition: Look for significant dents, scuffs, or signs of impact that might indicate internal damage.
- Functionality: Test all buttons, dials, and ports. Ensure the camera takes photos, focuses, and saves files correctly.
Opting for used gear is an excellent strategy for building an affordable 3D scanning gear setup, provided one is careful and thorough in their selection process.
The unsung hero: Lenses for photogrammetry
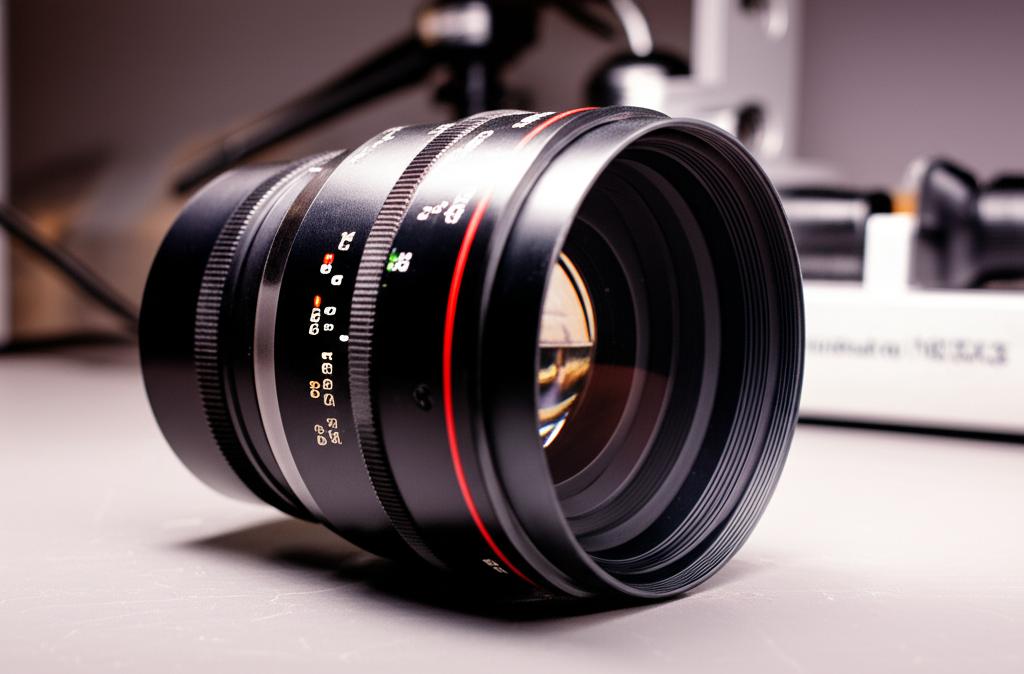
While the camera body captures the light, it's the lens that focuses it, and its quality profoundly impacts the final 3D model. For photogrammetry, lens choice often outweighs the minor differences between comparable camera bodies.
Prime versus zoom lenses:
- Prime lenses: These have a fixed focal length (e.g., 50mm, 35mm) and are generally preferred for photogrammetry. They typically offer superior sharpness, wider maximum apertures, and less optical distortion compared to zoom lenses. Their simpler optical design often results in more consistent image quality across the frame.
- Zoom lenses: While versatile, zoom lenses can introduce more optical aberrations (like barrel or pincushion distortion) and vary in sharpness across their focal range. If using a zoom lens, it is imperative to set and lock the focal length for the entire capture session to maintain consistency.
Focal length considerations:
- Standard focal lengths (35mm-50mm on APS-C, 50mm-85mm on Full-Frame): These are often ideal for general photogrammetry. They provide a natural perspective, minimize distortion, and offer a good balance between field of view and detail capture.
- Wide-angle lenses (below 35mm on APS-C): While useful for capturing large scenes or objects in confined spaces, wide-angle lenses inherently introduce more distortion, especially at the edges of the frame. This distortion can be corrected in software but can complicate the alignment process if severe.
- Telephoto lenses (above 85mm on Full-Frame): Less commonly used for general photogrammetry due to their narrow field of view, requiring many more photos to cover an object. However, they can be useful for capturing details on distant objects or for very large subjects where the camera cannot get close.
Cost implications:
A good quality prime lens can cost anywhere from $100 to $300 new for popular brands, with used options often half that price. This makes them a very cost-effective upgrade that significantly impacts image quality. Even an older, manual focus prime lens can yield excellent results if sharp and distortion-free.
Essential budget-friendly accessories
Beyond the camera itself, a few accessories can dramatically improve the quality and consistency of your photogrammetry captures, often without a significant financial outlay.
- Tripod: A sturdy tripod is crucial for maintaining consistent camera position and angle, especially for multi-row captures or when working with fixed lighting. It minimizes camera shake and ensures each photo is taken from a precise, repeatable viewpoint. Budget-friendly tripods can be found for $30-$70.
- Remote shutter release: Whether wired or wireless, a remote shutter release prevents camera shake that can occur when pressing the shutter button manually. Many cameras can also be controlled via a smartphone app, serving a similar purpose. Costs range from $10-$50.
- Lighting: Consistent, diffuse lighting is paramount. Natural overcast daylight is often ideal. For indoor setups, simple LED panel lights or even well-positioned desk lamps with diffusion material (like tracing paper or white fabric) can provide sufficient, shadow-minimizing illumination. Avoid harsh, direct light that creates strong shadows and specular highlights, which can confuse photogrammetry software.
- Turntable: For smaller objects, a simple manual or motorized turntable can greatly simplify the capture process, ensuring uniform rotation and consistent subject-to-camera distance. Manual turntables can be as inexpensive as $10-$20.
- Processing software: While some high-end photogrammetry software packages come with hefty price tags, there are excellent free and open-source options (e.g., Meshroom, OpenMVG) or affordable paid solutions (e.g., Metashape Standard, RealityCapture Indie). Many offer free trials, allowing users to test before committing.
Comparative cost structures for budget photogrammetry setups

To help in decision-making, here's an illustrative breakdown of typical cost ranges for different budget-friendly photogrammetry camera setups. These figures are approximate and can vary based on region, sales, and the condition of used gear.
Setup 1: Enhanced smartphone approach
- Camera: Existing high-end smartphone ($0, if already owned)
- Lenses/Accessories: Clip-on wide-angle or macro lens ($20-$100), smartphone tripod mount ($10-$30), small tripod ($20-$50)
- Software: Free/paid photogrammetry apps or desktop software (free trials, open-source)
- Estimated total: $50 - $180 (excluding phone cost)
Setup 2: Entry-level DSLR/Mirrorless (used body, budget prime lens)
- Camera body: Used entry-level/mid-range DSLR or mirrorless (e.g., Nikon D3300, Canon Rebel T5i, Sony a6000) ($150 - $400)
- Lens: Used "nifty fifty" (50mm f/1.8) or similar sharp prime lens ($50 - $150)
- Accessories: Basic tripod ($30 - $70), remote shutter ($10 - $30)
- Software: Free/open-source or entry-level paid software ($0 - $180)
- Estimated total: $240 - $830
Setup 3: Advanced compact camera (new or used)
- Camera: New or used advanced compact (e.g., Sony RX100 series, Canon G7X Mark II) ($300 - $600)
- Lens: Integrated fixed lens (cost included in camera body)
- Accessories: Basic tripod ($30 - $70), remote shutter (if supported, $10 - $30)
- Software: Free/open-source or entry-level paid software ($0 - $180)
- Estimated total: $340 - $880
Setup 4: Entry-level DSLR/Mirrorless (new body, kit lens)
- Camera body: New entry-level DSLR/mirrorless with kit lens (e.g., Canon Rebel T8i, Nikon Z30, Sony a6100) ($500 - $900)
- Lens: Kit lens (e.g., 18-55mm or 16-50mm, cost included in body)
- Accessories: Basic tripod ($30 - $70), remote shutter ($10 - $30)
- Software: Free/open-source or entry-level paid software ($0 - $180)
- Estimated total: $540 - $1180
These figures demonstrate that high-quality photogrammetry doesn't necessarily demand top-tier budgets. By strategically combining used gear with thoughtful accessory choices, it's possible to assemble a highly capable setup for a few hundred dollars.
Making an informed decision
Choosing the right budget photogrammetry camera setup depends heavily on individual needs, project scope, and existing resources. There isn't a universally "best" or "cheapest" option, but rather a most suitable one based on a nuanced evaluation of several factors:
- Project requirements: For highly detailed, archival-quality models, the control and image quality offered by a used DSLR/mirrorless with a good prime lens might be indispensable. For quick, less critical scans or learning, an advanced compact or even an enhanced smartphone setup could suffice.
- Budget ceiling: Clearly define your maximum spending limit. This will naturally guide you towards certain categories of cameras and accessories.
- Learning curve: Are you comfortable learning manual photography settings and post-processing RAW files? Entry-level DSLRs/mirrorless cameras offer the most control but require more user input. Advanced compacts strike a balance.
- Portability: If you need to capture objects in various locations or travel frequently, a compact camera might be more practical than a bulkier DSLR system.
- Future-proofing: An interchangeable-lens system allows for future upgrades to better lenses without replacing the entire camera body, offering a longer lifespan for your investment.
The key lies in understanding the trade-offs between cost, image quality, and workflow complexity. By objectively comparing the features and cost structures presented, readers can align their equipment choices with their specific photogrammetry goals.
Conclusion
The realm of photogrammetry is more accessible than ever, and achieving high-quality 3D models doesn't require an exorbitant investment in camera gear. Moving beyond the limitations of a smartphone, a range of budget-friendly camera options — from entry-level DSLRs and mirrorless cameras to advanced compacts — offer the necessary features like manual control, RAW capture, and superior optics. The savvy integration of used equipment and essential, affordable accessories further enhances the possibilities for building an effective and economical photogrammetry setup. By carefully considering project needs and budget, individuals can assemble the ideal affordable 3D scanning gear to embark on their 3D modeling journey.