In the dynamic world of 3D printing, achieving the perfect balance between print quality, structural integrity, and production efficiency is often a delicate dance. For a long time, the standard approach involved printing an entire model with a uniform layer height, a method that, while straightforward, often led to compromises. Enter variable layer height, an advanced slicer setting that’s quietly revolutionizing how enthusiasts and professionals approach their 3D prints. This powerful technique allows for dynamic adjustment of layer thickness across different sections of a model, moving beyond the ‘one size fits all’ mentality to deliver truly optimized prints.
Understanding and leveraging variable layer height is akin to unlocking a new dimension in your 3D printing capabilities. Instead of treating every part of your model with the same fidelity, you can strategically assign thinner layers to areas demanding fine detail and smoother surfaces, while utilizing thicker layers for sections where strength is paramount or visual precision is less critical. This guide delves into the intricacies of variable layer height, exploring its mechanisms, benefits, and how you can master this advanced feature to elevate your 3D printing game, yielding both robust and aesthetic prints.
What is variable layer height?
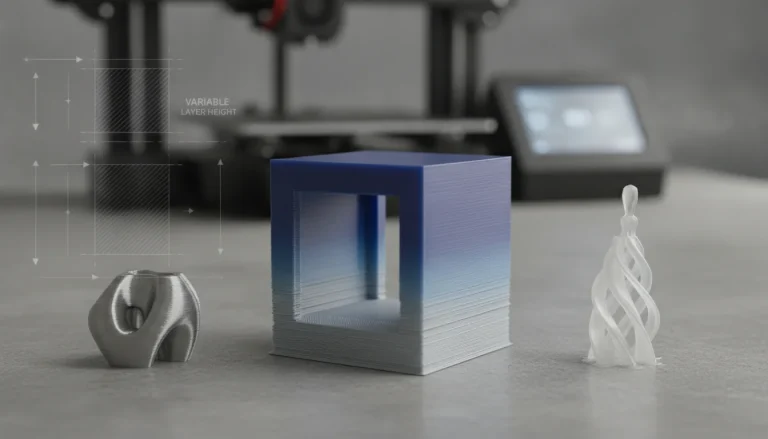
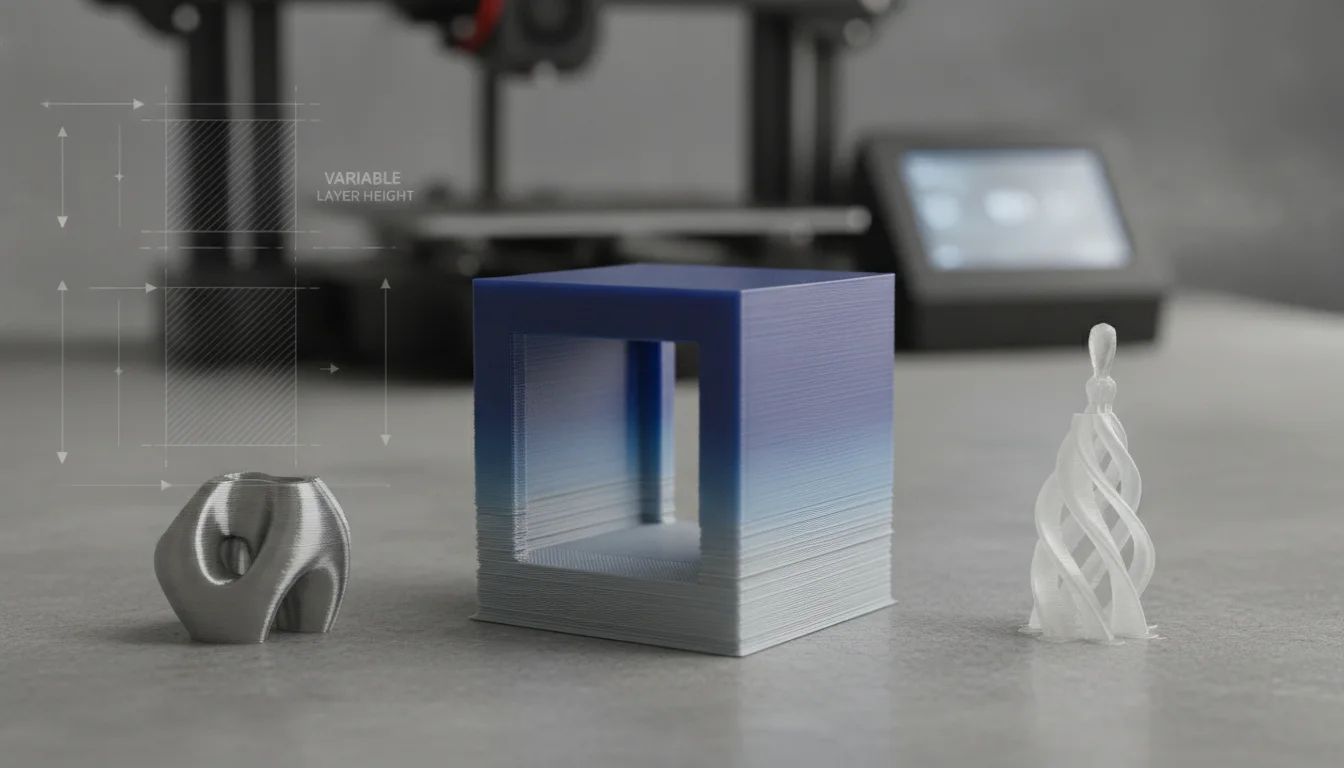
At its heart, variable layer height is a sophisticated slicing strategy that departs from the traditional uniform layer approach. Instead of a single, consistent layer thickness throughout the entire print, this feature enables the slicer to automatically or manually adjust the layer height based on the geometry and desired properties of different sections of your 3D model. Imagine a curved surface on a figurine: with uniform layers, you might get visible ‘steps’ or layer lines. With variable layer height, the slicer can use thinner layers on these curves to smooth them out, making them virtually invisible to the naked eye.
Conversely, for flat sections or internal infill where detail isn’t a concern, the slicer can employ thicker layers, significantly speeding up the printing process without compromising the overall quality of the critical external features. This intelligent allocation of layer thickness is what makes variable layer height a game-changer for achieving truly optimized prints.
The core benefits of embracing variable layer height
The advantages of incorporating variable layer height into your 3D printing workflow are multifaceted, touching upon key aspects like visual appeal, mechanical performance, and efficiency. By understanding these benefits, you can make informed decisions on when and how to apply this technique.
Enhanced aesthetic quality
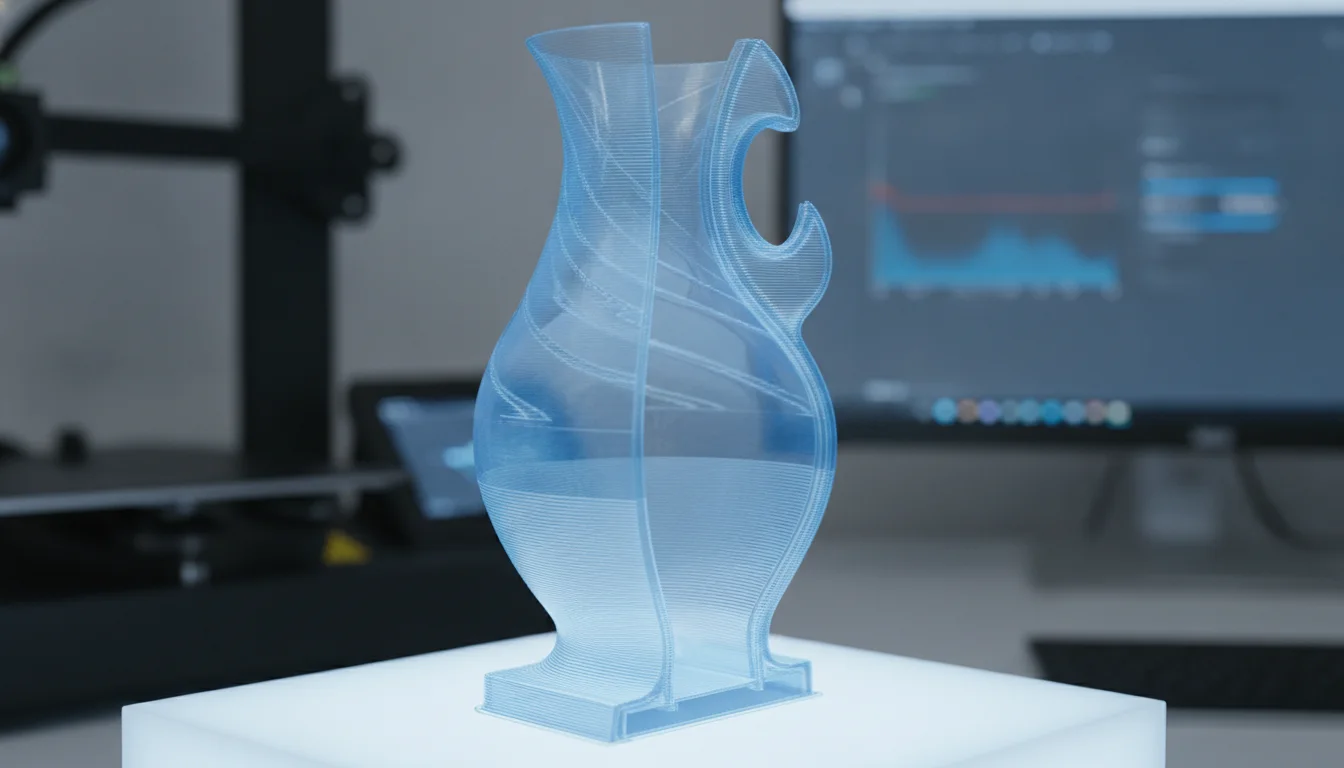
One of the most immediately noticeable benefits of variable layer height is the dramatic improvement in the visual fidelity of your prints. Curved surfaces, intricate details, and sloped angles often suffer from the ‘stair-stepping’ effect when printed with uniform, thicker layers. By deploying thinner layers in these specific areas, the transitions become much smoother, reducing the visibility of layer lines and resulting in a more refined, professional finish. This is particularly valuable for models where aesthetic prints are a primary concern, such as display pieces, prototypes for client review, or intricate figurines.
Improved print strength and mechanical properties
While often associated with aesthetics, variable layer height also plays a crucial role in enhancing the structural integrity of a print. In areas subject to stress or requiring greater rigidity, thicker layers can be employed. Thicker layers generally lead to stronger bonds between layers due to increased material deposition and better thermal retention during deposition, creating a more robust structure. Conversely, thinner layers can also contribute to print strength by allowing for more precise geometry in critical load-bearing areas, ensuring that features like small holes or intricate connections are printed accurately and without distortion. This strategic application ensures that your functional parts are not just visually appealing but also structurally sound.
Optimized print time and material usage
Efficiency is another significant upside. By using thicker layers in less critical areas, the printer completes those sections faster, as fewer layers are needed to build up the same height. This can lead to substantial reductions in overall print time, especially for taller models with varying levels of detail. While the material savings might not be as dramatic as the time savings, printing fewer, thicker layers where appropriate can slightly reduce filament consumption, contributing to more optimized prints over time.
Implementing variable layer height: A slicer-specific approach
The implementation of variable layer height varies across different slicer software, but the underlying principles remain consistent. Most modern slicers offer either an automatic or manual approach, or a combination of both.
Automatic variable layer height generation
Many slicers, such as PrusaSlicer and Cura, offer an automatic variable layer height feature. This typically involves the software analyzing the geometry of your 3D model and intelligently suggesting layer height variations. Users can often define a minimum and maximum layer height, as well as a target average. The slicer then calculates where to apply thinner layers (e.g., on steep curves or fine details) and where to use thicker layers (on flat or less critical sections). This automated approach is excellent for beginners or for models where fine-tuning every detail manually isn’t necessary.
Manual control and fine-tuning
For those who desire more granular control, some slicers provide tools for manual adjustment. This often comes in the form of a slider or painting tool within the preview window, allowing users to visually define specific regions of the model and assign custom layer heights to them. This level of control is invaluable for highly specialized prints, artistic models, or functional parts where specific areas require precise strength or aesthetic considerations. While more time-consuming, manual control offers unparalleled customization for truly optimized prints.
Key slicer settings and parameters
- Minimum and Maximum Layer Height: Defines the permissible range for layer thickness.
- Transition Step/Gradient: Controls how smoothly the layer height changes between different sections. A smaller step results in smoother transitions but can increase slicing complexity.
- Layer Height Threshold/Angle: Some slicers allow you to specify an angle at which thinner layers should be applied (e.g., for slopes steeper than X degrees).
- Layer Height Modifiers: Advanced options in some slicers to apply modifiers based on specific geometric features or user-defined regions.
When and where to apply variable layer height
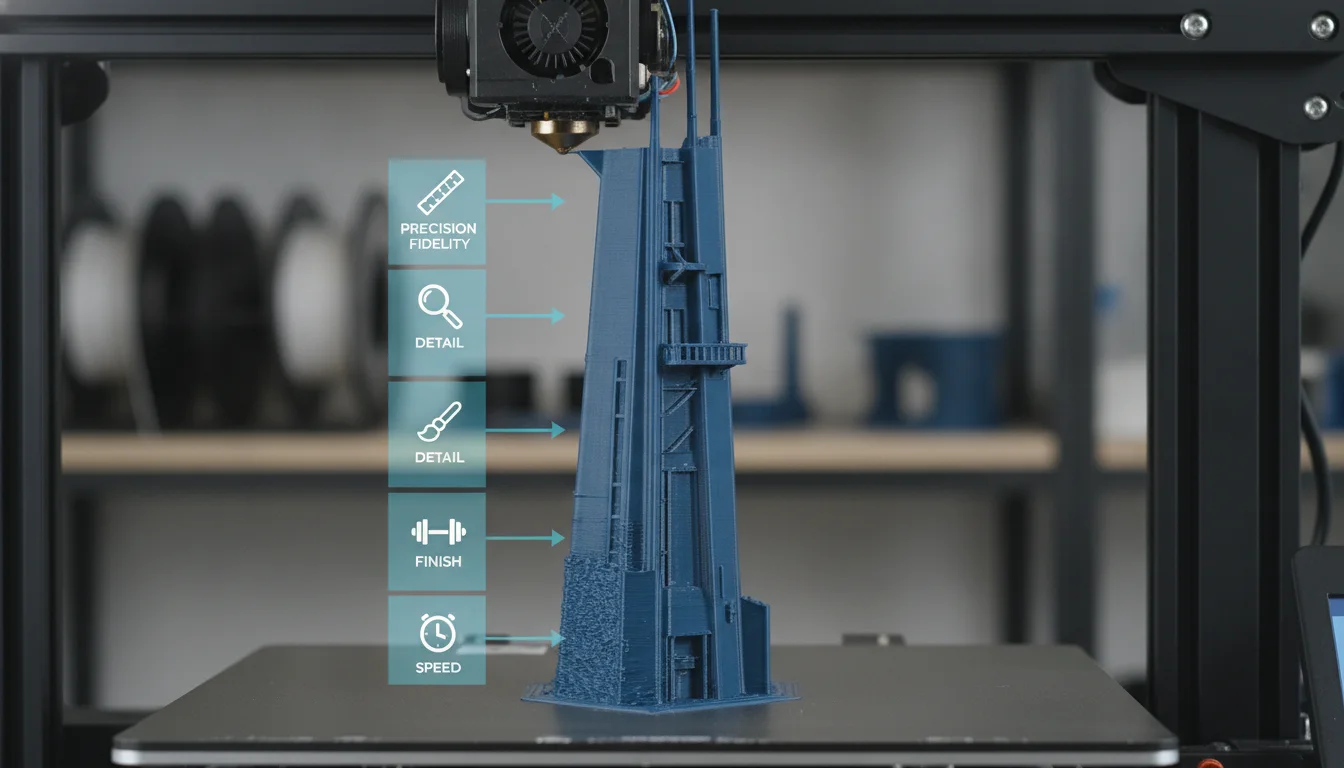
Knowing when to deploy this advanced slicer setting is key to maximizing its benefits. Not every print will gain significantly from variable layer height, but for certain types of models, it can be transformative.
Artistic models and figurines
This is arguably where variable layer height shines brightest. For sculptures, busts, character models, and anything with organic curves and intricate details, applying thinner layers to visible surfaces can dramatically reduce layer lines, resulting in incredibly smooth and lifelike aesthetic prints. The difference between a uniform 0.2mm layer height and a variable layer height print on a human face can be night and day.
Functional prototypes and engineering parts
For parts that need to withstand stress, variable layer height can be used to reinforce critical areas. Imagine a bracket with mounting holes and a long arm. You might use thicker layers for the arm to enhance print strength and rigidity, while using thinner layers around the holes for better dimensional accuracy and smoother contact surfaces. This allows for parts that are both strong where needed and precise where required.
Models with mixed geometries
Many models feature a combination of flat surfaces, sharp edges, and gentle curves. Variable layer height is ideal for these scenarios, allowing the printer to adapt its approach to each section. For instance, a architectural model might have flat walls (thicker layers for speed) and intricate roof details (thinner layers for aesthetics).
Speeding up large prints
If you have a tall print with a relatively simple base and a detailed top, variable layer height can be a time-saver. Thicker layers on the base will build height quickly, transitioning to thinner layers only when the detailed sections begin. This is a pragmatic approach to achieving optimized prints without excessive print times.
While variable layer height offers compelling advantages, it’s not without its nuances. Understanding potential pitfalls can help you avoid frustration and achieve better results.
Increased slicing time
The computational complexity of analyzing a model’s geometry and calculating optimal layer heights means that slicing a model with variable layer height enabled can take significantly longer than with uniform layers. For very complex models, this could add several minutes to the slicing process. However, this is usually a small price to pay for the benefits gained.
Potential for visual artifacts
If not configured correctly, or if the transition between layer heights is too abrupt, variable layer height can sometimes introduce subtle visual artifacts. These might appear as faint lines or inconsistencies where the layer height changes. Experimenting with transition settings (e.g., transition step or gradient) can help smooth these out.
Steeper learning curve for beginners
For newcomers to 3D printing, adding variable layer height to the mix can feel overwhelming. It introduces another layer of settings and considerations. It’s often recommended to master basic uniform layer printing before diving into this advanced slicer setting.
Printer hardware limitations
While most modern FDM printers can handle variable layer heights, extremely thin layers (e.g., 0.05mm or less) might push the limits of some less precise machines, potentially leading to extrusion issues or nozzle clogs if not properly calibrated.
Mastering the technique: Tips for success
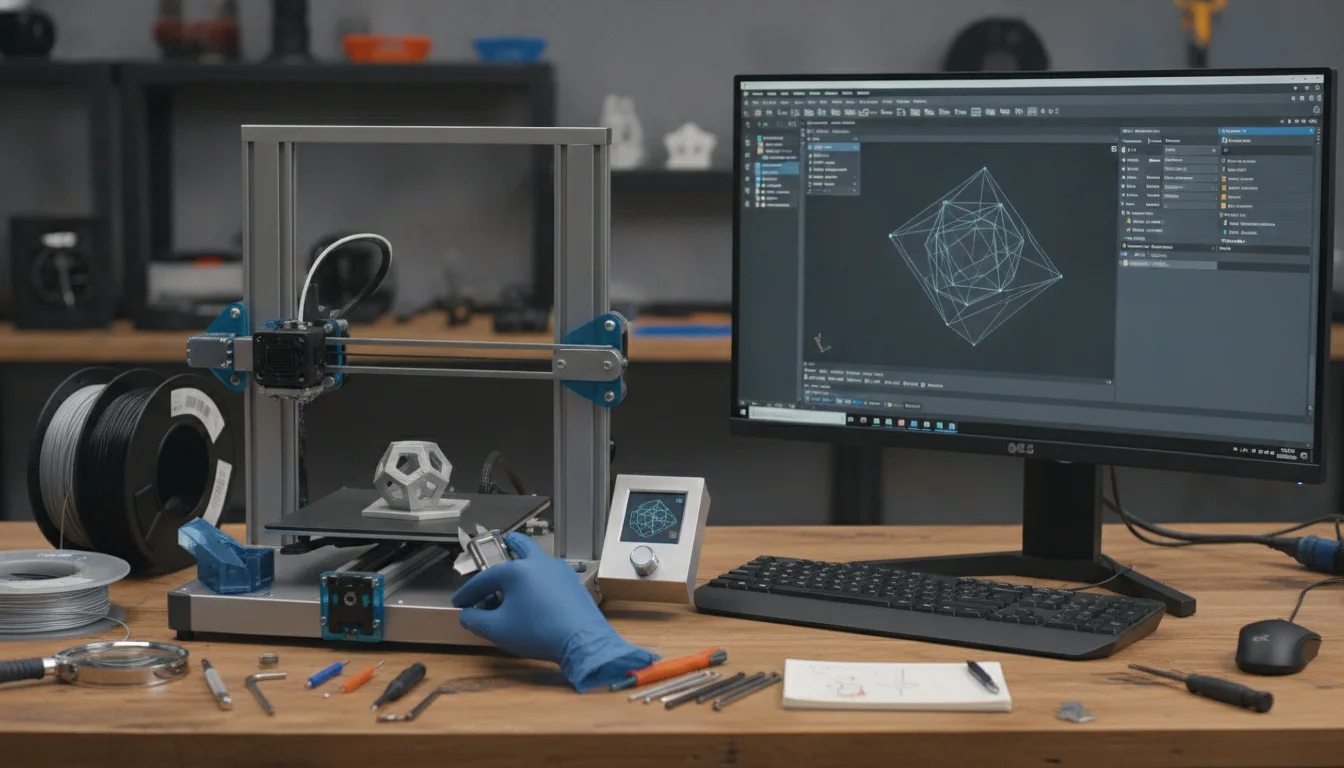
To truly harness the power of variable layer height, a systematic approach and a willingness to experiment are essential.
- Start Simple: Begin with models that have clear sections of high and low detail. Use the automatic variable layer height feature in your slicer first to get a feel for how it works.
- Understand Your Slicer: Each slicer has its own interface and terminology for variable layer height. Spend time exploring the settings in PrusaSlicer, Cura, Simplify3D, or your preferred software. Look for features like ‘Adaptive Layers,’ ‘Variable Layer Height,’ or ‘Layer Height Modifiers.’
- Experiment with Ranges: Don’t be afraid to play with the minimum and maximum layer height values. A common range might be 0.1mm for fine details and 0.3mm for speed, but this will vary based on your nozzle size and desired outcome.
- Analyze Model Geometry: Before slicing, carefully examine your model. Identify areas that require high detail (curves, text, intricate features) and areas where speed and print strength are more important (flat surfaces, infill, structural elements).
- Utilize Preview Mode: The slicer’s preview mode is your best friend. It allows you to visualize how the layer heights are applied throughout the model before you commit to printing. Look for smooth transitions and ensure critical areas have the desired layer thickness.
- Calibrate Your Printer: Ensure your printer is well-calibrated for consistent extrusion and accurate Z-axis movement. This is crucial for successful variable layer height prints, especially when dealing with very thin layers.
- Learn from Others: Join 3D printing communities and forums. Many experienced users share their variable layer height settings and successful prints, offering valuable insights.
Conclusion
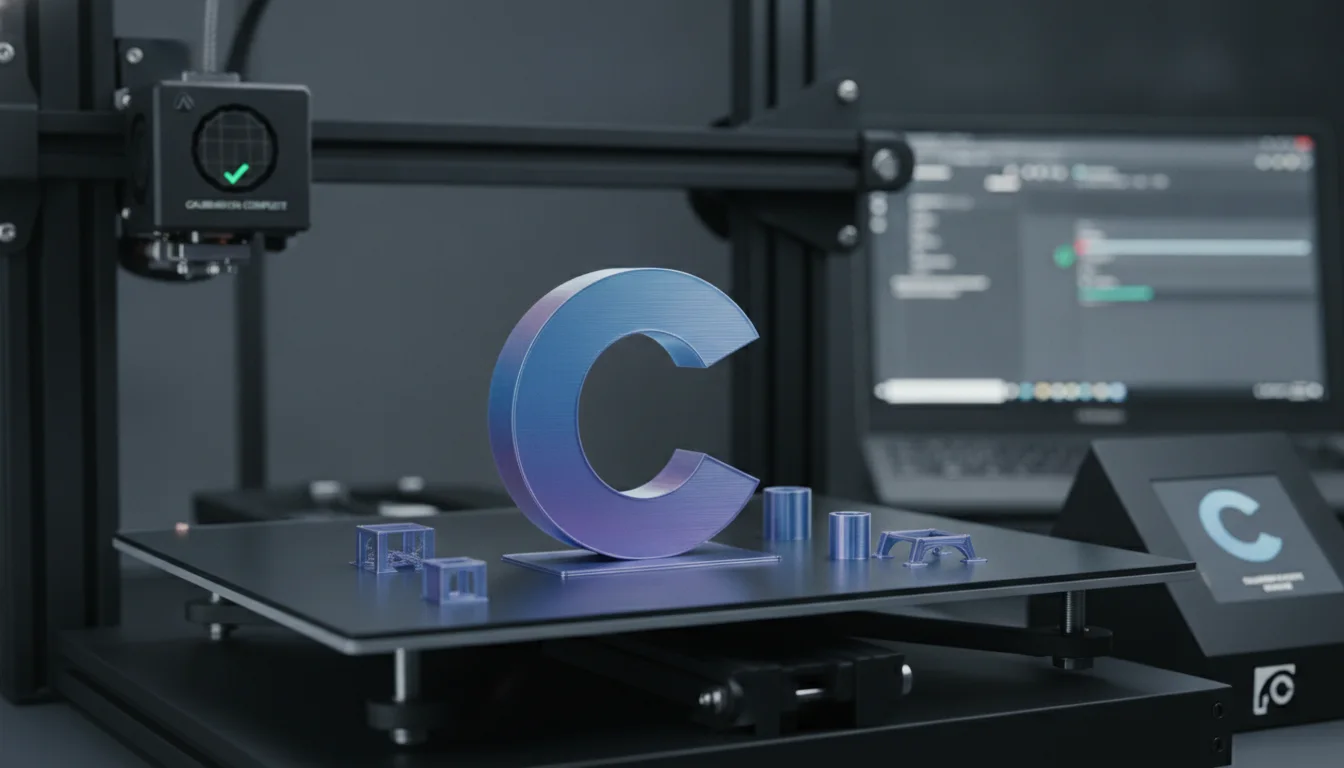
Variable layer height is more than just another checkbox in your slicer settings; it’s a paradigm shift in how we approach 3D printing. By allowing for intelligent, dynamic adjustment of layer thickness, it empowers users to achieve optimized prints that excel in both visual appeal and structural integrity. Gone are the days of compromising between speed and detail; with variable layer height, you can often have the best of both worlds.
Mastering this advanced slicer setting requires a bit of experimentation and a keen eye for detail, but the rewards are well worth the effort. Whether you’re aiming for breathtakingly aesthetic prints for display or robust functional parts demanding superior print strength, variable layer height offers a powerful tool to push the boundaries of what your 3D printer can achieve. Embrace this flexibility, and watch your 3D prints transform from merely good to truly exceptional.
Frequently asked questions
Will variable layer height fix the “stair-stepping” effect on my curved surfaces?
Yes, variable layer height is specifically designed to reduce stair-stepping on curved or sloped surfaces. The slicer automatically assigns thinner layers to those areas, smoothing the transition between steps and making layer lines far less visible compared to printing the entire model at a uniform, thicker layer height.
Does using variable layer height always increase total print time?
Not necessarily. While thinner layers on detailed sections add time, the slicer compensates by using thicker layers on flat or non-critical areas, which prints those sections faster. For many models, the overall print time ends up similar to or only slightly longer than a uniform medium-layer print, while delivering noticeably better surface quality on complex geometry.
Can I use variable layer height on any FDM printer, or do I need special hardware?
Most modern FDM printers can handle variable layer height without hardware modifications, as it is a slicer-side setting. However, if your printer struggles with consistent extrusion or has a loose Z-axis, extremely thin layers (e.g., 0.05 mm) may cause clogs or uneven layers. Ensure your printer is well-calibrated before attempting very thin variable layers.