For many 3D printing enthusiasts, the dream of a flawless, paint-ready surface often collides with the reality of FDM layer lines. Traditional post-processing frequently involves hours of painstaking sanding, a tedious and often messy endeavor. But what if there was a way to bypass much of that grunt work, achieving a mirror-smooth prime coat on your FDM 3D prints with significantly less preparation? This guide delves into advanced FDM post-processing techniques, exploring methods that minimize or even eliminate the need for extensive sanding, allowing you to achieve a professional, smooth 3D print finish ready for painting.
Understanding the challenge: Layer lines and FDM limitations

Explore the
Snapmaker U1
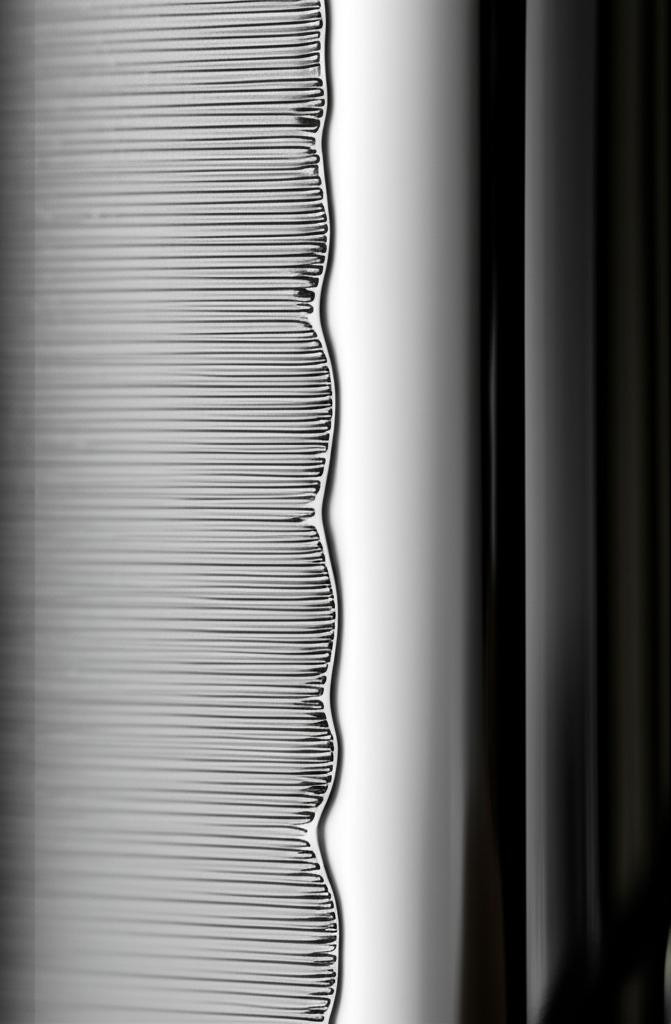
FDM (Fused Deposition Modeling) printers build objects layer by layer, a process that inherently leaves visible lines on the surface. These layer lines, along with potential imperfections like stringing, blobs, or z-wobble, are the primary obstacles to a truly smooth finish. While print settings can mitigate some of these issues, completely eliminating them at the printing stage is often impossible. For aesthetic models, functional prototypes requiring smooth mating surfaces, or parts needing a robust, even paint job, addressing these surface imperfections is crucial. The goal isn't just to hide lines but to create a uniform, non-porous surface that accepts paint beautifully and enhances the final product's perceived quality.
The core principle: Filling and smoothing before primer
Achieving a mirror-smooth finish without extensive sanding hinges on a fundamental principle: filling the valleys of the layer lines and smoothing the surface before the final primer application. A primer, even a high-build one, is primarily designed for adhesion and providing a uniform base for paint, not for significant gap-filling. Relying solely on primer to eliminate deep layer lines will result in either an excessively thick, detail-obscuring coat or an uneven finish that still shows imperfections. Therefore, the focus shifts to pre-priming techniques that effectively level the surface.
Alternative layer line removal and smoothing techniques: A comparative analysis
When aiming for a smooth 3D print finish without the drudgery of sanding, several methods offer distinct advantages and trade-offs. Understanding these options is key to choosing the right approach for your project, material, and budget.
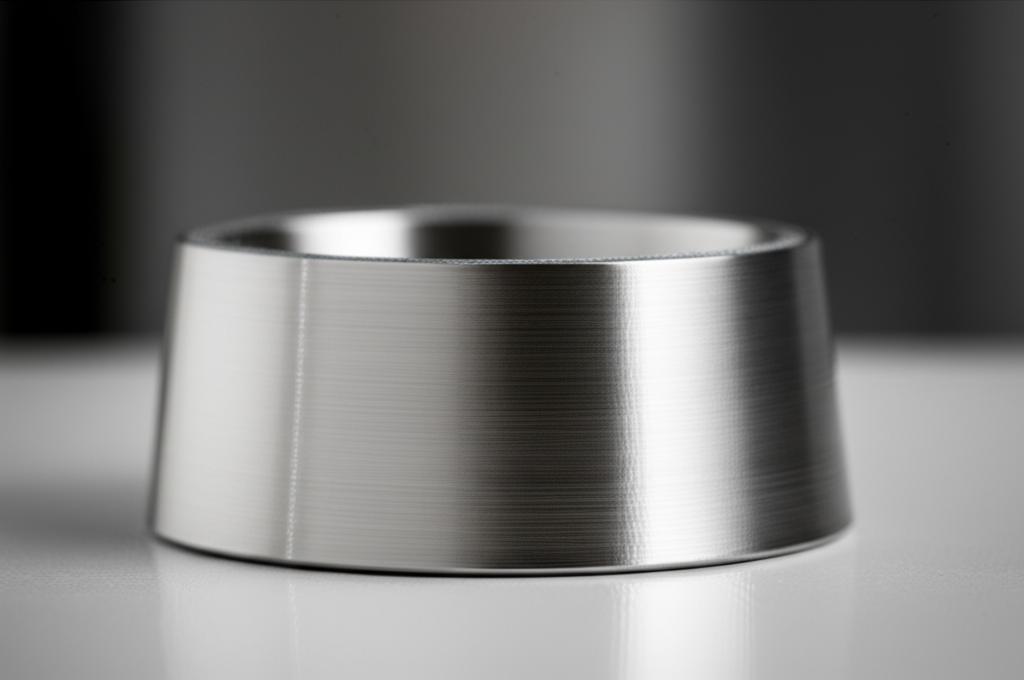
Chemical smoothing (vapor smoothing)
- Description: This technique involves exposing FDM prints to solvent vapors, which slightly melt and re-flow the outer surface of the plastic. The solvent dissolves the outermost layers, causing them to level out and fill in the layer lines, resulting in a significantly smoother, often glossy finish.
- Materials: Primarily effective for specific plastics like ABS (using acetone vapor) and some types of PLA (using solvents like ethyl acetate or specialized commercial solutions). Other materials like PETG or Nylon are generally resistant or require more aggressive, less common solvents.
- Pros:
- Achieves an incredibly smooth, often glass-like finish, even in intricate details and hard-to-reach areas that would be impossible to sand.
- Can significantly reduce or eliminate visible layer lines quickly.
- Strengthens the print by fusing layers together, potentially improving mechanical properties.
- Cons:
- Safety Concerns: Requires careful handling of flammable and potentially toxic solvents, excellent ventilation, and appropriate personal protective equipment (PPE).
- Material Specificity: Not universally applicable to all FDM filaments.
- Dimensional Accuracy: Can alter the dimensions of the print, especially with prolonged exposure, making it unsuitable for parts requiring tight tolerances.
- Surface Finish Control: Difficult to achieve a consistent, repeatable finish without experience. Over-smoothing can lead to a "melted" appearance, loss of fine details, or even print deformation.
- Specialized Equipment: Often requires a dedicated vapor smoothing chamber, which can be a DIY project or a commercial unit, adding to initial setup costs.
- Cost/Effort Implication: Initial investment in a smoothing chamber and safety gear. Ongoing cost of solvents. Requires a learning curve to master the technique and ensure safety. The effort shifts from manual sanding to careful process control and safety protocols.
High-build / filler primers (the "no sanding primer" approach)
- Description: These primers are formulated with a higher solids content, allowing them to fill minor surface imperfections and layer lines more effectively than standard primers. They create a thicker, more uniform layer that can significantly reduce the appearance of minor surface texture.
- Application: Typically applied in multiple light coats, allowing each coat to flash off or dry sufficiently before the next.
- Pros:
- Direct `primer application` after minimal cleaning, often eliminating the need for extensive pre-sanding.
- Relatively straightforward to apply with spray cans or an airbrush.
- Creates an excellent base for subsequent paint layers, enhancing adhesion and color vibrancy.
- Available in various colors (e.g., grey, white, black) to suit different topcoat requirements.
- Cons:
- Limited Filling Capacity: While effective for minor lines, deep layer lines or significant imperfections will still show through or require an excessive number of coats, which can obscure fine details.
- Adds Thickness: Multiple coats can add noticeable thickness to the part, potentially affecting fitment for interlocking components.
- Drying Time: Each coat requires drying time, extending the overall post-processing duration.
- Cost: High-build primers can be more expensive per can than standard primers.
- Cost/Effort Implication: Higher material cost for specialized primer. The effort involves careful, consistent application over multiple coats, with drying intervals. Minimal manual sanding might still be needed for very stubborn lines or to scuff for better adhesion.
Resin coating / brush-on fillers
- Description: This method involves applying a thin, self-leveling layer of epoxy resin or a dedicated brush-on filler compound (like XTC-3D, Bondo Glazing Putty, or other automotive body fillers) directly to the print surface. These products are designed to fill gaps and create a smooth, hard shell.
- Application: Resins are typically two-part systems mixed just before use and brushed on. Fillers are often single-component or two-component putties applied with a spatula or finger.
- Pros:
- Exceptional `layer line removal` and filling capabilities, even for deeper imperfections.
- Creates a very strong, durable, and often waterproof surface.
- Many resins are self-leveling, reducing brush marks if applied carefully.
- Can be sanded smooth after curing if any inconsistencies remain.
- Cons:
- Messy Application: Working with resins and putties can be inherently messy and requires careful cleanup.
- Working Time: Epoxy resins have a limited pot life once mixed, requiring swift application.
- Cure Time: Requires significant cure time (hours to days) before sanding or further processing.
- Adds Weight and Thickness: Can add substantial weight and thickness, potentially affecting the part's balance or fit.
- Odor: Some fillers and resins can have strong odors, necessitating good ventilation.
- Skill Dependent: Achieving a perfectly smooth, even coat without drips or pooling requires practice.
- Cost/Effort Implication: Cost of resin/filler, mixing cups, stir sticks, brushes, and cleaning supplies. The effort involves precise mixing, careful application within a time limit, and cleanup. Sanding may still be required post-curing to achieve a truly perfect surface, though often less extensive than direct print sanding.
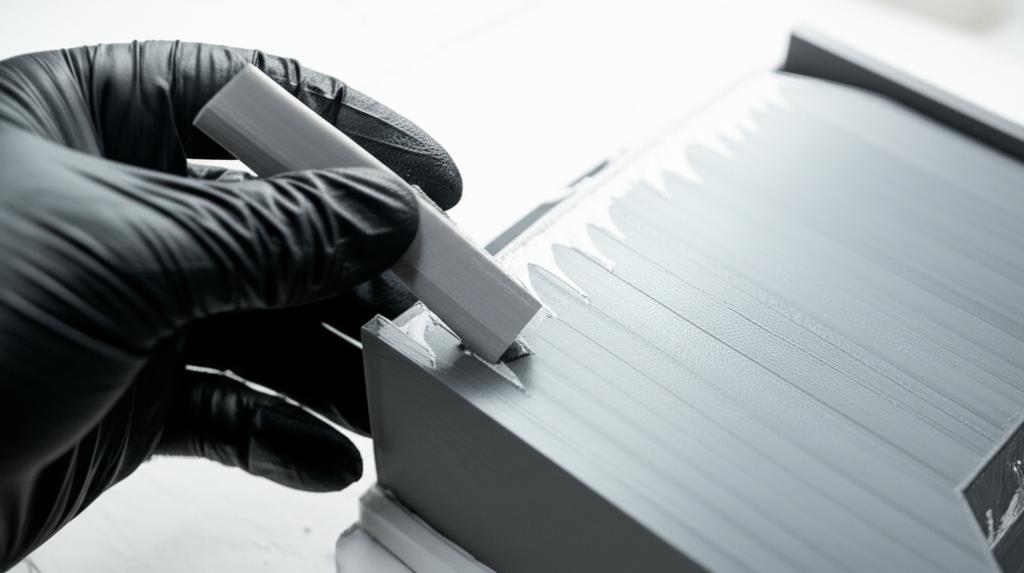
Primer surfacers / filler putties (targeted spot treatment)
- Description: These are thicker, often paste-like compounds designed to fill specific, deeper flaws, gaps, or particularly stubborn layer lines that even high-build primers cannot adequately cover. They are typically applied locally to problem areas rather than across the entire print.
- Application: Applied with a small spatula, finger, or tool, then carefully feathered out.
- Pros:
- Highly effective for addressing localized, significant imperfections.
- Relatively inexpensive for small quantities.
- Dries quickly (especially some automotive putties).
- Cons:
- Requires Localized Sanding: While it fills, it almost always requires localized sanding to blend the applied putty seamlessly with the surrounding surface. This is a targeted sanding, not full-surface.
- Not a Full-Surface Solution: Not suitable for smoothing an entire print; best used in conjunction with other methods.
- Shrinkage: Some putties can shrink slightly as they cure, potentially requiring a second application.
- Cost/Effort Implication: Low material cost. The effort involves precise application and careful, targeted sanding to blend the repair. This technique complements other methods rather than replacing them entirely for a full `smooth 3D print finish`.
Preparing for primer application: The foundation of a smooth finish
Regardless of the `FDM post-processing` method chosen for layer line removal, proper preparation before `primer application` is paramount. Skipping these steps can undermine all your efforts and lead to poor adhesion or an uneven final finish.
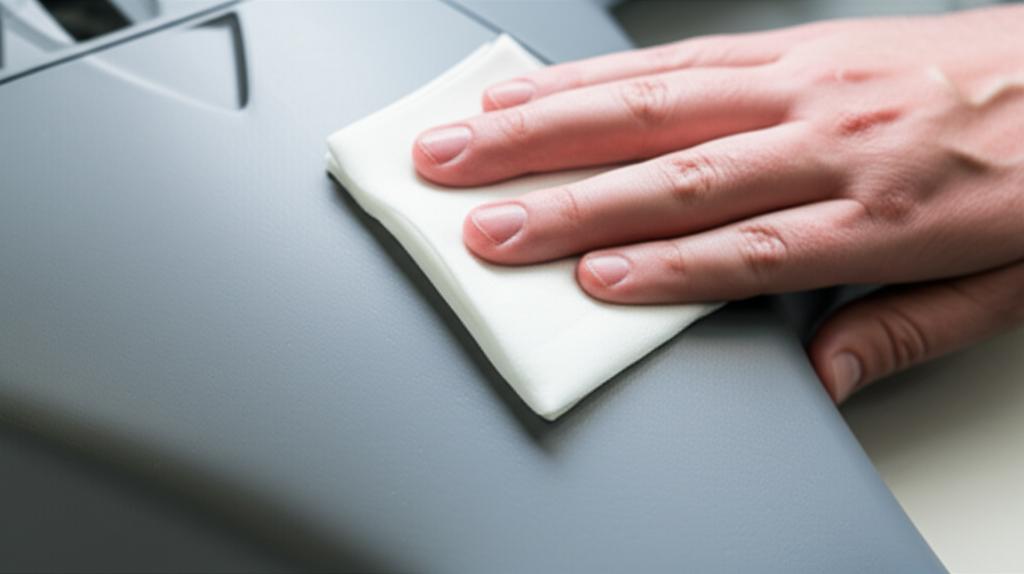
Cleaning the print
Before any primer or filler touches your print, it must be impeccably clean. Residues from the printing process (e.g., oils from hands, dust, release agents from build plates) can severely compromise adhesion. Use isopropyl alcohol (IPA) for most plastics, or mild soap and water for a thorough wash. Ensure the print is completely dry before proceeding, especially if using water.
Curing and drying
If you've used chemical smoothing, resin coatings, or even just washed your print, ensure it's fully cured or dried. Solvents need to fully evaporate, and resins need to reach their full hardness. Rushing this step can lead to trapped solvents causing bubbles or delamination under the primer, or soft resin surfaces that won't accept primer properly.
Light initial scuffing (optional, for adhesion)
While the goal is to avoid extensive sanding, a very light scuff with fine-grit sandpaper (e.g., 400-600 grit) can sometimes be beneficial *not* for smoothing, but for creating a mechanical key for the primer to adhere to. This is particularly true for very smooth or glossy plastics. This is a quick, gentle pass, not a heavy sanding session aimed at removing lines.
Mastering primer application techniques for a mirror finish

Even with excellent pre-treatment, the `primer application` itself is a critical step in achieving that coveted `smooth 3D print finish`.
Choosing the right primer
- High-Build/Filler Primers: As discussed, these are excellent for filling minor imperfections and are often labeled "filler primer" or "high-build primer." Automotive primers are a popular choice due to their durability and filling properties.
- Plastic-Specific Primers: For some challenging plastics, a dedicated plastic adhesion promoter or primer might be necessary to ensure good bonding before applying a standard or high-build primer.
- Color: Choose a primer color that complements your final topcoat. Grey is versatile, white brightens colors, and black deepens them.
Environmental conditions
Always apply primer in a well-ventilated area, ideally between 60-80°F (15-27°C) with moderate humidity. Extreme temperatures or humidity can affect drying times, adhesion, and the smoothness of the finish.
Application method: Spraying for smoothness
For the smoothest finish, spraying is almost always superior to brushing. Whether using aerosol cans or an airbrush/spray gun, consistency is key.
- Shake Well: Ensure the primer is thoroughly mixed.
- Distance and Technique: Hold the can/gun at a consistent distance (typically 6-12 inches for aerosols) and use sweeping, overlapping motions. Avoid holding it still, which leads to drips and heavy spots.
- Thin, Even Coats: This is arguably the most crucial tip. Apply multiple thin, even coats rather than one thick one. A thick coat will take longer to dry, be prone to runs, and may obscure details.
- Flash Times: Allow adequate "flash time" between coats (check the product's instructions, usually 5-15 minutes). This allows solvents to evaporate, preventing them from being trapped under subsequent layers.
- Rotating the Print: For complex geometries, rotate the print to ensure even coverage from all angles.
Inspecting and reapplying
After the first few thin coats, inspect the print under good lighting. Look for any remaining layer lines, pinholes, or uneven areas. If imperfections are still visible, apply another thin coat or two. Be patient; rushing this stage will compromise the final result.
Post-priming refinement: A minimalist approach
Even with the best `priming techniques`, minor imperfections might occasionally persist or appear. The goal here is minimal, targeted refinement, not a return to extensive sanding.
Wet sanding (optional, if necessary)
If, after several coats of high-build primer, you still have very subtle texture or a slight orange peel effect, a very light wet sand can refine the surface. Use extremely fine-grit sandpaper (800-grit, 1000-grit, or even finer) and plenty of water. The water acts as a lubricant and carries away sanding dust, preventing clogging and scratches. Focus on gently leveling the primer surface itself, not digging into the plastic below. This step should be quick and gentle.
Final inspection
Once the primer is fully dry and any wet sanding is complete (and the part is thoroughly cleaned and dried again), perform a final inspection. Run your fingers over the surface; it should feel uniformly smooth. Hold it up to a light source to check for any remaining texture or inconsistencies. This is your last chance to ensure a perfect base before applying your final paint layers.
Conclusion
Achieving a mirror-smooth prime coat on FDM 3D prints without resorting to endless hours of sanding is not just a pipe dream; it's an achievable reality through a combination of intelligent `FDM post-processing` techniques and careful `primer application`. By understanding the capabilities and limitations of methods like chemical smoothing, high-build primers, and resin coatings, you can select the most appropriate strategy for your specific project and material.
The key takeaways for a truly professional `smooth 3D print finish` are meticulous pre-treatment to address layer lines, thorough cleaning, and patient, thin, and even application of primer. Each method offers a unique balance of effort, material cost, and final quality. Experiment with these `priming techniques` to discover the workflow that best suits your needs, transforming your FDM prints from raw plastic to beautifully finished objects ready for their final coat of paint.