Bringing multi-part 3D printed models to life often culminates in the critical step of 3D print assembly. While functional integrity is paramount, the aesthetic appeal frequently hinges on achieving truly seamless joins – an art form in itself that can transform a collection of individual components into a cohesive, professional-looking piece. The quest for invisible seams is a common goal for hobbyists and professionals alike, elevating models from prototype to polished product. This guide delves into expert techniques for bonding 3D prints, exploring various methods for part integration and post-processing, all while objectively comparing their features, required skill sets, and associated cost structures to help you make informed decisions for your projects.
Understanding the foundation: design for assembly
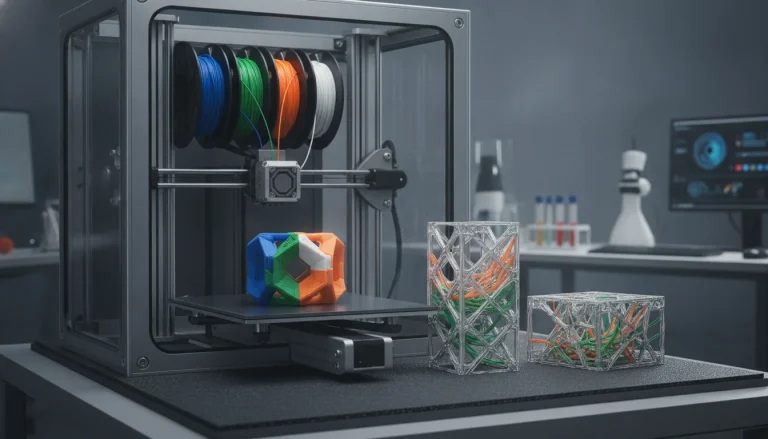
The consumer toolchanger 3D printer: the SnapSwap 4-toolhead system swaps heads in 5 seconds for true multi-color and multi-material printing, with smart calibration and auto filament loading.
- 4 toolheads · 5 s swap
- Up to 500 mm/s · 20,000 mm/s²
- 270 mm cube build volume
- Multi-color & multi-material

The journey to invisible joints begins long before the first layer is printed. Thoughtful design for assembly (DFA) is crucial, laying the groundwork for how seamlessly your parts will integrate. Overlooking this stage can lead to frustrating gaps, misalignments, and a significantly more challenging post-processing phase.
Joint types and their impact on invisibility and cost
The choice of joint design profoundly influences both the structural integrity and the ultimate visibility of the seam. Different joint types offer varying levels of inherent strength, ease of alignment, and potential for an invisible finish, each with implications for print time and material usage (indirect costs).
- Butt Joint: The simplest joint, where two flat surfaces meet. While easy to design, it offers minimal inherent strength or alignment assistance, relying heavily on the adhesive for structural integrity. Achieving an invisible seam requires perfectly flat mating surfaces and meticulous post-processing, increasing labor time.
- Lap Joint: One surface overlaps the other. This design provides a larger bonding area than a butt joint, enhancing strength and offering some self-alignment. However, the overlap itself creates a step, which must be filled and sanded for invisibility, adding material and labor costs to post-processing.
- Tongue-and-Groove Joint: A protrusion (tongue) on one part fits into a corresponding recess (groove) on the other. This is excellent for alignment and offers a good bonding surface. It helps hide the seam line within the joint itself, making it a strong contender for invisible joins. The complexity adds slightly to print time but can significantly reduce post-processing effort.
- Dovetail Joint: A variation of the tongue-and-groove, often tapered for a tighter, more secure fit. It provides superior mechanical strength and excellent alignment. While more complex to design and print, the enhanced fit can lead to less gap-filling and sanding, potentially saving post-processing time and materials.
- Pin/Dowel Joint: Small cylindrical pins on one part fit into corresponding holes on the other. Primarily used for alignment, pins don’t add much bonding surface but ensure precise positioning. They can be integrated into other joint types. The pins themselves might require additional printing time or even separate hardware (e.g., metal dowels), adding to material costs.
- Keyed/Interlocking Joints: Custom-designed shapes that interlock, providing mechanical strength and alignment before any adhesive is applied. These are ideal for high-stress applications or when mechanical fastening is preferred. Design complexity and print time are higher, but the resulting fit can be incredibly precise, minimizing gaps and making seams easier to hide.
When selecting a joint type, consider the trade-offs: simpler joints might save print time but demand more post-processing, while more complex, self-aligning joints might increase print time but drastically reduce the effort needed to achieve an invisible seam.
Tolerance considerations
Perfectly fitting parts are the cornerstone of invisible seams. This necessitates a keen understanding of your 3D printer’s tolerances. Calibrating your printer for dimensional accuracy is paramount. Always perform test prints of your joint interfaces to ensure a snug, but not overly tight, fit. An ideal fit allows parts to slide together with slight friction, leaving minimal gaps. Too tight, and parts won’t mate; too loose, and you’ll have wide gaps requiring extensive filling. Adjusting tolerances in your CAD software (e.g., adding a slight offset) based on test prints is a common practice. This upfront investment in calibration and testing reduces material waste from failed prints and significantly cuts down on post-processing time and material costs.
Preparation is key: pre-assembly steps
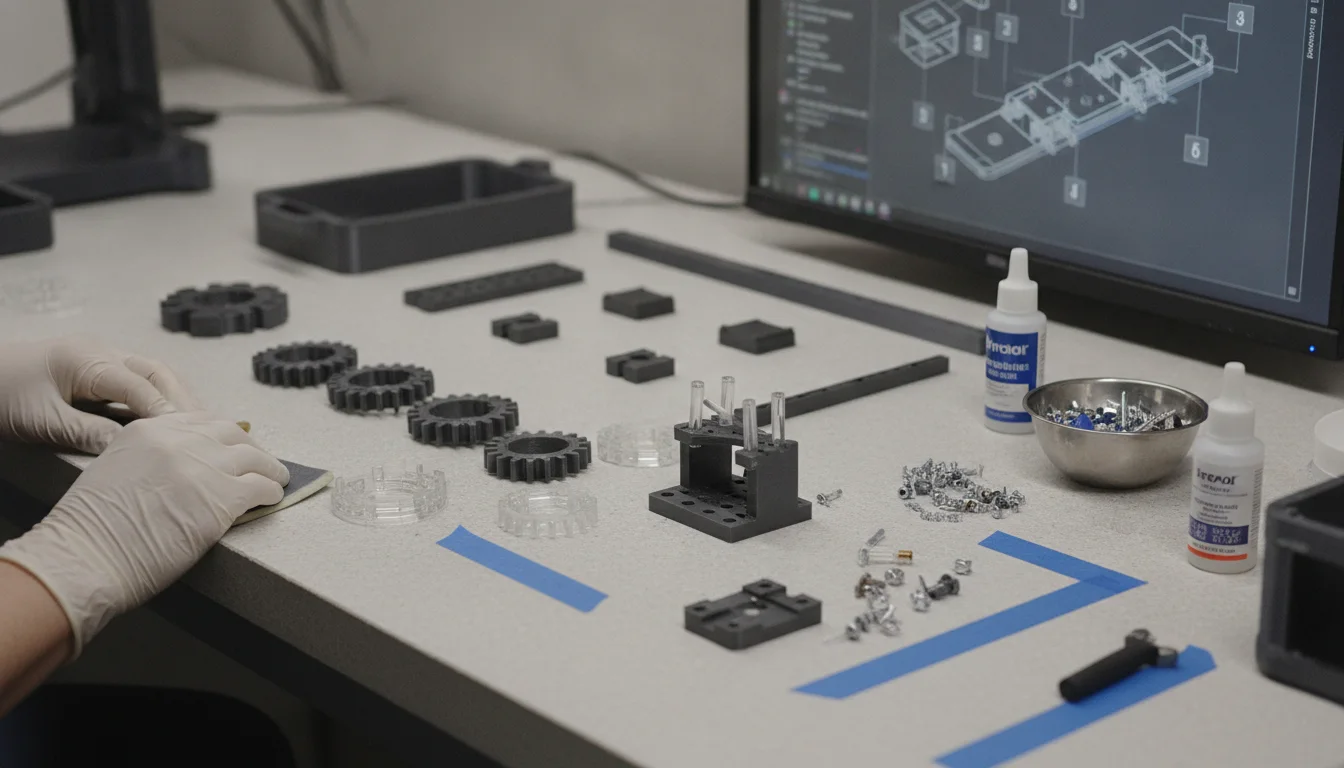
Before any bonding agent touches your parts, thorough preparation is essential. Skipping these steps is a common pitfall that can compromise both the strength and invisibility of your joins.
Cleaning and deburring
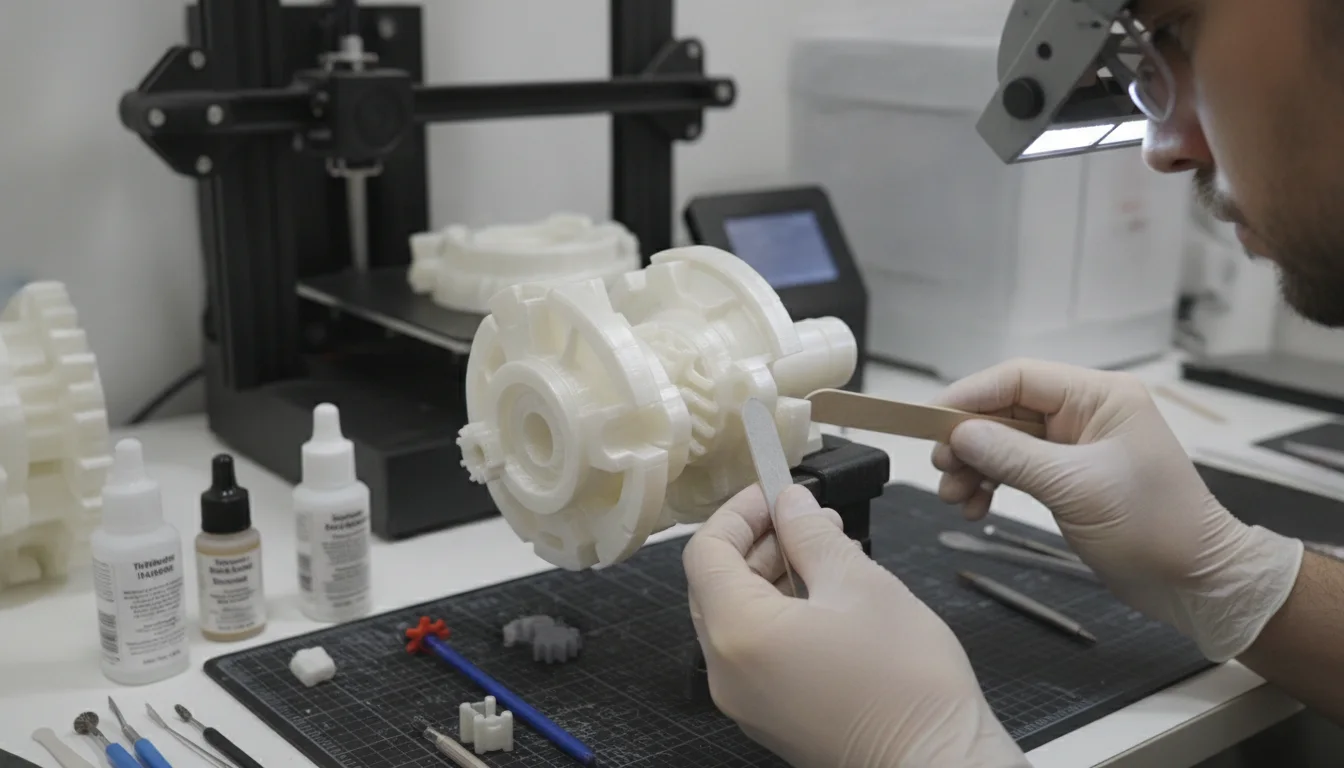
Even the cleanest 3D prints can have residual support material, stringing, or slight burrs along edges. These imperfections prevent a flush fit, creating gaps and weak points. Carefully remove all support structures, using flush cutters, hobby knives, or deburring tools. Gently sand any rough edges with fine-grit sandpaper (e.g., 220-400 grit) to achieve smooth, clean mating surfaces. For solvent welding, ensure surfaces are free of grease, oils, or dust, as these can inhibit the chemical reaction. This step is primarily a labor cost, but it’s an investment that pays dividends in the final quality.
Test fitting
Always perform a dry fit of all components before applying any adhesive. This allows you to identify any misalignments, tight spots, or unexpected gaps. Use this opportunity to make minor adjustments, such as light sanding or filing. Test fitting ensures that when you commit to bonding, the parts will align correctly, minimizing stress, potential for breakage, and the need for corrective measures that can compromise invisibility. This step costs virtually nothing but time and can prevent costly mistakes.
Bonding techniques for invisible joints

The choice of bonding agent is critical, impacting strength, cure time, material compatibility, and ultimately, the visibility of the seam. Here, we objectively compare common techniques, outlining their features and cost structures.
Chemical bonding / solvent welding
Solvent welding involves using a chemical solvent to temporarily dissolve the surface of thermoplastic parts, allowing them to fuse together as the solvent evaporates. This creates a true molecular bond, often resulting in incredibly strong and invisible joins.
- Mechanism: The solvent briefly plasticizes the material’s surface, enabling polymer chains from both parts to intermingle. As the solvent evaporates, the plastic re-solidifies, forming a single, homogeneous piece.
- Materials: Highly material-specific. Acetone works well for ABS and ASA. Dichloromethane (methylene chloride) is effective for PLA, PETG, and even some acrylics. MEK (methyl ethyl ketone) is another option for ABS/ASA.
- Application: Apply sparingly with a small brush, cotton swab, or needle applicator to one or both mating surfaces. Clamp parts together firmly and allow sufficient cure time (hours to days, depending on solvent and material).
- Pros: Creates the strongest, most truly seamless bond as the parts become one. If applied correctly, the seam can be virtually undetectable, requiring minimal post-processing.
- Cons: Highly material-specific; incompatible with many plastics (e.g., Nylon, flexibles). Solvents are volatile, have strong fumes, and require excellent ventilation and personal protective equipment (gloves, respirators), adding to safety equipment costs. Over-application can damage or warp prints. Long cure times.
- Cost/Features: The material cost for solvents is generally low. However, the requirement for safety gear (respirators, gloves, proper ventilation) adds an indirect cost. Skill level is intermediate to advanced, as precise application is crucial to avoid damaging the print or creating visible residue. Time investment for application is low, but cure time is long. Achieved strength is high, and invisibility can be excellent.
Adhesive bonding
Adhesives form a mechanical or chemical bond between two surfaces without dissolving the base material. They are versatile but require careful selection based on material compatibility and desired properties.
Cyanoacrylate (CA) glues (super glue)
- Mechanism: Rapid polymerization triggered by moisture, forming a strong, rigid bond.
- Materials: Very versatile, works with most plastics, but bond strength varies.
- Application: Apply a small drop to one surface and press parts together. Accelerators can speed up curing.
- Pros: Extremely fast curing, widely available, relatively inexpensive. Clear options exist.
- Cons: Can be brittle, leading to weak points under stress. Prone to “blooming” (white residue) around the joint, especially with high humidity, which can be difficult to hide. Poor gap-filling capabilities.
- Cost/Features: Very low material cost. Skill level is beginner, but precision is needed to avoid blooming. Time investment is low for application and cure. Achieved strength is moderate (brittle), and invisibility is good if blooming is avoided, but often requires sanding.
Epoxy adhesives
- Mechanism: Two-part system (resin and hardener) that chemically reacts to form a tough, durable polymer.
- Materials: Excellent for structural bonding across a wide range of plastics, especially good for gap filling.
- Application: Mix equal parts of resin and hardener, apply to surfaces, and clamp parts together. Curing times vary from minutes to hours, with full strength achieved over 24+ hours.
- Pros: Extremely strong, excellent gap-filling properties, durable, resistant to many chemicals and temperatures. Can be sanded, drilled, and painted.
- Cons: Longer cure times than CA glues, can be messy to work with, and mixing ratios must be precise. Can be more expensive.
- Cost/Features: Moderate to high material cost. Skill level is intermediate due to mixing and working time constraints. Time investment is moderate for application, long for cure. Achieved strength is high, and invisibility is good, as it can be sanded flush and painted over, making it ideal for `invisible seams` when combined with post-processing.
Plastic cements (model cement)
- Mechanism: Similar to solvent welding but often contains a small amount of plastic dissolved in the solvent, acting as a filler.
- Materials: Primarily designed for polystyrene (common in plastic models), but some formulations work with ABS or PLA.
- Application: Typically applied with a fine brush applicator.
- Pros: Good for small, precise joins, can slightly melt and fuse the plastic, providing some gap-filling.
- Cons: Limited material compatibility compared to general adhesives. Can still cause minor warping if over-applied.
- Cost/Features: Low material cost. Skill level is beginner to intermediate. Time investment is low for application, moderate for cure. Achieved strength is moderate to high, and invisibility is good for compatible materials.
UV curing resins/glues
- Mechanism: Cures rapidly when exposed to specific wavelengths of ultraviolet (UV) light.
- Materials: Good for clear parts, specific applications, and quick fixes.
- Application: Apply the resin, then expose to a UV light source (e.g., UV flashlight, dedicated curing lamp).
- Pros: Instantaneous cure, clear finish, excellent for bonding transparent or translucent parts. Can be used for filling small gaps.
- Cons: Requires a UV light source, which adds to equipment cost. Can be more expensive per volume than other adhesives. Cures only where UV light can reach.
- Cost/Features: Moderate to high material cost, plus initial equipment cost for a UV light. Skill level is intermediate. Time investment is very low for cure. Achieved strength is moderate, and invisibility is excellent, especially for clear or translucent components.
Heat welding / friction welding
Heat welding involves directly melting the plastic surfaces together, often with additional filament, to create a strong, fused bond.
- Mechanism: External heat (e.g., from a soldering iron or 3D pen) is used to melt the plastic edges, allowing them to blend and fuse. Additional filament can be melted into the seam to act as a filler.
- Materials: Primarily thermoplastics compatible with the filament used (e.g., PLA with PLA, ABS with ABS).
- Application: Use a temperature-controlled soldering iron with a specialized plastic welding tip or a 3D pen to melt and smooth the joint. Work slowly and methodically.
- Pros: Creates a very strong, true material fusion. Excellent for filling gaps with matching filament, ensuring a homogenous material finish.
- Cons: Requires significant skill and practice to avoid deforming or burning the plastic. Can create visible discoloration or uneven textures if not done carefully. High risk of damaging the print.
- Cost/Features: Low equipment cost (soldering iron, 3D pen, extra filament). Skill level is advanced. Time investment is high due to the meticulous nature and subsequent post-processing. Achieved strength is high, and invisibility can be excellent with thorough post-processing (sanding, painting), but the initial seam is often quite visible.
Achieving the “invisible” part: post-bonding techniques
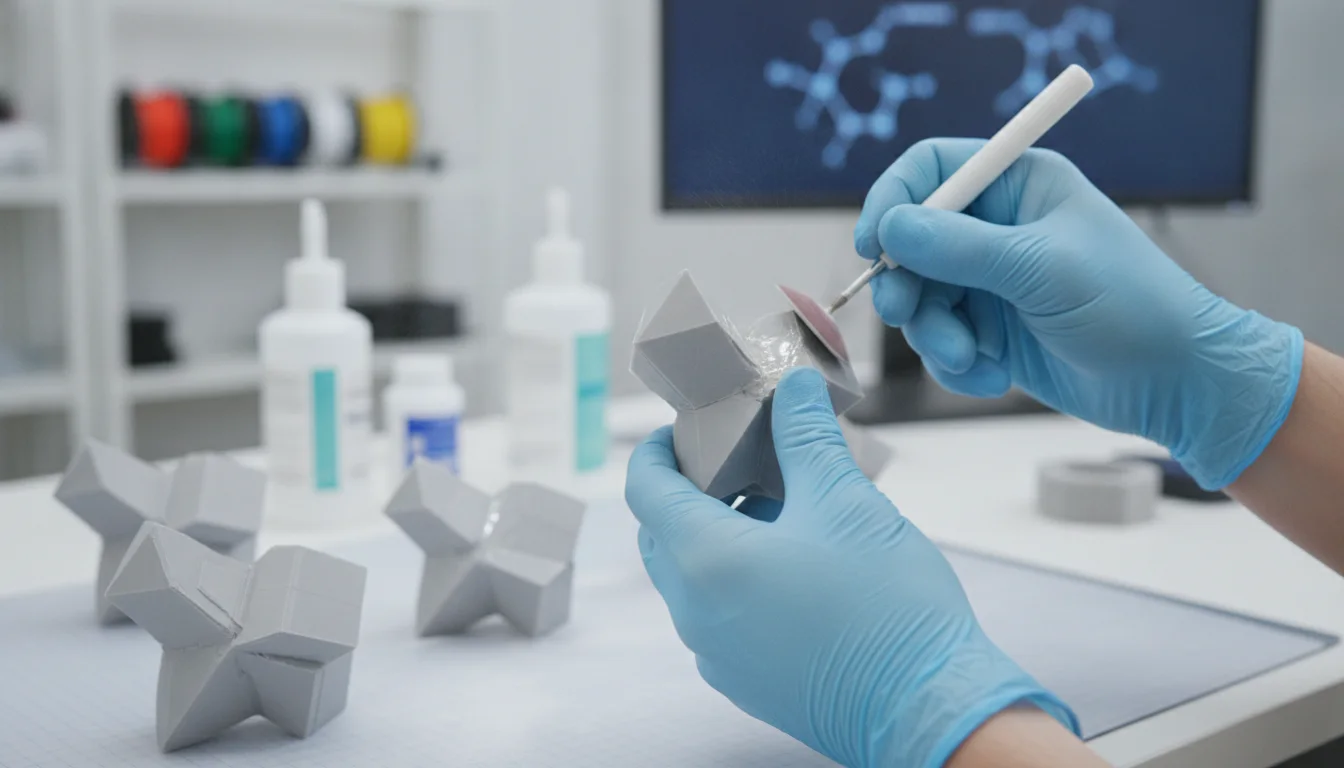
Once your parts are securely bonded, the real work of creating invisible seams begins. This is where meticulous attention to detail transforms a joined model into a seamless creation.
Filling gaps and seams
Even with the best joint design and bonding, minor gaps or imperfections may remain. Fillers are indispensable for creating a uniform surface.
- Fillers: Automotive body filler (e.g., Bondo), two-part epoxy putties, UV-curable putties, or specialized 3D printing fillers are common choices. For very small gaps, a mixture of resin and sanding dust from the print material can work.
- Application: Apply a thin layer of filler over the seam, pressing it firmly into any gaps. Allow it to cure completely. Multiple thin layers are often better than one thick layer to avoid shrinkage and cracking.
- Pros: Creates a smooth, continuous surface, effectively hiding any remaining seam lines or imperfections. Provides a base for sanding and painting.
- Cons: Adds material, which must be carefully sanded down. Many fillers can shrink slightly during curing, requiring multiple applications. Adds significant time to the process.
- Cost/Features: Adds material cost for fillers. Primarily a labor/time cost. Skill level is intermediate to advanced, as proper application and sanding are crucial.
Sanding and smoothing
Sanding is arguably the most labor-intensive but critical step for achieving a truly invisible seam. It removes excess filler and smooths the transition between joined parts.
- Techniques: Start with a relatively coarse grit sandpaper (e.g., 220-320 grit) to quickly remove material, then progressively move to finer grits (400, 600, 800, 1000, 1500, 2000+) for a silky-smooth finish. Wet sanding can help reduce dust and achieve a finer finish. Always sand in multiple directions to avoid creating grooves.
- Tools: Sandpaper, sanding blocks (to maintain flat surfaces), sanding sticks for detail, and rotary tools with sanding attachments (use with caution to avoid removing too much material).
- Pros: Essential for a uniform, smooth surface that feels and looks like a single piece. Removes all evidence of the joint line.
- Cons: Extremely labor-intensive and time-consuming. Creates a lot of fine dust (wear a mask). Can remove fine details if not done carefully.
- Cost/Features: Primarily a labor/time cost. Sandpaper is inexpensive. Skill level is intermediate to advanced, requiring patience and a delicate touch.
Priming and painting
The final steps in post-processing are priming and painting, which serve to unify the surface and completely obscure any remaining subtle seam lines.
- Primer: Apply a high-quality primer designed for plastics. Primer fills tiny imperfections, provides a uniform base color, and helps the topcoat adhere better. A good primer will also highlight any remaining flaws, allowing for final touch-ups before painting.
- Paint: Apply your chosen topcoat. Multiple thin coats are always better than one thick coat, preventing drips, uneven coverage, and loss of detail.
- Pros: Provides the ultimate aesthetic finish, completely hiding any remaining evidence of the joints. Protects the surface and allows for custom colors and effects.
- Cons: Adds layers of material, requires proper ventilation and safety equipment. Adds significant time due to drying and curing between coats. Requires material cost for primers, paints, and potentially an airbrush or spray gun.
- Cost/Features: Moderate material cost for primers and paints. Equipment cost can range from low (rattle cans) to high (airbrush setup). Skill level is intermediate to advanced for a professional finish. Time investment is high due to multiple coats and drying times.
Advanced considerations for part integration
The consumer toolchanger 3D printer: the SnapSwap 4-toolhead system swaps heads in 5 seconds for true multi-color and multi-material printing, with smart calibration and auto filament loading.
Beyond simple bonding, advanced techniques can enhance the structural integrity and functionality of multi-part assemblies, contributing to robust part integration.
Internal reinforcement
For models requiring significant structural strength or those subjected to stress, internal reinforcement can be invaluable. This technique strengthens the bond without adding visible external features.
- Methods: Design internal channels or recesses for dowels (printed or off-the-shelf wood/metal), reinforcing rods, or internal ribs. These elements provide additional mechanical stability across the joint.
- Pros: Significantly enhances the strength and durability of the assembly, preventing stress from concentrating solely on the adhesive joint. Completely invisible externally.
- Cons: Requires careful design and planning in the CAD stage. Can add to print time and material usage if internal structures are complex.
- Cost/Features: Primarily a design time cost, potentially extra material/print time for internal features or cost of external dowels. Achieved strength is high.
Magnetic or mechanical fasteners
When parts need to be assembled and disassembled repeatedly, or when a very strong, non-permanent join is required, integrating magnets or mechanical fasteners is an excellent solution.
- Methods: Design recesses for neodymium magnets, small screws, bolts, or threaded inserts. These fasteners provide robust, reversible connections.
- Pros: Allows for easy disassembly and reassembly. Provides strong, reliable connections. Can be completely hidden within the model’s structure.
- Cons: Adds complexity to the design process. Requires sourcing additional non-printed components (magnets, screws, etc.), adding to material costs.
- Cost/Features: Cost of magnets/fasteners. Design complexity adds time. Achieved strength is high, and invisibility can be excellent if fasteners are recessed.
Cost and feature comparison summary
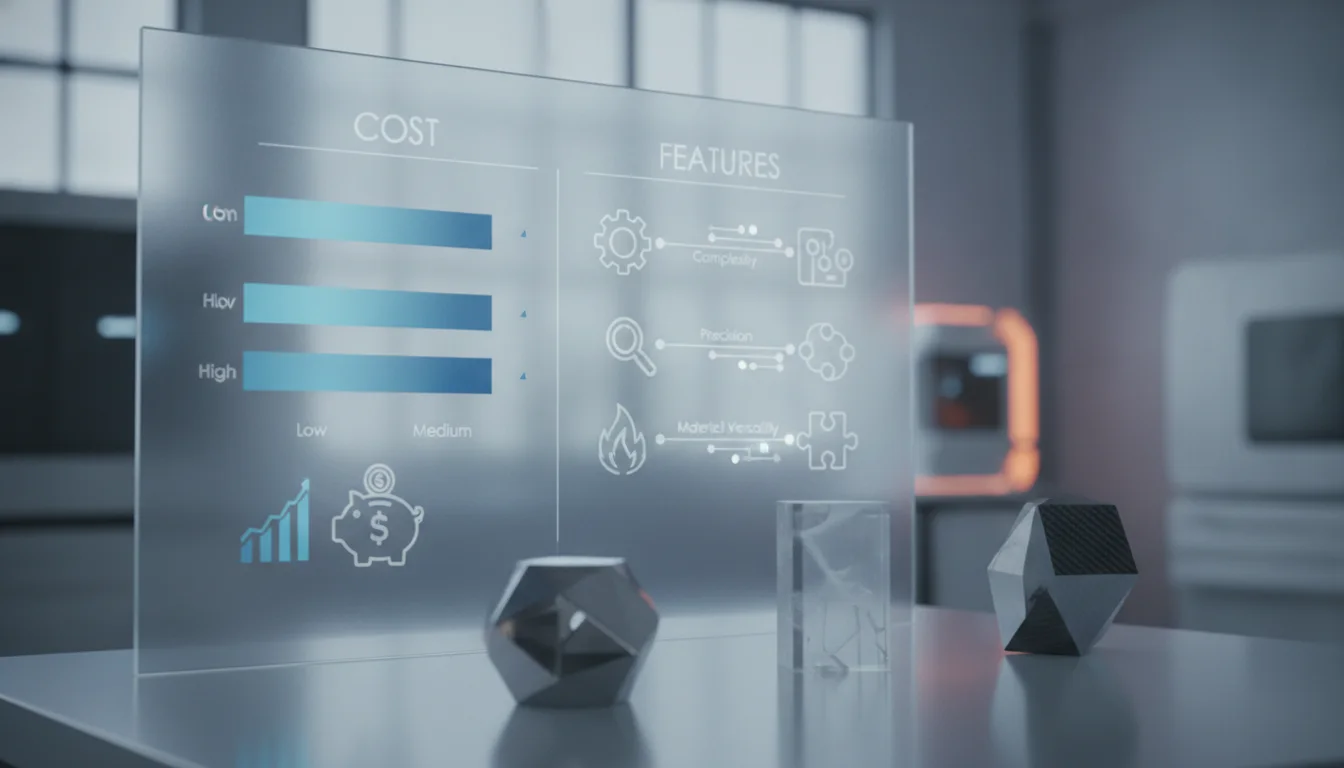
Choosing the right 3D print assembly technique involves weighing various factors. Below is an objective summary comparing the different methods discussed, allowing you to assess their suitability for your specific project needs.
- Solvent Welding (e.g., Acetone for ABS/ASA):
- Material Cost: Low (for solvent).
- Skill Level Required: Intermediate to Advanced (precision, safety).
- Time Investment: Low (application), Long (cure).
- Achieved Strength: Very High (molecular fusion).
- Achieved Invisibility: Excellent (true seamlessness with careful application).
- Safety Considerations: High (fumes, ventilation, PPE required).
- Cyanoacrylate (CA) Glue:
- Material Cost: Very Low.
- Skill Level Required: Beginner (but precision needed to avoid blooming).
- Time Investment: Very Low (application and cure).
- Achieved Strength: Moderate (can be brittle).
- Achieved Invisibility: Good (if blooming is avoided, requires minimal sanding).
- Safety Considerations: Moderate (skin/eye irritant, fumes).
- Epoxy Adhesives:
- Material Cost: Moderate to High.
- Skill Level Required: Intermediate (mixing, working time management).
- Time Investment: Moderate (application), Long (cure).
- Achieved Strength: Very High (strong, durable, gap-filling).
- Achieved Invisibility: Very Good (can be sanded, painted, excellent for filling gaps).
- Safety Considerations: Moderate (skin irritant, fumes, proper mixing).
- UV Curing Resins/Glues:
- Material Cost: Moderate to High (plus UV light equipment).
- Skill Level Required: Intermediate (application, UV light handling).
- Time Investment: Low (instant cure).
- Achieved Strength: Moderate.
- Achieved Invisibility: Excellent (especially for clear parts, no blooming).
- Safety Considerations: Moderate (skin/eye irritant, UV light exposure).
- Heat Welding / Friction Welding:
- Material Cost: Low (soldering iron, filament).
- Skill Level Required: Advanced (high risk of damage).
- Time Investment: High (meticulous application, extensive post-processing).
- Achieved Strength: Very High (true fusion).
- Achieved Invisibility: Good to Excellent (with extensive sanding/painting).
- Safety Considerations: High (burn risk, fumes).
- Filling Gaps & Seams (Post-Bonding):
- Material Cost: Low to Moderate (for fillers).
- Skill Level Required: Intermediate to Advanced (application, sanding).
- Time Investment: High (multiple applications, sanding cycles).
- Achieved Invisibility: Essential for truly `invisible seams`.
- Safety Considerations: Moderate (dust, fumes from fillers).
- Sanding & Smoothing (Post-Bonding):
- Material Cost: Very Low (sandpaper).
- Skill Level Required: Intermediate to Advanced (patience, consistency).
- Time Investment: Very High (most labor-intensive step).
- Achieved Invisibility: Critical for a seamless look.
- Safety Considerations: Moderate (dust, repetitive strain).
- Priming & Painting (Post-Bonding):
- Material Cost: Moderate (primers, paints).
- Skill Level Required: Intermediate to Advanced (for professional finish).
- Time Investment: High (multiple coats, drying times).
- Achieved Invisibility: Final step to completely hide seams.
- Safety Considerations: High (fumes, ventilation, PPE).
As you can see, the ‘cheapest’ option in terms of material might demand a higher investment in time, skill, or safety equipment, while a more expensive material might simplify the process or yield superior results with less effort. Your project’s requirements for strength, aesthetic finish, and your available resources will ultimately guide your choice.
Conclusion
Achieving invisible joints in multi-part 3D printed models is a nuanced process that demands a blend of careful design, precise execution, and meticulous post-processing. There’s no single “best” method; instead, the optimal approach for your 3D print assembly will depend on the specific materials used, the desired structural integrity, the aesthetic goals, and your willingness to invest time and resources. From the foundational choices in joint design to the selection of bonding agents like structural adhesives, and the painstaking work of filling, sanding, and painting, each step contributes to the final, seamless outcome. By objectively evaluating the cost structures and features of various techniques – from solvent welding for true material fusion to epoxy for robust part integration – you can navigate the complexities of bonding 3D prints. Embrace experimentation, practice these techniques, and you’ll be well on your way to transforming your multi-part prints into truly professional, flawless masterpieces with invisible seams.
Frequently asked questions
Can I use sanding dust from the print itself as a filler for seams?
Yes, for very small gaps you can mix fine sanding dust from the same filament with a thin CA glue or epoxy to create a color-matched filler paste. This works best when you save dust from sanding the same model, but it requires careful mixing to avoid clumps and may shrink slightly during curing, so multiple thin applications are better than one thick layer.
Is it safe to use acetone for solvent welding indoors?
No, acetone and other solvents like dichloromethane and MEK produce strong, volatile fumes that require excellent ventilation and proper personal protective equipment including nitrile gloves and a respirator rated for organic vapors. Working in a well-ventilated area or under a fume hood is essential, and you should never use these solvents in an enclosed space without adequate airflow.
What is the most beginner-friendly method for joining PLA prints?
For PLA, cyanoacrylate (super glue) is the most beginner-friendly option due to its fast cure time, wide availability, and low cost, though you must apply it sparingly to avoid white blooming residue. If you want a stronger bond with gap-filling capability, two-part epoxy is a better choice for beginners who can follow mixing instructions carefully and tolerate longer cure times.