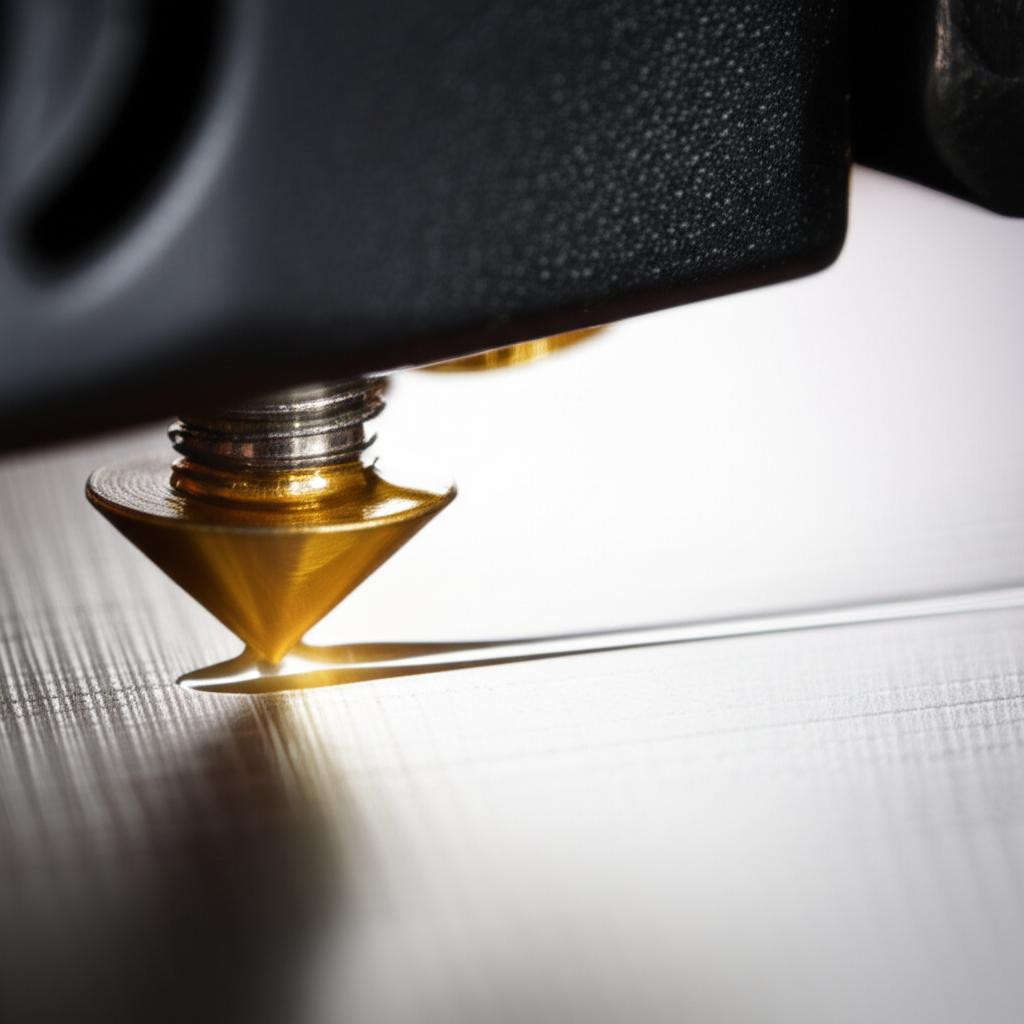
The foundation of every successful 3D print isn't laid in the intricate details of a complex model, but rather in the humble, often-overlooked first layer. This initial stratum of plastic, no matter how simple, dictates the fate of your entire print, serving as the critical anchor that binds your creation to the print bed. A perfectly calibrated first layer ensures superior print adhesion, mitigates warping, and sets the stage for a smooth, high-quality final product. Conversely, a poorly calibrated first layer can lead to a cascade of failures, from frustrating print detachments and spaghetti monsters to unsightly imperfections that compromise the structural integrity and aesthetic appeal of your parts.
Understanding the critical role of first layer calibration

First layer calibration is the meticulous process of fine-tuning the distance between your 3D printer's nozzle and the print bed. It's about achieving that 'just right' squish – enough to firmly adhere the filament without flattening it excessively or scratching the bed. This seemingly minor adjustment is paramount for several reasons:
- Print Adhesion: The primary goal. A well-calibrated first layer maximizes the contact area between the molten filament and the print surface, creating a strong bond that prevents the print from detaching mid-process.
- Dimensional Accuracy: An incorrect first layer height can throw off the dimensions of your initial layers, which can propagate throughout the entire print, especially for parts requiring tight tolerances.
- Surface Finish: The quality of your first layer often dictates the quality of the bottom surface of your print. A smooth, consistent first layer translates to a professional-looking base.
- Warping Prevention: Good adhesion reduces the likelihood of corners lifting off the bed due to thermal stress, a common issue known as warping.
- Preventing Printer Damage: A nozzle too close to the bed can scratch the print surface, clog the nozzle, or even damage the hotend. A nozzle too far can lead to filament blobs sticking to the nozzle, causing clogs or failed prints.
Key concepts in first layer calibration

To master your first layer, it's essential to understand the core concepts that govern its success:
Z-offset: the digital fine-tuning
The Z-offset is arguably the most crucial setting for first layer calibration. It represents the precise distance correction applied to the Z-axis position reported by your printer's endstops or bed leveling sensor. Think of it as a micro-adjustment that tells your printer exactly how far the nozzle should be from the print surface once it believes it has reached 'zero' on the Z-axis.
- How it works: When your printer homes the Z-axis, it moves the nozzle until a sensor (or endstop) triggers, establishing the 'zero' point. However, this 'zero' might not be the ideal printing height. The Z-offset allows you to move the nozzle slightly up (positive offset) or down (negative offset) from this established zero point.
- Impact: A negative Z-offset brings the nozzle closer to the bed, increasing the 'squish'. A positive Z-offset moves it further away, reducing the squish. Getting this value right is critical for optimal print adhesion and preventing issues like elephant's foot or poor layer bonding. Many modern printers allow on-the-fly Z-offset adjustments during the first layer of a print, enabling real-time fine-tuning.
Bed leveling: establishing a level playing field
Before you even consider Z-offset, your print bed must be level. Bed leveling ensures that the distance between the nozzle and the print surface is consistent across the entire build plate. An uneven bed means that even with a perfect Z-offset in one area, other areas will be either too high or too low, leading to inconsistent adhesion.
- Manual Bed Leveling: This traditional method involves adjusting screws or knobs, typically located under the print bed, to raise or lower specific corners. It often utilizes a piece of paper (or feeler gauge) as a reference, aiming for slight resistance as the nozzle moves across it at each calibration point. While time-consuming, it provides a deep understanding of your printer's mechanics.
- Automatic Bed Leveling (ABL): Many modern printers feature ABL systems (e.g., BLTouch, CRTouch, inductive sensors). These systems probe multiple points on the print bed, create a mesh, and then adjust the Z-axis dynamically during printing to compensate for any bed inconsistencies. While ABL significantly simplifies the process, it's important to remember that ABL compensates for an unlevel bed; it doesn't *fix* it. A reasonably level bed is still beneficial, even with ABL.
Print adhesion: the ultimate goal
Print adhesion refers to the ability of the first layer of filament to stick firmly to the print bed. It's a multifaceted challenge influenced by several factors:
- Bed Surface Material: Different materials (glass, PEI, magnetic flexible plates, buildtak, textured sheets) offer varying degrees of adhesion. Each has its own optimal temperature and cleaning requirements.
- Bed Temperature: Heating the print bed helps the plastic remain pliable and expand slightly, increasing its contact area and stickiness. The ideal temperature varies by filament type (e.g., PLA typically needs 50-60°C, ABS 90-110°C).
- Filament Type: Different plastics have different adhesion properties. Some (like PETG) adhere very strongly, potentially damaging certain bed surfaces if not released properly, while others (like nylon) are notoriously difficult to stick.
- Cleaning: Grease, dust, and fingerprints are adhesion killers. Regularly cleaning your print bed with isopropyl alcohol (IPA) or soap and water (depending on the surface) is crucial.
- Adhesive Aids: For challenging materials or surfaces, aids like glue stick, hairspray, or specialized adhesion sheets can significantly improve stick.
Methods for achieving perfect first layer calibration
Calibrating your first layer is a blend of art and science. Here's how to approach it:
The paper method for initial bed leveling
- Heat the Bed and Nozzle: Set your print bed and nozzle to your typical printing temperatures for the filament you intend to use. This accounts for thermal expansion.
- Disable Steppers: On most printers, you can disable the stepper motors, allowing you to manually move the print head.
- Position the Nozzle: Move the nozzle to one corner of the print bed, about 5-10mm in from the edge.
- Use a Calibration Card/Paper: Place a standard piece of printer paper (around 0.1mm thick) between the nozzle and the print bed.
- Adjust Bed Height: Slowly lower the nozzle or raise the bed (using the leveling knobs) until you feel a slight drag on the paper as you slide it back and forth. You should feel resistance, but still be able to move the paper.
- Repeat for All Corners: Move the nozzle to each corner (and sometimes the center) and repeat the adjustment process.
- Iterate: Since adjusting one corner can affect others, go around the bed a few times until all points feel consistent.
The squish test: visual calibration perfection
Once your bed is roughly level, the squish test is the ultimate visual feedback mechanism for fine-tuning your Z-offset. This involves printing a simple, single-layer pattern and observing the filament's behavior.
- What to Print: Use a single-layer calibration square, circle, or a grid pattern. Many slicers have built-in calibration shapes, or you can find them on online repositories.
- Observe and Adjust: As the first layer prints, carefully watch how the filament is laid down.
- Too High (Insufficient Squish):
- The filament looks round, like a noodle or a string.
- Lines don't stick to each other, leaving gaps between them.
- The print easily peels off the bed or doesn't stick at all.
- Edges might look frayed or inconsistent.
- Solution: Decrease your Z-offset (move the nozzle closer to the bed).
- Too Low (Excessive Squish):
- The filament is flattened excessively, often wider than expected.
- The nozzle might be scraping the bed, leaving visible marks or even digging into the surface.
- The first layer appears transparent or very thin.
- Material might build up around the nozzle, leading to clogs or blobs.
- The print can be difficult to remove, or exhibit 'elephant's foot' (the base of the print is wider than the rest).
- Solution: Increase your Z-offset (move the nozzle further from the bed).
- Just Right (Optimal Squish):
- The filament is slightly flattened, forming a smooth, consistent, and opaque layer.
- Individual lines are fused together without gaps, but you can still just barely distinguish them.
- The surface feels smooth and uniform when touched (after cooling).
- The print adheres firmly but can be removed with reasonable effort once cooled.
Calibration prints: specific patterns for diagnostics
Beyond simple squares, dedicated calibration prints offer more detailed feedback:
- Single-Layer Test Patterns: These often include large squares, circles, or intricate patterns designed to cover a significant portion of the build plate. They help identify areas where the bed might still be uneven or where Z-offset adjustments are needed across the entire surface. Look for consistency in line width, adhesion, and surface texture.
- Grid Patterns: A grid of thin lines allows you to quickly spot inconsistencies across the bed. Gaps between lines indicate a nozzle too high, while overlapping or rough lines suggest it's too low.
Advanced considerations and troubleshooting
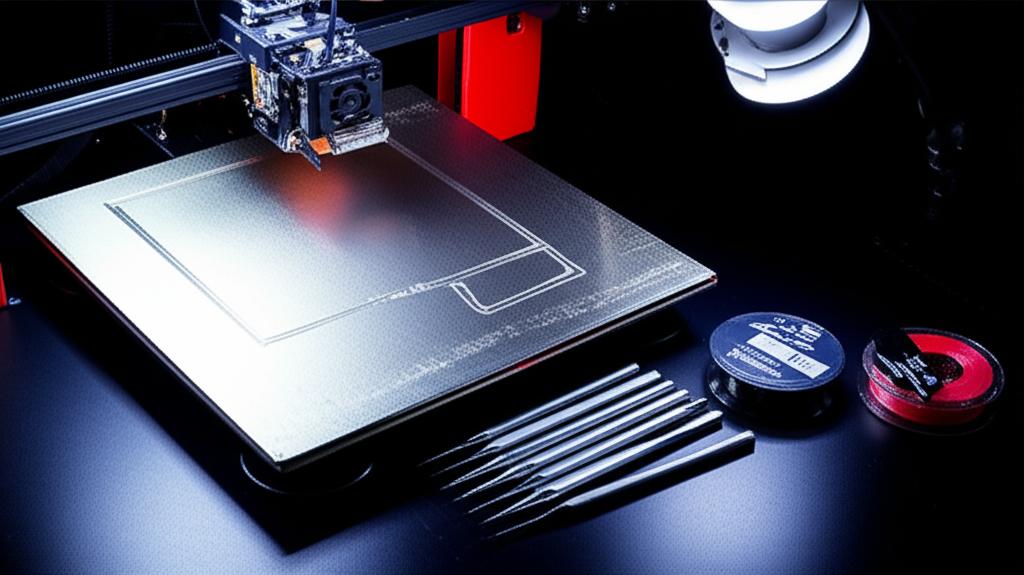
Even with perfect Z-offset and bed leveling, other factors can throw a wrench into your first layer success:
- Filament Properties: Different filaments have varying melt temperatures, flow characteristics, and adhesion tendencies. Always use the recommended temperatures for your specific filament. Some materials, like ABS or ASA, are more prone to warping and require higher bed temperatures and often an enclosure. Flexible filaments (TPU) might require slower first layer speeds and specific Z-offset adjustments due to their elasticity.
- Slicer Settings: Your slicer plays a significant role.
- First Layer Height: A slightly thicker first layer (e.g., 0.25mm or 0.3mm for a 0.4mm nozzle) can be more forgiving and improve adhesion compared to a very thin one.
- First Layer Speed: Printing the first layer slower gives the filament more time to adhere and cool slightly, improving bond strength. Typically, 15-25 mm/s is a good starting point.
- First Layer Extrusion Multiplier/Flow: Increasing this slightly (e.g., 105-110%) can compensate for minor under-extrusion on the first layer and enhance squish, but too much can lead to elephant's foot.
- Brims and Rafts: These adhesion aids can dramatically improve print adhesion for models with small footprints or those prone to warping. A brim adds a single-layer perimeter around the base of your print, increasing its contact area. A raft creates a disposable base layer underneath your print.
- Environmental Factors: Drafts, open windows, or even air conditioning vents can cause rapid cooling of the first layer, leading to warping and poor adhesion. An enclosure can significantly mitigate these issues, especially for temperature-sensitive materials.
- Worn Components: A worn nozzle can lead to inconsistent extrusion and poor first layer quality. Similarly, loose belts, wobbly gantries, or an unstable print bed can introduce inconsistencies. Regular maintenance and inspection are key.
- Bed Surface Condition: Beyond cleaning, print surfaces can degrade over time. PEI sheets can lose their stickiness, glass can accumulate micro-scratches, and magnetic sheets can become uneven. Knowing when to replace or rejuvenate your print surface is crucial.
Maintaining calibration consistency
First layer calibration isn't a one-and-done process. It's an ongoing commitment to quality printing:
- Regular Checks: Perform a quick visual check of your first layer at the start of each significant print or after changing filament types.
- When to Recalibrate:
- After moving your printer.
- After any maintenance that involves the hotend, nozzle, or print bed (e.g., nozzle change, hotend assembly, bed removal).
- If you notice a sudden drop in print adhesion or quality.
- When switching to a new type of filament, as different materials may require slight Z-offset adjustments.
- Document Settings: Keep a log of optimal Z-offset values and bed temperatures for different filament types and bed surfaces. This can save you time and frustration in the long run.
Conclusion
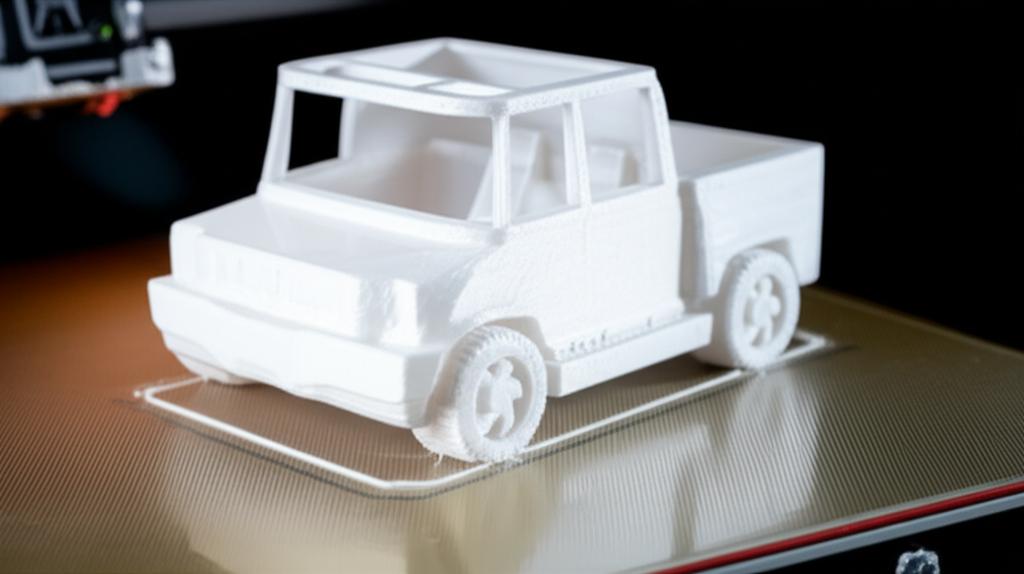
Mastering your first layer is a fundamental skill that every 3D printing enthusiast must cultivate. It's the bedrock upon which all successful prints are built, directly impacting print adhesion, dimensional accuracy, and overall print quality. By diligently understanding and applying concepts like Z-offset, performing thorough bed leveling, and meticulously executing the squish test, you gain the power to prevent common print failures and consistently produce high-quality parts. Remember, patience and practice are your best allies in this endeavor. Each calibration print offers valuable feedback, guiding you closer to that elusive 'perfect' first layer. Invest the time, hone your skills, and unlock the full potential of your 3D printer – one perfectly adhered layer at a time.