Ensuring your 3D printer operates smoothly and efficiently requires regular maintenance, and proper lubrication is critical. Like any precision machinery, a 3D printer's moving parts greatly benefit from regular care, preventing wear, reducing noise, and improving print quality. This guide will walk you through essential steps for 3D printing printer lubrication.
Why Lubricate Your 3D Printer?
Over time, dust, debris, and filament residue accumulate on moving components, increasing friction. This forces your printer to work harder, potentially causing noise, inconsistent prints, layer shifting, or even premature component failure. Regular printer maintenance, including lubrication, ensures all axes move freely and precisely.
Key Components to Lubricate and What to Use
Not all parts of your 3D printer require lubrication, and using the wrong type can cause harm. Focus on the linear motion components:
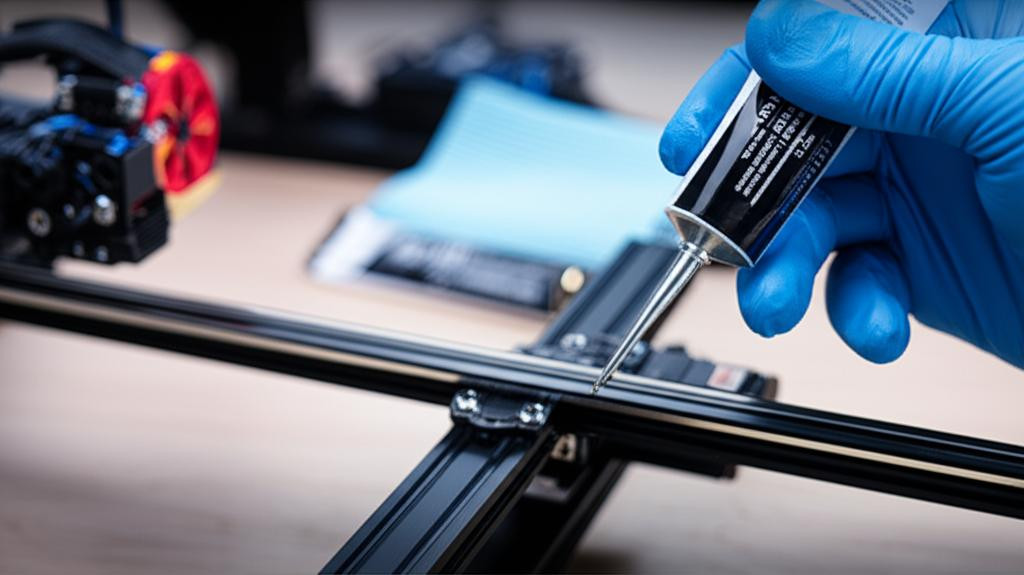
- Smooth Rods (Linear Shafts): These polished metal rods guide the print head (X, Y axes) and build plate (Z-axis). For these, use a light, non-sticky lubricant like PTFE (Teflon) grease or silicone grease. Apply a thin layer.
- Lead Screws (Z-Axis Rods): These threaded rods manage vertical movement. They need a slightly thicker lubricant to withstand load and ensure consistent Z-axis movement. White lithium grease or specialized lead screw grease (often PTFE-based) are highly recommended. Apply a small amount along the threads.
- Linear Rails/Bearings (if applicable): If your printer uses linear rails, consult the manufacturer's specific lubrication requirements. Generally, a light machine oil or PTFE grease is suitable.
Lubricants to Avoid
Do NOT use general-purpose oils like WD-40. They are not designed for long-term use on precision components, attract dust, and may degrade plastic parts. Stick to lubricants specifically formulated for linear motion or the materials in your printer.
The Lubrication Process: Step-by-Step
- Clean First: Before applying lubricant, thoroughly clean components. Use a lint-free cloth or brush to remove existing grease, dust, or debris. Isopropyl alcohol can be used cautiously on metal parts, ensuring it doesn't contact plastic or rubber.
- Apply Sparingly: A little goes a long way. Apply a thin, even coat of the appropriate lubricant.
- Cycle the Axes: Manually move the print head and build plate across their full range of motion several times to distribute the lubricant evenly.
- Wipe Excess: Use a clean, lint-free cloth to wipe off any excess lubricant. Too much attracts dust and can become gummy.
When to Lubricate?
Frequency depends on usage. For average use, lubricating every 1-3 months is a good guideline. If you print frequently or notice increased noise/stiffness, it's time for a check-up. Consistent printer maintenance extends machine lifespan and ensures high-quality prints.