Electroplating offers a transformative finish for 3D printed parts, imparting properties like enhanced conductivity, improved wear resistance, and a premium aesthetic. However, the process isn't without its challenges, particularly when dealing with the unique characteristics of 3D printed substrates. Unlike traditional metal parts, 3D prints often present inherent porosity, anisotropic material properties, and diverse surface finishes that can complicate the electroplating process. Navigating these complexities requires a deep understanding of common electroplating problems, their root causes, and effective troubleshooting strategies. This guide delves into three prevalent 3D print finish defects: blistering, uneven coating, and adhesion failures.
Understanding the nuances of electroplating 3D prints

Before diving into specific issues, it's crucial to acknowledge why 3D prints often pose a greater challenge than their machined or cast counterparts. The very nature of additive manufacturing, whether FDM, SLA, or SLS, can leave behind layer lines, internal voids, and varying surface chemistries. These factors necessitate meticulous pre-treatment steps, including thorough cleaning, surface conditioning, and often, a conductive coating application, to ensure a successful electroplating outcome. Overlooking any of these stages can lead to frustrating and costly defects.
Blistering coating: Causes and solutions
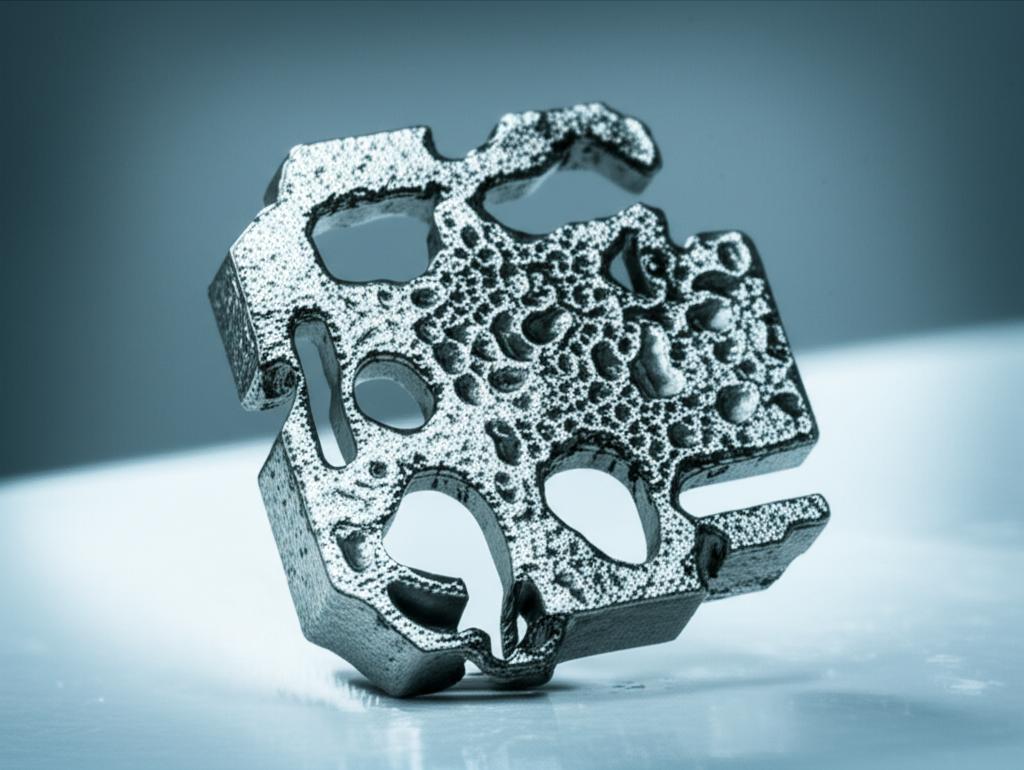
Blistering coating is one of the most visible and frustrating electroplating problems. It manifests as small, localized bubbles or raised areas on the plated surface, indicating a lack of adhesion between the plated layer and the substrate, or between subsequent plated layers.
Common causes of blistering
- Inadequate surface preparation: This is arguably the most frequent culprit. Any residual oils, grease, dust, or even fingerprints on the 3D print surface can act as a barrier, preventing proper bonding.
- Trapped gases: Porous 3D prints can trap air or process gases, which expand during plating or subsequent heating, leading to blisters.
- Substrate contamination: Impurities within the 3D print material itself, or contaminants introduced during handling, can outgas or react with the plating solution.
- Bath impurities: Organic or inorganic contaminants in the plating bath can deposit on the surface, creating weak points.
- Excessive current density: Applying too much current too quickly can cause rapid hydrogen evolution at the cathode, leading to gas entrapment and blistering.
- Poor rinsing: Incomplete rinsing between processing steps can carry contaminants from one bath to the next, causing issues.
Troubleshooting blistering coating
Addressing blistering coating demands a rigorous approach to process control:
- Enhance cleaning protocols: Implement multi-stage cleaning, including degreasing (e.g., alkaline cleaners, ultrasonic baths) and thorough rinsing. Consider solvent cleaning for specific residues.
- Optimize activation/etching: Ensure the surface is properly activated or etched to promote adhesion. For plastics, this often involves chemical etching or a palladium-tin activator.
- Bake porous prints: For highly porous prints, a pre-plating bake can help drive out trapped moisture or gases.
- Maintain bath purity: Regularly filter plating solutions and perform carbon treatments to remove organic impurities. Conduct dummy plating to remove metallic contaminants.
- Adjust current density: Start with a lower current density (strike plating) and gradually increase it to avoid excessive gas evolution.
- Improve rinsing: Use multiple rinse tanks, counter-flow rinsing, or spray rinses to ensure complete removal of chemicals between stages.
Uneven plating: Causes and solutions
Uneven plating refers to a non-uniform deposition of the plated metal across the surface of the 3D printed part. This can manifest as thicker deposits on edges and corners (high current density areas) and thinner, or even no, deposits in recesses and internal features (low current density areas).
Common causes of uneven plating
- Part geometry: Complex geometries with sharp corners, deep recesses, or intricate details inherently lead to uneven current distribution.
- Inadequate jigging/racking: Poor contact points or improper positioning of the part in the plating bath can obstruct current flow.
- Anode placement: Anodes positioned too close to certain areas or too far from others will result in localized variations in current density.
- Insufficient agitation: Lack of proper bath agitation can lead to depletion of metal ions in stagnant areas, resulting in thinner deposits.
- Bath concentration variations: Inconsistent concentrations of metal salts, brighteners, or other additives within the bath.
- Temperature fluctuations: Variations in bath temperature can affect solution conductivity and deposition rates.
Troubleshooting uneven plating
Achieving a uniform coating often involves manipulating the electrical field and bath dynamics:
- Optimize jig design: Design custom racks or jigs that ensure uniform electrical contact and positioning relative to the anodes. Consider using auxiliary electrodes or thieves to draw current away from high-current density areas.
- Employ shielding: Use non-conductive shields (e.g., plastic baffles) to block current from areas prone to excessive buildup, redirecting it to low-current density zones.
- Adjust anode placement and type: Experiment with anode configuration and consider using conforming anodes that mirror the part's geometry.
- Improve bath agitation: Implement air agitation, mechanical stirring, or solution pumping to ensure a consistent supply of metal ions to all surfaces.
- Maintain bath chemistry: Regularly analyze and adjust bath concentrations to keep them within optimal ranges.
- Control temperature: Utilize heating/cooling systems to maintain a stable bath temperature throughout the plating process.
Adhesion failure: Causes and solutions
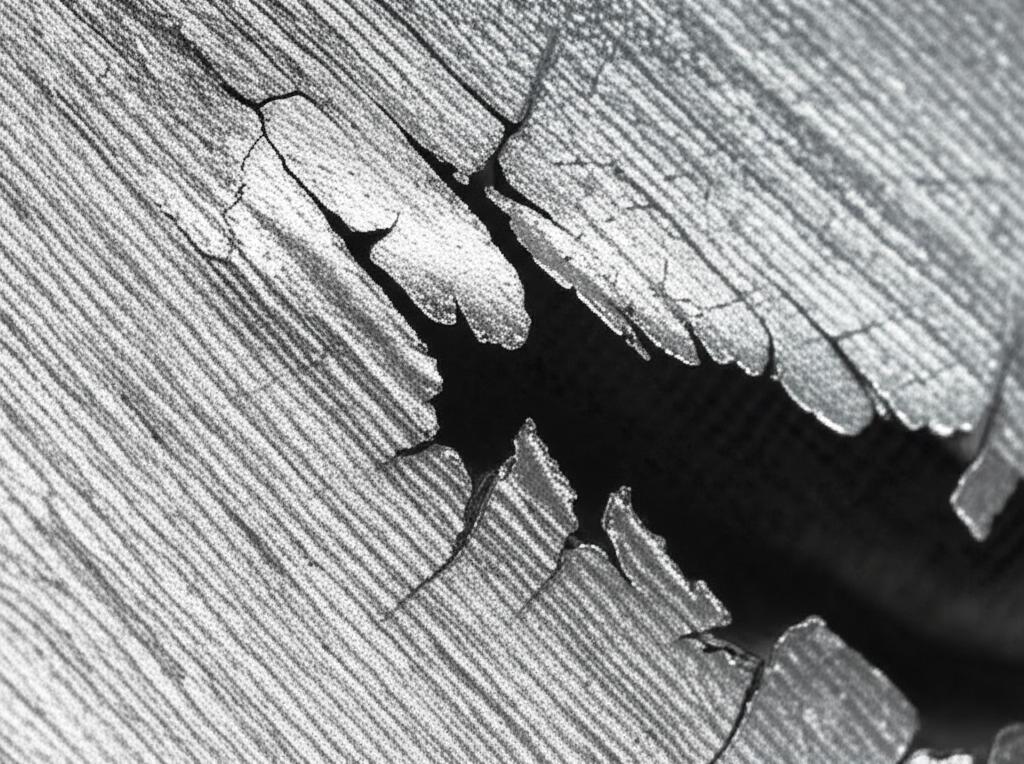
Adhesion failure is a critical 3D print finish defect where the plated layer separates from the substrate, either partially or completely. This can range from localized peeling to widespread delamination, often indicating a fundamental issue with the bond between the plastic and the metal.
Common causes of adhesion failure
- Insufficient surface activation: The initial conductive layer (e.g., electroless nickel or copper) may not have bonded properly to the plastic, leading to subsequent plating layers detaching.
- Contamination: Even microscopic amounts of oils, greases, mold release agents, or dust can prevent proper bonding.
- Improper pre-treatment: The etching or seeding steps, crucial for preparing the plastic surface for metallization, may be inadequate or too aggressive.
- Internal stresses: Residual stresses within the 3D printed part itself, or stresses induced during plating, can lead to delamination over time.
- Substrate material incompatibility: Some 3D printing materials are inherently more difficult to plate due to their chemical inertness or surface energy.
- Over-etching or under-etching: Etching too much can weaken the substrate, while too little won't create enough anchor points.
Troubleshooting adhesion failure
Preventing adhesion failure hinges on meticulous pre-treatment and understanding material interactions:
- Rigorous cleaning and degreasing: Ensure all organic and inorganic contaminants are completely removed. This may involve multiple cleaning steps, including solvent washes and ultrasonic cleaning.
- Optimize etching/activation: Calibrate etching times and solution concentrations to create an ideal surface topography for mechanical interlocking and chemical bonding without degrading the substrate. For selective laser sintered (SLS) parts, this often means specific chemical treatments.
- Ensure proper seeding: For electroless plating, the catalyst (e.g., palladium) must be uniformly and effectively deposited onto the activated surface.
- Consider stress relief: For some 3D prints, a post-cure or annealing step before plating can reduce internal stresses.
- Material selection: If recurring adhesion issues persist, evaluate the compatibility of the 3D printing material with the intended plating process. ABS and certain resins are generally more amenable to plating than others.
- Control bath chemistry: Maintain optimal concentrations of all bath constituents, particularly for electroless plating solutions where balance is critical for stable deposition.
General best practices and considerations
Beyond addressing specific defects, a holistic approach to your electroplating process for 3D prints can significantly mitigate electroplating problems and 3D print finish defects. Investing in a clean room environment can dramatically reduce contamination. Regular bath analysis and maintenance are non-negotiable for consistent results. Furthermore, understanding the cost implications of troubleshooting – from wasted materials and labor to the expense of specialized chemicals or external analytical services – underscores the value of getting the process right from the outset. While external plating services might offer expertise, in-house capabilities require a significant commitment to process control and continuous improvement.
Conclusion

Electroplating 3D printed parts is a sophisticated process that demands precision and attention to detail at every stage. From preparing the substrate to maintaining bath chemistry, each step plays a pivotal role in the final quality of the plated finish. By systematically addressing common issues like blistering coating, uneven plating, and adhesion failure, manufacturers and hobbyists alike can enhance their success rates. While the journey to flawless electroplated 3D prints can be challenging, a methodical approach to troubleshooting and an unwavering commitment to process control will ultimately yield superior results, unlocking the full potential of metalized additive manufacturing.