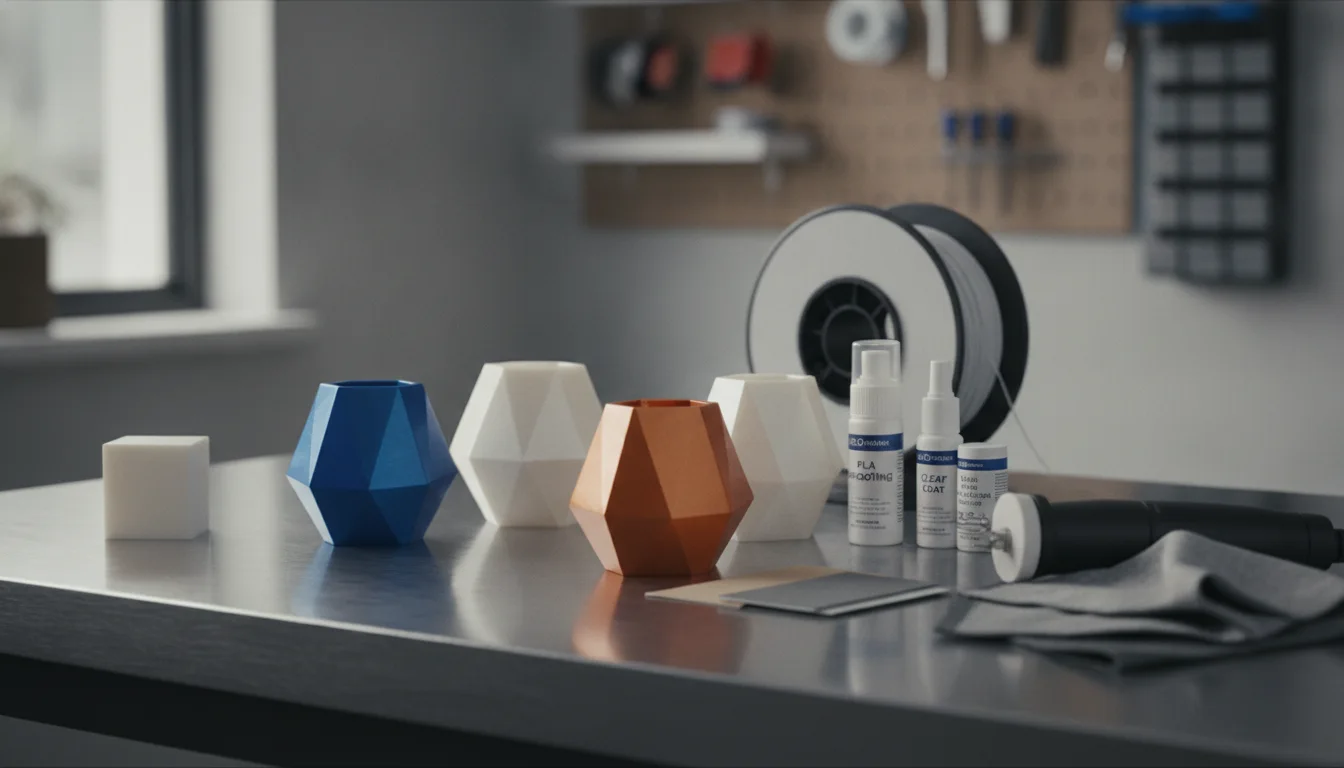
PLA post-processing is everything you do to a finished PLA print to improve its look or performance: removing supports and strings, sanding, filling, priming, painting, sealing and, in some cases, annealing. PLA cannot be smoothed with acetone the way ABS can, so the reliable route is mechanical: remove the defects, sand, fill, prime and paint. Annealing can raise PLA’s heat resistance, but it does not cure brittleness and it warps parts.
This page is the map, not the manual. It tells you which method to use, how much effort it takes and what it will not do, and sends you to the detailed guide for each step. The numbers come from Prusa’s tests, the Prusament PLA datasheet and the Smooth-On epoxy coating page, linked at the end.
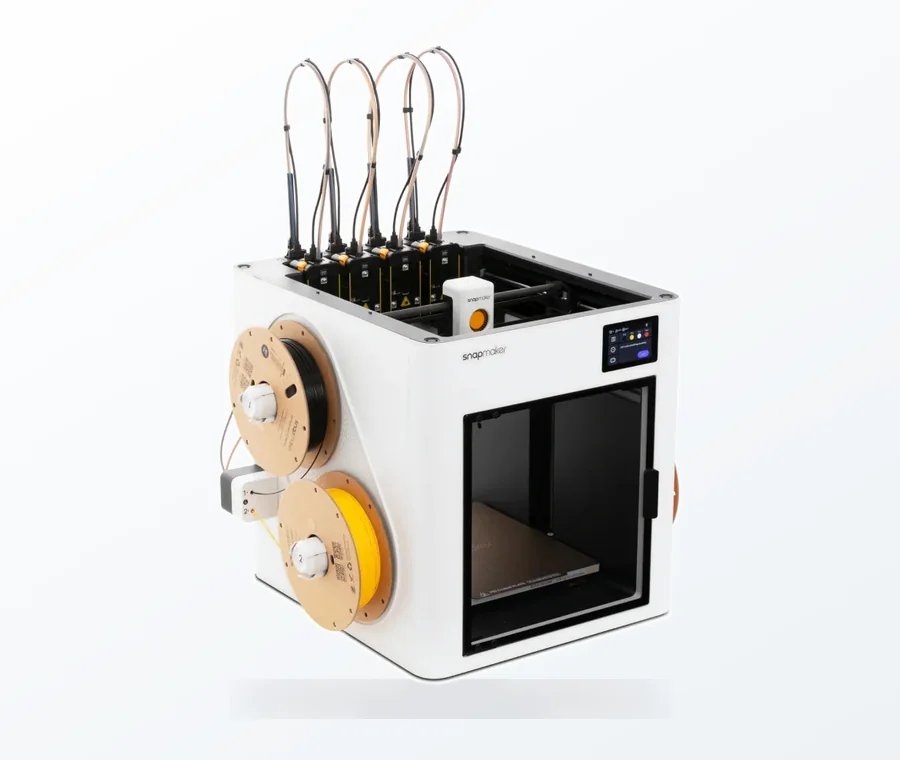
The consumer toolchanger 3D printer: the SnapSwap 4-toolhead system swaps heads in 5 seconds for true multi-color and multi-material printing, with smart calibration and auto filament loading.
- 4 toolheads · 5 s swap
- Up to 500 mm/s · 20,000 mm/s²
- 270 mm cube build volume
- Multi-color & multi-material
The PLA finishing order
- Remove supports, strings and blobs (support removal, removing strings and blobs).
- Glue multi-part models and fill the joints (gluing 3D prints).
- Sand from a coarse grit up to a fine one.
- Fill remaining low spots and spray a filler primer; sand it flat.
- Paint, then seal with a clear coat.
- Leave annealing for the rare part that needs heat resistance and can tolerate shrinkage.
Which method for which result
| Method | Effort | What you get | Detailed guide |
|---|---|---|---|
| Remove strings and blobs | Low | Clean surface, no stray plastic | Strings and blobs |
| Sanding | Medium | Layer lines flattened; the base for any coating | Grit progression |
| Filling and priming | Medium to high | Pinholes and layer lines hidden, even color | Primer and filler |
| Painting | Medium to high | Color, texture and detail | Painting prints |
| Epoxy coating | Medium | Layer lines filled, glossy shell; adds a thin skin | Smooth-On data below |
| Annealing | Low effort, high risk | More heat resistance, sometimes more tensile strength; warps parts | Section below |
| Acetone smoothing | None for PLA | Poor results on PLA; made for ABS and ASA | Acetone vapor smoothing |
Slicer settings that reduce visible layer lines can also cut the sanding you need later, so check the print settings before you start finishing.
Clean-up before any finish
Support scars, strings and elephant’s foot show through paint and primer, so deal with them first. Prusa notes that untreated PLA softens at around 60 °C, which is why fast sanding or a power tool can melt the surface instead of cutting it, and why a heat gun on strings is best used in short passes. Both are covered in the linked guides.
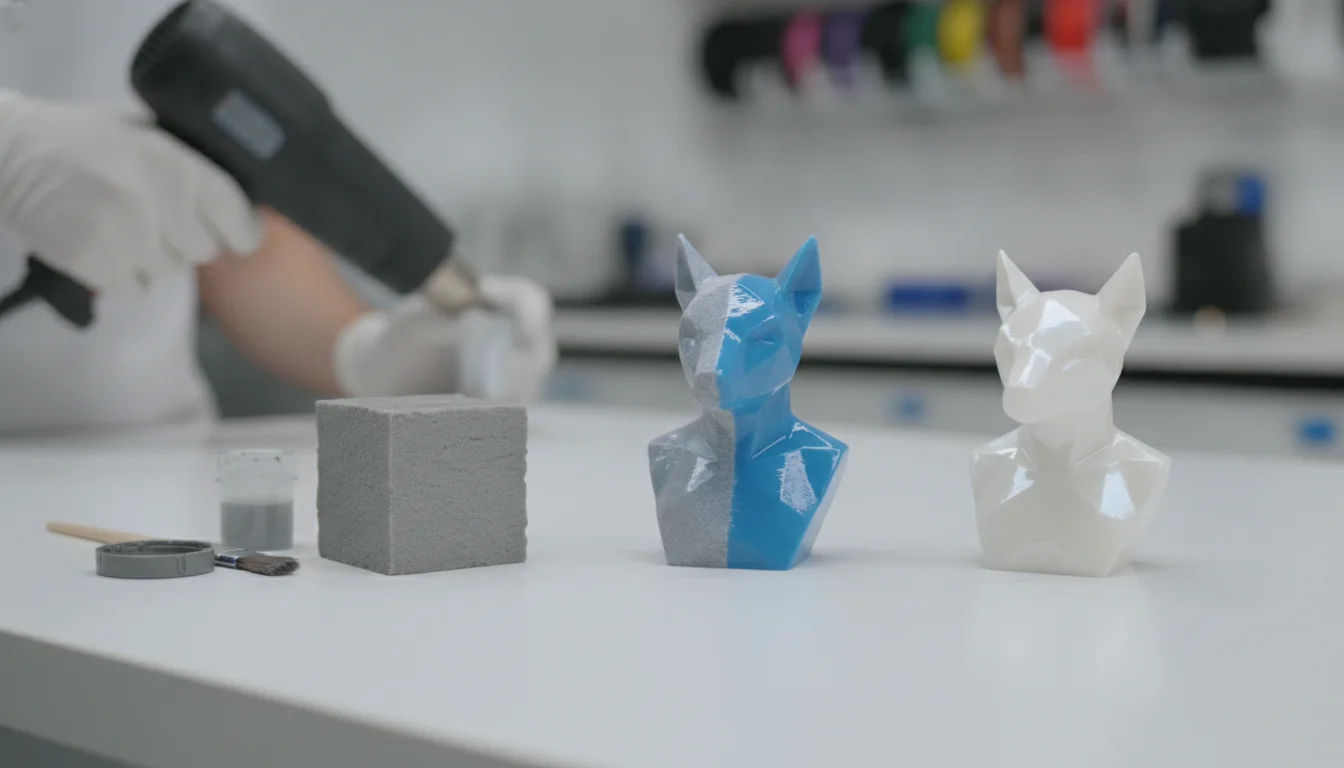
Why acetone does not smooth PLA
Prusa tested solvents on its own filaments. For ABS and ASA, acetone vapor is the method. For PLA, it reports that acetone does glue PLA, but that its smoothing effect was hardly successful: vapor exposure took several hours, and a liquid bath cracked the part after 3 hours and again after 48 hours. Prusa names chloroform as the usual suggestion for PLA and dichloromethane for PETG, and calls them dangerous chemicals that are restricted or need special permission to obtain. We do not recommend either for home use.
Epoxy coating: a shell instead of sanding
A clear, two-part epoxy coat fills layer lines and gives a glossy shell. Smooth-On’s XTC-3D is made for 3D prints and lists PLA and ABS among compatible materials. From its product page:
- **Mix:** 2 parts A to 1 part B by volume (100A to 42B by weight).
- **Time:** pot life 10 minutes, thin-film working time 20 minutes, tack-free in about 2 hours and cured in about 3.5 hours at room temperature.
- **Thickness:** a single thin layer, under 1/64 inch (about 0.4 mm); each added layer should stay under that too. Brush on with a disposable foam or chip brush and keep working it until it starts to set to avoid drips.
- **Paint:** the cured coat can be painted, or primed and then painted with acrylic enamel; the page says to sand lightly first.
- **Safety:** use in a well-ventilated area, with safety glasses, rubber gloves and a NIOSH-approved respirator; the mixed resin is exothermic, so do not leave a large mass of it in a container.
The coat adds a skin about the thickness above, so it changes press-fit and thread tolerances. The XTC-3D page gives no UV data, so for a part that will live in sun add a clear coat rated for UV; see UV protection for outdoor prints.
Annealing PLA: what it does and does not do
Annealing means baking a finished part in an oven at a temperature near or above the plastic’s glass transition (65 °C for PLA in Prusa’s table). Prusa’s article tested PLA, PETG, ASA and ABS for 30 minutes at temperatures from 70 to 170 °C in an electric oven. For PLA:
- **Heat resistance** rose sharply at 90 °C and above, and tensile strength improved from 90 °C up.
- **Brittleness did not improve:** in the Charpy impact test PLA was “too brittle at every temperature”. Annealing is not a fix for brittle PLA; see brittle PLA causes and fixes, which covers moisture and settings.
- **Shape changes:** PLA showed significant dimensional change even at 70 °C, warped at higher temperatures, and at 170 °C the part collapsed. Prusa advises against annealing complex or detailed prints, and suggests testing a batch, measuring the shrinkage, and printing a scaled-up second batch if dimensions matter.
- **Oven:** Prusa recommends an electric oven (gas ovens heat unevenly), parts on a flat surface, and watching the process throughout.
Treat annealing as an experiment on a spare part, not a finishing step. Prusa tested a limited set of filaments and test shapes, so another PLA may respond differently. For a part that must survive heat, a material with a higher glass transition is usually the better answer than baked PLA; the Prusament PLA datasheet gives a heat deflection temperature of 55 °C.
Match the finish to the part
| Part | Sensible finish | What to skip |
|---|---|---|
| Display model or miniature | Sand, fill, prime, paint, matte or gloss clear coat | Annealing: it warps fine detail |
| Functional part with fitted surfaces | Remove strings, sand only the faces that show, leave mating faces alone | Epoxy or paint on press-fit or threaded areas, where the added skin changes the fit |
| Part that sits in a hot car or near a heater | Print in a more heat-resistant material | Any finish: none raises PLA’s heat deflection temperature of 55 °C |
| Part that stays outside | Pick UV-stable plastic first, then add a clear coat | Bare PLA; see the outdoor guide linked above |
Sealing the finish
Paint sits on the surface and scratches, so most painted PLA gets a clear coat as the last layer. Matte hides fingerprints and small flaws, gloss shows every flaw underneath, and satin sits between them. Spray several thin coats instead of one wet coat, and follow the can for recoat and cure times. The painting guide goes through sealing and the order of paint layers, and the priming guide explains what to do when a coat runs or the primer will not stick.
Common mistakes
- Sanding or heat-gunning PLA too fast, so the surface melts or smears.
- Painting straight onto layer lines and expecting a smooth result; fill and prime first.
- Trying acetone or another solvent on PLA. In Prusa’s tests acetone cracked parts without smoothing them.
- Annealing a part with tight tolerances without printing a test piece first.
- Putting epoxy or varnish on without ventilation, gloves and a respirator.
Frequently asked questions
Can you smooth PLA with acetone?
Not usefully. Prusa found acetone glues PLA but did not smooth it well, and long vapor or bath exposure cracked the parts. The solvents that smooth PLA are hazardous and restricted, so sanding, filling and priming, or an epoxy coat, are the practical options.
Does annealing make PLA stronger?
It can raise heat resistance and tensile strength, but Prusa’s impact tests still found PLA too brittle at every temperature, and parts shrank and warped. It is not a cure for brittle prints, and detailed parts may be ruined.
What is the best order for finishing a PLA print?
Remove supports and strings, glue and fill joints, sand from coarse to fine, fill low spots, prime, sand again, paint and seal. Skip steps only when the part will not be seen close up.
Is an epoxy coat better than sanding for PLA?
It saves sanding time because it fills layer lines in one thin pass, but it adds a skin of up to about 0.4 mm, it has a 10-minute pot life, and it needs ventilation and a respirator. Sanding costs more labor but changes dimensions less. Many finishes use both.